
Miniature models of gigantic mechanical spider bots that could effortless flip a Leman Russ Battle Tank feature on today’s blog post. We’ll take a look at my finished Stalker Constructs and I’ll share some valuable assembly tips and a painting guide.

Models were kindly supplied to me by Games Workshop. My thoughts and opinions are my own.
The Stalker Constructs box set features three classes of Stalker constructs in this size scale, the Era ‘Butcher’ Assault Stalker, the Tenebrae ‘Archer’ Battle Stalker and the Scintillax ‘Cyclops’ Noospheric Stalker. Also included in the set are smaller Harpax ‘Swarmer’ Scout Hosts.
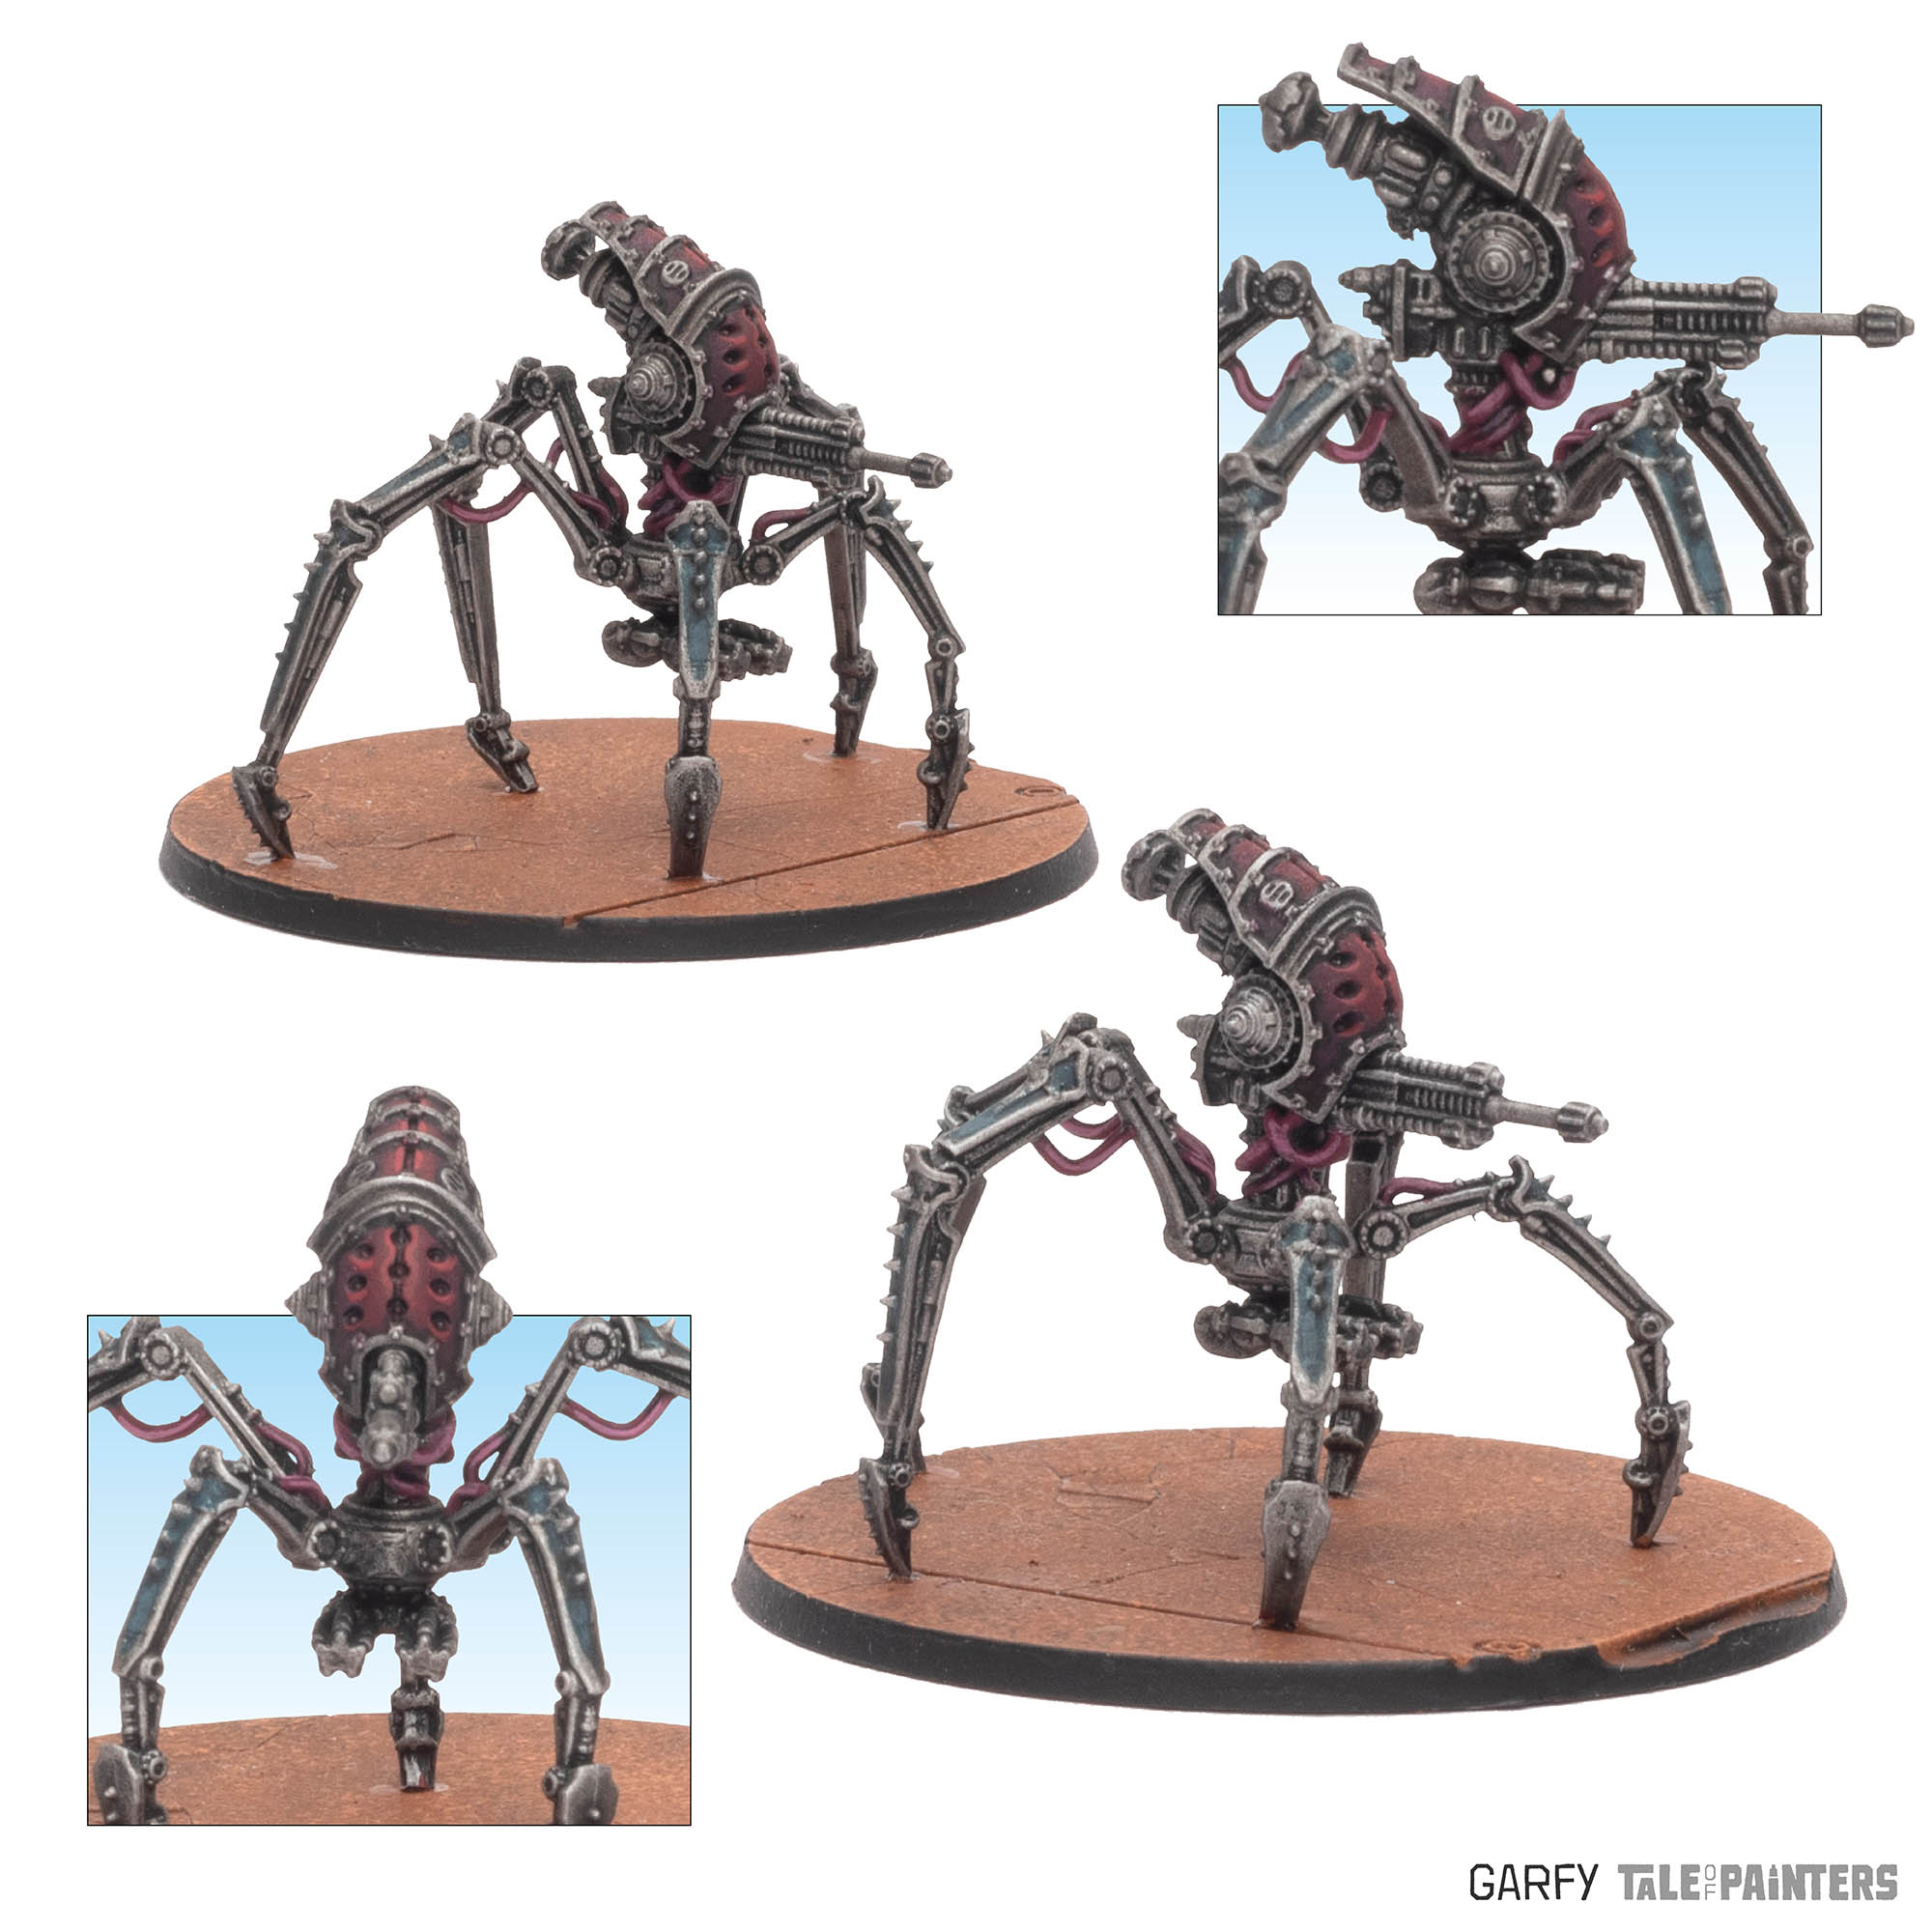
The Tenebrae ‘Archer’ Battle Stalker is the ranged fire support construct armed with a storm laser flenser, and a choice of underslung weaponry: Exo-planar, Stalker-maxima bolters or volkite culverins.
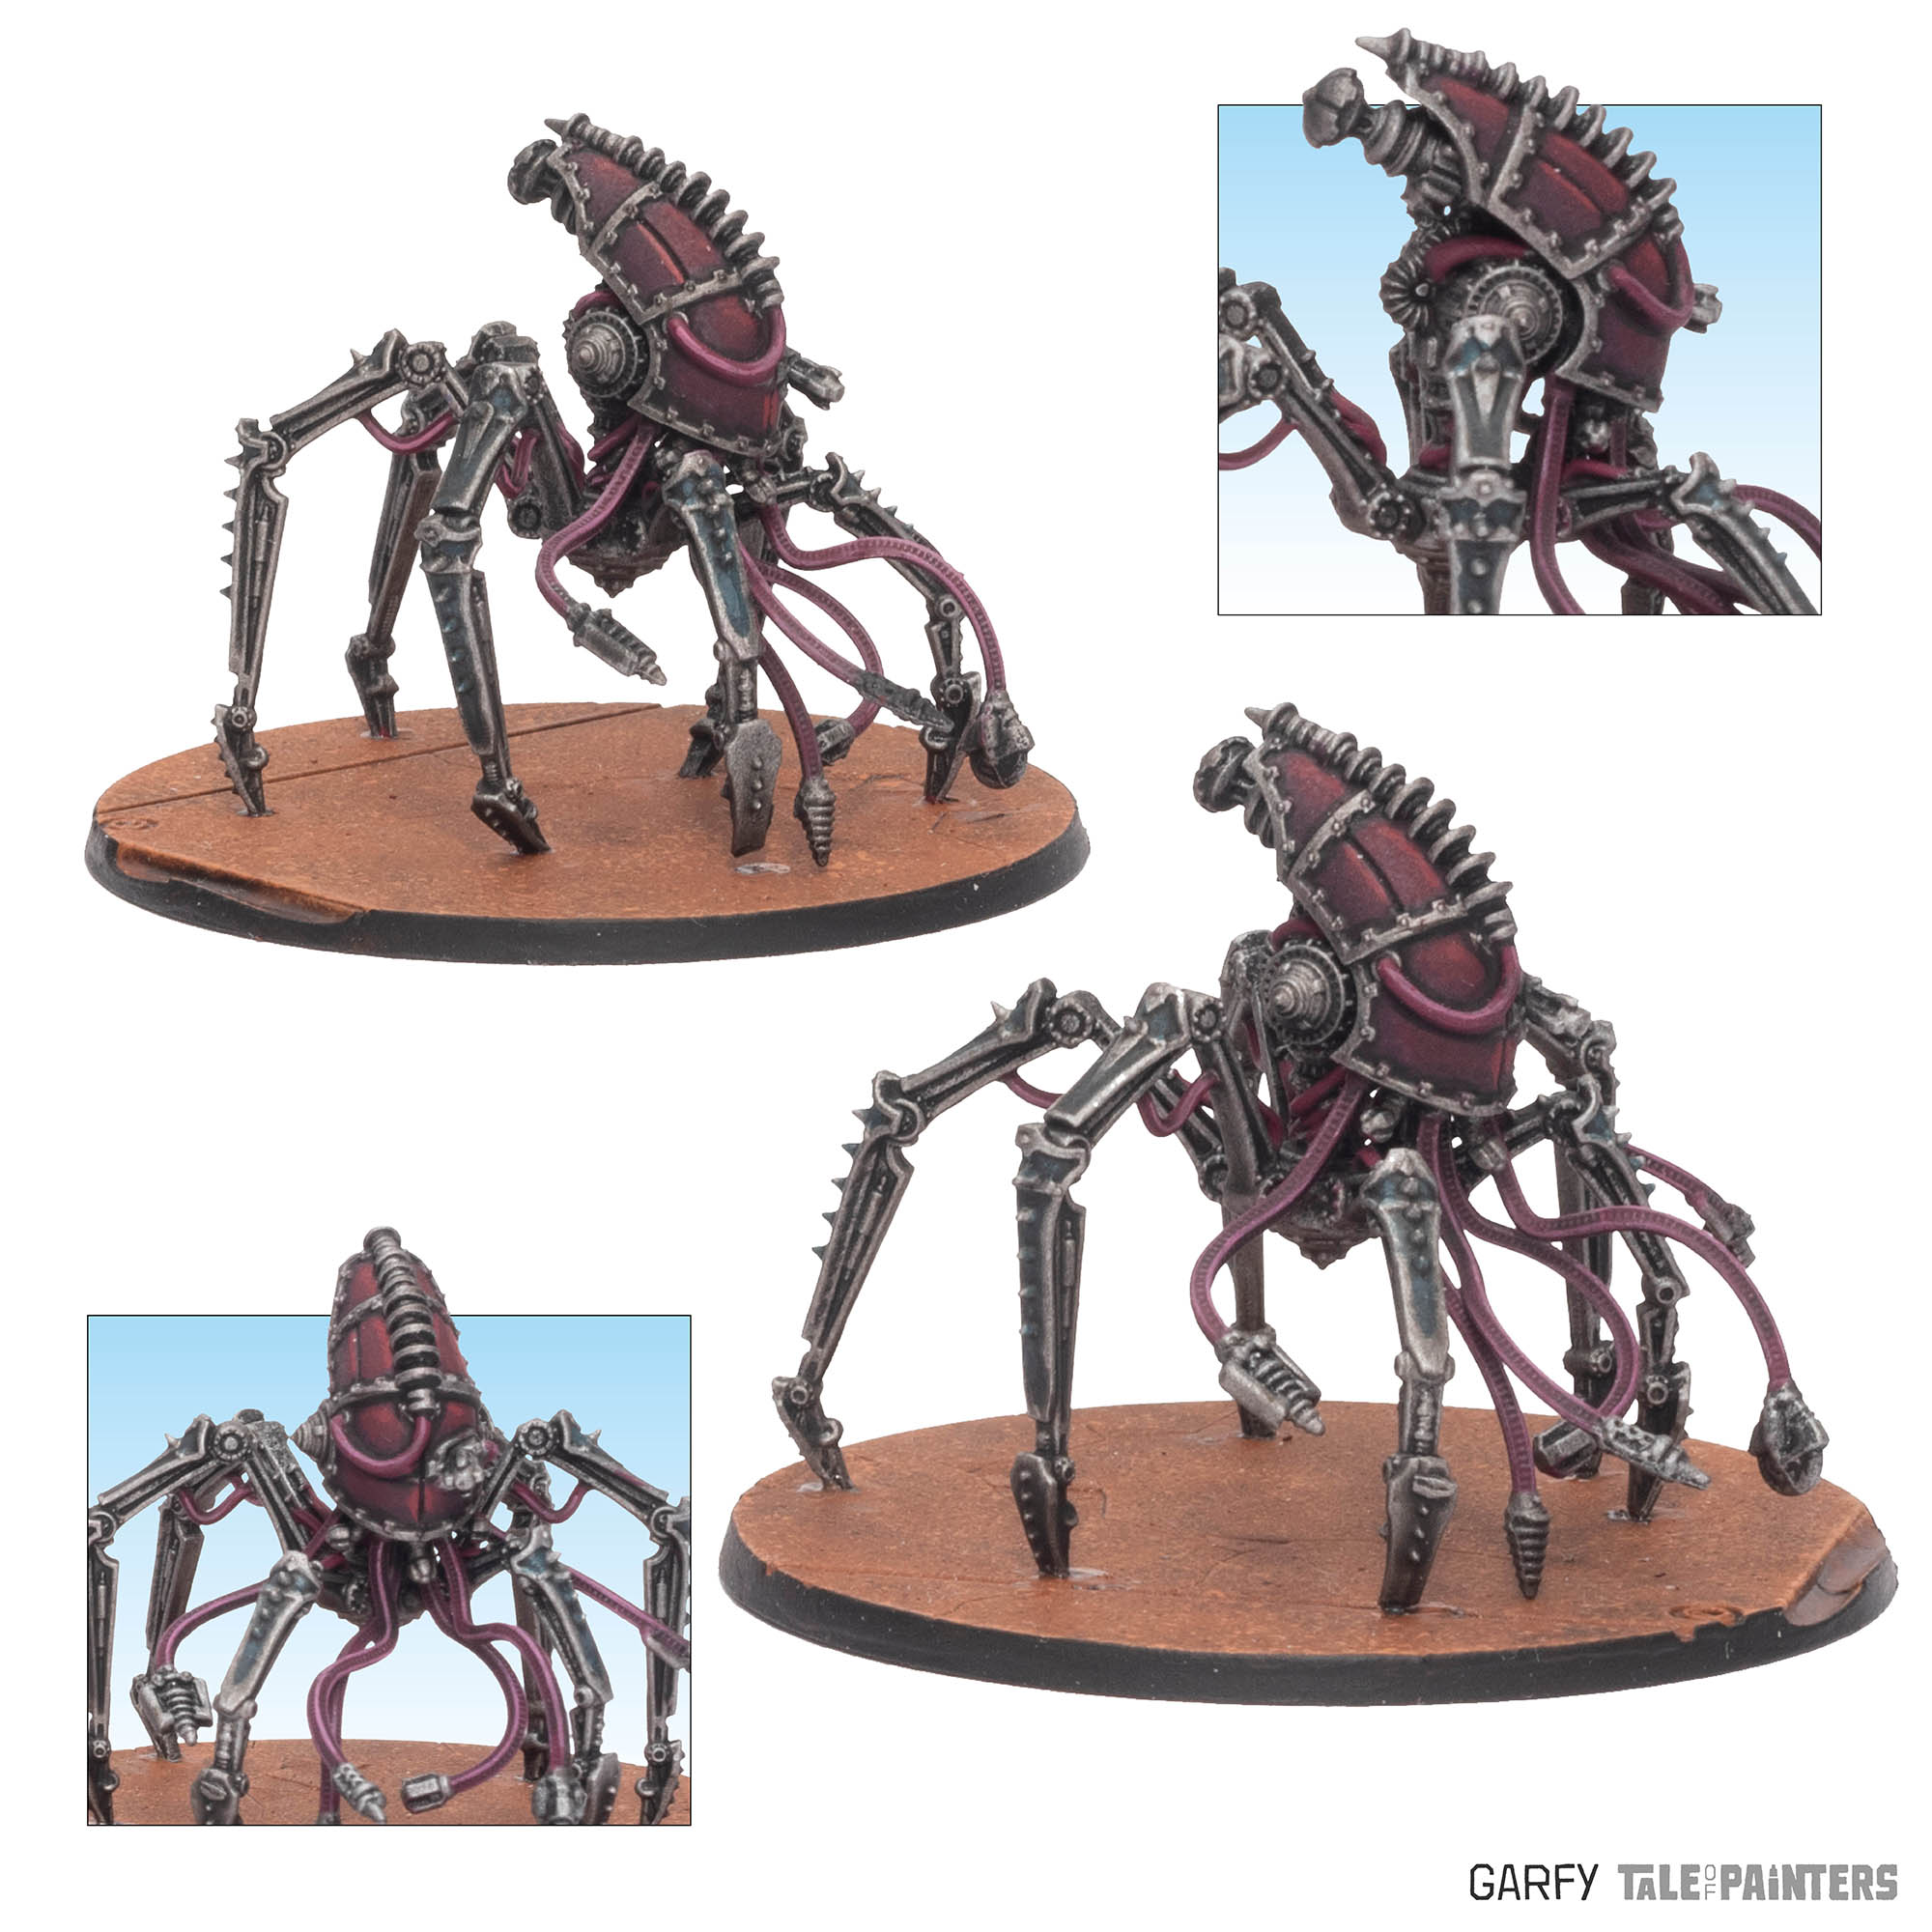
The Scintillax ‘Cyclops’ Noospheric Stalker is the hive mind, not majorly offensive but controls nearby stalkers with it’s Noosphere Controller, it displays a level of autonomy not usually seen on Mechanicum constructs.
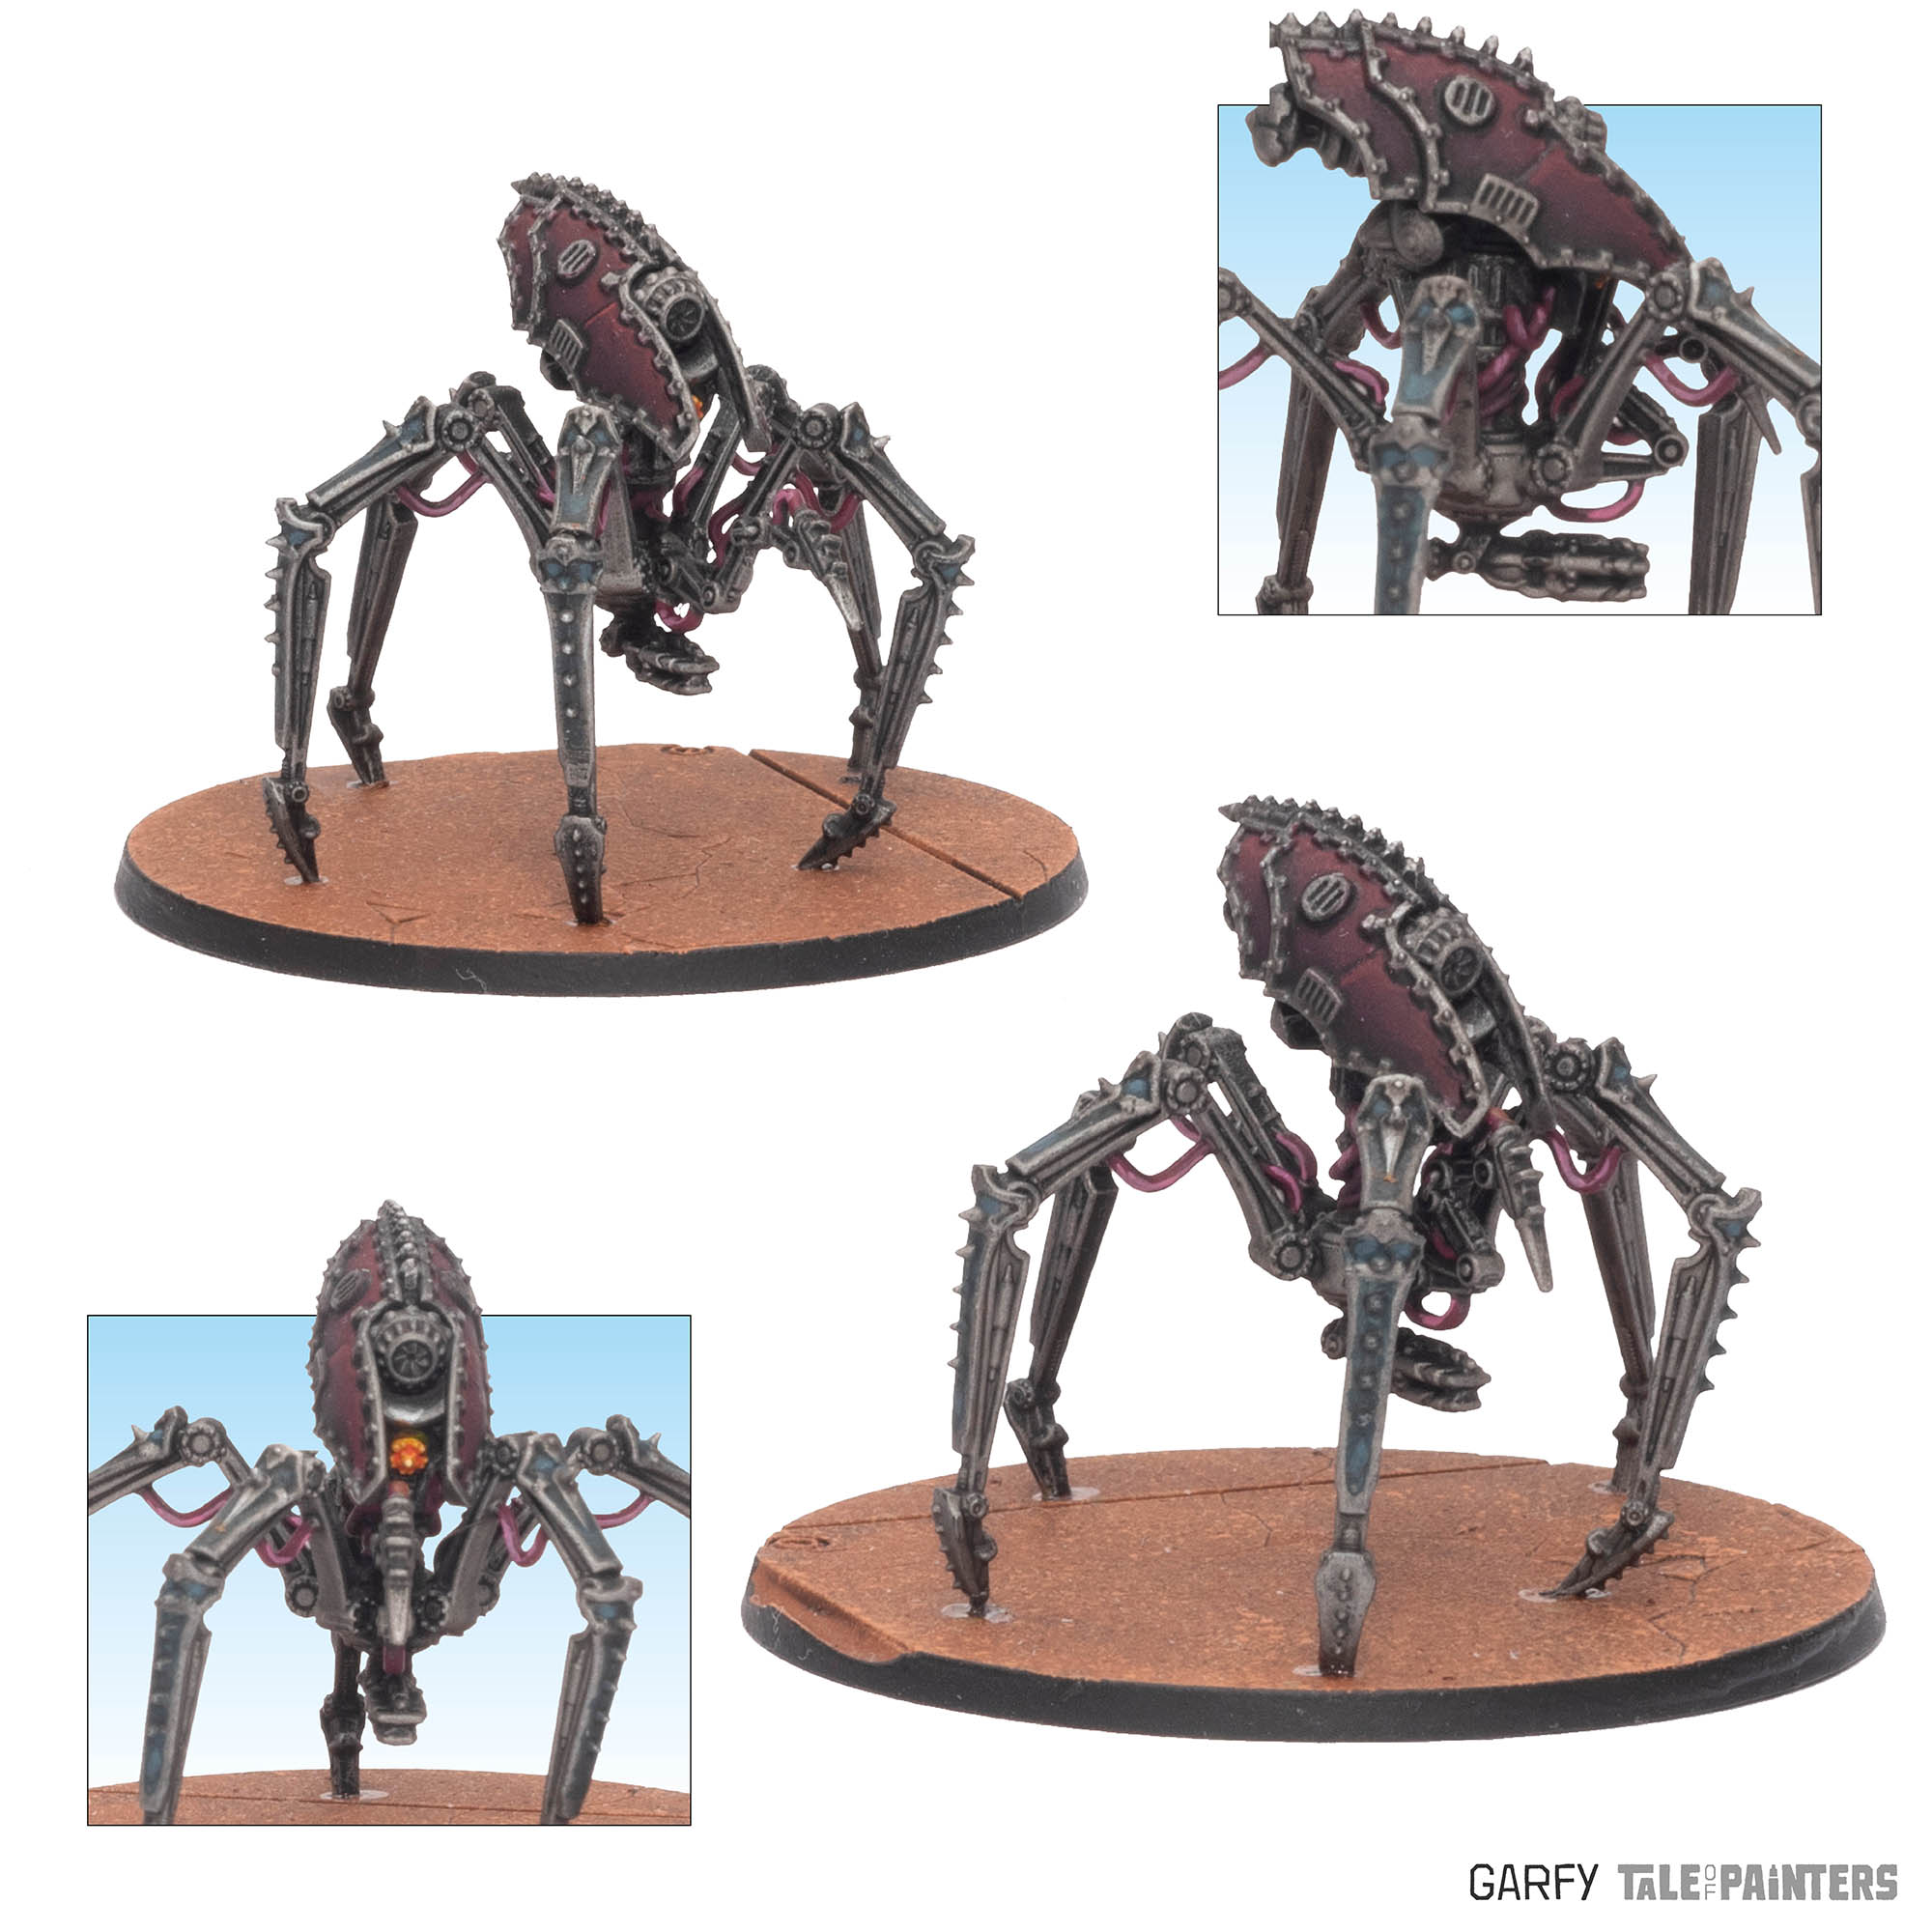
The Era ‘Butcher’ Assault Stalker is the melee specialist, armed with mechatendrites ending with all manner of close combat weapons to eviscerate their foes.
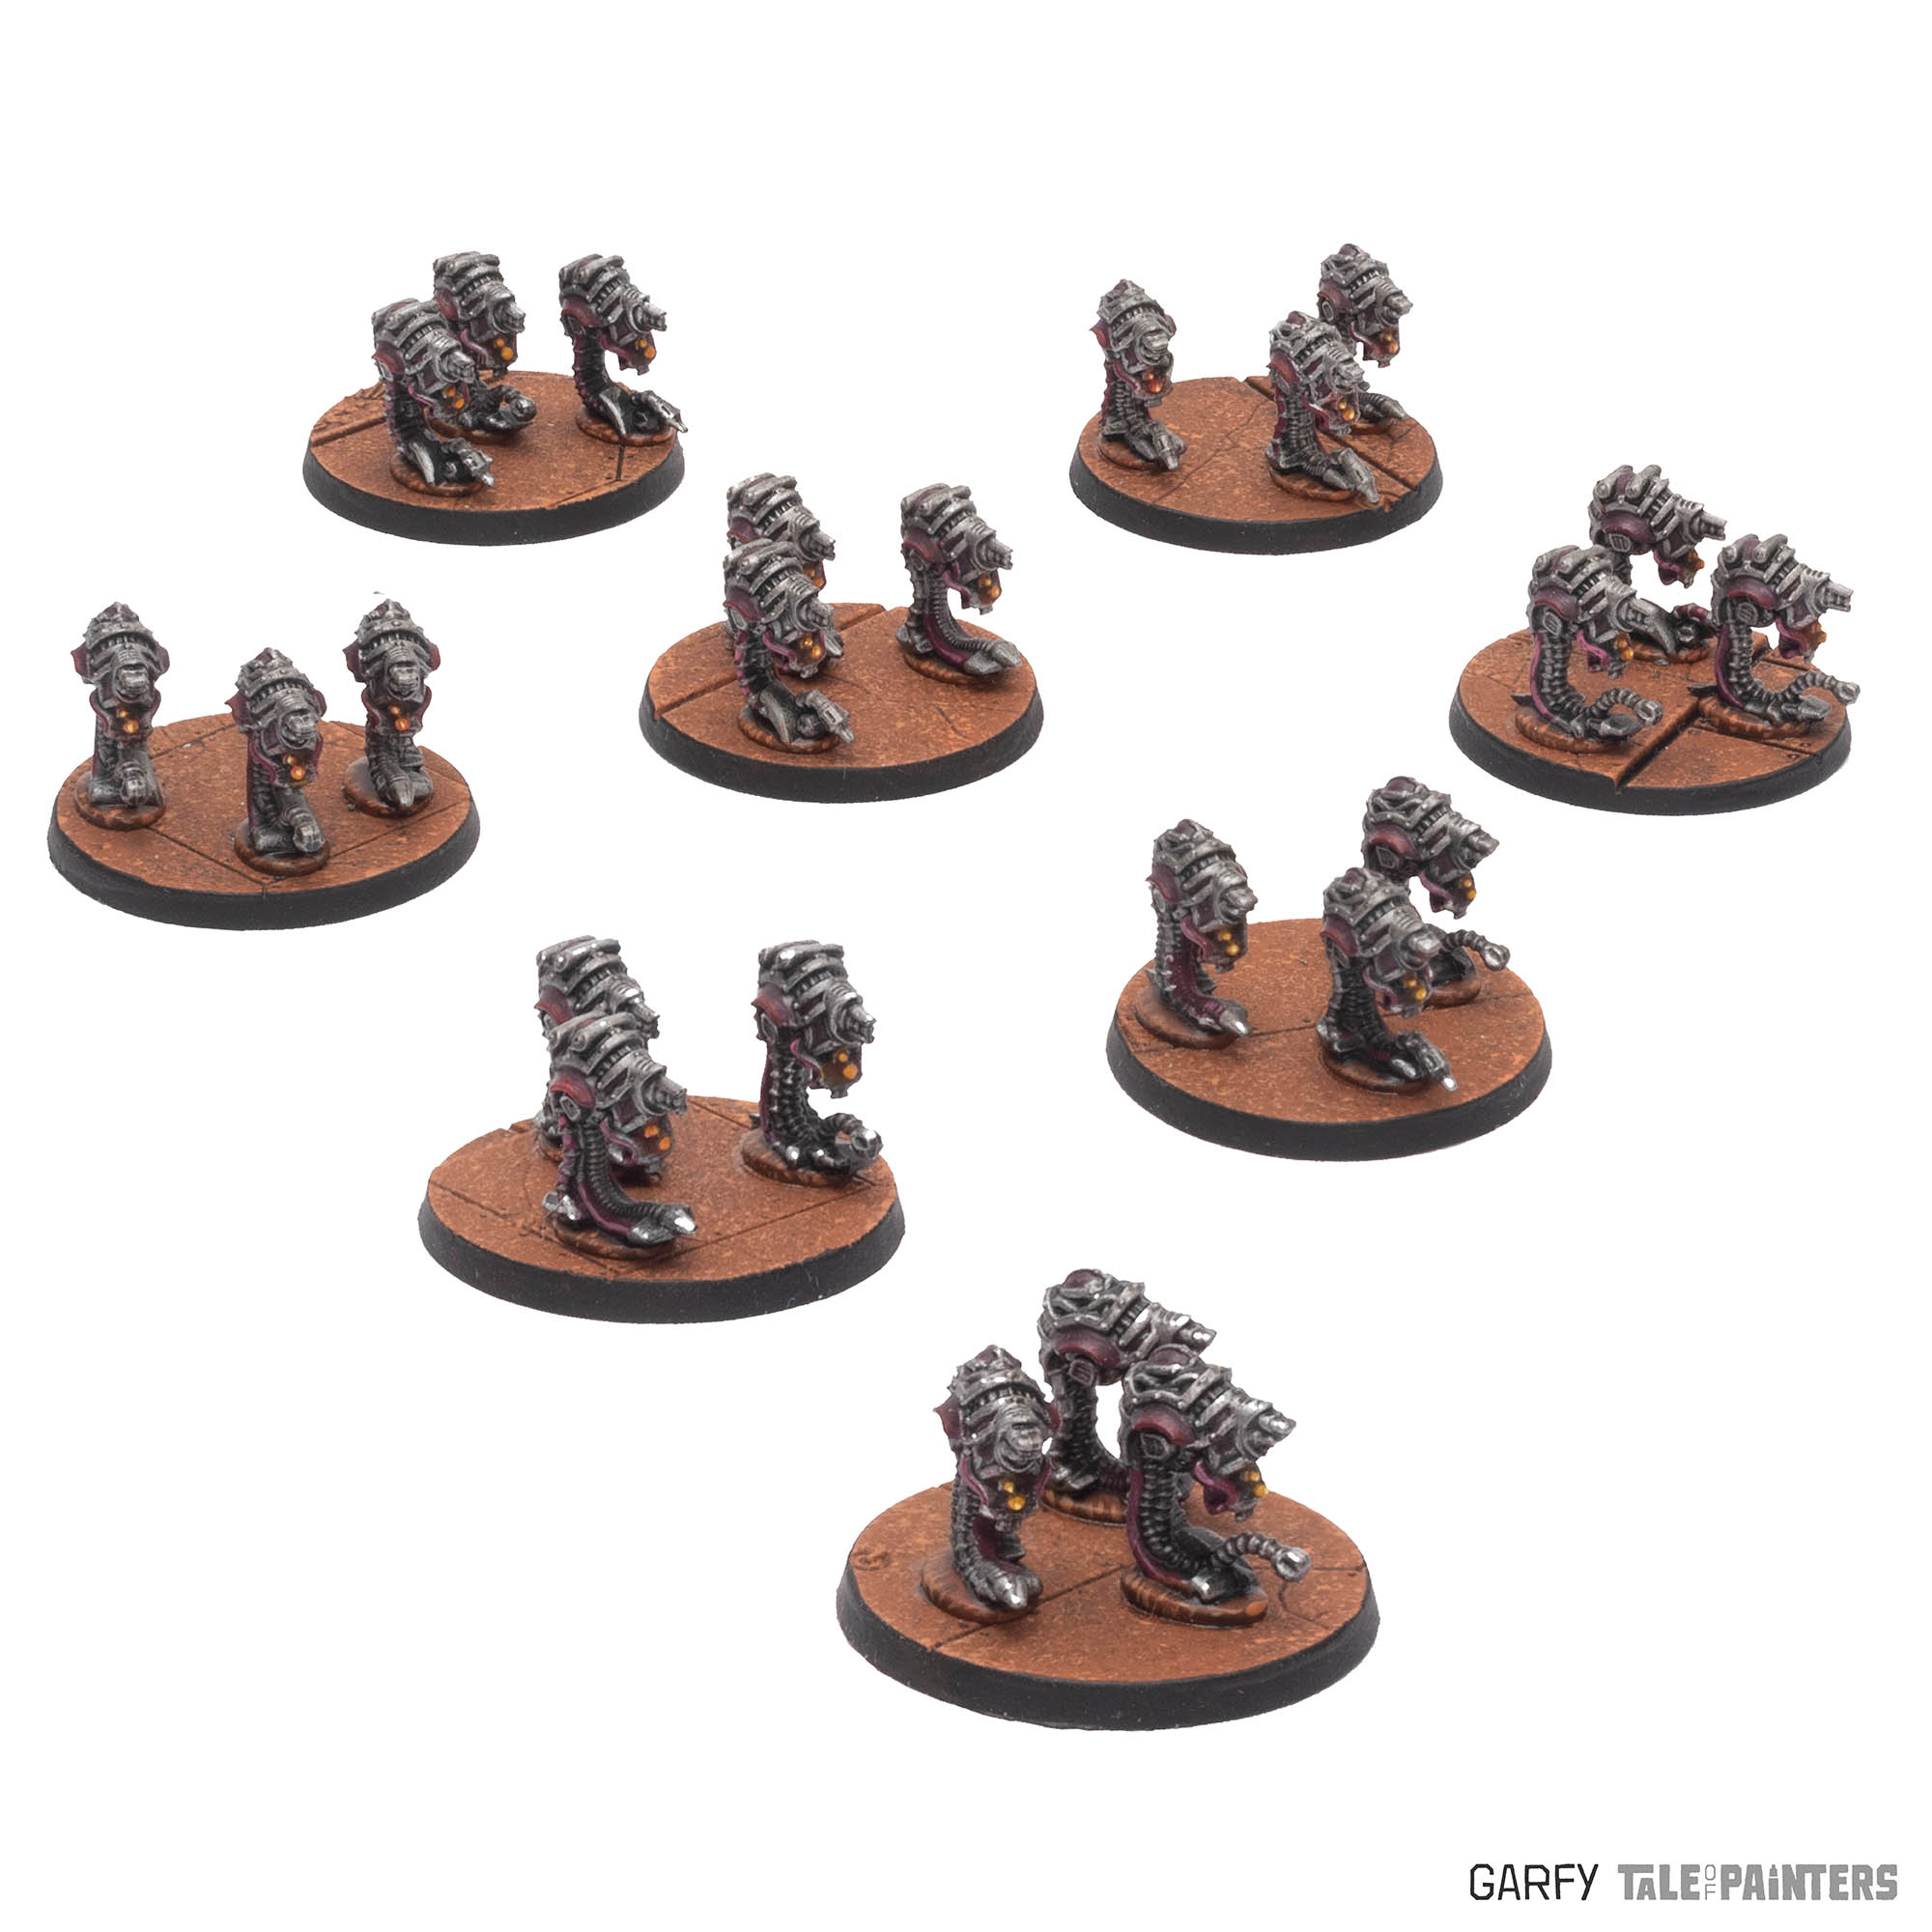
Harpax ‘Swarmer’ Scout Hosts are tentacled mechanical horrors that scout ahead of the force using jump pack rules.
Assembly ToP Tips
These models have lots of spindly limbs with small contact areas to glue in to. They’re plastic kits, so you’ll want to make sure you use cutters to snip the parts from the sprue and then use a sharp knife to carefully remove any uneven areas you snipped by scraping. This will help a lot with getting the tiny parts to fit together properly.
Another piece of advice, is glue one leg and leave to dry, work on another stalker and glue a single leg to that one, then the next one and so on. After a while you should be left with a load of stalkers with a single leg glued securely in place. Now you can repeat the process with the second leg, once the second legs are dry you can then do the third and so on. If you don’t do this and you instead choose to glue all the legs in one go you will end up with a fiddly, gluey mess that struggles to stand and more than likely glue-based finger prints all over your model.
How to Paint Stalker Constructs
Don’t be put off by the trim, it’s actually really simply. What you want to do is undercoat the entire model black and then drybrush the entire thing with Leadbelcher, then give it a wash with Nuln Oil and a further dry brush with Runefang Steel. Now you just have to paint the armour panels and the trim is already done.

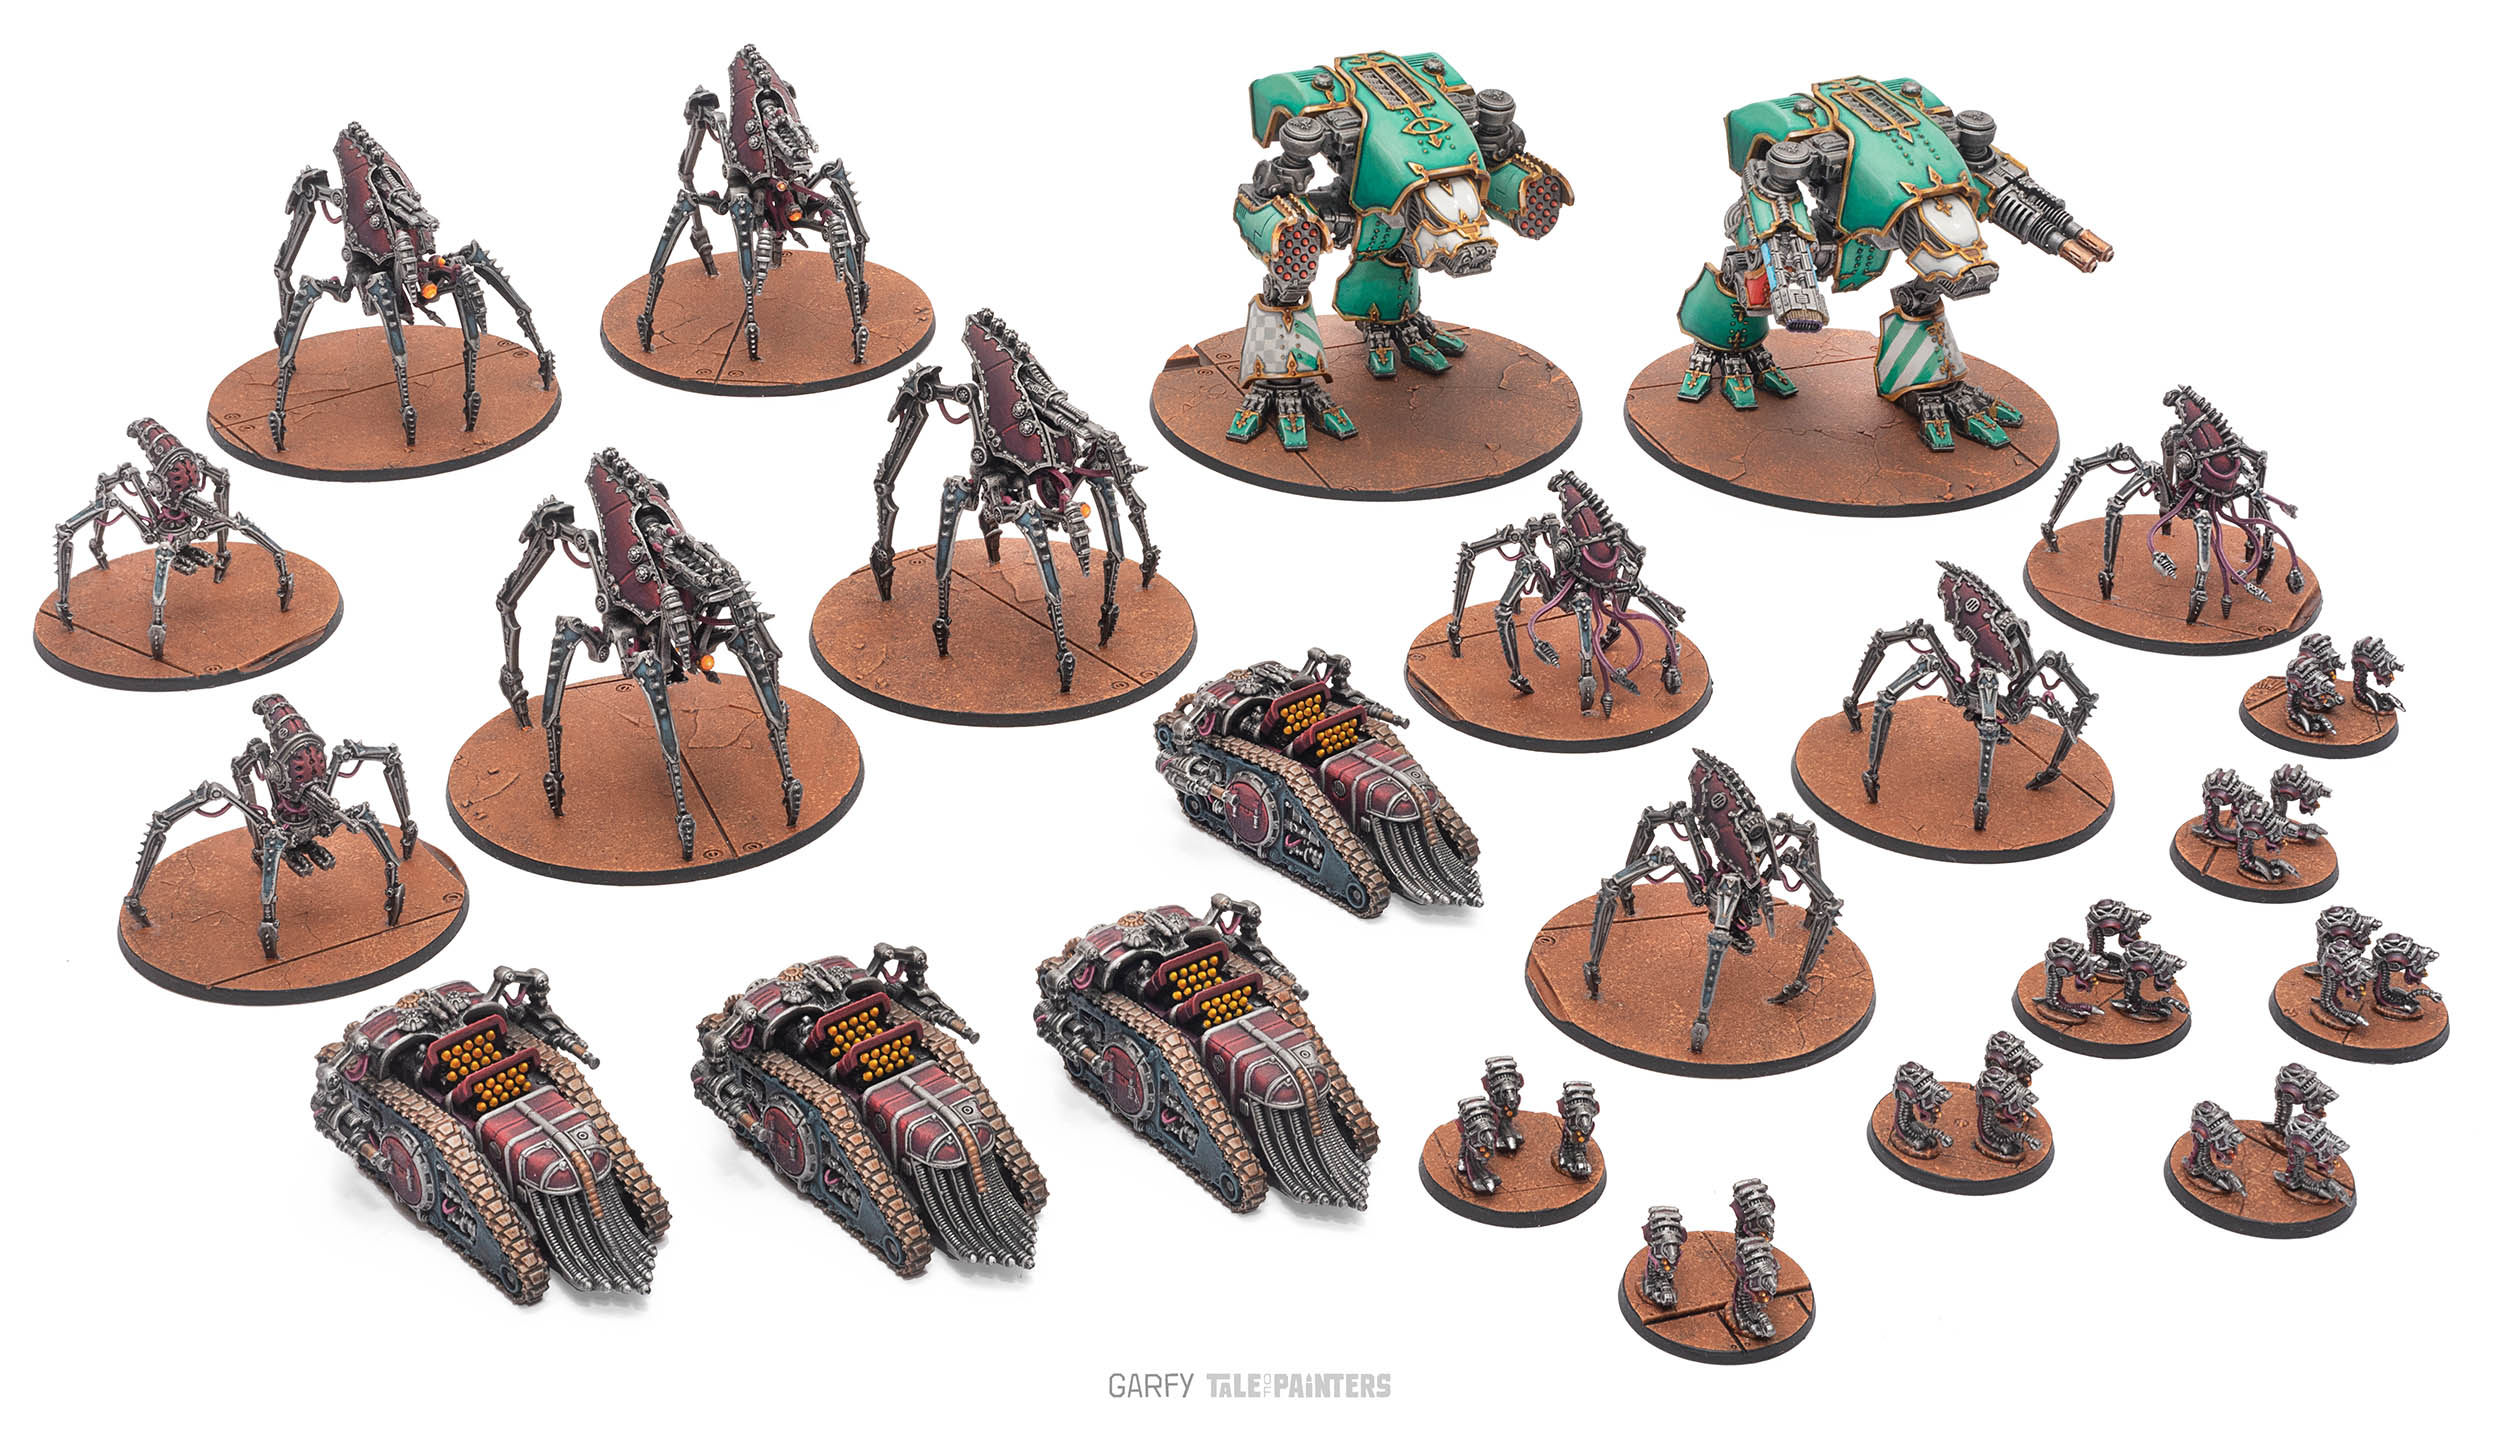
Here’s a picture of my Dark Mechanicum army to date. In a previous post I’ve mentioned how freeing the Dark Mech are to paint, such a new faction has very little in the way of official colour schemes, the ones I mainly see are black with gold trim. I like the colour scheme on mine, not boring black, but also not bright mechanicus red, somewhere inbetween. Are they good guys, are they bad guys? I like this ambiguity.
Painting my Dark Mechanicum models has really piqued my interest in the Horus Heresy now. I’m kinda giving it a second look. Maybe I’ll look into getting some of the 28mm heroic scale Horus Heresy models especially now we’ve seen the new Saturnine set.
