
In this post, I’ll show you how to paint your Blood Angels Space Marines in a scheme reminiscent to their vintage orangey armoured 1980s cousins. Perfect for Horus Heresy or Primaris Blood Angels armies. In just 24 easy to follow stages, you’ll learn how I highlight red, paint neat hazard stripes and more. Find out how in this painting guide.

This painting tutorial assumes you have a good understanding of how to paint Warhammer miniatures and understand terms like drybrushing for example. With each picture is the corresponding instruction. Each step shows the Citadel paint(s) I used. You’ll find a list of all the paints used in this tutorial at the end of the post.
How to paint Blood Angels
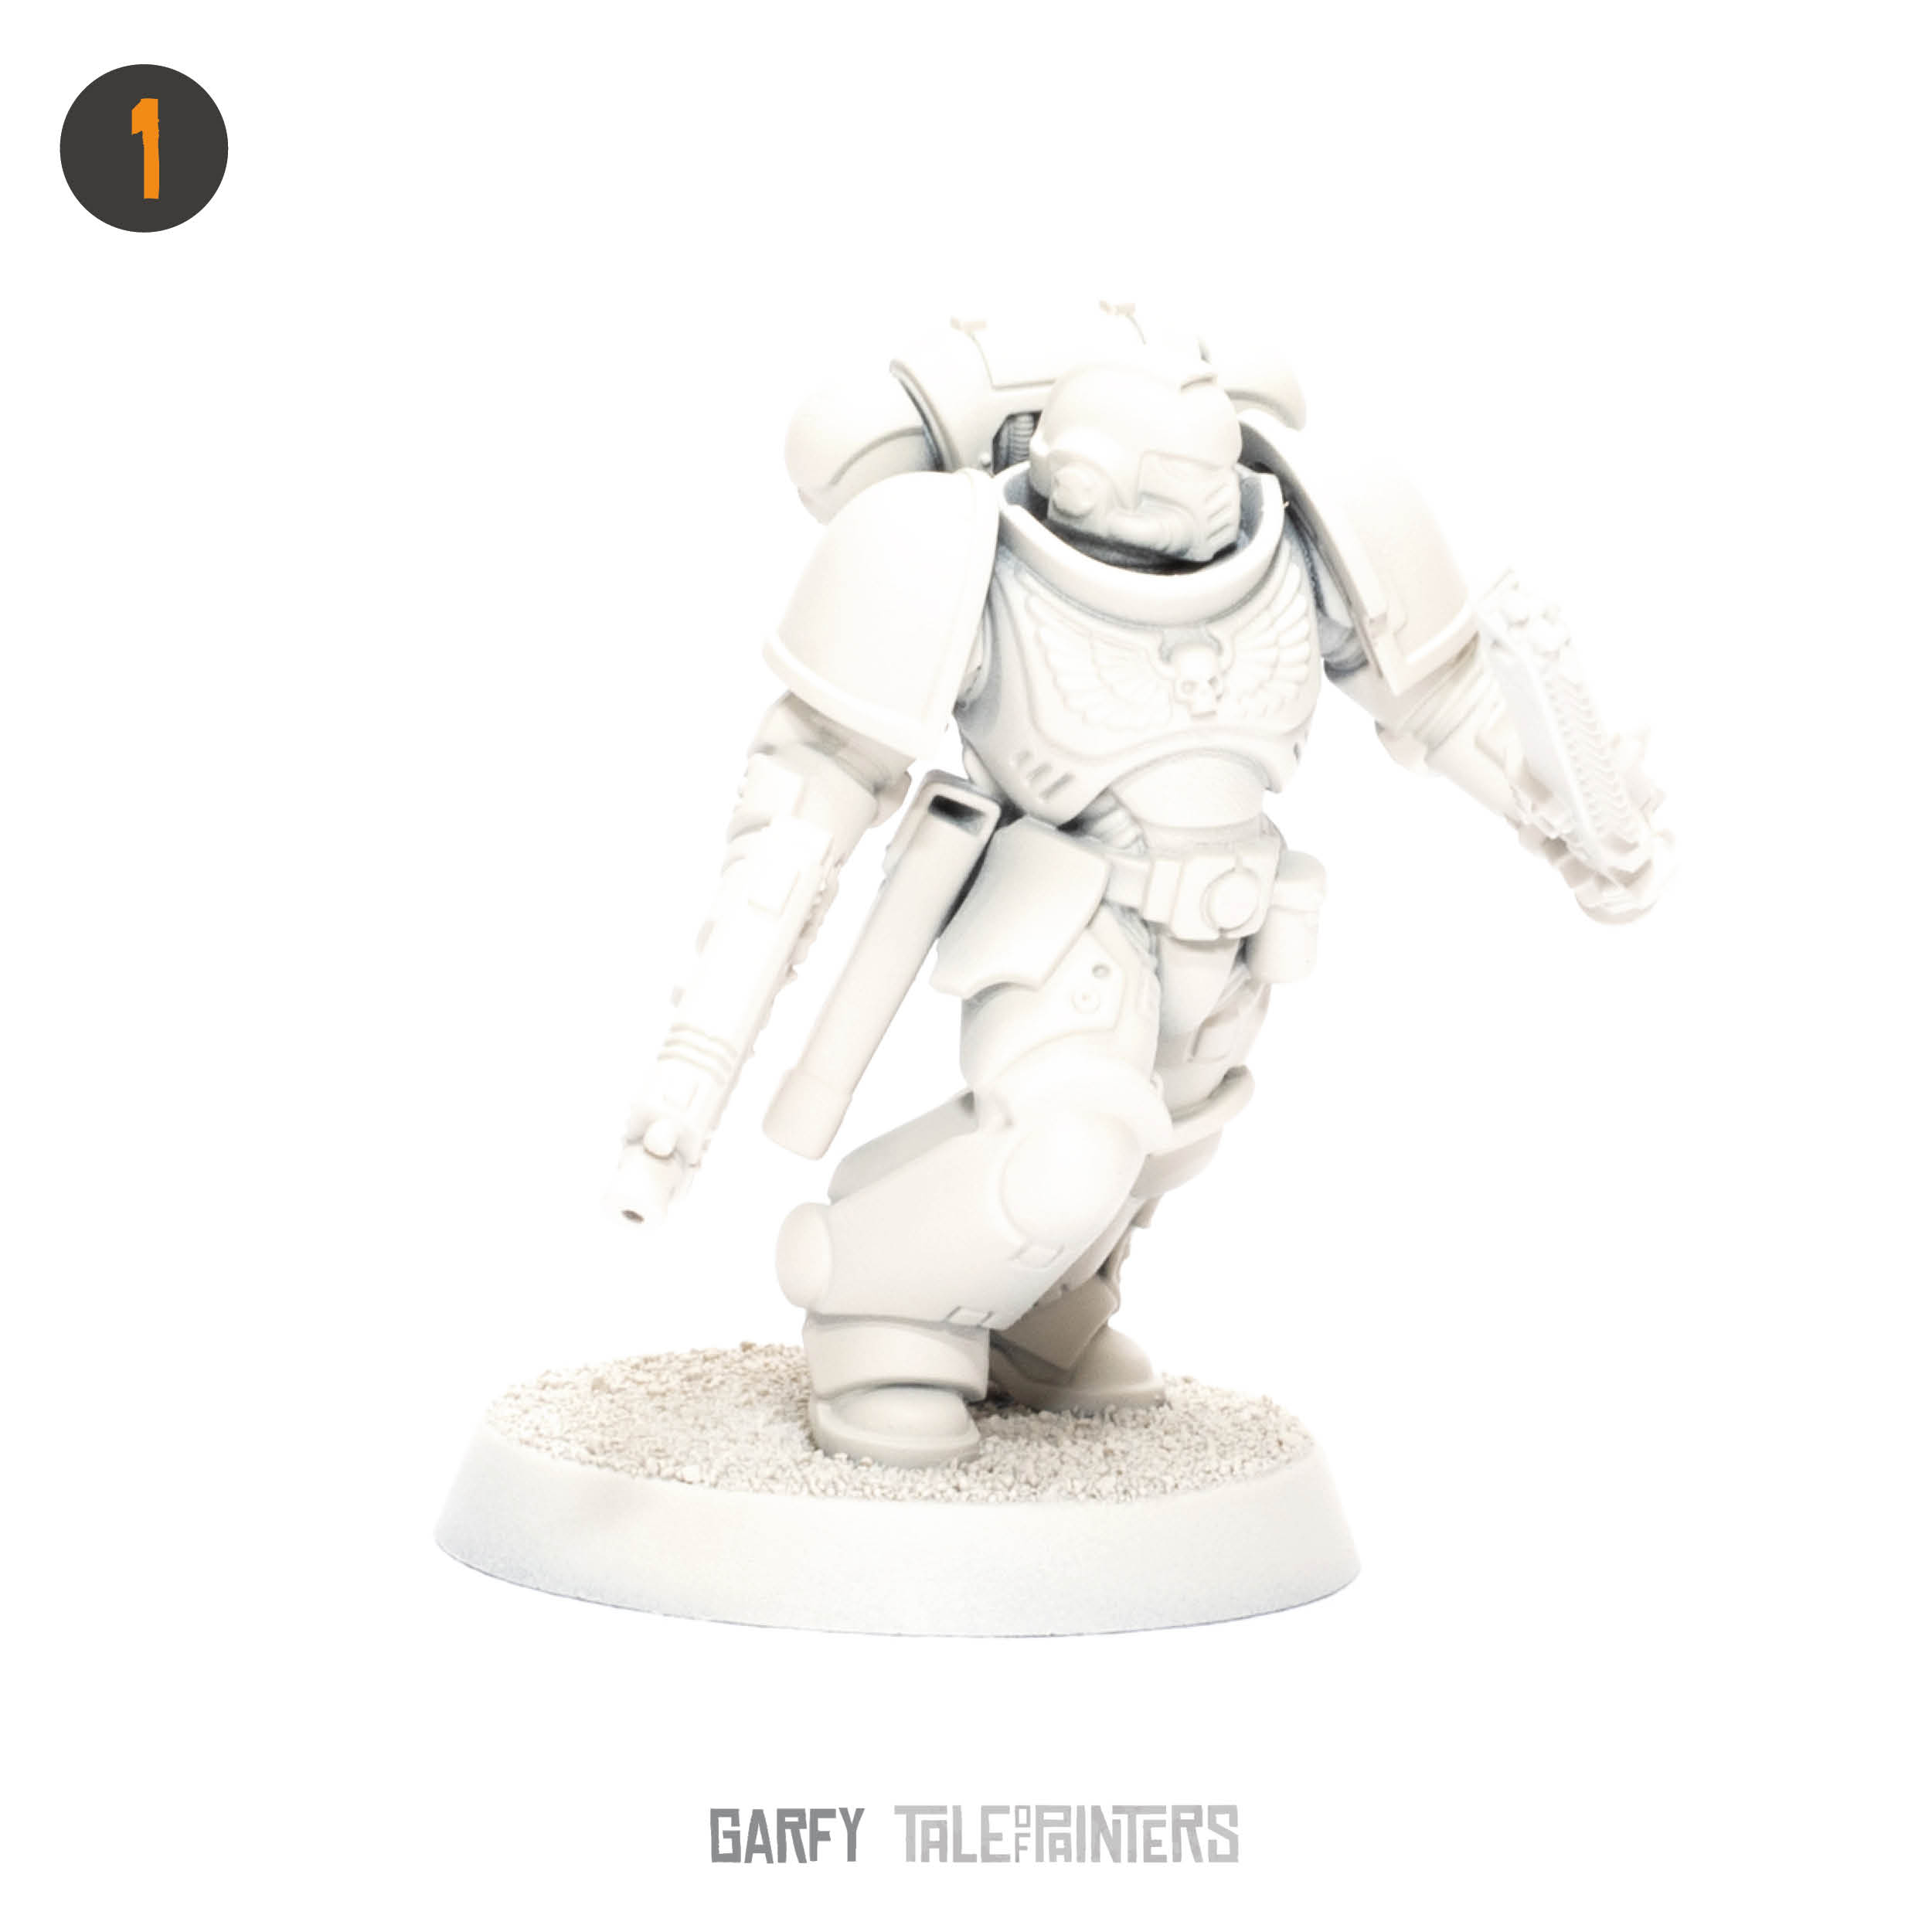
Undercoat your model with Wraithbone undercoat spray. You can use any white undercoat.
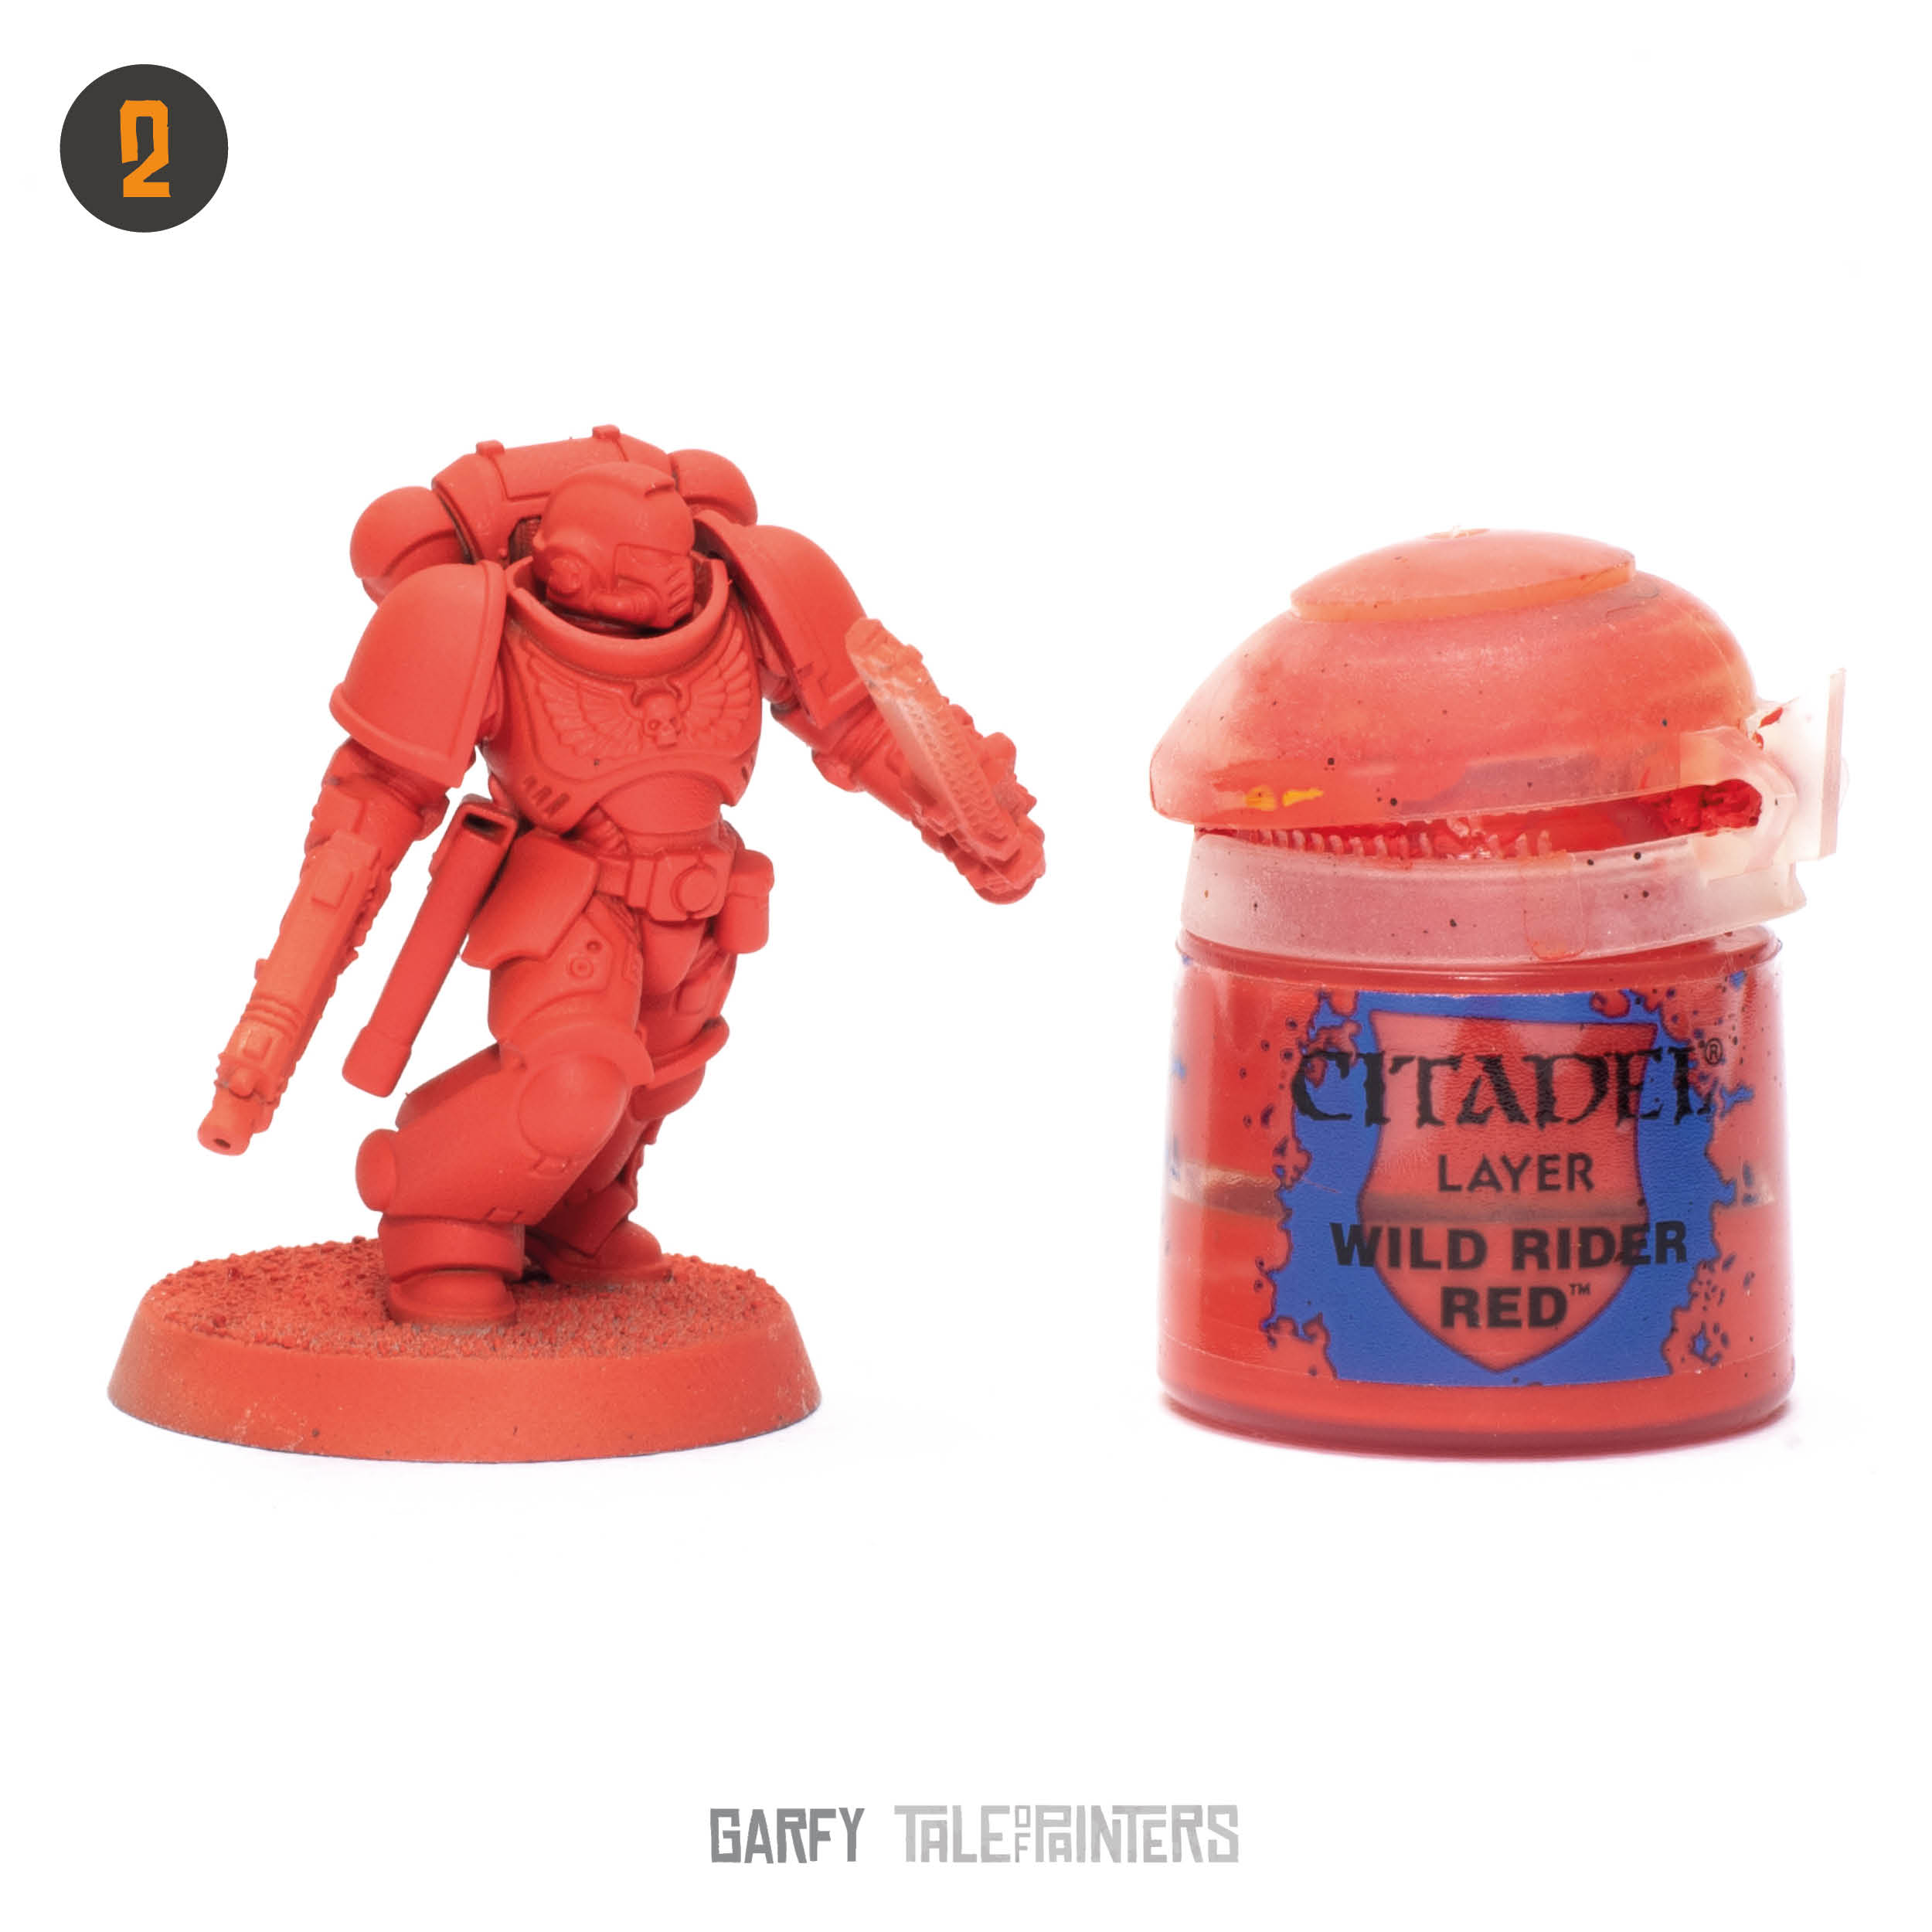
Thin some Wild Rider Red with water and apply 2 to 3 coats to the model using a large brush. I used my airbrush for this stage.

Mix 2 parts Lahmian Medium with 1 part Blood Angels Red contrast to create a glaze. Use this thin translucent glaze to shade the volumetric areas. For example the the lower curvature of the kneepad. Once dry, apply a second coat to increase the intensity of the shading.

The next step is to area highlight the upper rounded armour parts using Trollslayer Orange thinned with a little water. This is subtle and blends into the Wild Rider Red layer giving that nice vintage orangey hue.

Thin 1 part Word Bearers Red with 4 parts water and using a small brush carefully paint all the panel line recesses.

Thin Bestigor Flesh with a touch of water to make the paint easier to flow from the brushes but not too much that it’s runny and uncontrollable. Then, using a small brush carefully edge highlight the model with your thinnest lines.

Paint all the metal areas with a Leadbelcher. A touch of Lahmian Medium helps smooth out metallic paints and makes them easier to brush on.

Paint the belt, pouches and holster with Mournfang Brown.

Believe it or not, this pot is Contrast Wyldwood. Wash this over all the leather parts you just painted.

Thin Skrag Brown with a touch of water to make the paint easier to flow. Then, using a small brush carefully edge highlight the leather part with your thinnest lines. You can apply some cross hatch lines on the panels to look like worn leather texture.

Now the nerve wracking bit. Carefully paint Abaddon Black on the gun casing and shoulder trims. Take your time and try not to get any on the red armour. I also painted the icons freehand, but you can use decals at the end.

Paint a wide highlight of Eshin Grey on bolt gun’s edges. Paint the edges of the shoulder trim with Eshin Grey as well.

Thin Celestra Grey with a touch of water to make the paint easier to flow. Then, using a small brush carefully edge highlight the gun and shoulder trim.

Corax White is amazing but requires a little more looking after than other paints as it can become clumpy. I use an old brush to give my paint a store to make it all good. Thin with a little water and paint two coats on the helmet, chainsword, chest Aquila and knee pad.

Mix two parts Contrast Medium with 1 part Basilcanum Grey and wash the black and metal areas. Be careful not to get this on the white areas or red armour.

Apply a thin coat of Yriel Yellow to the helmet, chainsword, chest Aquila and knee pad.
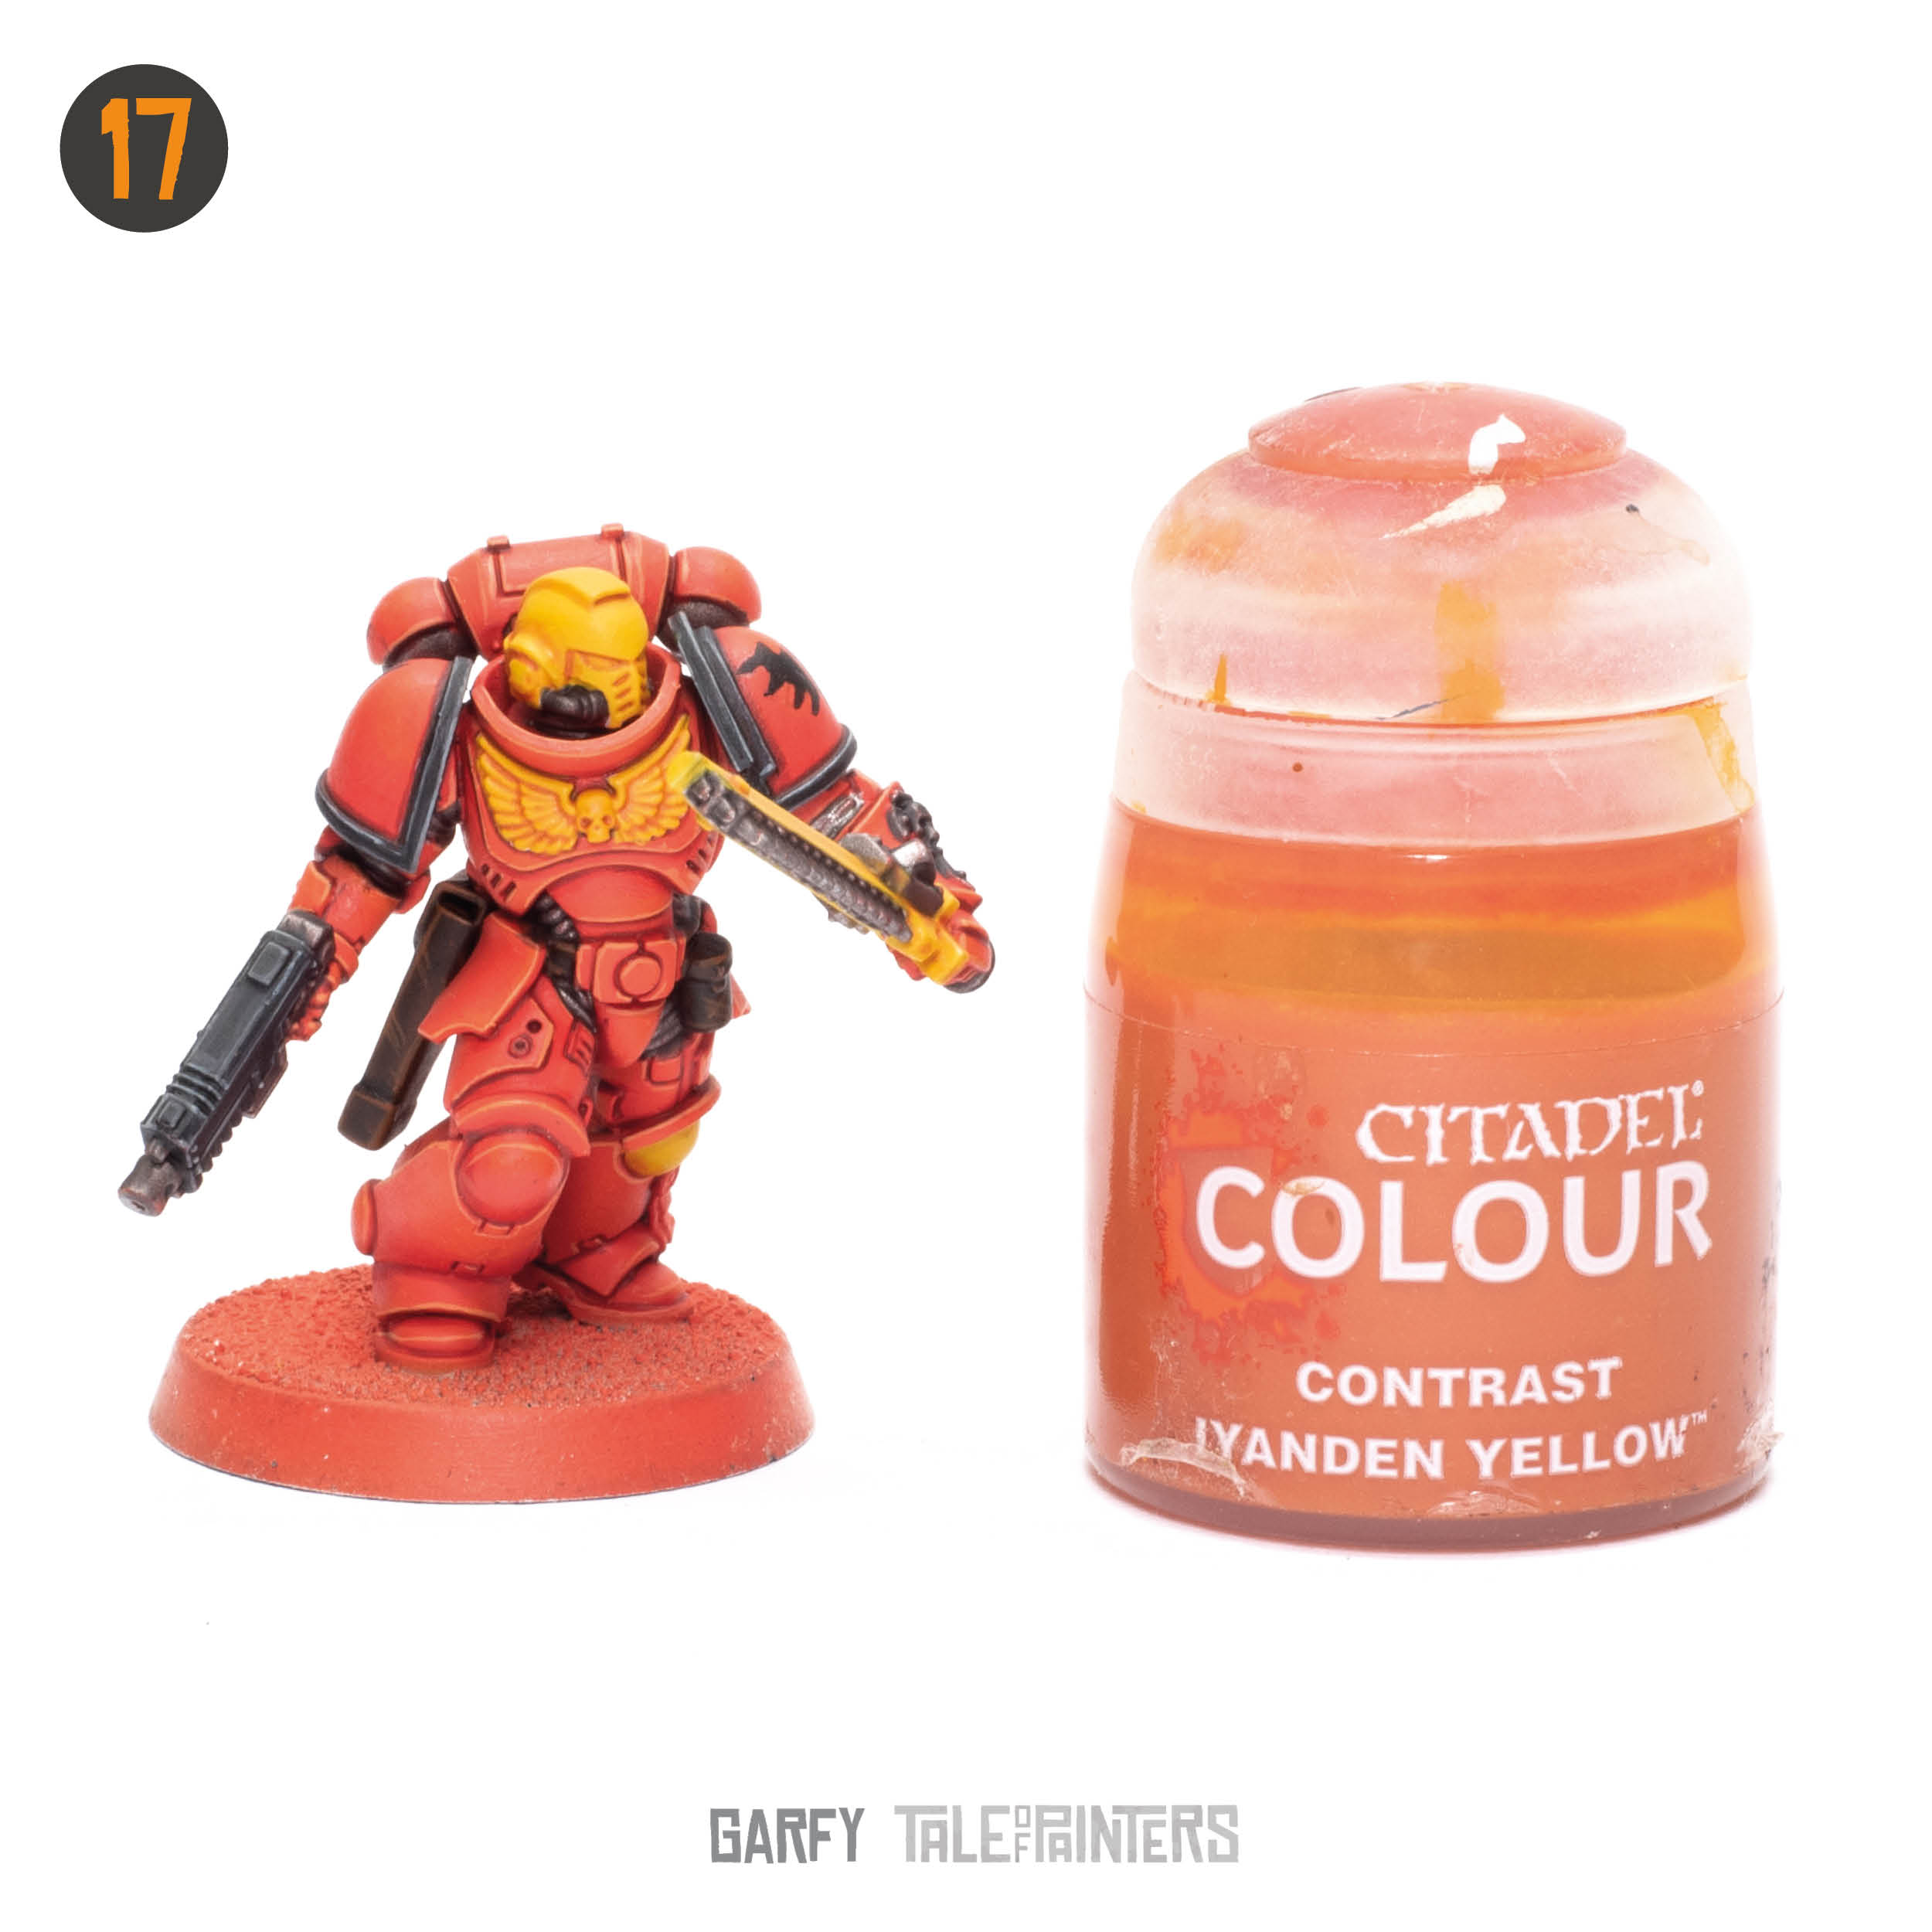
Wash the just the chest aquilla all over with Iyanden Yellow straight from the post. Then, using a small brush paint Iyanden Yellow in the recesses of the helmet and chainsword. Finally paint a thin area shade on the lower part of the knee and the chainsword body.

Apply a wide edge highlight to the chainsword and helmet. Carefully paint each feather on the aquilla. Area highlight the upper area of the kneepad and helmet forehead.

Edge highlight all the yellow areas with your thinnest Dorn Yellow lines.

We return to using Abaddon Black. First paint the purity seal and parchment we forgot to paint earlier. Now, using a pencil you whittled to a point with a knife carefully draw the lines parallel lines onto the chainsword blade. Ensuring the distance between the lines is equal. You can also draw the lightning symbol on the knee. Using thinned Abaddon Black paint the outlines you just drew first with a small brush and then fill them in with a larger brush.

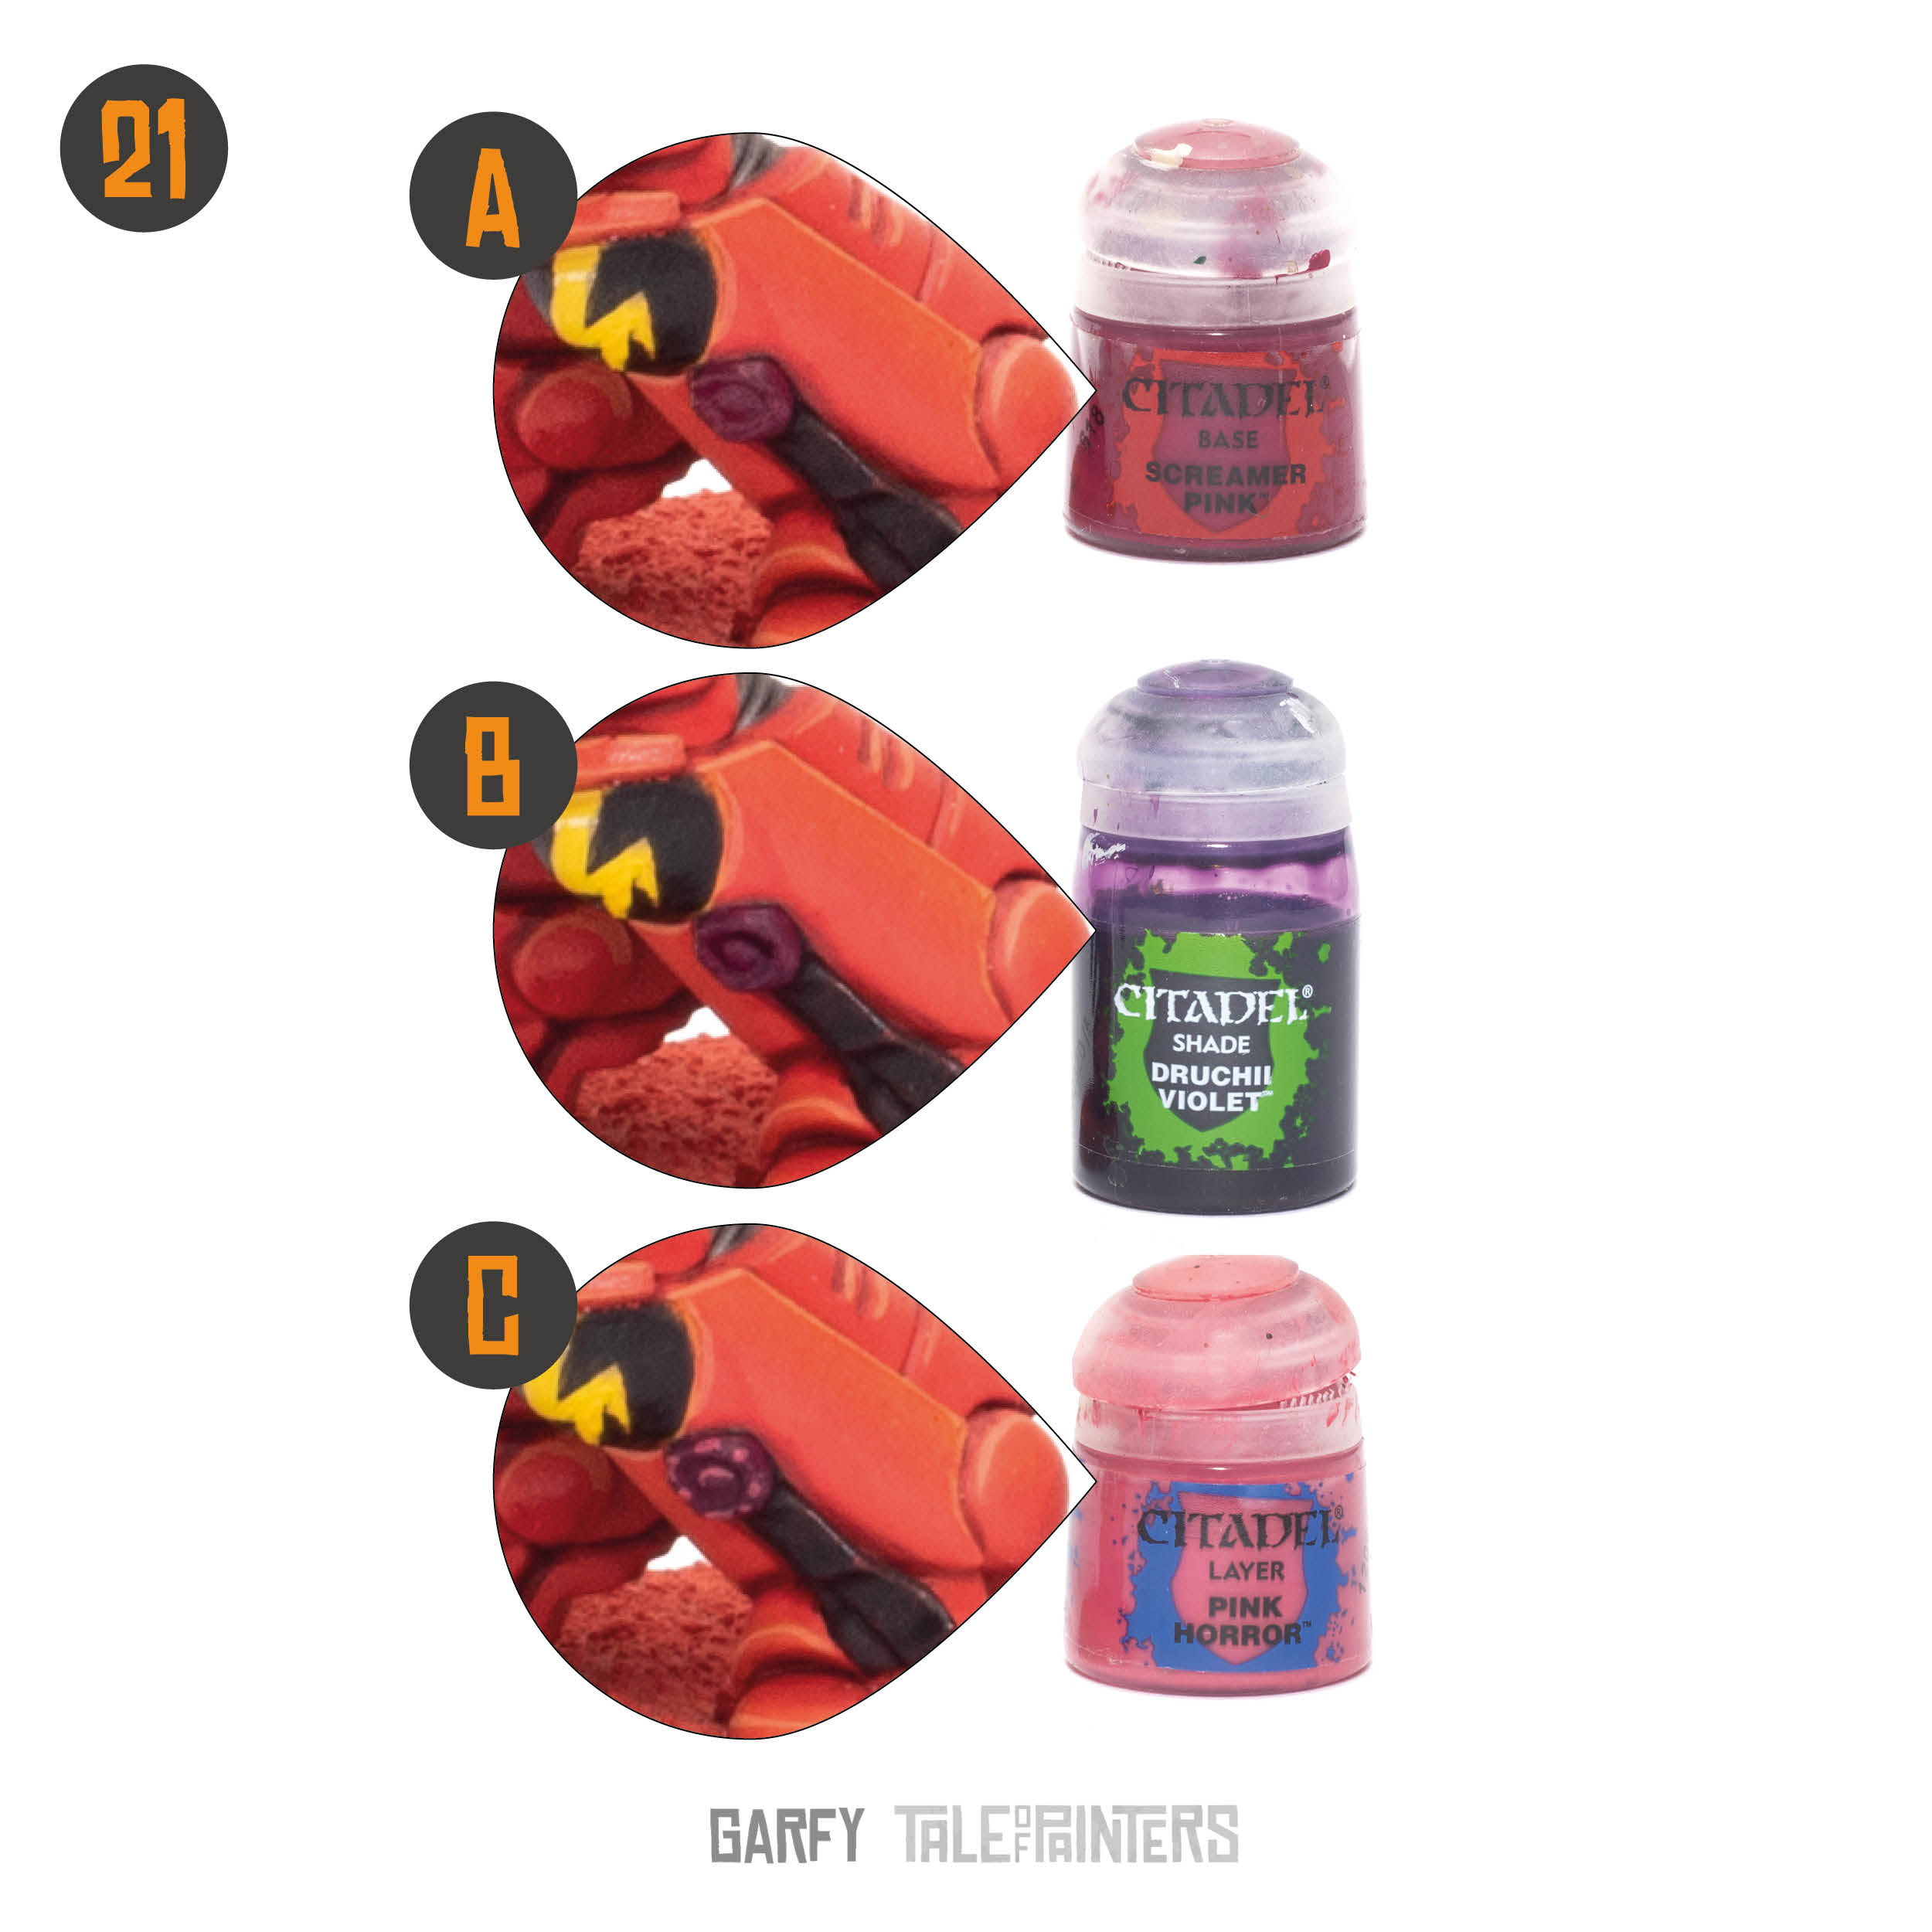
Wax Seal:
A. Basecoat with Screamer Pink.
B. Wash with Druchii Violet.
C. Edge highlight with Pink Horror.

Parchment Paper:
A. Basecoat Rakarth Flesh.
B. Wash with Seraphim Sepia.
C. Edge highlight with Grey Seer.

It was at this point I felt the metals needed to ‘pop’ so I added some Ironbreaker edge highlights to all the metal parts.

Green Eye Lenses:
A. Paint two thirds Warpstone Green leaving the corner closest to the ears as black.
B. Paint one third closest to the nose with Moot Green.
C. Paint a dot of Ulthuan Grey in the black corner and a tiny thin line of Ulthuan Grey in the corner nearest the nose.
The base rim is Steel Legion Drab. The sand is painted with Deathclaw Brown, dry brushed with Bestigor Flesh and then Screaming Skull.

Paints you will need for this tutorial:
- Wraithbone (spray)
- Wild Rider Red (layer)
- Blood Angels Red (contrast)
- Lahmian Medium (technical)
- Trollslayer Orange (layer)
- Word Bearers Red (layer)
- Bestigor Flesh (layer)
- Leadbelcher (base)
- Mournfang Brown (base)
- Wyldwood (contrast)
- Skrag Brown (layer)
- Abaddon Black (base)
- Eshin Grey (layer)
- Celestra Grey (base)
- Corax White (base)
- Basilicanum Grey (contrast)
- Contrast Medium (technical)
- Yriel Yellow (layer)
- Iyanden Yellow (contrast)
- Flash Gitz Yellow (layer)
- Dorn Yellow (layer)
- Screamer Pink (base)
- Druchii Violet (shade)
- Pink Horror (layer)
- Rakarth Flesh (base)
- Seraphim Sepia (shade)
- Grey Seer (base)
- Iron Breaker (layer)
- Warpstone (layer)
- Moot Green (layer)
- Ulthuan Grey (layer)
Paints you’ll need for the base:
- Steel Legion Drab (base)
- Deathclaw Brown (layer)
- Screaming Skull (layer)
If you need to expand your paint collection to follow the tutorial, check out our partner stores Wayland Games and Element Games, which offer an amazing range of paints at a discount.
Hope you enjoyed this tutorial. If so, leave a comment or reaction below, and if you got any questions, leave them here so I can answer them for you.
If you want to support me personally, please consider buying one of my products from ebay shop. Thank you.

3 Comments
Leave a Reply
Tale of Painters is the unofficial Warhammer hobby magazine run by hobbyists like you. Support our work by using the affiliate links from our 🇺🇸 / 🇨🇦 partner stores for your next orders so we can continue to bring you fantastic FREE content every day:


Or support us directly:


when I tried this they came out too orange
Step 4 does say it gives them an orangey feel. This is a vintage 80s inspired blood angel scheme.
I tried the 2:1 Lahmian / Blood angels contrast and found this left a white residue. I utilized water instead and this looked 10x better.