
Greetings Hobby Heroes! I hope you are enjoying your hobby journey so far this year. I continue to work on my Cadian Army during January and February because Garfy and I are running some fun 40K games with our painted models. We have run games at 1000 and 1650 points, and it will all come to a head in a larger 2000-point battle this March.
I’m super pleased with the army so far, and thought this would be a great opportunity to share some thoughts and examples of quick, effective ways to get your models looking like they have “been in the wars” on the tabletop.

I don’t want to sound like a broken record, but for me, the story and narrative of Warhammer 40,000 is the reason I love this specific hobby universe and setting so much. The Black Library novels and incredible artwork fuel my enthusiasm and motivation to bring my hobby projects to life.
My approach to battle damage
My take on battle damage starts with the simple premise that “less is more.” When we think of battle damage, the temptation can often be to really go to town and cover our models in rust, paint chips, scratches, etc. Don’t get me wrong—if you like this, go ahead and fill your boots! However, I find that with too much battle damage, a model can look like it belongs in the scrap heap or morgue rather than on the battlefield.
What we want to aim for is a happy medium: the model needs to look like it has seen some action and not just rolled out of the showroom. My Guard tanks feel like a good place to walk through some ideas and approaches.
The Chimera
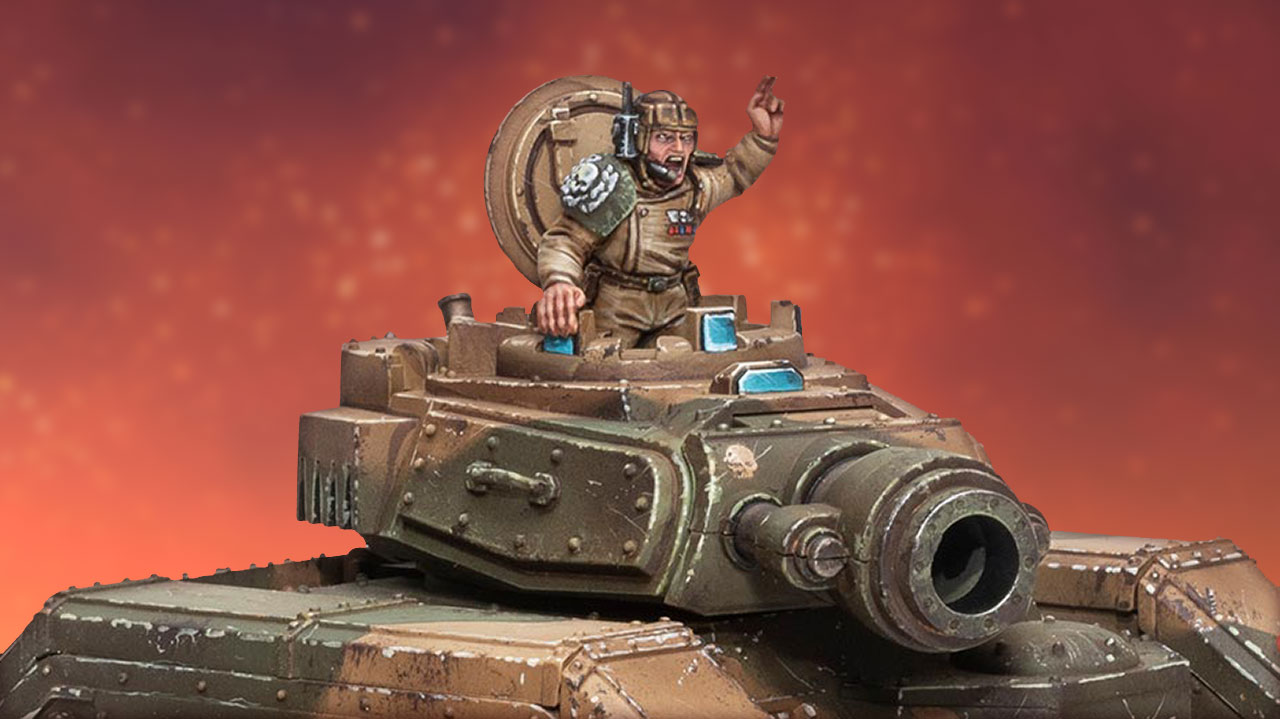
Let’s take one of my Chimeras as an example.

As you can see, there are plenty of chips, scratches, and some weathering on the tracks and guns. This tank is in the field, and I wanted to convey this look when it’s on the tabletop. There are plenty of great tutorials on how to do battle damage, but I wanted to focus my article on thinking about scale and how we, as modelers, can “sell” effects to the viewer.
What I mean by this is that the actual execution of the brush stroke or sponging of the damage/chips can be done to taste. However, when you are applying the damage, try to think about where this damage might happen the most. What are the areas of the model that would be most exposed to wear and tear on the battlefield? Then, think about what object or weapon would have caused this damage.

For example, was it an obstacle or terrain that caused the damage, or was it an enemy weapon? Once you can visualize this in your mind, the scale of the damage you are looking to apply will become clearer. You then have the advantage of choosing what tool to apply the damage with and at what scale. So, let’s take a look at some examples:
Example 1: Fine scratch
In the example photo below, we can see a bullet or stray bit of shrapnel has just zipped along the paintwork. This was done by using a very fine brush and applying thinned paint. To achieve this look, pull the brush in the direction that you imagine the bullet/shrapnel initially hit the tank. The paint will naturally build up more at the point you remove the brush after the stroke. This way, the impact point of the battle damage has the largest amount of paint applied, simply by the action of the brush direction. The point to note here is that we avoid thick scratches and add detail that “sells” the scale of the damage and the type of damage we are trying to convey to the viewer.

Example 2: Dents and chips
In the example photo below, you can see where an object has physically hit the tank on its turret edge. The damage has dented and chipped the armor, possibly even causing rust or deeper damage as the battle rages on. A larger brush or sponge can be used to apply this damage. However, my advice if using a sponge/larger brush is to apply less at first and then go back and apply more if you are not happy with the damage. If you apply a large volume of paint (dent) initially, it can detract the viewer’s attention from the other hard work and time spent on your paint job.

Example 3: Dust/dirt
Pigment powders are a great way to apply a dusty, weathered, muddy look to models with very little effort. The natural properties of the pigment provide the effect well and, most importantly, at the scale we want to sell the effect. A great guide and explanation of this effect can be found in Garfy’s Necromunda Ridge Hauler article here.

As above, apply less NOT more. The temptation is to shove it all over everything. This is a double negative, as firstly it will cover the paint work you have already spent time on and secondly loses the immersion of the piece, making it harder for the viewer to make out detail and scale.
So, there you have it. Painting, for me, is about telling stories in miniature form. Hopefully, this has given you some food for thought on your approach to weathering your models moving forward. I look forward to seeing your models soon!
3 Comments
Leave a Reply
Tale of Painters is the unofficial Warhammer hobby magazine run by hobbyists like you. Support our work by using the affiliate links from our partner stores for your next orders so we can continue to bring you fantastic FREE content every day:


![]()
![]()
Or support us directly:


Amazing paint jobs!
Great article! Also, very nice lenses on those vision blocks.
Thank you! Appreciate the positive feedback 💪