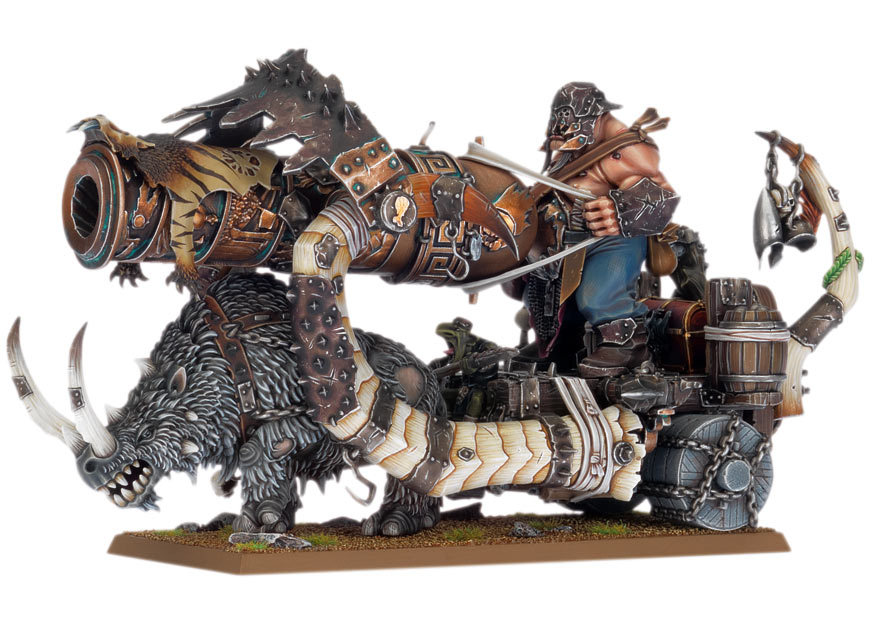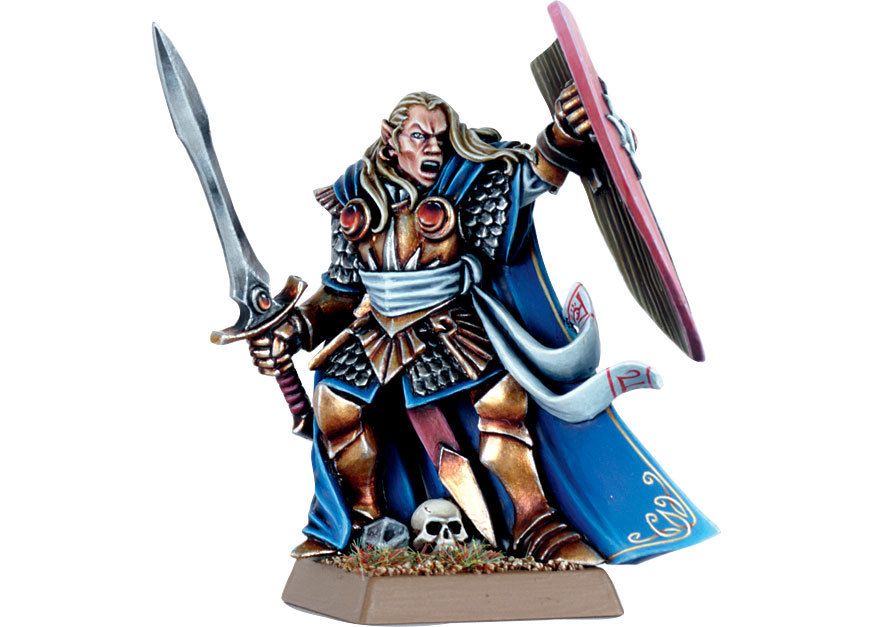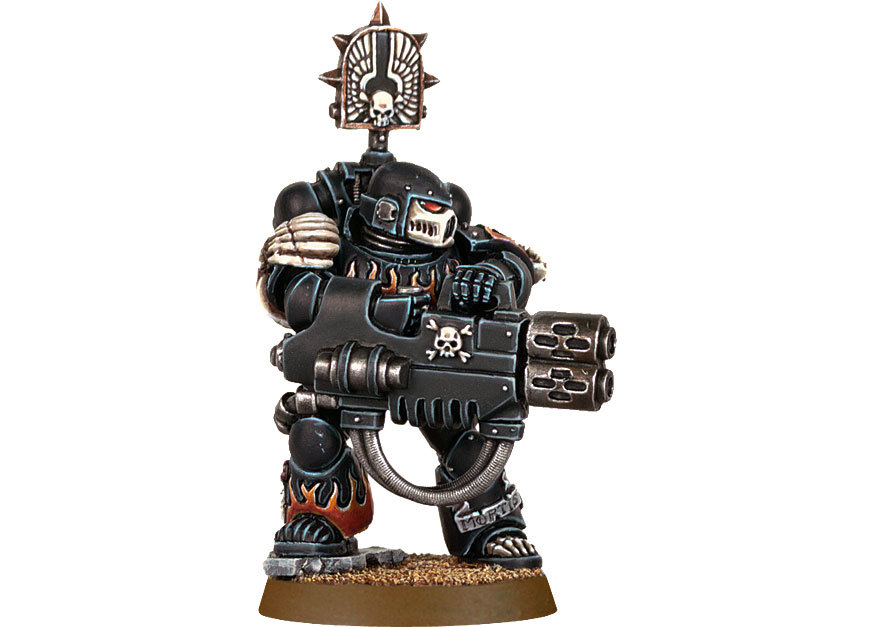

Hey guys, this is a is a guest post from our mate Marked_by_Chaos (a.k.a. James) on Warseer. He attended the ‘Eavy Metal Masterclass at Warhammer World and noted as much painting advice down as possible, straight from the mouthes of the ‘Eavy Metal team. This is a must-read for any serious painter! Now, over to Marked_by_Chaos…
Although competent I will not pretend to be a great painter like the guys on here and have not yet got round to starting a blog. I have collected most GW game systems including the specialist games at some point over the last 20 odd years, although I mainly collect Warriors of Chaos and Ultramarines.
In January of this year I attended the ‘Eavy Metal Masterclass (Dark Eldar Wyches) at Warhammer World and tried to note down as much as possible of the hints and tips provided by the ‘Eavy Metal painters on the day. It was a very enjoyable day and well worth attending for those who might be interested. I would wholeheartedly recommend these events to others. The ‘Eavy Metal team imparted a lot of information which should be of use to all those interested in the ‘Eavy Metal style of painting, be they experienced or aspiring painters.
General tips
Think thin. Use a thin consistency of paint that is perhaps best described as slightly thicker than milk. To aspire to the ‘Eavy Metal standard you need to build up the paint in multiple thin layers to achieve a smooth effect with good coverage. You can use a hairdryer (on not too high a heat) to dry out these thin coats in order to speed up the process and when doing so the extra layers really don’t take up that much time (although you can’t use a hairdryer for washes as that will ruin the effect).
Consider using glazes to add depth and richness of colour. The ‘Eavy Metal team make broad use of glazes. This typically involves using watered down paint with a few drops of an appropriate citadel wash or matt (or glaze) medium. This helps break surface tension and assists the glaze to flow into the recesses of the model and add a controlled depth of colour. When applying glazes think in terms of brushing toward the recesses of the model, in order to aid the flow of the glaze into the recesses. This also helps to prevent excess staining of the raised areas. As an alternative to highlighting from darker to lighter, consider glazing down areas from a lighter colour. An example given by the ‘Eavy Metal team was the armour on the latest studio Ogre Kingdoms army which apparently started with a lighter colour (I believe Chainmail was the example) and was glazed down in various stages, including stages with colours such as red in order to add colour tints).


When highlighting do not be afraid to highlight right up to close to pure white on the most prominent and reflective points of the model (although don’t overdo it). You would be surprised how far even off-white is from very light shades of other colours when you are finished. When you look at the ‘Eavy Metal models you will notice that the colour on the model is often conveyed more by the residual mid and base tones than the highlights. Equally, when you paint up in stages from base tone to mid tone through to highlights you will be surprised that even where the base coat seems too light at first (i.e. dark angels green) it will seem a lot darker when you add the appropriate shade/glaze for contrast and highlight up to the extreme ‘Eavy Metal style final highlights.
Although the stages in some of the ‘Eavy Metal Masterclass articles might seem fiddly and unnecessary to some, the team consciously try to avoid pointless additional stages. When painting models consider whether any stage will add a discernible change of tone, hue, depth etc. If the stage will merely be wiped out by a subsequent stage or be barely noticeable then do not bother with it. Think about the stages in advance and try to avoid unnecessary stages.
Although washes or shades can be a great tool, think about their qualities and do not overuse them in preference to paint glazes. The ‘Eavy metal team seem to make sparing use of black washes or shades. For dark shading the team often prefer watered down black glazes. This is partly to avoid the very matt effect of the washes when it is not wanted. Less stark brown washes are popular such as Devlan Mud (or Agrax Earthshade). Particular care should be taken with metallic areas as although these are often seemingly ideal areas for washes, as washes often have a matt effect that can kill the shine of the metallic pigments if used excessively; and for example make the gold areas look more yellow or steel areas look grey.
When painting layered highlights do not be too conservative concerning the area covered by the initial highlight stages. Do not make the bands of highlight colour too thin as you need to keep some of the underlying highlights visible when painting subsequent highlight layers. It can help to move down brush sizes for subsequent highlights so that it is easier to paint subsequent highlights within the previous stages rather than covering them up entirely.
General stages for painting
Although the nature of individual models may require particular stages of painting, there appears to be a basic series of stages adopted by the ‘Eavy metal team:
1.
Base coat
2.
Use a glaze to shade and add depth
3.
Use a focused darker wash in the most prominent depressions (particularly for faces etc. – can skip for certain areas where stage 2 is sufficient)
4.
Re-apply the base coat on the raised areas (depending on the type of area being painted you might skip to stage 5)
5.
Apply the mid-tone (often a lighter shade of the base coat)
6.
Apply highlight
7.
Use a wash or glaze sparingly to add colour hue or to knock back transitions between highlights, i.e. where painting red and the highlights have created a pink or orange impression or with black where excessive highlights may create a grey feel.
8.
Final and lightest highlight – often close to or pure white.
Painting white
Pure white highlights can be chalky so take care. Watering down too much can actually increase the chalky effect. Only use pure white very sparingly on the most reflective points and sharp edges. For many highlights it may be preferable stopping at off-white colours such as space wolves grey or bleached bone, possibly with some extra white mixed in.


For painting white areas in the classic ‘Eavy Metal style you can start with an astronomicon grey basecoat (or equivalent) and add progressively more white. However, the ‘Eavy Metal team tend to avoid painting up to pure white when painting white and prefer to leave the top highlight as a slightly off colour. This may be for photogenic reasons.
Painting black
For a classic ‘Eavy Metal (blue/black) style do not start with a pure black basecoat. Use a dark to very dark blue (i.e. 50/50 regal blue and chaos black). Then shade down the area with a chaos black glaze into the recesses to create depth. You can then re-apply a thin coat of the base coat to the more prominent areas.


For the next stage add a little space wolves grey or similar off-white colour to the earlier mix and paint on the most raised or reflective areas. For the final stages paint a very fine highlight of pure space wolves grey (very sparingly) on sharpest edges and most reflective areas. Use the highlights sparingly to avoid the loss of the black effect. The new citadel paints seem to incorporate these stages and the blue/black progression they have created appears to be based on this concept although you would need to go up to a lighter highlight stage for the final highlights.
Thanks Marked_by_Chaos for these invaluable notes! Disclaimer: Models painted by the ‘Eavy Metal team/Games Workshop. Pictures used without permission.
Stay tuned for part 2 with even more advice straight from the ‘Eavy Metal team!
Do you like our tutorials and reviews? Here is what you can do to support us: Disable your Ad Blocker or place your next Wayland Games order by clicking here or on the banner on the right. Thank you very much, we appreciate any help to keep us going!


Hi!
">
Did you ever do Part 2??
I love it!! 'Eavy metal inspires me to no end, and vow to join them. I have been a hobbyist for now 5 years!! I have a long way to go, but i will give my all. : D
RE: Flags
What you need to do is join the dots! It's very simple- imagine the letter you are doing is a T, as in TERRA. Paint tiny dots at the start and finish of the horizontal bar and the bottom of the vertical one, then join them up. This works for all letters, although admittedly it is harder with curved shapes.
When I'm freehanding stuff like that I do the design in a black or brown wash first, to make sure i get it right- if it's wrong a wash won't leave as big a mess if it has to be wiped off or painted over.
Another tip is when you are painting a phrase, start with the first letter in its correct place, then the last letter at the other end of the banner, then the second letter, and so on. For example, for FENRIS on my wolves I paint the F, then S, then E and so on. This helps to get the size and placing of the letters correct, meaning you don't run out of banner before you've finished your phrase.
Trust me, I know my shit 😛
HOW THE FUCK DO YOU DO LETTERING ON FLAGS?! THIS IS DRIVING ME NUTS!!!
Awesome article! Thanks!
Can't wait for part 2. Two thumbs up for the post!
Great article. I am waiting for more. I do hope that you might mention where I can learn more how to paint the details on cloaks (like that High Elf model).
fantastic! Seems they focus on glazes a lot, which makes sense.
Ever since they stopped any sort of Masterclass articles in WD (I still haven't forgiven them for that) any such information is good.
I hope someone knocks some sense into the WD editor (or whoever it is that might make a change) to bring back articles focusing on the more advanced techniques and tutorials than their typical 4-stage guides.
thx a bunch and waiting for part 2!
Great article. Eagerly awaiting part 2!
Good stuff…I'll definitely be checking out part 2. Now to click some banners…
This is a great read, and definitely something that I'll be coming back to when I want to use these techniques. Thanks a lot!
Very informative. I've always wondered what they taught you at their seminars.
Very nice little review, inspiring stuff!