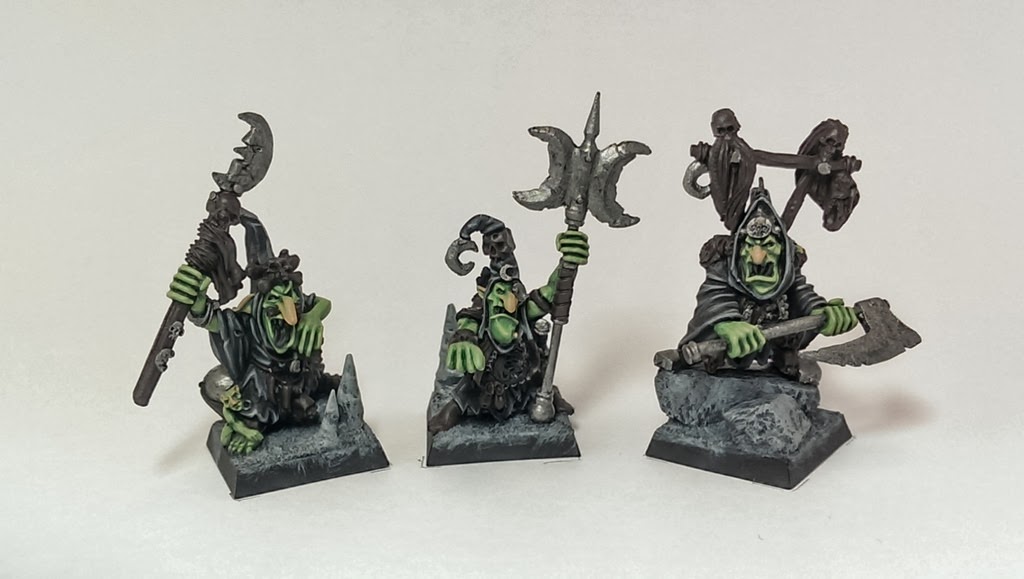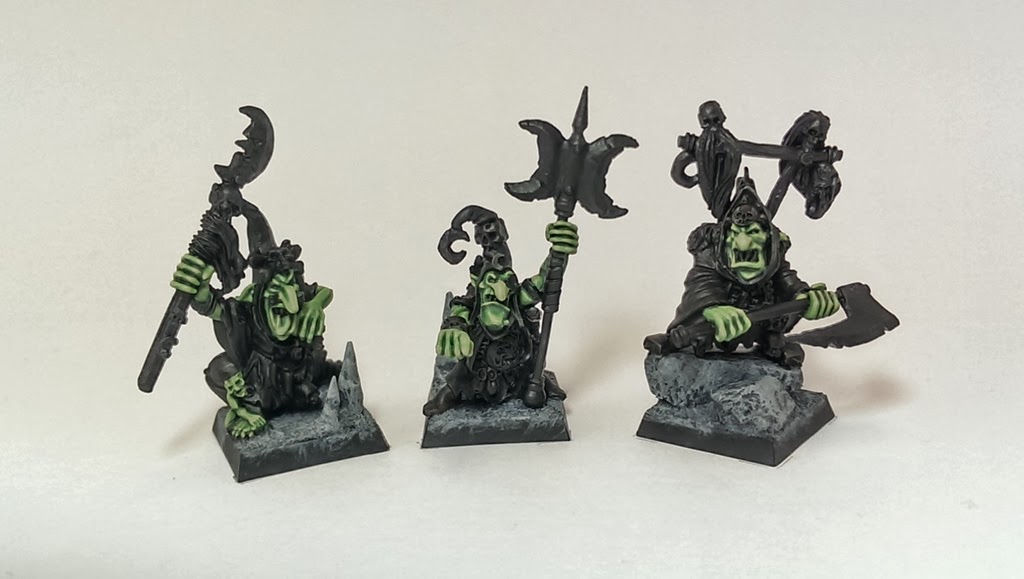

I have been pleasantly surprised by the number of emails and comments I have received asking for a tutorial on how I paint my Night Goblins and their skin. Since I was going to finish these guys up to take to the Las Vegas Open it is the perfect opportunity to try my hand at a tutorial. Just one problem, the picture above shows the work I did on them several months ago. So, a couple coats of thin Baddab Black and I would be ready to start again.
When I did the rest of the army I always started with painting the bases so I didn’t bother blacking those out. The are just a simple dry brushing anyways … nothing to see here, move along.


The photo below shows the paints used to achieve my scheme. Waaagh! Flesh > Warboss Green > Skarsnik Green > Nurgling Green > Kislev Flesh > Cadian Fleshtone. The last two are optional if you don’t like the ruddy look. Swap them for Screaming Skull or Pallid Wych Flesh. For all of this I use a #2 W&N Series 7 brush and paint straight from the pot with a wet brush. I add water to my pots to keep them thinner than they come when new off the shelf.
In case you need to expand your paint collection, head over to Wayland Games or Slave to Painting, which both stock a huge selection of paints at competitive prices.


First up is the Waaagh! Flesh. Cover all areas of skin completely with it.


Next is the Warboss Green. This is painted on all but the deepest recesses and folds.


Skarsnik Green is added to raised areas or those that would be in direct light. Avoid areas between muscles like those in the faces and tendons like those in the hands.


Nurgling Green is the main highlight. In the faces get the noses, lips, tip of the chin, eye brows, tips of the ears and cheekbones. For the hands hit each knuckle and finger tip. Then if any muscles need a touch as well do so.


These next two steps will do a hue shift and the resulting contrast really bring the models to life and draws the eye. Again, this step is subjective and if you don’t like the red noses just do one final highlight with Screaming Skull. Screaming Skull has just enough yellow in it to warm-up the flesh while still keeping it decidedly green. If you do like the ruddy bits then start with Kislev Flesh and hit the noses, lips, ear tips and knuckles and/or finger tips with it.


Then finally one last touch with Cadian Fleshtone on the noses, ear tips and lips. I usually don’t add this to the knuckles or finger tips. Having it only on or around the faces draws the eye there.


There you have it, Goblin skin my way. If you have any questions don’t hesitate to ask. In “Part 2” I will cover the second most common question, how I paint the robes.
Do you like our tutorials and reviews? Here is what you can do to support us: Check out the websites of our sponsors, place your next orders at Wayland Games by clicking here or on the banner on the right. Thank you very much, we appreciate any help to keep us going.


Very informative guys. Many thanks.
Awesome tutorial. You just inspired me to bring my old goblin army back to the battlefield 🙂
Fantastic! Thanks Xoxtile!
For those of you interested, Ricky / Xoxtile also talks about how he blends the paint for Goblin flesh (among other things) in the second episode of the Dimensional Cascade podcast.
It looks like the 6th pic that shows the Cadian Fleshtone fell off. I will see about getting that reposted.
Fixed it … with out breaking the internet too 🙂
Thanks for sharing with us 🙂
I'm kinda interested in where you'll go with savage orcs (assuming you pick them up ofc)
@Eldorad http://taleofpainters.blogspot.co.uk/2013/12/wip-lizardmen-skinks.html the colours used are on that update (been keeping an eye on them too)
Did you use similar colours for your skinks? Great tutorial.
The Skinks are intended to be a more "natural" color. You can use the link that Stunty posted below to see how it lays down but this is the scheme. Castellan Green > Death World Forest > Elysian Green > Ogryn Camo > Kislev Flesh > Cadian Fleshtone