

I’m planning something a little bit more special for my scouts led by Telion. This will involve sculpting some kneepads, sleeping bags and raised ‘U’ symbols. IN this guide I will show you how I sculpted the one above. It’s really simple, honest.
Before you start, mix some greenstuff. I always cut out the strip of putty where the yellow meets the blue, because this has already hardened and you don’t want to mix it into your fresh greenstuff.

Stage 1. Roll out a small ball and stick it to the centre of the area you wish the ‘U’ appear.
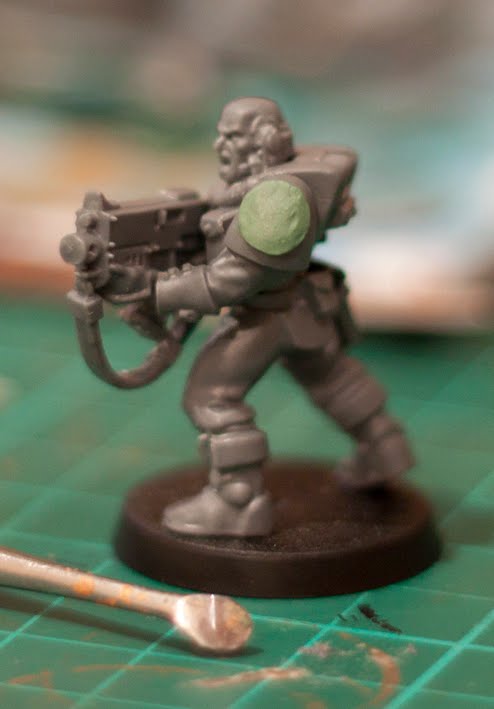
Stage 2. Using a small round ended sculpting tool squish the ball into a flat disc. Dip your tool into water to stop it sticking to the greenstuff.
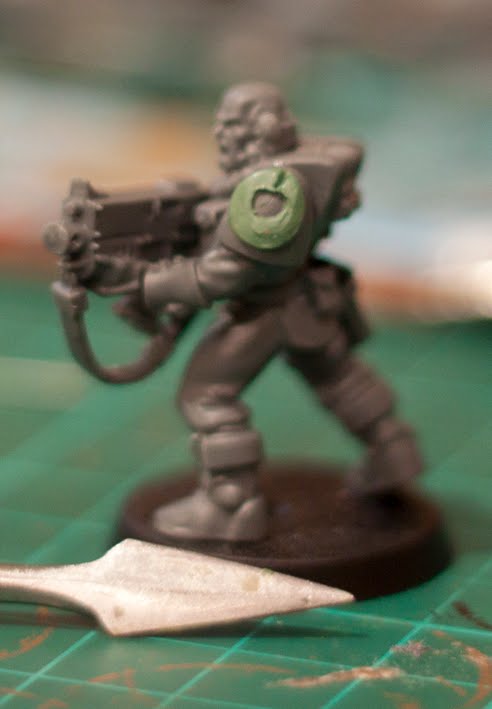
Stage 3. Using a pointy tool with a thin edge mark out the inner circle and scrap it out. Then using the flat edge add a vertical line as per the image above.

Stage 4. Continuing to use the pointy flat edge tool, press a couple of horizontal lines into the greenstuff at the top of the circle to create a rough U shape
Stage 5. Finally refine the shape using the flat of the tool by pushing the top flat and then tidying the edges to make it have a crisper edge.
That’s it, I told you it was simple. The one in the pictures is only the second one I’ve ever produced and I’m a complete amateur when it comes to sculpting. Go on, give it a try and post your results in the comments.
Do you like our tutorials and reviews? Here is what you can do to support us: Disable your Ad Blocker or place your next Wayland Games order by clicking here or on the banner on the right. Thank you very much, we appreciate any help to keep us going!

3 Comments
Leave a Reply
Tale of Painters is the unofficial Warhammer hobby magazine run by hobbyists like you. Support our work by using the affiliate links from our 🇺🇸 / 🇨🇦 partner stores for your next orders so we can continue to bring you fantastic FREE content every day:


Or support us directly:


Looks nice. I'd bet if you let it cure and then lightly sanded the GS smooth, it'd look just about perfect.
Another good item for lubricating your sculpting tools is Chapstick. I use an old stick I put through the washer and dryer. Works really well.
But don't leave the lotion near your bed table, might earn you some strange looks 😉
Another trick that I use to make sure that my green stuff doesn't stick is to apply some petroleum based, non-scented lotion to my tools. Not a lot, but just enough to lightly coat them. You'll need to wash the model before painting, but it works like a charm.