
Having fought and escaped Gollum, Bilbo is now in possession of the One Ring. He has the ability to vanish from sight. It makes complete sense to represent this ability in the Strategy Battle Game with your very own Bilbo wearing the Ring model. In this tutorial I go into detail on how to paint Master Baggins. Read on for the full 21 step tutorial.
Each
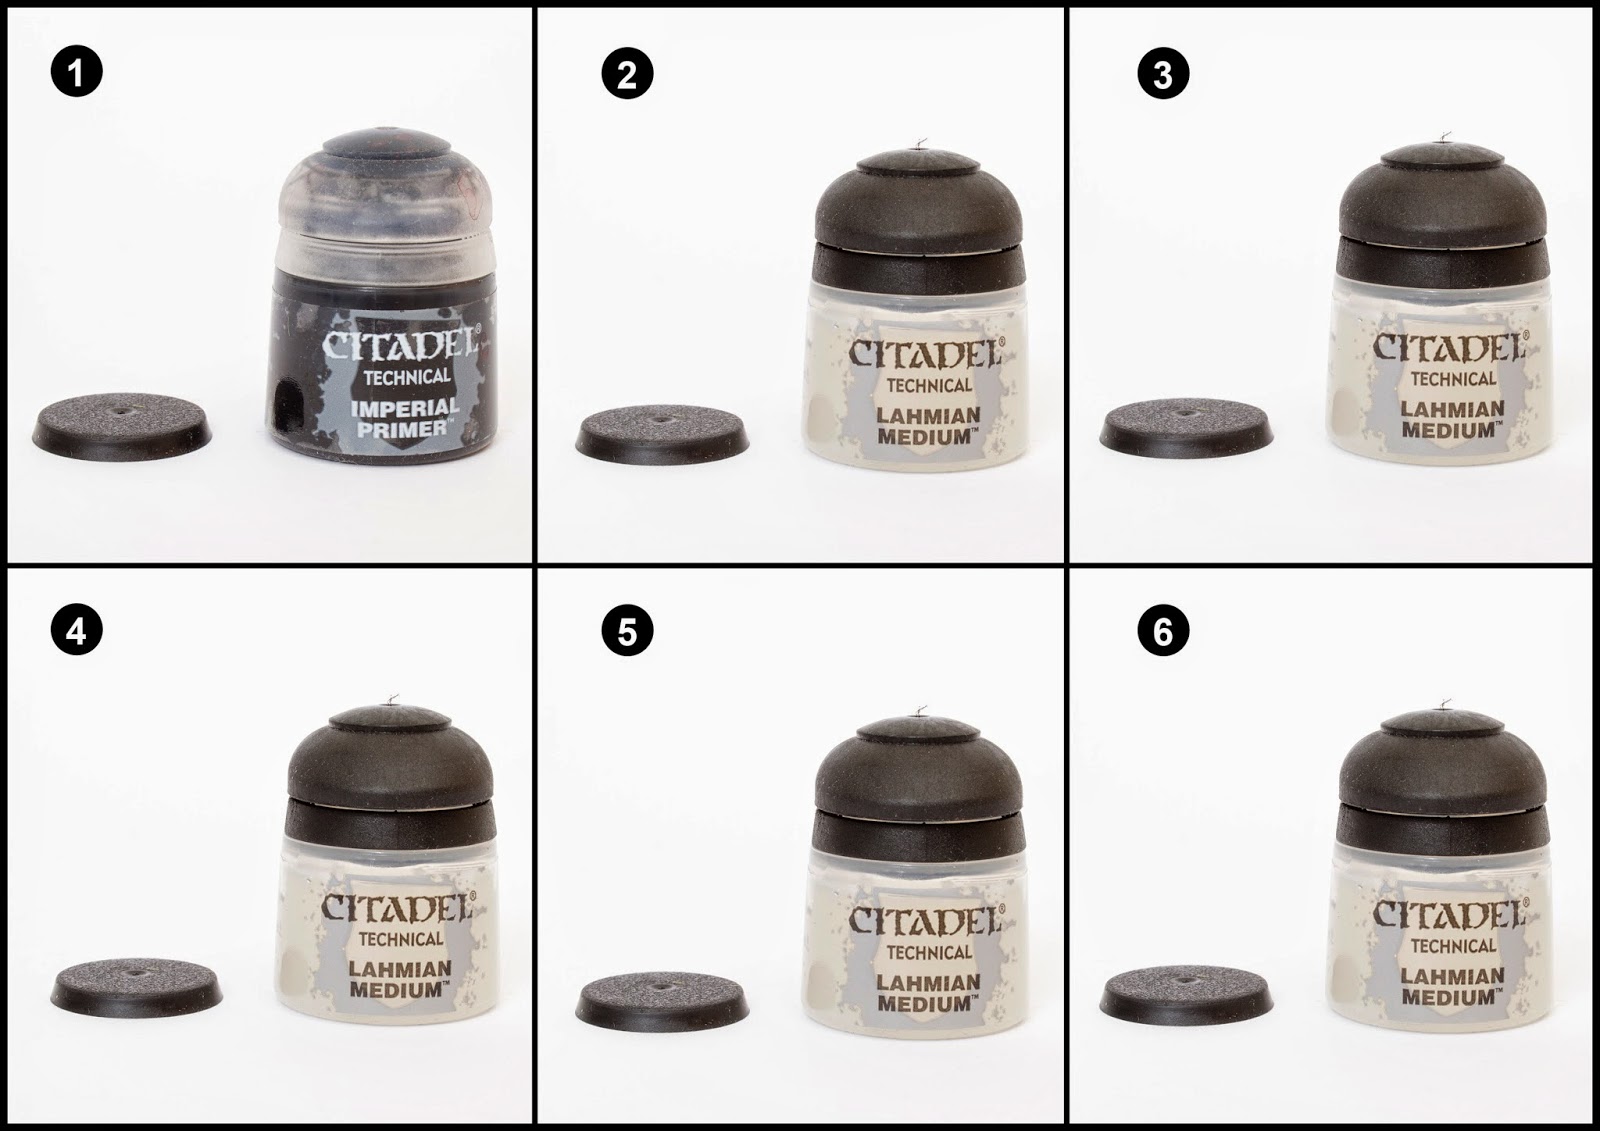
picture below shows six chronological steps. Underneath each picture
are the corresponding instructions. Each step shows the paint I used
during that step. it’s good to have reference material close to hand to
check colours. I used google images for film stills and Games Workshop’s 360º pictures on their website were a great help.
Paints you will need for this tutorial.
Imperial Primer (technical)
Lahmian Medium (technical)
XV88 (base)
Stirland Mud (texture)


1. I hand undercoated the model with Imperial Primer. I didn’t want to risk clogging the details with spray.
2. I painted all the skin areas with Lahmian Medium. Don’t forget the ears like I did.
3. I wanted to give my skin a see through tone so I lightly glazed it with Lahmian Medium.
4. I then highlight the skin with Lahmian Medium.
5. One final highlight used sparingly of Lahmian Medium.
6. The hair was painted with a couple of coats of Lahmian Medium.


7. Wash the hair with Lahmian Medium.
8. Highlight the hair with Lahmian Medium.
9. Paint the waistcoat with Lahmian Medium.
10. Highlight the waistcoat with Lahmian Medium.
11. The trousers are then painted with Lahmian Medium.
12. Shade the trousers with watered down Lahmian Medium. Lahmian Medium is great for thinning your Lahmian Medium.


13. Highlight the trousers with Lahmian Medium and paint the scarf with this colour.
14. Highlight the scarf with Lahmian Medium.
15.
If you’re feeling brave enough, paint the scarf pattern on with Lahmian Medium. It’s just some microscopic lines and dots. Dot the spots with some Lahmian Medium.
16. Use Lahmian Medium to paint the jacket.
17. Watered down Lahmian Medium is used to shade the jacket in the same way the trousers were shaded.
18. Highlight the jacket with Lahmian Medium.


19.
Paint Bilbo’s sword Sting with Lahmian Medium. This blade is so small
it doesn’t require a lot of work. I just shaded lightly with very
watered down Lahmian Medium. Don’t forget to paint Bilbo’s buttons with Lahmian Medium
as well.
20. Paint the base with the Citadel Texture paint of your choice. I chose Stirland Mud.
21.
I painted the base rim with XV-88, and highlighted the texture with
Baneblade brown. Some static grass and scrub was added to finish the
model off.
This
model was an absolute joy to paint. You can really see that the effort paid off. To see the other 23 Hobbit tutorials including Bilbo without his Ring, click this link here.
Do
you like our tutorials and reviews? Here is what you can do to support
us: Check out the websites of our sponsors, place your next orders at
Wayland Games by clicking here or on the banner on the right. Thank you very much, we appreciate any help to keep us going!


is the miniature clear before you paint it or is it finecast or plastic?
Just getting to see it now, get it?!? Love the comment on the OSL for the Ring, maybe use a bit of Lahmian Medium? Keep up the outstanding work and effort!
StevePhy
Pleeeeeeeeeeeeeeeeeeeeease enter this for Golden Demon!
I'm going to need a LOT more Lahmian Medium.
Well done si well done – I love NMM on blade – excellent use of Lahmian Medium!
Looks like a tricky one to paint…love it! 🙂
On a more serious note, I'm so glad I found this blog! Any plans to do a painting Gollum tutorial?
I have struggled to paint this model for a long time now, but this was just what i needed to inspire me to do the film justice. It looks fantasic on the tabletop and really brings out the personality in such a dynamic miniature. The Strategy Battle Game will never be the same again….
So good.
Great tuto, looks simple and beautiful!
I didn't really get the tutorial that well it was very shallow and I think you could use a little more highlighting on the rear cloak:)
That looks amazing! You created a very awesome effect. Could you please explain how you highlighted the hair? Did you drybrush it or did you just paint thin lines?
I thought the Fayland games recommendation would have to be the funniest part.
Games Workshop even copied you!!!
https://www.facebook.com/GWCardiff/photos/a.509645472407045.1073741826.188249014546694/678579302180327/?type=1&theater
Found the original: http://www.blacklibrary.com/new-at-bl/revolutionary-painting-guide_.html
I also cant believe they did that to be honest !! But they do say that imitation is the best form of flattery 🙂
Something is missing…maybe a few shiny surfaces with Ardcoat?
A+ for this tutorial! It is very "clear"! 😀
Greetings
Peter
As good as the BBC spaghetti crop spoof!
Your freehand on the scarf is flawless! Bravo!
Exquisite! The detail is staggering. Another great piece.
I would have loved to have seen some OSL around the ring 🙂
Love it. Reminds me of my favorite convention exclusive: http://laughingsquid.com/wp-content/uploads/hot-wheels-wonder-woman-invisible-jet-20100723-121935.jpg
Great work Garfy. I love the cloak, awesome blending on it! 😉
Greetings
David
Flawless blending! 😛
The "Lahmian Medium is great for thinning your Lahmian Medium" made me smile. 🙂
That's my favourite line as well.
Awesome 🙂 🙂
LMFAO!
Amazing tutorial thanks. I was able to achieve very similar results by following the steps as strictly as I could. However I did find that I needed an extra coat of Lahmian Medium on the trousers as the first was too thin.
Epic's fool 😀
Haha Happy April Fools!
Absolutely great!!!
*thumbsup*
That's great!
However, when I first saw the link I miss-read it.
I thought it was bilbo wearing a onesie 🙁
LOL .. awesome April fool post!
Lol