
Hi again, Haywire is back with some more on the Warlord. Over the past few days I have cleaned up all the parts of the main body ready to prepare for pose checks and pinning. There is still the odd mould line here and there that i’ll get to.
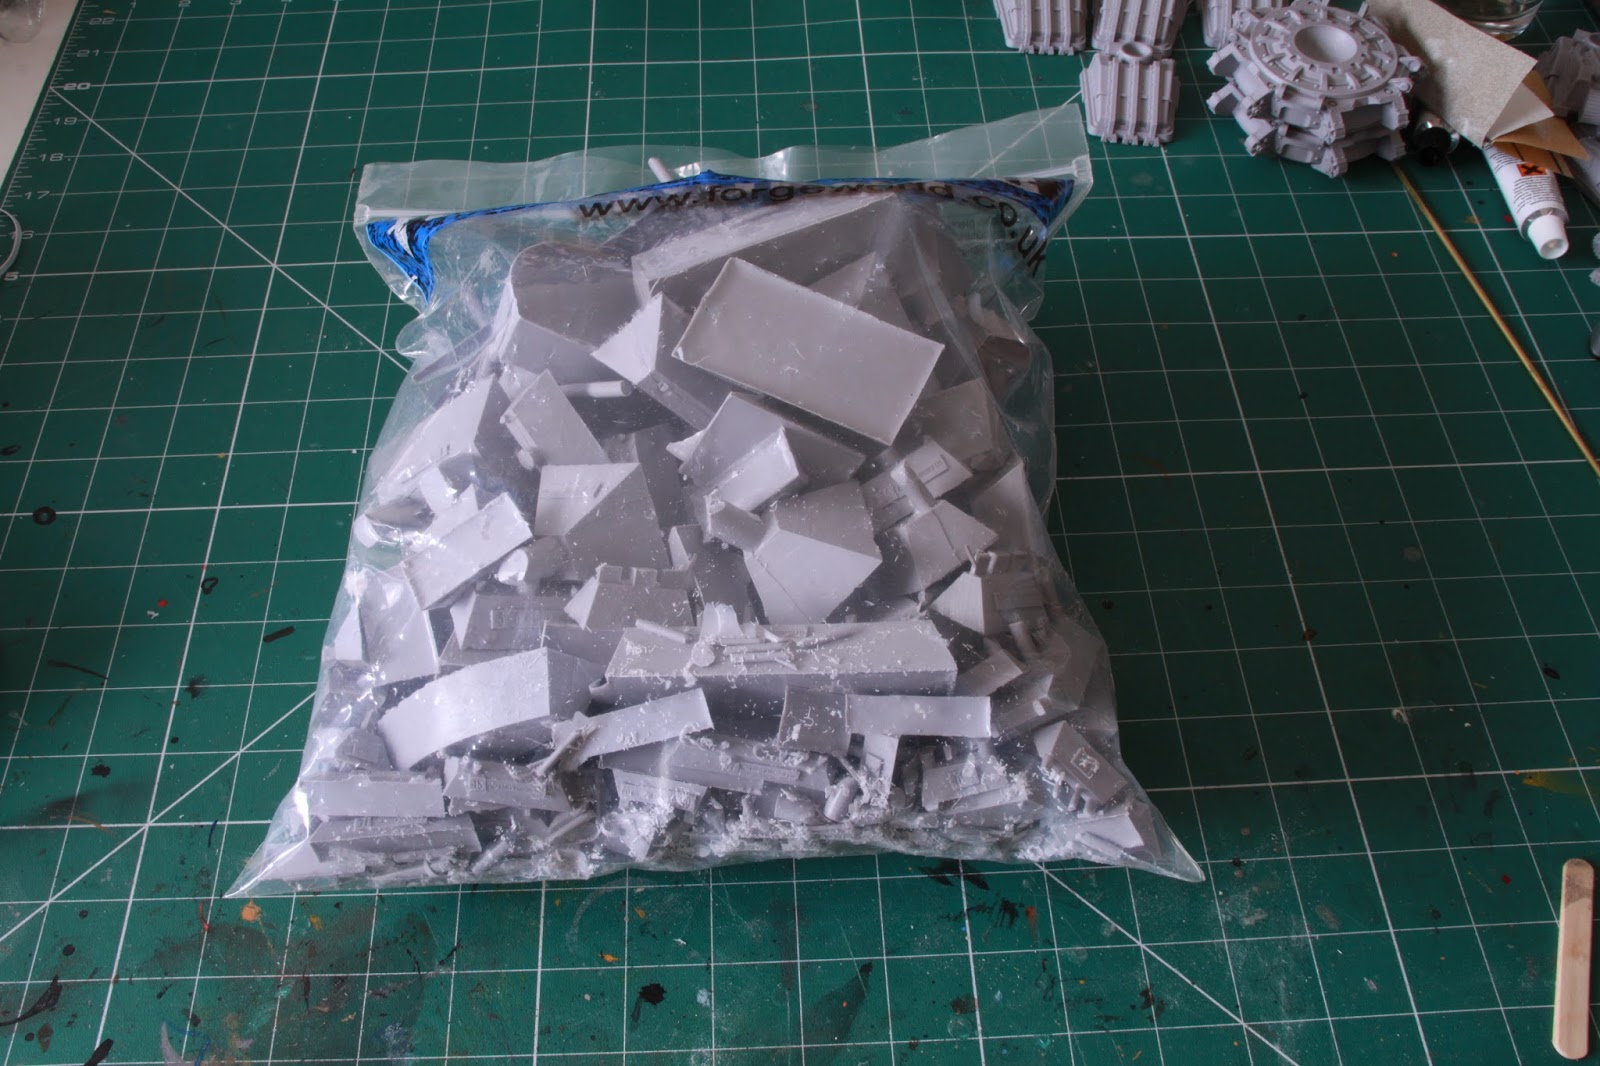
This is the bag of cut offs from the body components…
Have a guess of how much this lot weighed before I placed it in the bin!
The answer was 1.771 kilos! Considering the final model weighs in at a hefty 7.5Kg, disposing of that amount was rather incredible. Perhaps I may make tank traps “dragons teeth” from some of it…

I thought i’d also share a picture of the working area for this project – my hobby den. I am fortunate enough to have a permanent set up in my house and utilise the 4th bedroom as my hobby home.


Always handy to clear the space before a new project and double check you have everything you need for the job. Mains power dremel, oodles of green stuff, clamps, saws, brass rod, etc etc! Welcome to the world of big Forgeworld Models.
Anyway, it’s test fit and construction time. As you can see from the following WIP shots, I re-inforced the joins between lower leg to foot plate, and through the knee and the hips with 3mm brass rod. I have used 5mm before, but its far more annoying to work with. My dremel can’t take the drill bit so you have to resort to proper power tools and thus lose accuracy, and you need cutting discs on the dremel to cut the brass rod lengths. 3mm fits the dremel, and can be cut with good pliers.
The weight of the upper body is quite large, but with both feet firmly planted on the floor, and good sturdy chunky leg pieces, this should not be a problem (Compared with say the Phantom Titan, which is very top heavy, with slender hips and relatively long thin legs)
Utilising some new found goo I noticed being used by other Warlord bloggers called JB Weld as well as regular superglue, its time to test fit and build!
The first job was to “kebab” the hip, hip joints, and thighs. As there are 2 pieces that go over the ends of the thighs, it will cover the hole thats been drilled. I will also bend the brass slightly to be able to splay the thighs slightly outwards before using the JB Weld to hold it in final position.

Secondly, I drilled the knee joint to lower leg and pinned
(The toes are there just to prop up the lower legs for the picture)

Finally, I used JB Weld to fix the knee to the lower leg. These are not posable parts, so its a straight fix.

So that leaves me with this position so far. This weld takes a good overnight stint under clamps to adhere properly. Once its fully set, I’ll be able to green stuff the gaps.

So theres the latest update for you to digest, enjoy. Lots more to come…
12 Comments
Leave a Reply
Tale of Painters is the unofficial Warhammer hobby magazine run by hobbyists like you. Support our work by using the affiliate links from our 🇺🇸 / 🇨🇦 partner stores for your next orders so we can continue to bring you fantastic FREE content every day:


Or support us directly:


Looks great! I would invest, if you haven't already, in getting 12" bolt cutters. They are a life saver! I put together a warhound titan with lots of pining, and my dremel thanks me! 🙂 Also, get some sanding pads for doing nails. They come in different sizes and grades, and are great for resin and plastic. You can pick them up at any beauty supply place. You might get some odd looks when you go there, but it's worth it!
New video uploaded tonight…ready for your viewing pleasure soon!
@Phill – yup ill show the clamps etc. They are only little cheap hand held ones, nothing special Drilling is done mostly by eye and experience 🙂 I'll have some more WIP shots scheduled up for next week for you
The quality of the casting is the same as all the other models really. Same issues, minor warping, small air bubbles and alignment of some of the larger pieces is very tricky. I am tackling the torso right now, and thats held with 7-8 clamps in one go lol Again pics on that of that on the next update.
The manual is first class. If you have seen the new GW Knight Warden manual, or the WHW exclusive Landraider/Rhino its that kind of quality. However there are steps I am doing in a slightly different order as I work out during a dry fit what would glue better first. I'll explain that in the next post or maybe do a video. And of course, all the armour plating is left off to paint separately.
@Anon – I'd rather not have one of those giant people throwing my 7.5kilo model across a field though!
Thanks Haywiregrenade for your solid replies =)
Looking forward for your next post 🙂
/leffegnu
On a sports review last night.They showed the big metal ball the hammer throwers swing round their heads. I saw the weight scribed on the side….7.45 Kilos… So you have a hefty collection of scrap there.
Nice work so far I must say 🙂
+1 to Phill, would be cool to see some in progress pictures
Also, how is the manual thus far?
It looked light years better in your video compared to the "normal" FW stuff, is it any good? 🙂
/leffegnu
Also, how does the quality of the casting compare to other forgeworld stuff? just as hit and miss or a bit better than average?
Nick, as you're drilling this stuff with the dremel press could you please show us some in progress pictures of how you set up a few pieces and what kind of clamps you use?
JB Weld has come as a recommendation from another Warlord blog I am following with interest from a guy called "Chuffy". He has several YouTube videos and a Facebook page for this. I chatted to him on the cold weld solution and I must say, its very very good. Considering these parts are massive, and the weight involved, I am using (as he did) a bit of 2 part epoxy glue as well as this JB Weld stuff. Rock Solid! Just be sure that the position you want is final, as there is no moving it after its set 🙂
It has to be said, this is a serious modelling project thats for sure. I have just invested in more (and bigger) hand clamps to hold things together for the body now!
JB Weld for assembling models? Interesting… I used some old two-part epoxy way back in the day, but it was on white metal and it never held for all that long. I haven't worked with resin much. You'll have to let us know how it works! You must apply it very sparingly, right? Seems like it could get messy fast.
Guess even if I had the free cash to spend on a titan, the work would be too much for me. Very interesting to see all the steps in your WIP so far.