
Sometimes you just need a wash and drybrush project. Some might call it cheating but honestly it’s a totally viable technique to get large unimportant projects completed quickly. After the jump I share my secrets on how I painted these really quickly.
This isn’t a going to be a full tutorial, It’s really just a quick note on paints and techniques. Happy to answer any questions in the comments.
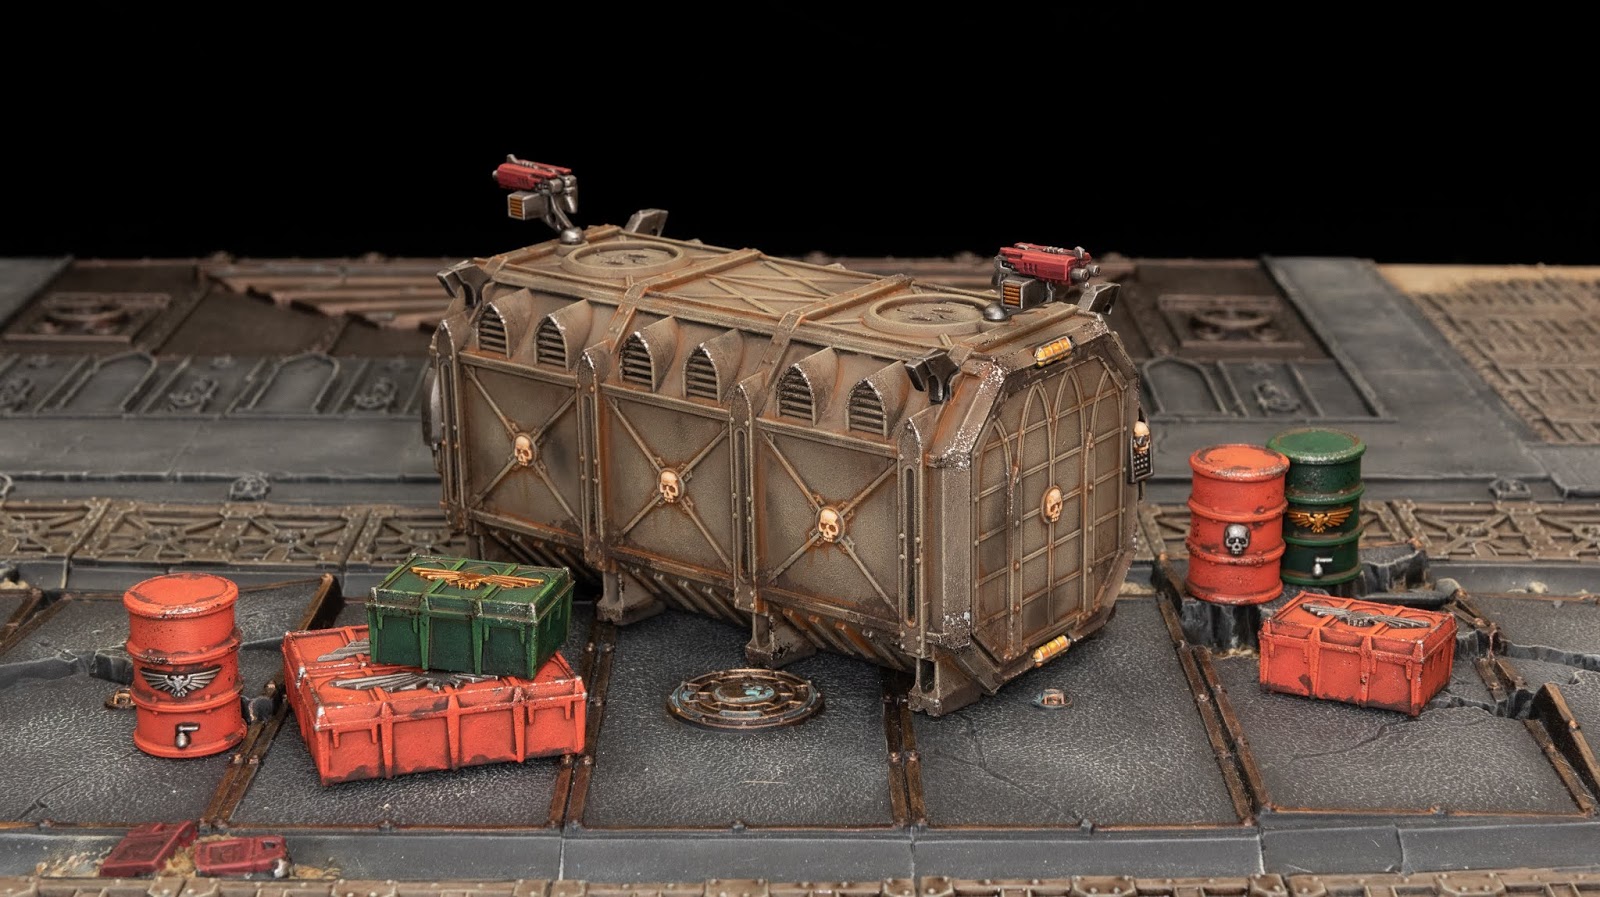
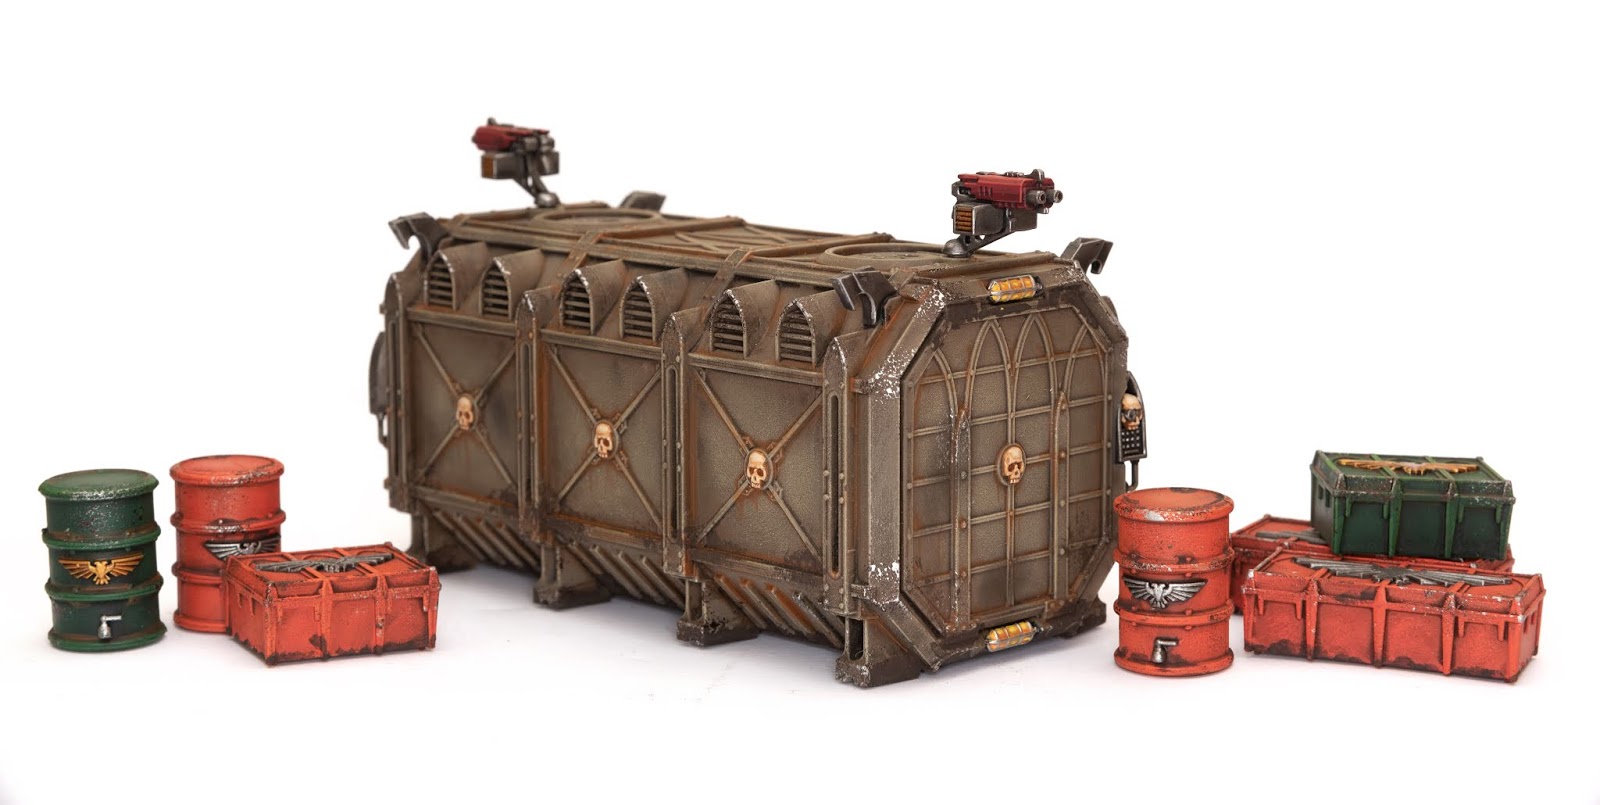
Main Container
1. Undercoat black and then base coat Steel Legion Drab. I recommend airbrushing the base coat as it’ll be smoother.
2. Wash the entire container with Agrax Earthshade. You might want to do three sides, let dry, then rotate and do the other three sides.
3. Drybrush Steel Legion Drab. Using a large flat dry brush is perfect. Basically keep repeating this step until you can’t see any wash tide marks anymore but you can still see wash shading in the creases.
4. Drybrush with Baneblade Brown.
5. Apply a light dry brush of Screaming Skull.
6. For the rust, heavily water down Skrag Brown and then run it into the creases where you think rusty water would collate and run.
7. For the metal chipping use a piece of foam and dip it into some Warplock Bronze and then dab it onto a mixing palette or tissue to remove some of the paint. Do this until you’re left with spots and then dab the model in areas that would suffer chipping like raised corners.
8. Repeat step 7 over the top of the Warplock but with Runefang Steel.
9. Apply smoke and blast damage by lightly dry brushing some Abaddon Black circles in random places.
10, Finish off by painting the details. I just used the paint recipes from my Dark Angel tutorial for the bolters, metals and skulls.

Orange Crates and Barrels
1. Undercoat Black and Basecoat with Wild Rider Red.
2. Wash with Agrax Earthshade.
3. Drybrush with Wild Rider Red until the tide marks are gone.
4. Drybrush with Firedragon Bright.
5. Paint some dirt and grime on the piece by using Typhus Corrosion Technical paint.
6. For the metal chipping use a piece of foam and dip it into some Warplock Bronze and then dab it onto a mixing palette or tissue to remove some of the paint. Do this until you’re left with spots and then dab the model in areas that would suffer chipping like raised corners.
7. Repeat step 7 over the top of the Warplock but with Runefang Steel.
8. Paint the icons with Iron Breaker and wash with Nuln Oil then dry brush the icons with Runefang Steel.
Green Crates and Barrels
1. Undercoat Black and Basecoat with Caliban Green.
2. Wash the piece with Nuln Oil.
3. Drybrush with Caliban.
4. Drybrush with Warpstone Glow.
5. Lightly dry brush highlights with Moot Green
6. For the rust, heavily water down Skrag Brown and then run it into the creases where you think rusty water would collate and run.
7. For the metal chipping use a piece of foam and dip it into some Warplock Bronze and then dab it onto a mixing palette or tissue to remove some of the paint. Do this until you’re left with spots and then dab the model in areas that would suffer chipping like raised corners.
8. Repeat step 7 over the top of the Warplock but with Runefang Steel.
9. The icons are then painted with Retributor Armour Gold and washed with Reikland Flesh Shade.
Hope this was useful. I’m going to reuse these paint recipes when I receive the other two Armourerd Containers. I’ll paint one in the red and one in the green. I’ll also paint some of the smaller crates and barrels in the brown scheme. I think that’ll look quite cool, instead of all of them painted the same colours.

3 Comments
Leave a Reply
Tale of Painters is the unofficial Warhammer hobby magazine run by hobbyists like you. Support our work by using the affiliate links from our partner stores for your next orders so we can continue to bring you fantastic FREE content every day:


![]()
![]()
Or support us directly:


Just used your tutorial (yes, I’m late getting to my battlezone munitorium terrain). Really happy with the results. Thanks for the tips and inspiration.
Thanks mate.
Great looking Container, barrels/crates. I really like that color on the container. Should I add any more to my collection, I will likely try it myself. Neutral color, but still neat looking.