
Today on the blog I’m going to help pave the way for you to make your own stone slab flooring. I’ll include a list of what you need. I’ll detail the steps and as a bonus I’ll include a step by step guide on how I painted this terrain piece.

Things you’ll need:
- A base (you can make this out of foam core, high density foam, wood or even thick corrugated cardboard.
- Plasticard (0.75mm thickness/30thou)
- Craft knife/Scalpel
- Pencil, ruler
- Different sized rubble/rocks (I use Aquarium gravel)
- Sand
- PVA or wood glue.
- Milliputt modelling putty
- Superglue

Step 1.
Measure out the size of floor you want and roughly draw out your paving slabs on to the plasticard.
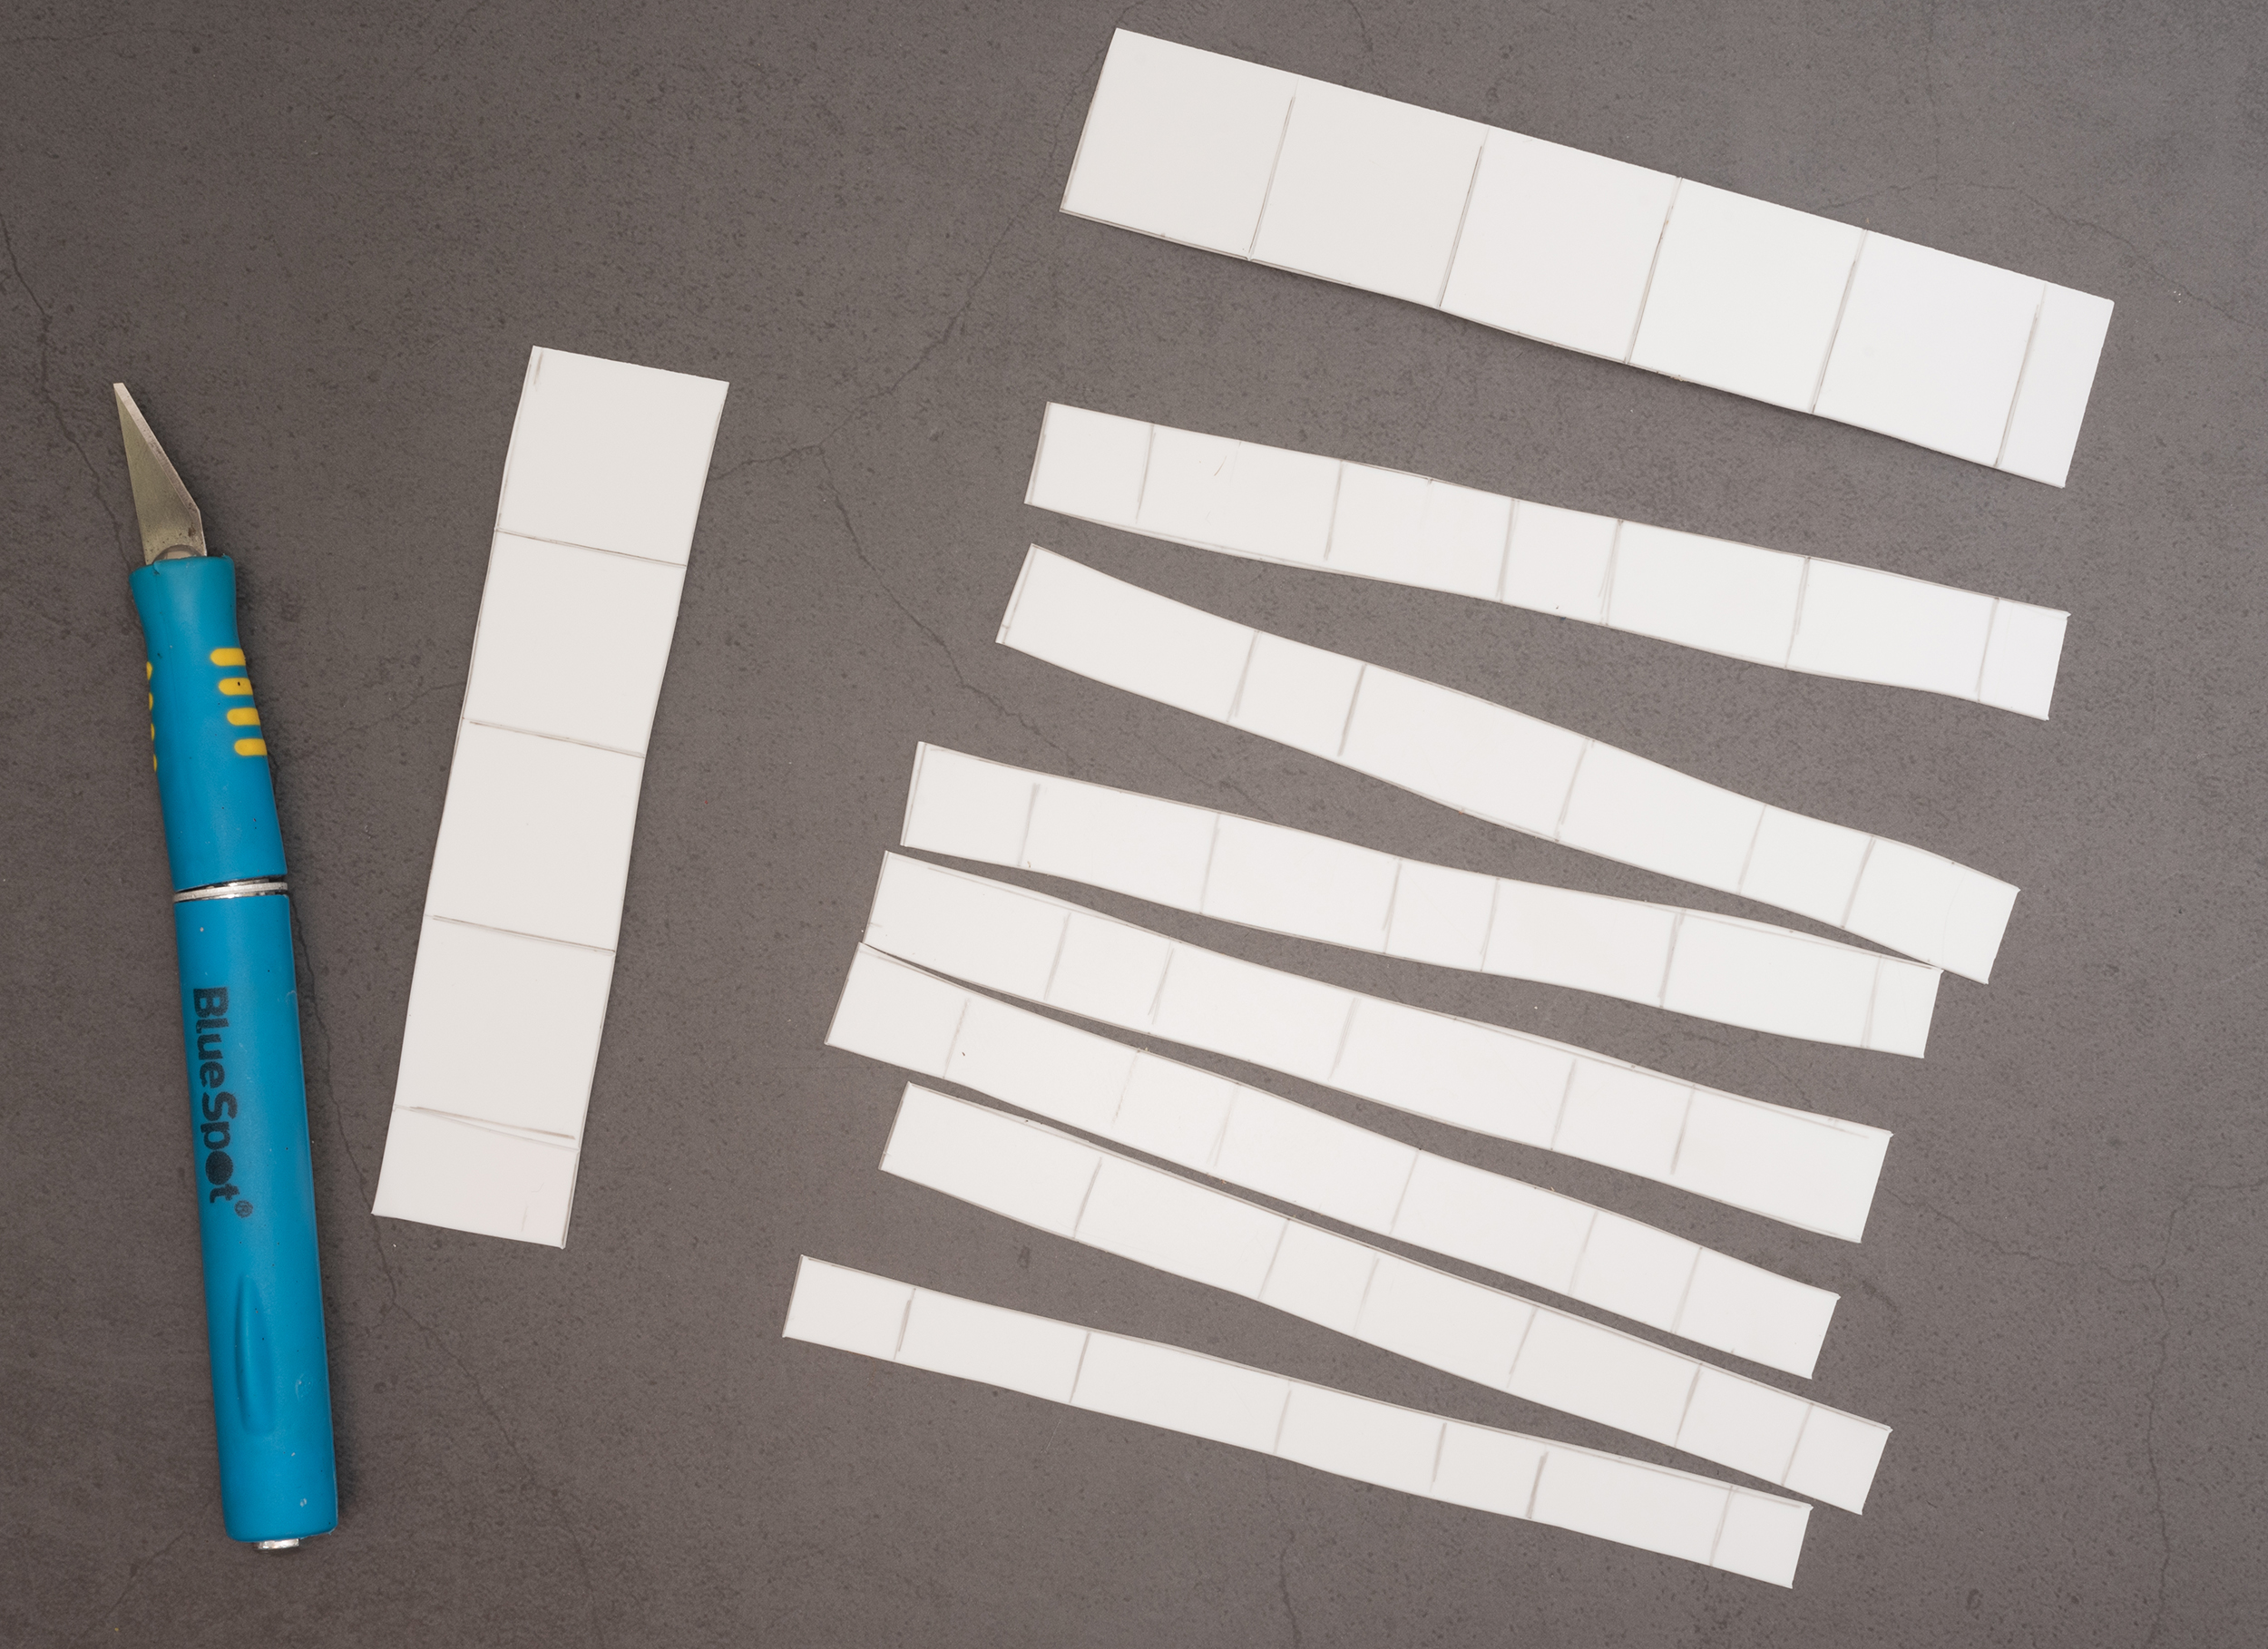
Step 2.
Carefully use the knife to score along the lines you marked. Don’t worry about cutting all the way through, a little score mark is all that is needed and you can snap the plastic along the score line to get a perfect cut.I deliberately didn’t cut mine straight but if you want to make yours straight you’ll need a metal ruler because the knife will cut a plastic ruler.

Step 3.
Once you cut your shapes out, you’ll need to rough them up to make them look like worn paving slabs. The first thing I did was carefully cut the corners off. Then I bevelled the edges so it looks like the edges are chipped and damaged. Finally I use the knife to scratch the top surface to add texture. This part is time consuming. I’d say it took me 90 minutes to just shape my slabs. It was relaxing and satisfying though.
Bonus tip: when carving these, tiny pieces of plastic goes everywhere so do this leaning over a large box lid to minimise the mess.

Step 4.
The next thing is to superglue your plasticard paving slabs to your base. My base is a 3d printed but you can cover anything you want in milliput modelling putty, gravel and sand. I superglue the the large rocks and gravel to the base and use a good quality wood glue to glue the sand on.
Once done it’s time to paint.
Paints you’ll need to paint your terrain base:
- Black undercoat
- Sons of Horus Green (layer)
- Agrax Earthshade (shade)
- Dawnstone (layer)
- Celestra Grey (base)
- Dryad Bark (base)
- Baneblade Brown (layer)
- Karak Stone (layer)

Step 5.
Undercoat the terrain piece black. I used Army painter black spray but you can use any black primer.

Step 6.
Paint the slabs, rocks and gravel with Sons of Horus Green. I used my airbrush here but it’s easily enough to with a large brush and a couple of coats.
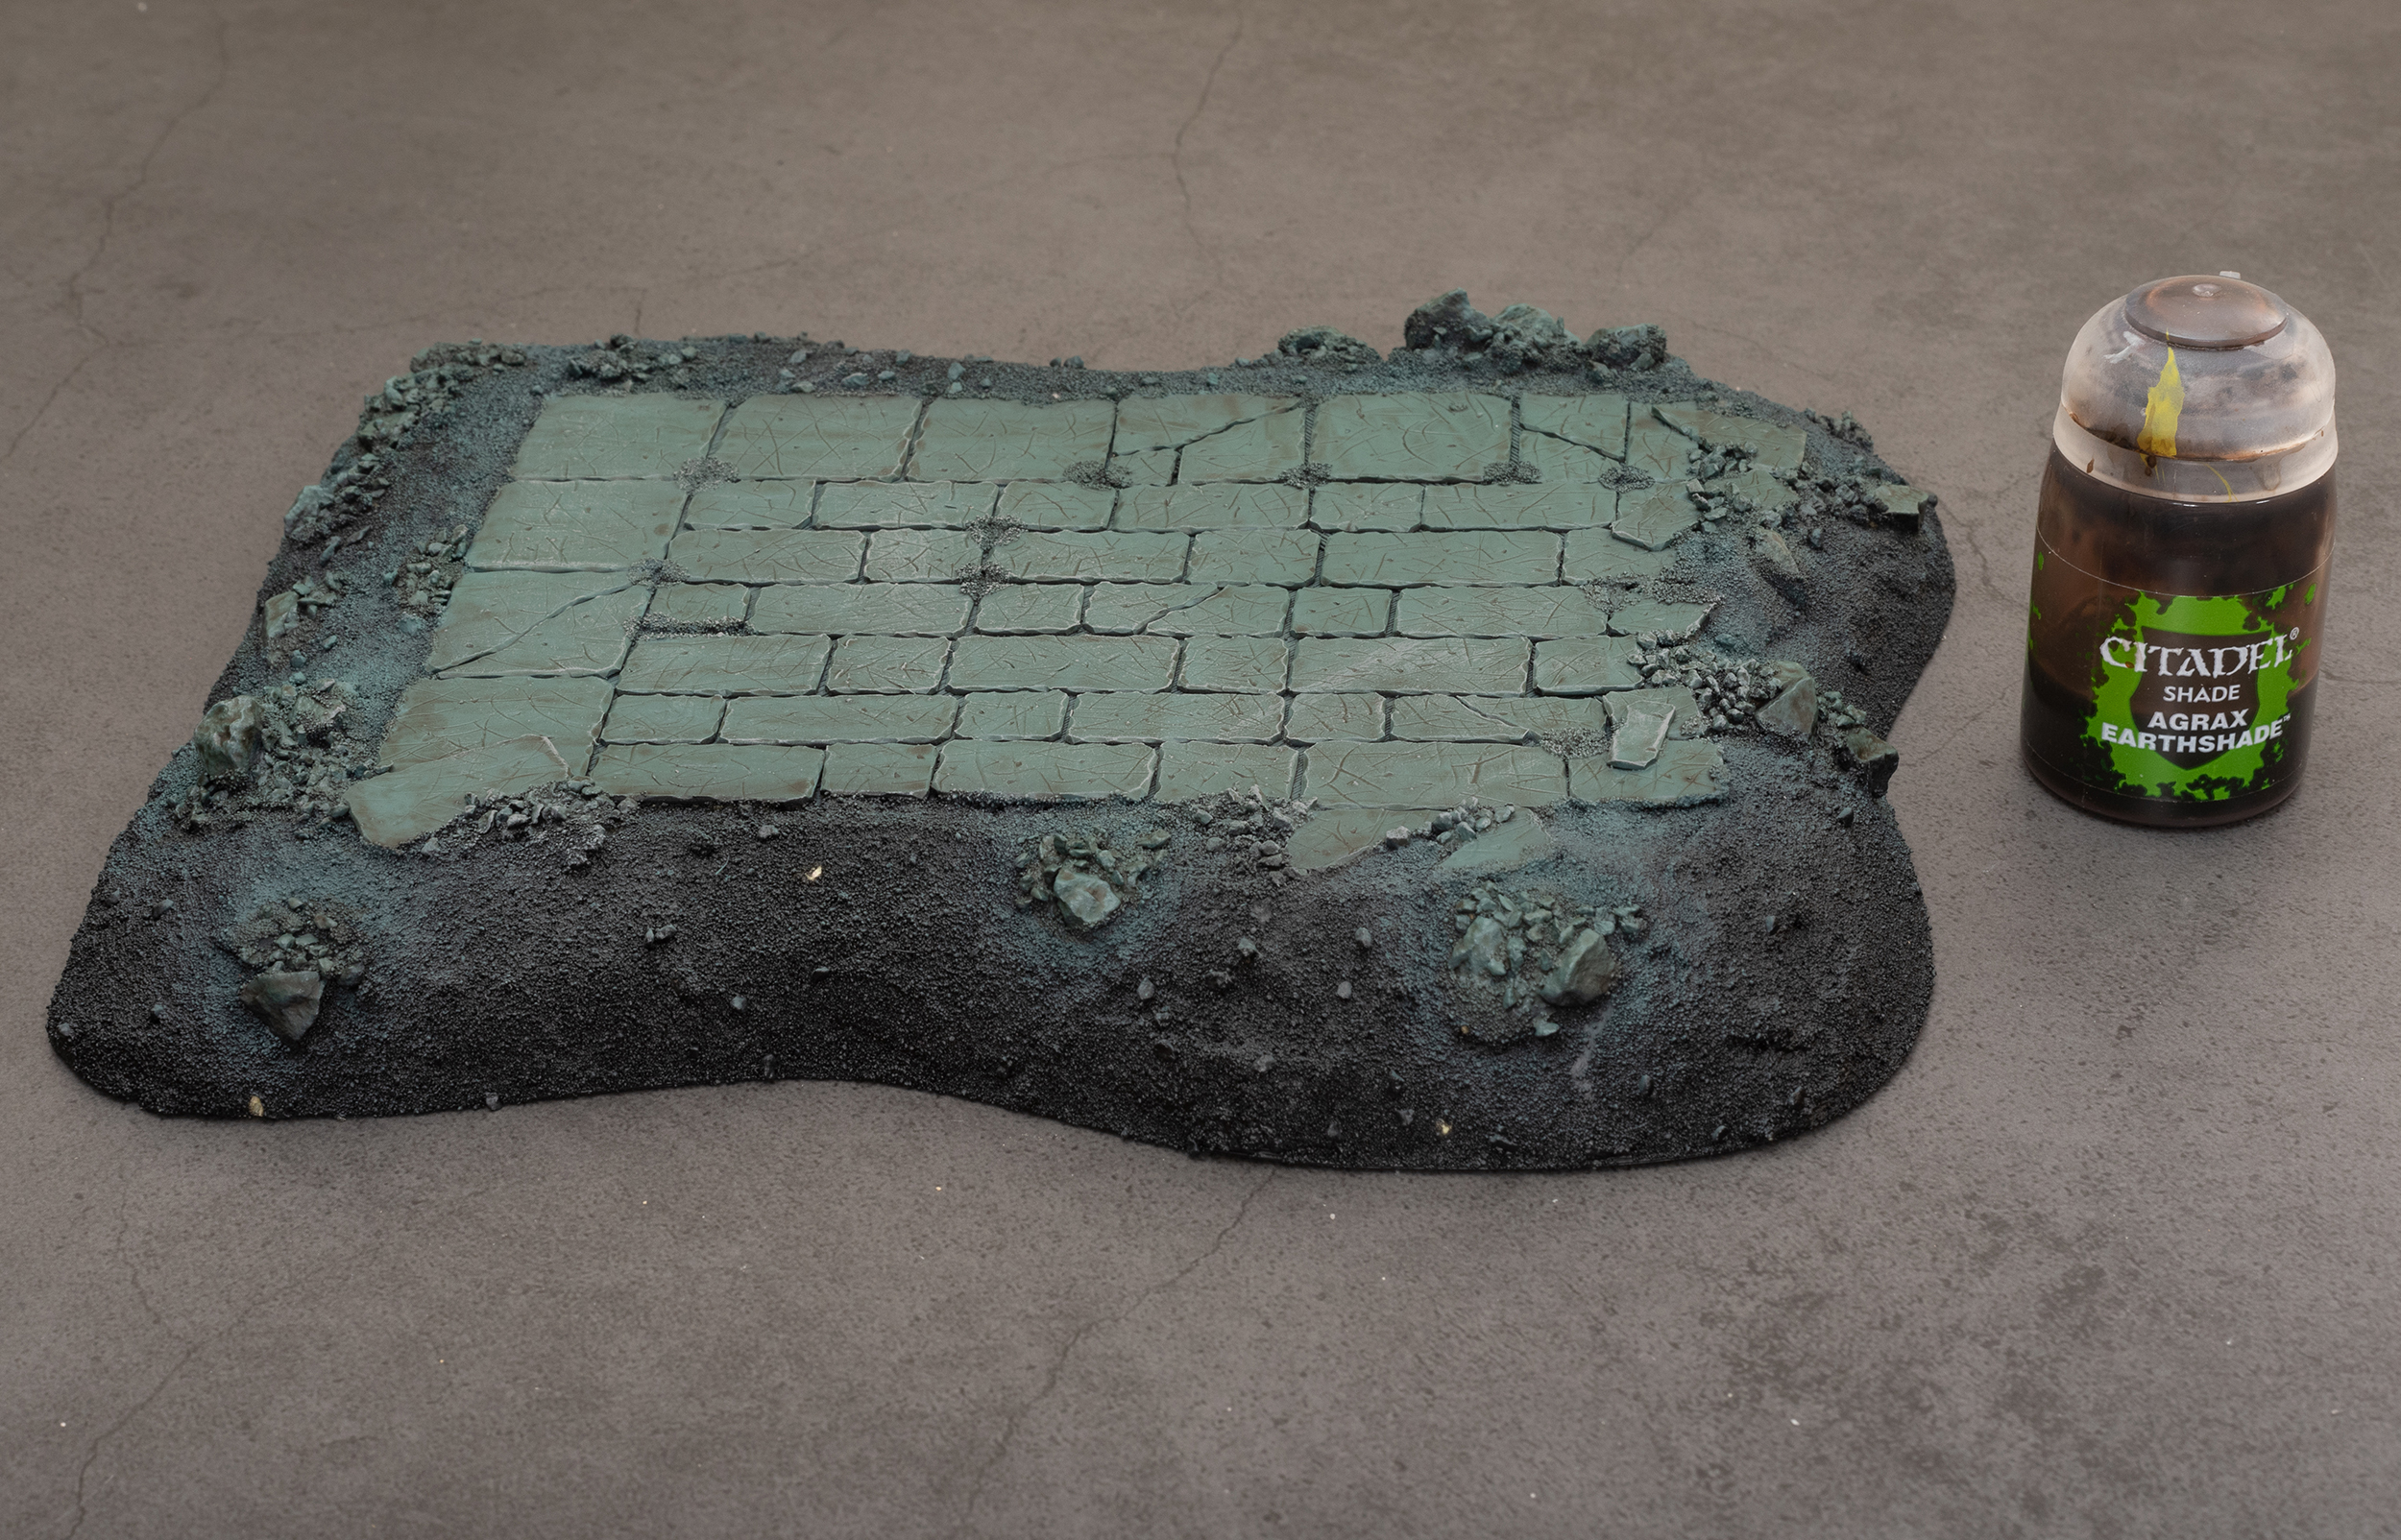
Step 7.
Wash over the rocks and paving slabs with Agrax Earthshade to dirty everything up.

Step 8.
Using a large brush, dry brush Dawnstone grey over the slabs and rocks.

Step 9.
Lightly drybrsh the previous step again but this time use Celestra Grey. Don’t be too heavy with this, you just want it to catch the edges.

Step 10.
Paint the sand with watered down Dryad Bark.
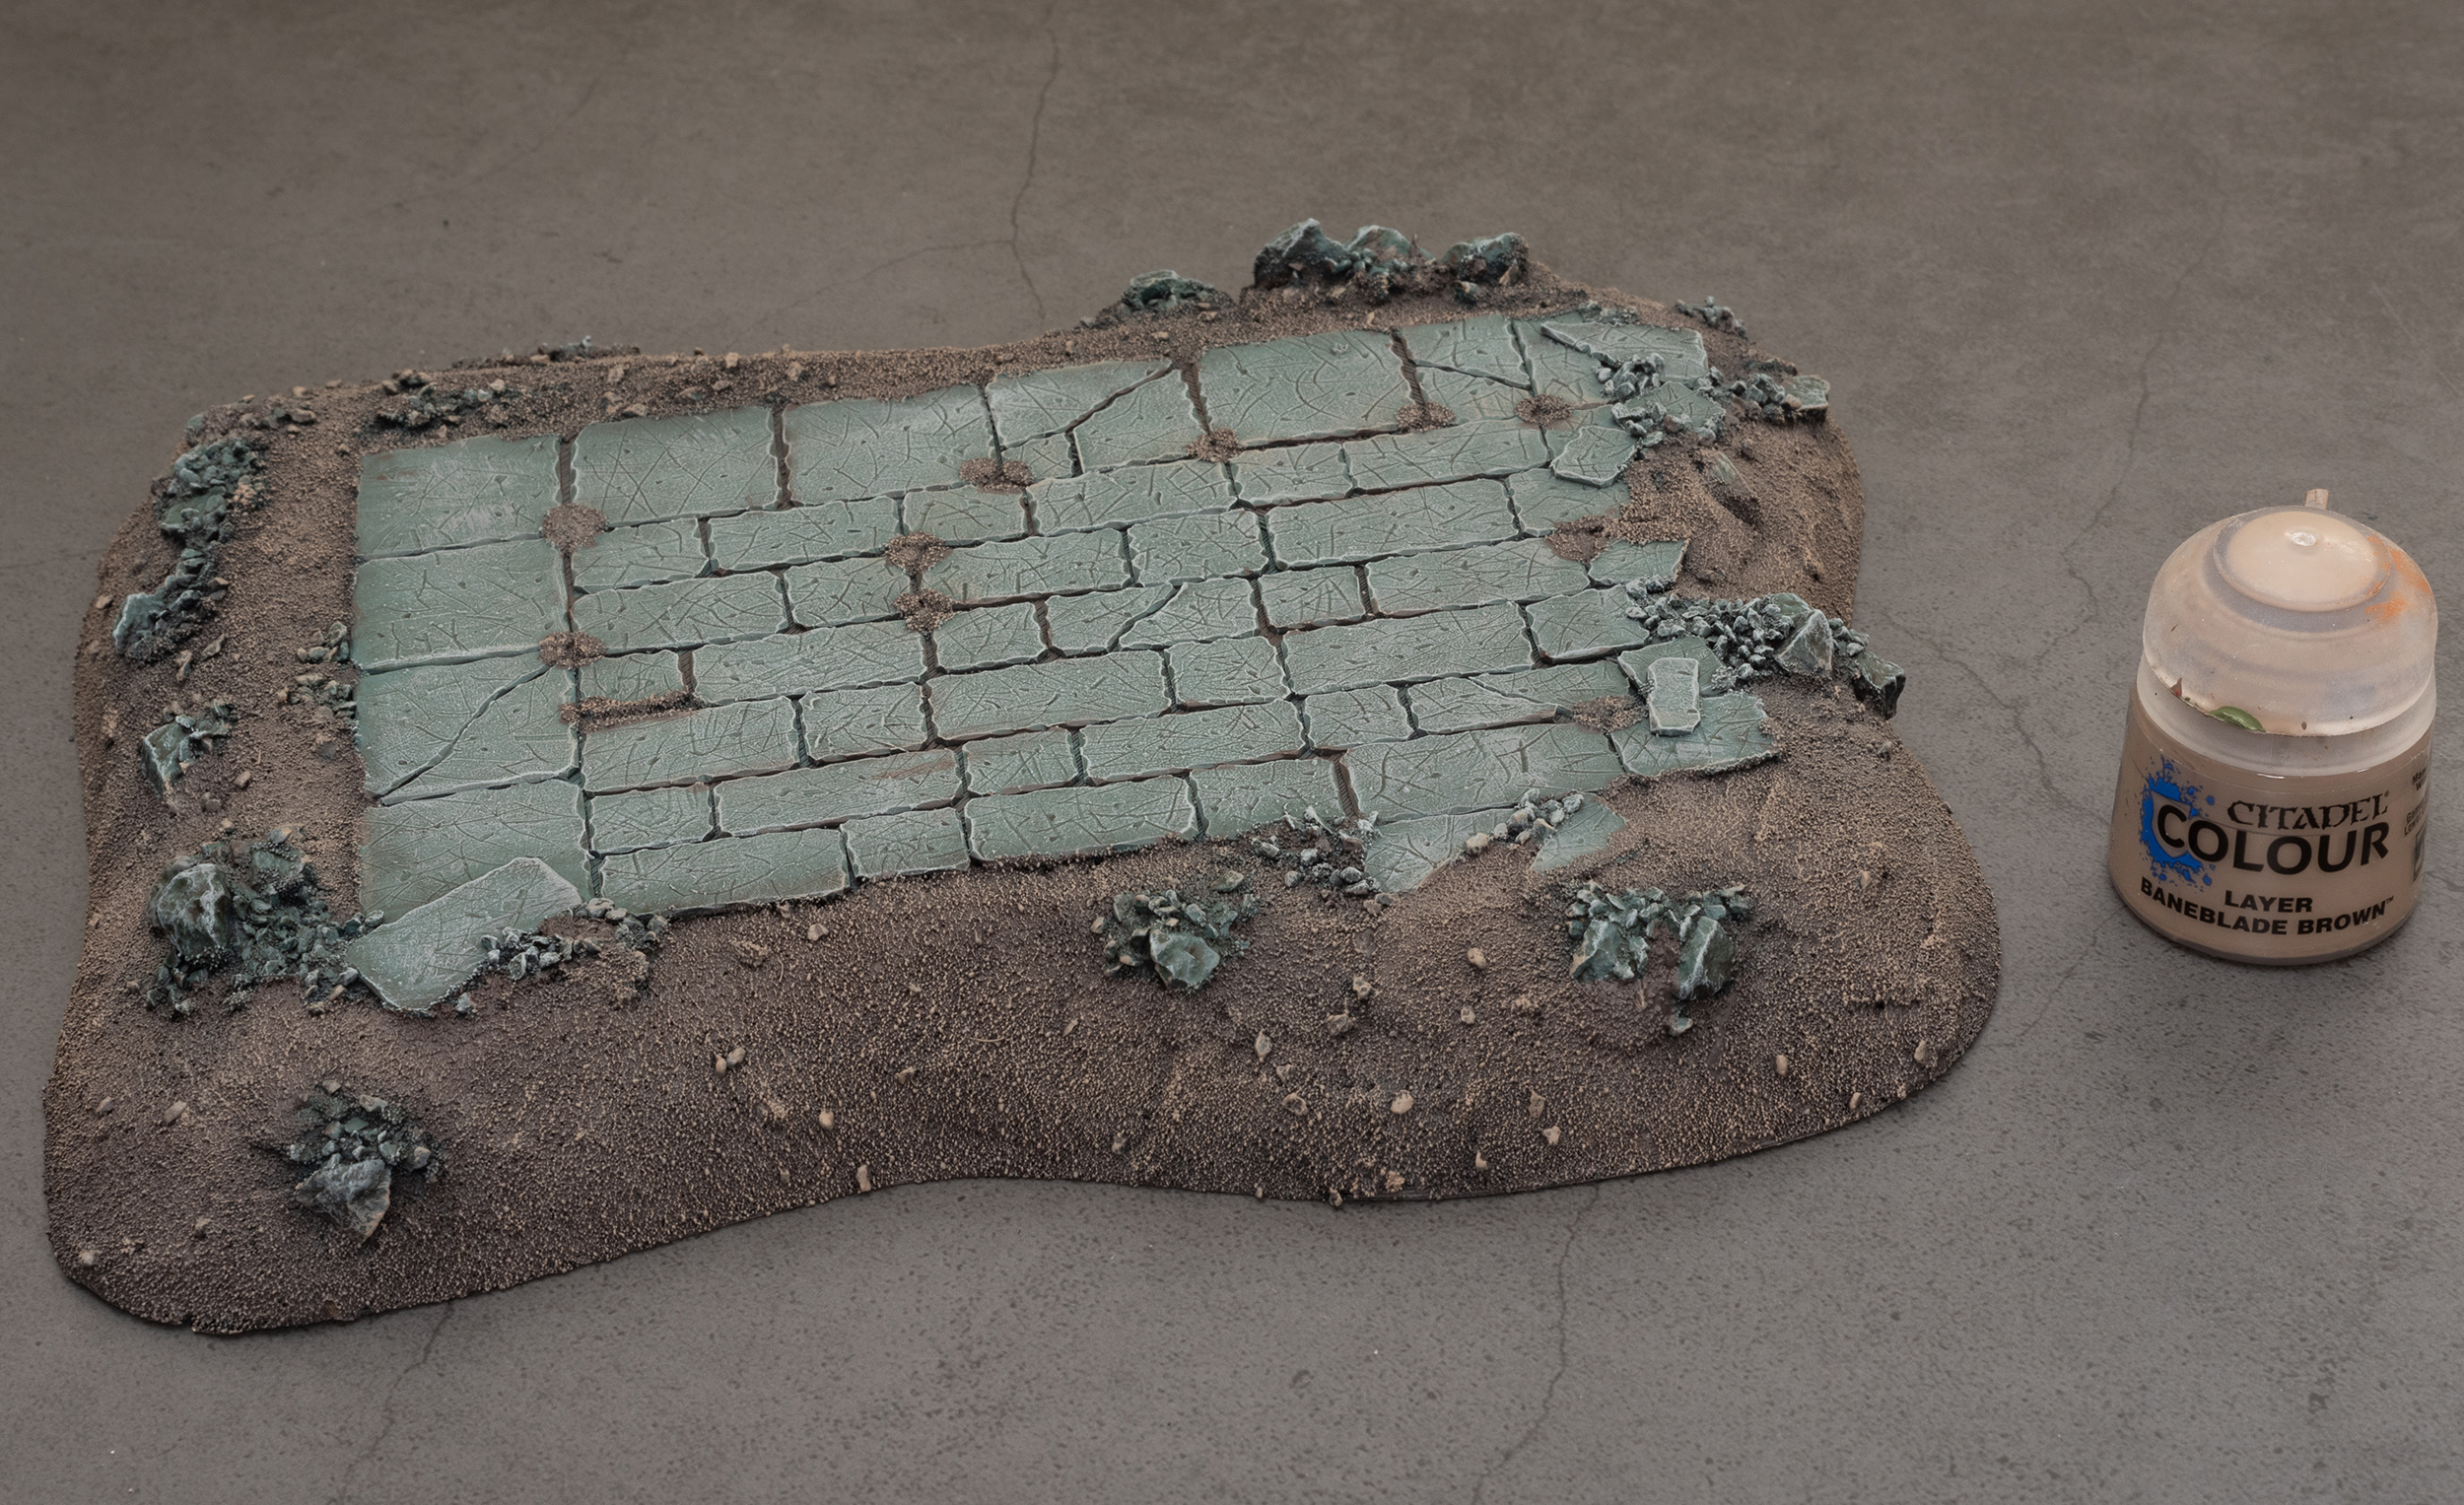
Step 11.
Dry brush the sand with Baneblade Brown.

Step 12.
Give the sand a light dry brush of Karak Stone.

Last touch was to add some static grass with a blob of wood glue and there you have it, a nice flat area to add walls, or Realmgates or statues or anything you want to. This technique also works great to create upper level floors for your buildings. Just use a thicker piece of plasticard or a piece of balsa wood and glue your stone slabs to that to create new platforms for your buildings. You can also cut any shape you like. Using a circle cutter could be cool to create a nice central pattern with concentric rings. Let your imagination run wild.
