

Can you believe this is the seventh tutorial in this series? I only wanted to create tutorials for Bilbo, Gandalf and maybe the Goblins. I didn’t comprehend how useful they would be to the hobby community. I want to thank everyone who left words of encouragement for me to continue. I can confirm tutorials eight and nine are scheduled for the blog. Will I do a tenth? Who knows. For the moment though, read on to find out how to paint Ori and his slingshot in just 18 steps.
This tutorial assumes you have a basic understanding of how to paint. For the beginners, I will explain the techniques as I go along. Each picture below shows four chronological steps. Underneath each picture are the corresponding instructions. Each step shows the paint I used during that step. It’s good to have reference material close to hand to check colours. I used google images for film stills and Games Workshop’s 360º pictures on their website were a great help.
Paints you will need for this tutorial:
Black Undercoat (technical)
Cadian Fleshtone (layer)
Bloodletter (glaze)
Rhinox Hide (base)
Kislev Flesh (layer)
XV-88 (base)
Balor Brown (layer)
Gorthor Brown (layer)
Baneblade Brown (layer)
Karak Stone (layer)
Carroburg Crimson (shade)
Stromvermin Fur (layer)
Dawnstone (layer)
Castellan Green (base)
Loren Forest (layer)
Ushabti Bone (layer)
Iron Breaker (layer)
Stirland Mud (texture)
In case you need to expand your paint collection, head over to Wayland Games or Slave to Painting, which both stock a huge selection of paints at competitive prices.

1. Undercoat the model. The details are small, so I hand undercoated the model (rather then use a spray) with Imperial Primer.
2. I painted the face and fingers with Cadian Fleshtone. I painted around the beard.
3. I changed the hue of the skin using Bloodletter glaze. Dwarves are a little more red in complexion then humans.
4. I watered down Rhinox Hide heavily and then shaded around the eyes, nose, inbetween the fingers and around the face.

5. I highlight the face with Kislev Flesh. Also if you’re feeling brave, this is the opportunity to paint the eyes with a thin black line and two white dots.
6. Use Rhinox Hide to paint the boot straps, the boots, the coat, fingerless gloves, hair, beard and slingshot.
7. Paint the knife scabbard with XV-88, then use XV-88 to highlight the slingshot. Finally paint some very thin lineson the hair and beard with XV-88. Sadly the hair isn’t raised enough to dry brush, so you just have to pick it out carefully with thin lines.
8. Highlight the hair and scabbard with some more fine lines but this time use Balor Brown.

9. Highlight the coat, gloves and the leg straps with Gorthor Brown.
10. Highlight the coat, gloves and the leg straps with Baneblade Brown. Then paint the coat trim with Baneblade Brown.
11. Paint Karak Stone diagonal cross patterning on the Baneblade Brown. If you water it down it flows off the brush bristles smoothly. This stops the brush dragging and you can get thinner lines.
12. Wash Carroburg Crimson over the coat, boots and bootstraps. This will colourise the garments and make them a little more accurate to the movie.

13. Highlight the trousers and belt with Stormvermin Fur. Thin lines are perfect for this.
14. Highlight the belt and trousers further with Dawnstone.
15. The satchel and shoulder pad are painted with Castellan Green.
16. Make a 50:50 mix of Loren Forest and Ushabti Bone and highlight the edges of the satchel and shoulder strap
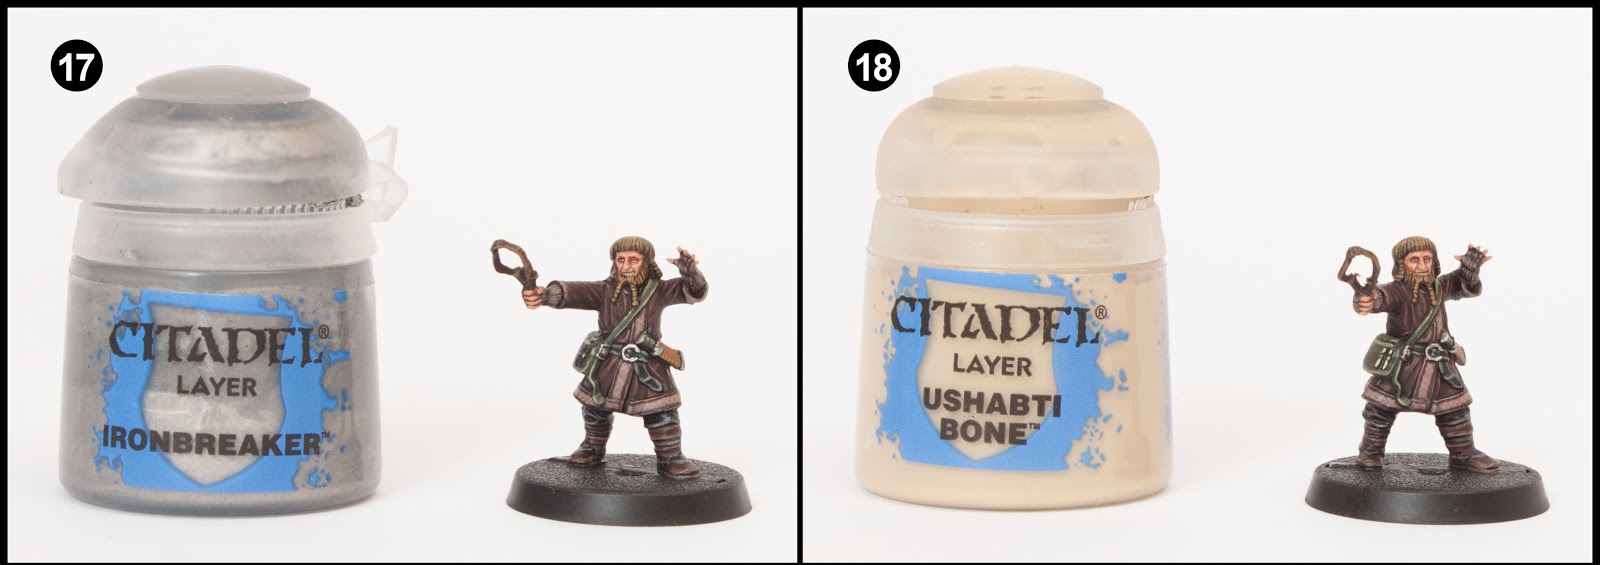
17. Paint the shoe, satchel and belt buckle with Ironbreaker.
18. Ushabti Bone is used to paint the two bone sticks on the satchel.
Finally base the model in a way which fits in with your collection. I used Stirland Mud texture paint highlighted with Karak Stone and the base edge was painted with XV-88. Static grass and scrub were glued on in small clumps.

For more Hobbit tutorials check out my Bilbo, Gandalf, Thorin, Gloin, Bombur and Goblin tutorials. If you found this tutorial useful, let me know in the comments.
Do you like our tutorials and reviews? Here is what you can do to support us: Check out the websites of our sponsors, place your next orders at Wayland Games by clicking here or on the banner on the right. Thank you very much, we appreciate any help to keep us going!

22 Comments
Leave a Reply
Tale of Painters is the unofficial Warhammer hobby magazine run by hobbyists like you. Support our work by using the affiliate links from our partner stores for your next orders so we can continue to bring you fantastic FREE content every day:


![]()
![]()
Or support us directly:


Another great tutorial. I was thinking how bland looking Ori was, but when you get to the satchel and metal work, he suddenly just pops.
Keep up the good work. I'm finding these very useful
There would be no further obligation. Just become a member. I think it's nice when the Anonymous users become members. We have over 800 members so far.
Sure I will but what would you like me to do once joined ect?:)
I'm sorry for being pushy if I offend you or anyone else I'm just anxious to get playing and need guidelines on painting especially from you guys!!but I'm sorry to anyone I angered and I don't understand your final questions?
Sorry for the confusion. Some of my message got unexpectedly cut off. I was trying to reply on my iphone. I'm not angered or annoyed at all.
My final question was just to ask if you'd like to join our site/facebook group instead of posting as anonymous. Would be great to have you on board.
I don't mind pushy. It's nice you're taking an interest and feel you can ask for these things. Just don't be too annoyed if I can't deliver everything you ask for. I'm trying my best and I've already produced more tutorials then I planned on doing.
There will be two tutorials this week. Balin and Kili.
Maybe I can ask something of you the reader?? rather then posting as Anonymous.
I'm sure you are busy,I was just giving ideas with the scribe ect I meant more along the lines of the trolls and other new things I am just hooked at the way you guys paint and can't be assed looking on other sites for bad paint jobs so I wait for you guys to realise more and Im asking for you to make them be released sooner because I just want to get playing but refuse to unless there painted and no one does as good a job as you guys but I get I'm just pushy :/
I would love to release these sooner, but sadly they take ages to produce and I have a day job. I haven't painted anything but Hobbit stuff for 7 weeks now and am starting to burn out.
I have scheduled the next three tutorials for Wednesdays and Saturdays but they may get brought forward depending on posts from other members of Tale of Painters.
I have 6 models left to paint of the whole set, but I really think I'm going to take a break for a week before I return to finish the set.
As for the scribe and terrain. This is already painted. It didn't warrant a tutorial because the wood is rhinox hide and then drybrushed with baneblade brown and washed with black. Use the same method for the scribes crane. To paint the scribe use the Goblin tutorial.
Anon above me is right,maybe you guys should release them more often and could you guys do the scribe and scenery and to make it easier maybe two in one,I don't know I guess you guys are the pros just want to get my set done sooner rather then later.but all so good and great help gw needs people like you and for free,I've seen people making others have to pay for tutorials so you people are great
All of your tutorials are brilliant they were so much help,please don't stop doing his series theyre all awesome but just wish I knew when the others would be out to check back as I spend hours scouring the Internet for tutorials you guys haven't released yet just to be dissapoibted because the quality isn't there like yours so keep it going and you must be very busy but maybe release the new ones more recently?…sorry for long message I'm a great talker 🙂
Thanks again, really appreciate these tutorials, please keep up the good work 🙂
thanks for share.
Looking good!
Very cool tutorial. He looks very similar to the actual film character, so congrats for that!
Ludovic
Thanks, keep it going
Great stuff! My models are really taking shape with all your tutorials! Really appreciate your work, thanks again!
Fantastic! Hope you keep going with the tutorials, Garfy. They are incredibly awesome and incredibly useful, man.
GW need to learn quite a bit from you!
Man, this just keeps getting better! Thanks again for this very useful tutorial!
This is a topic that is close to my heart… Take care!
Exactly where are your contact details though?
Here is my web blog : how to get your ex back free
+1 to thanks from silent fan of your great paint jobs from Poland 🙂
Keep going with remaining Hobbit tutorials , please )))))
Especially with Radagast, if possible.
As I have come to expect from this series, this is another excellent tutorial. Must read , great quality content. Thank you.