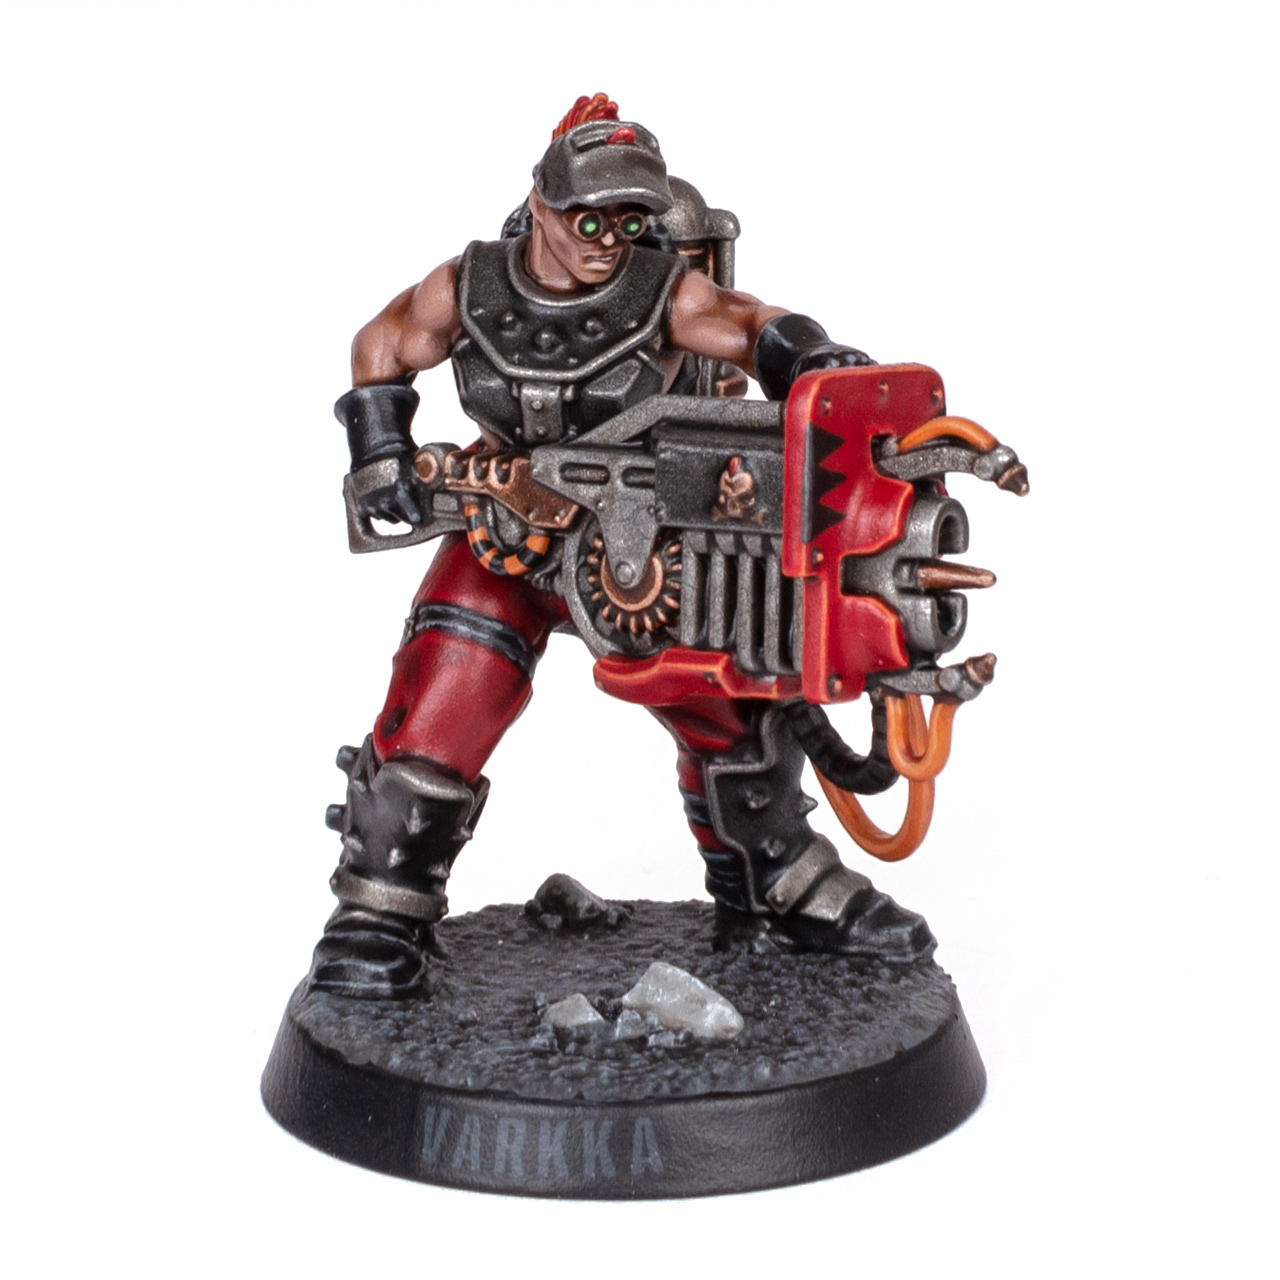
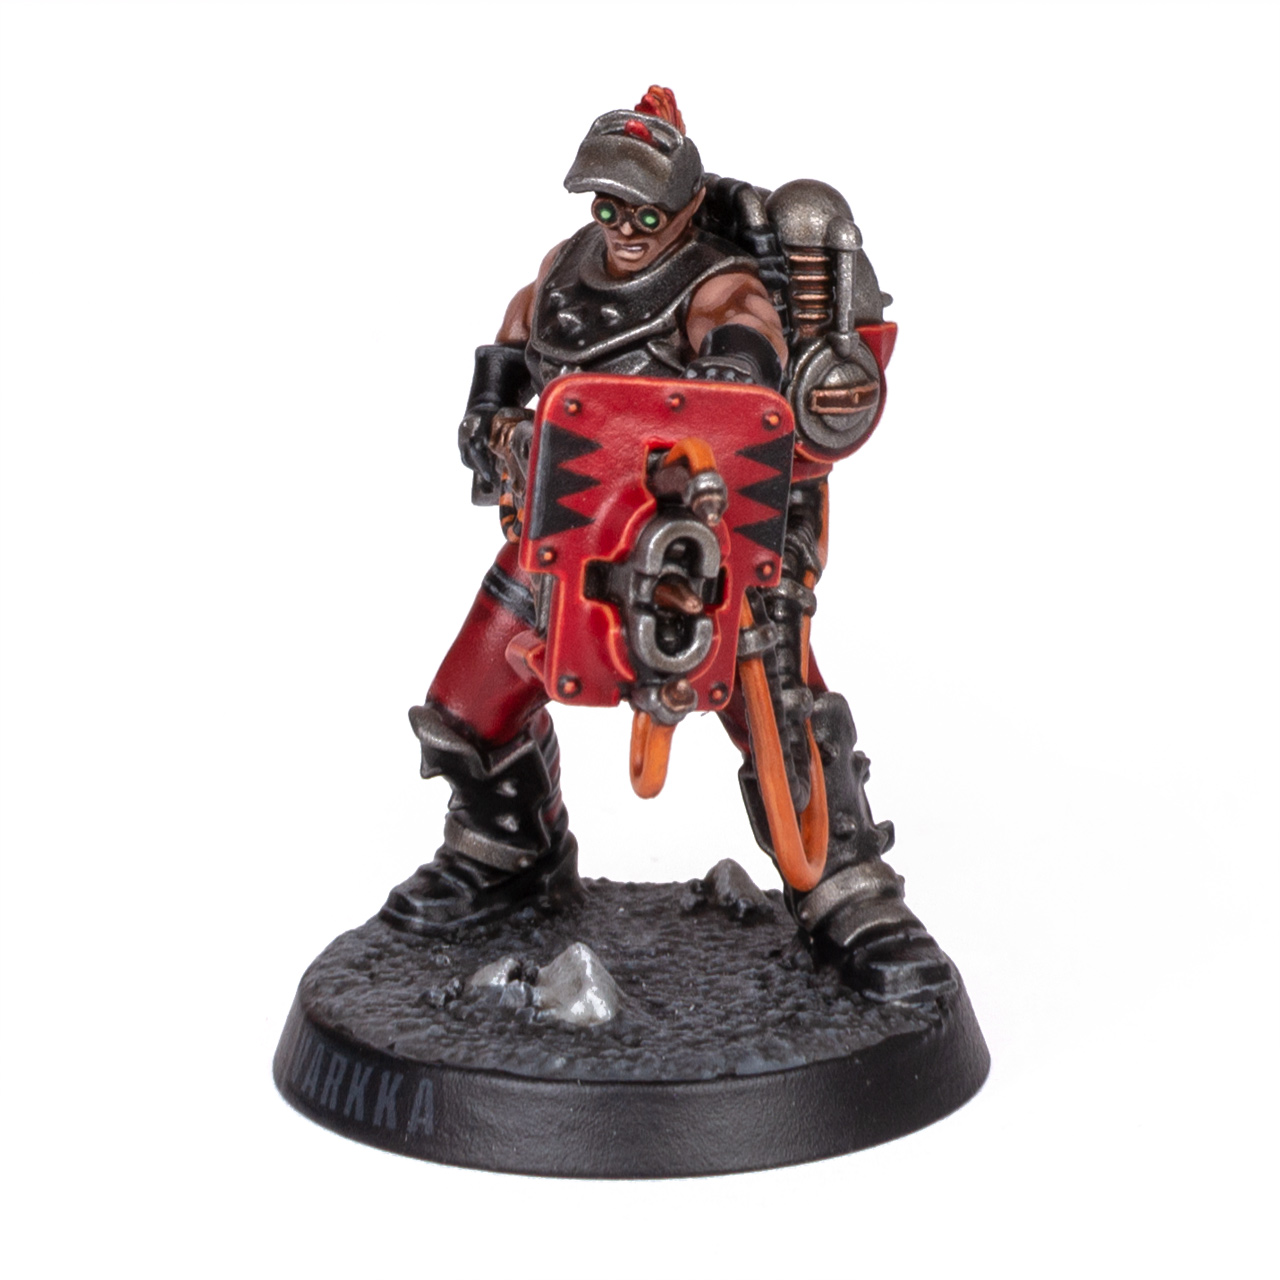
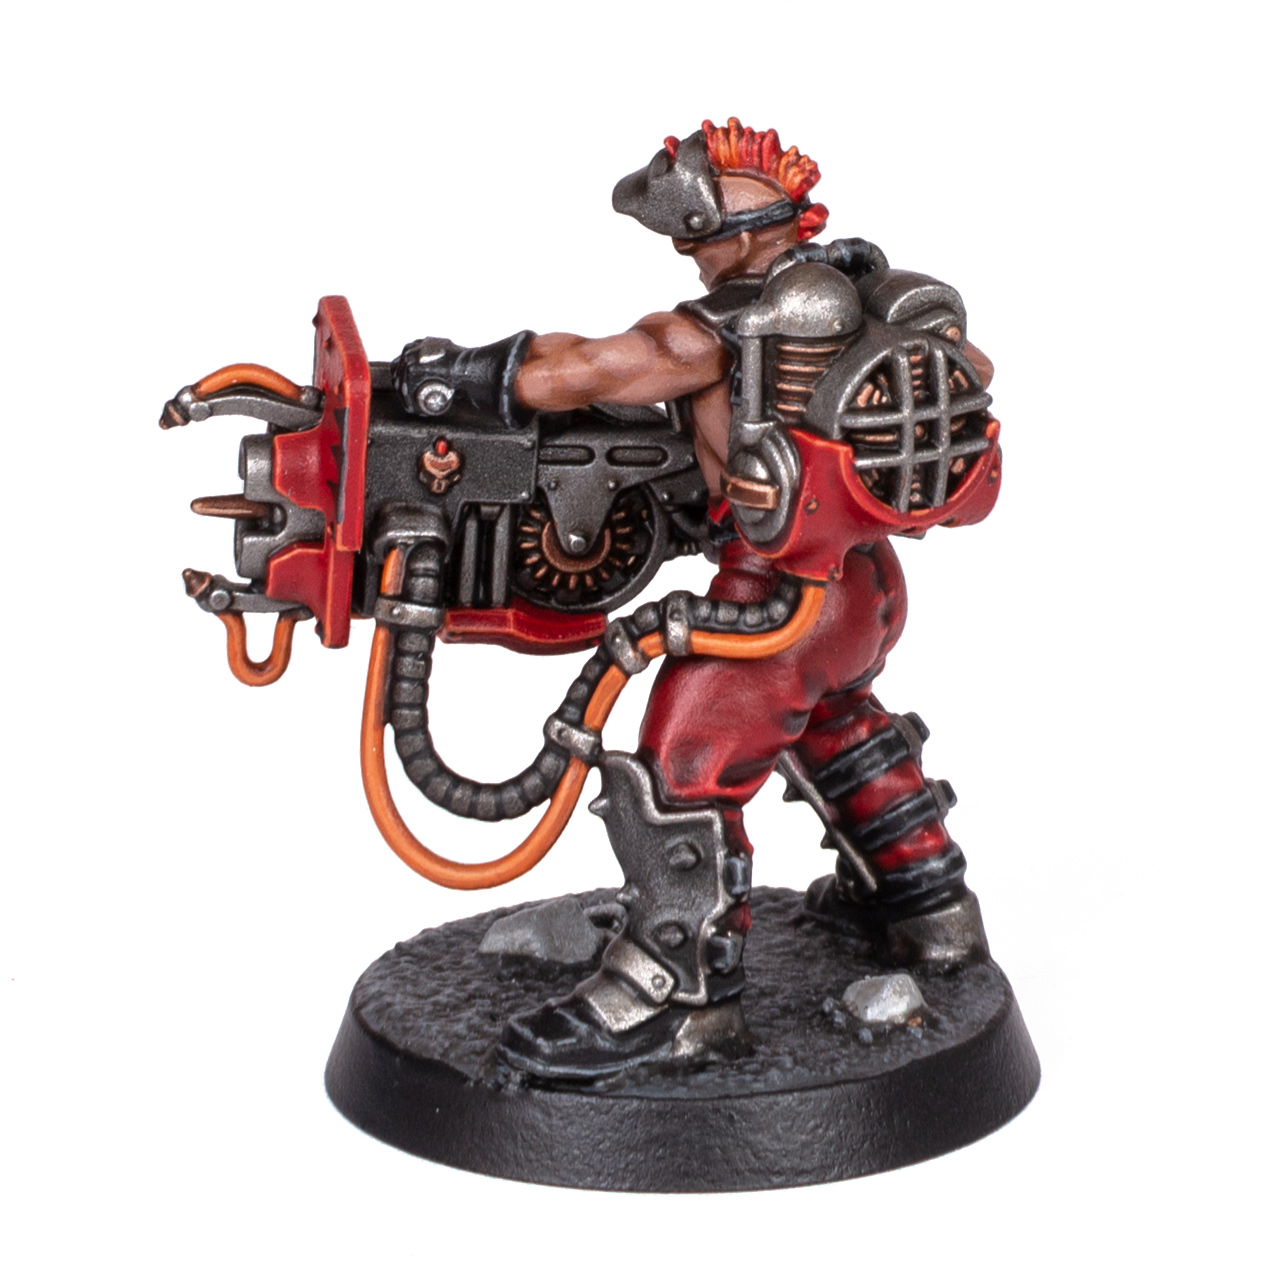
In this post, I’ll show you how to paint a Goliath Forge-Born Ganger from Necromunda in 45 easy to follow steps. You’ll learn how to save time painting metallics thanks to Leadbelcher primer and Contrast paints, how to paint tanned skin, black worn leather, and much more. Find out more in this tutorial.
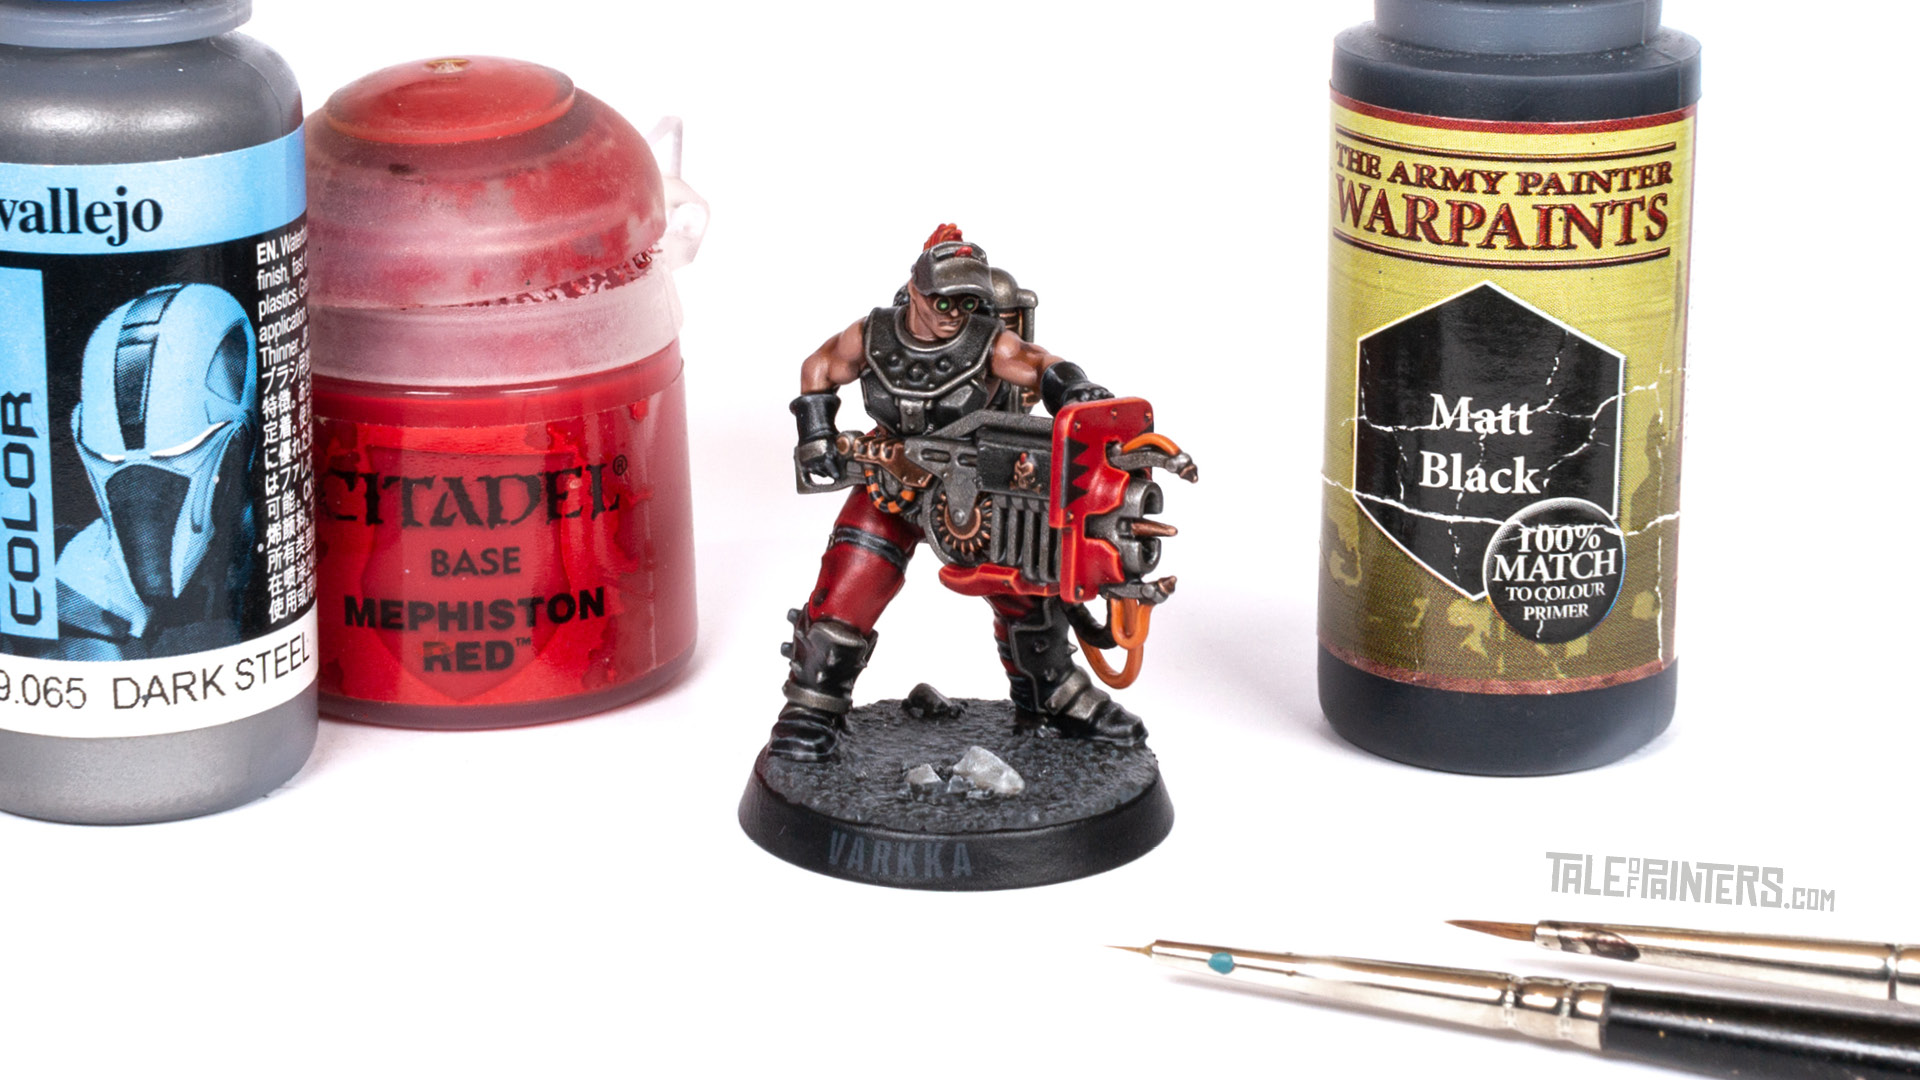

This tutorial assumes you have a good understanding of how to paint Warhammer miniatures. Underneath each picture is the corresponding instruction. Each step shows the paint(s) I used. I have a rather eclectic paint collection, so when I use a paint that’s not from Games Workshop or out of production, I’ll try to provide you with suitable alternatives from the current Citadel paint range [in brackets]. However, if you want to achieve the exact same result as shown, you might want to expand your paint collection with the specific colour. You’ll find a list of all the paints used in this tutorial at the end of the post.
How to paint a Goliath Forge-born
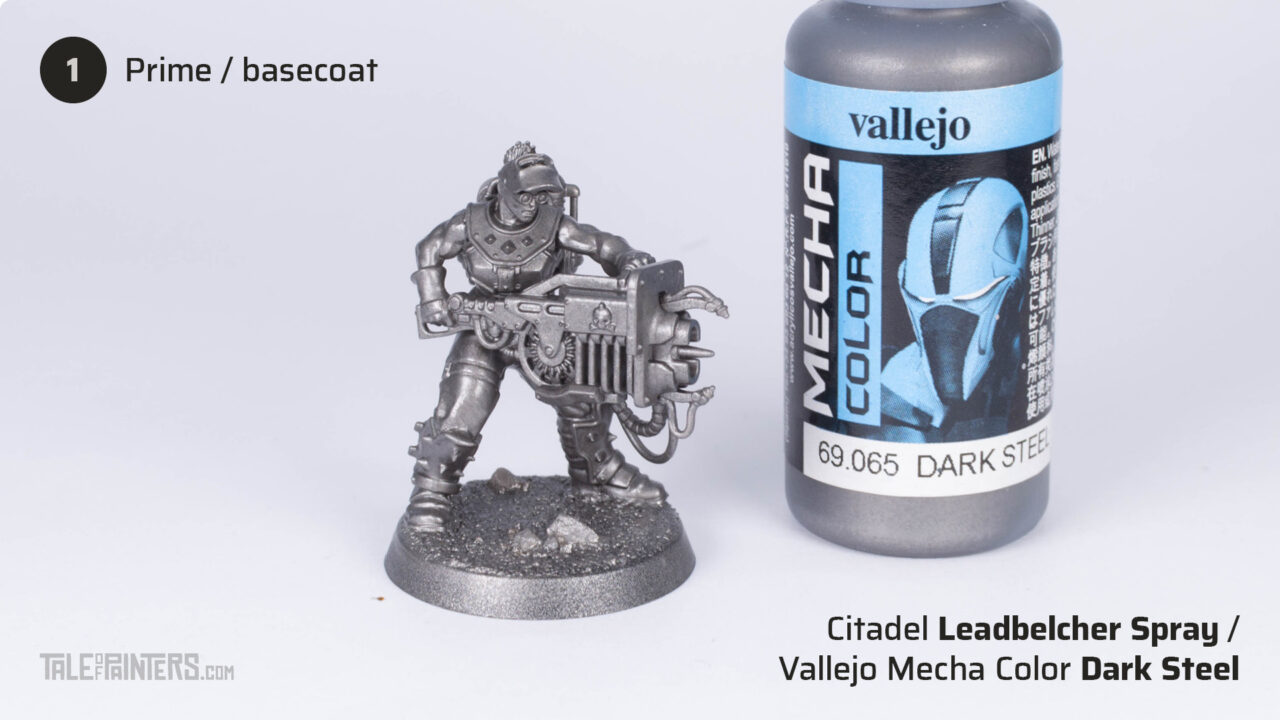

Prime with Leadbelcher Spray. For an even finish, use Vallejo Mecha Color Dark Steel [Leadbelcher] and apply a thin coat over all the metallic areas and all areas the spray primer didn’t reach.
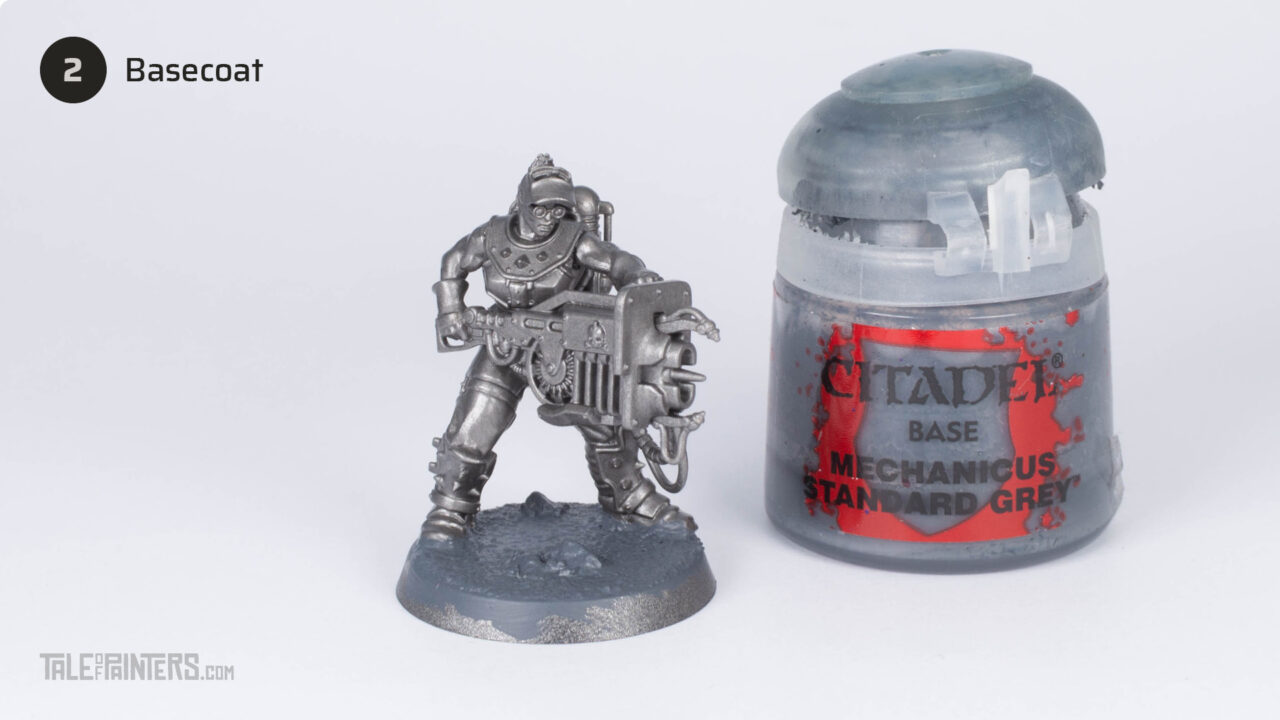

Basecoat the texture of the base with Mechanicus Standard Grey.
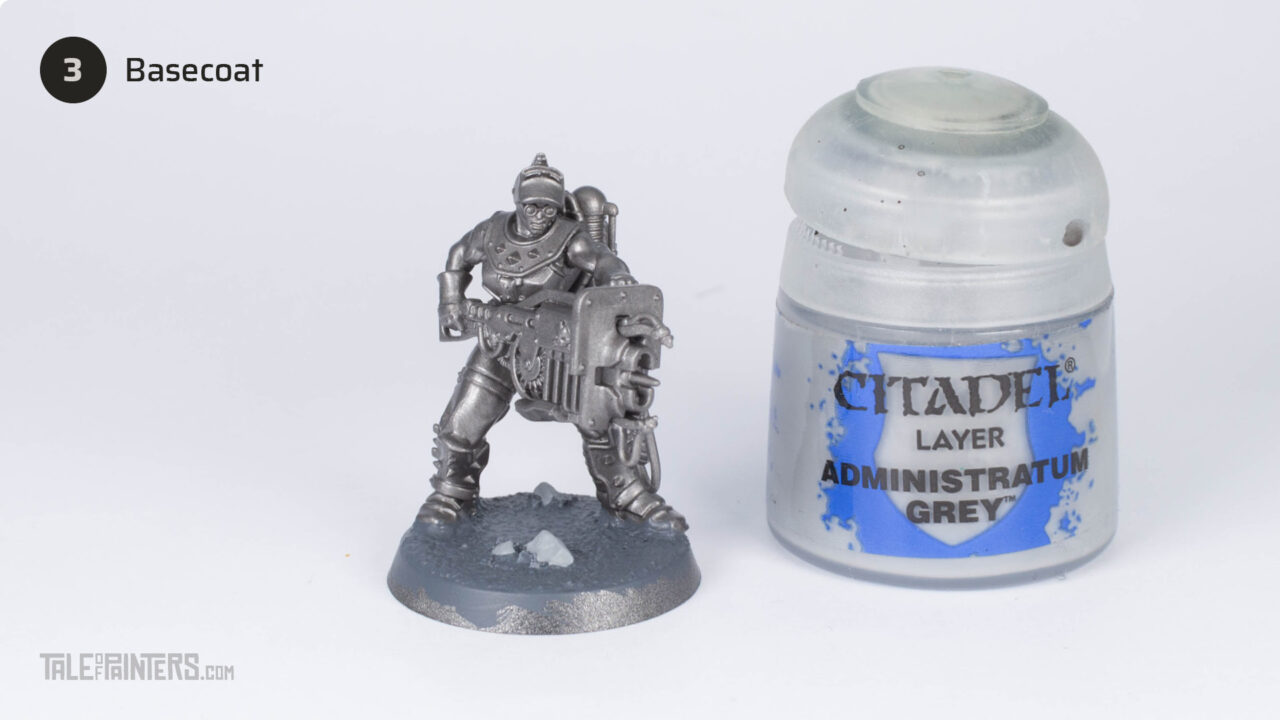

Pick out the small rocks with Administratum Grey. You might need to apply about three thin coats for even coverage. You could also use Ash Grey from The Army Painter’s Warpaints range, which is almost the same colour, but with much better opacity.
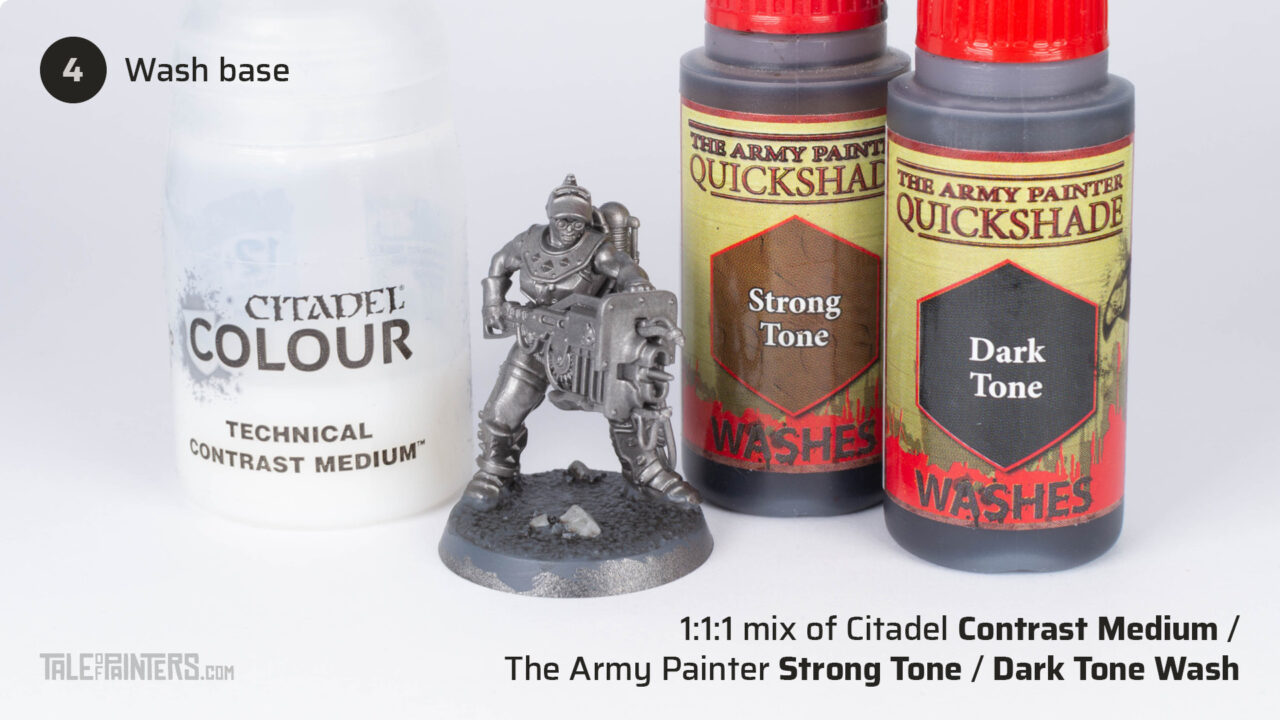

Wash the base with a 1:1:1 mix of Contrast Medium, Strong Tone Wash [Agrax Earthshade], and Dark Tone Wash [Nuln Oil] from The Army Painter.
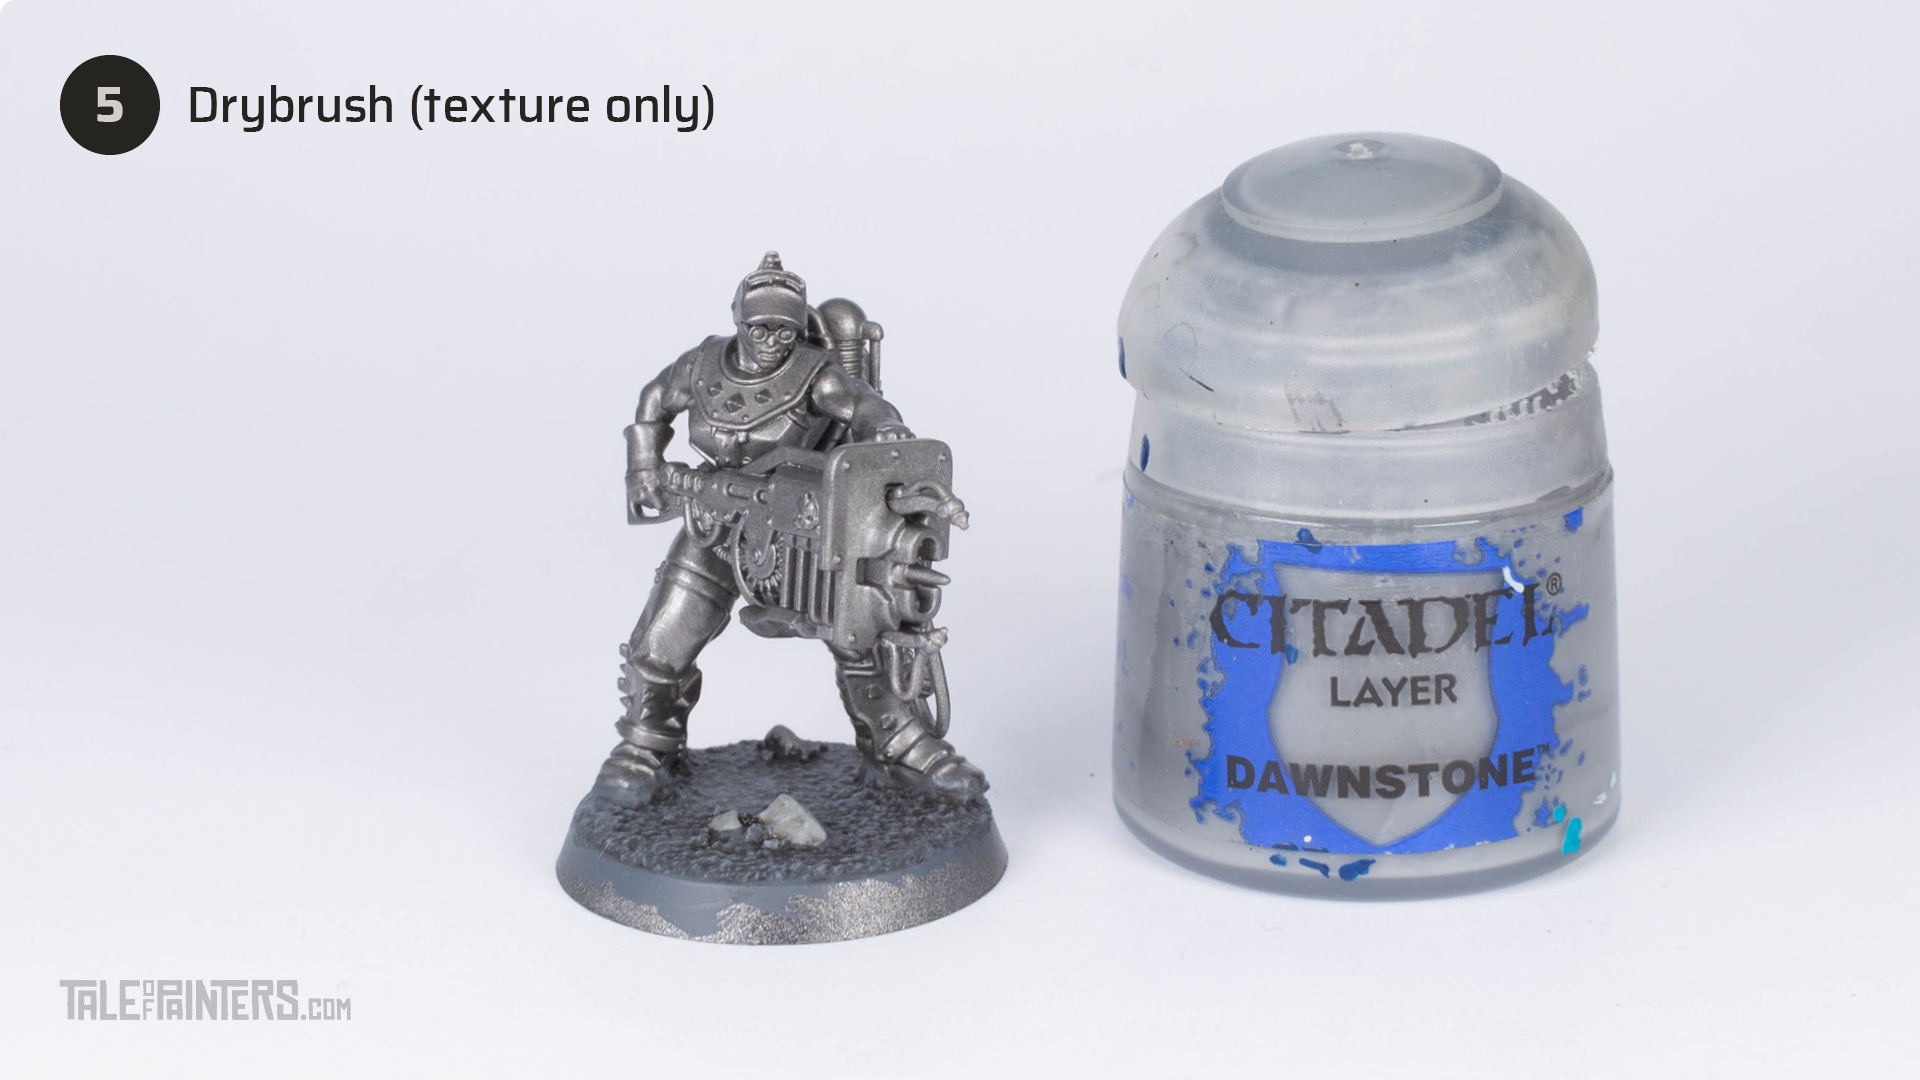

Drybrush only the texture with Dawnstone.
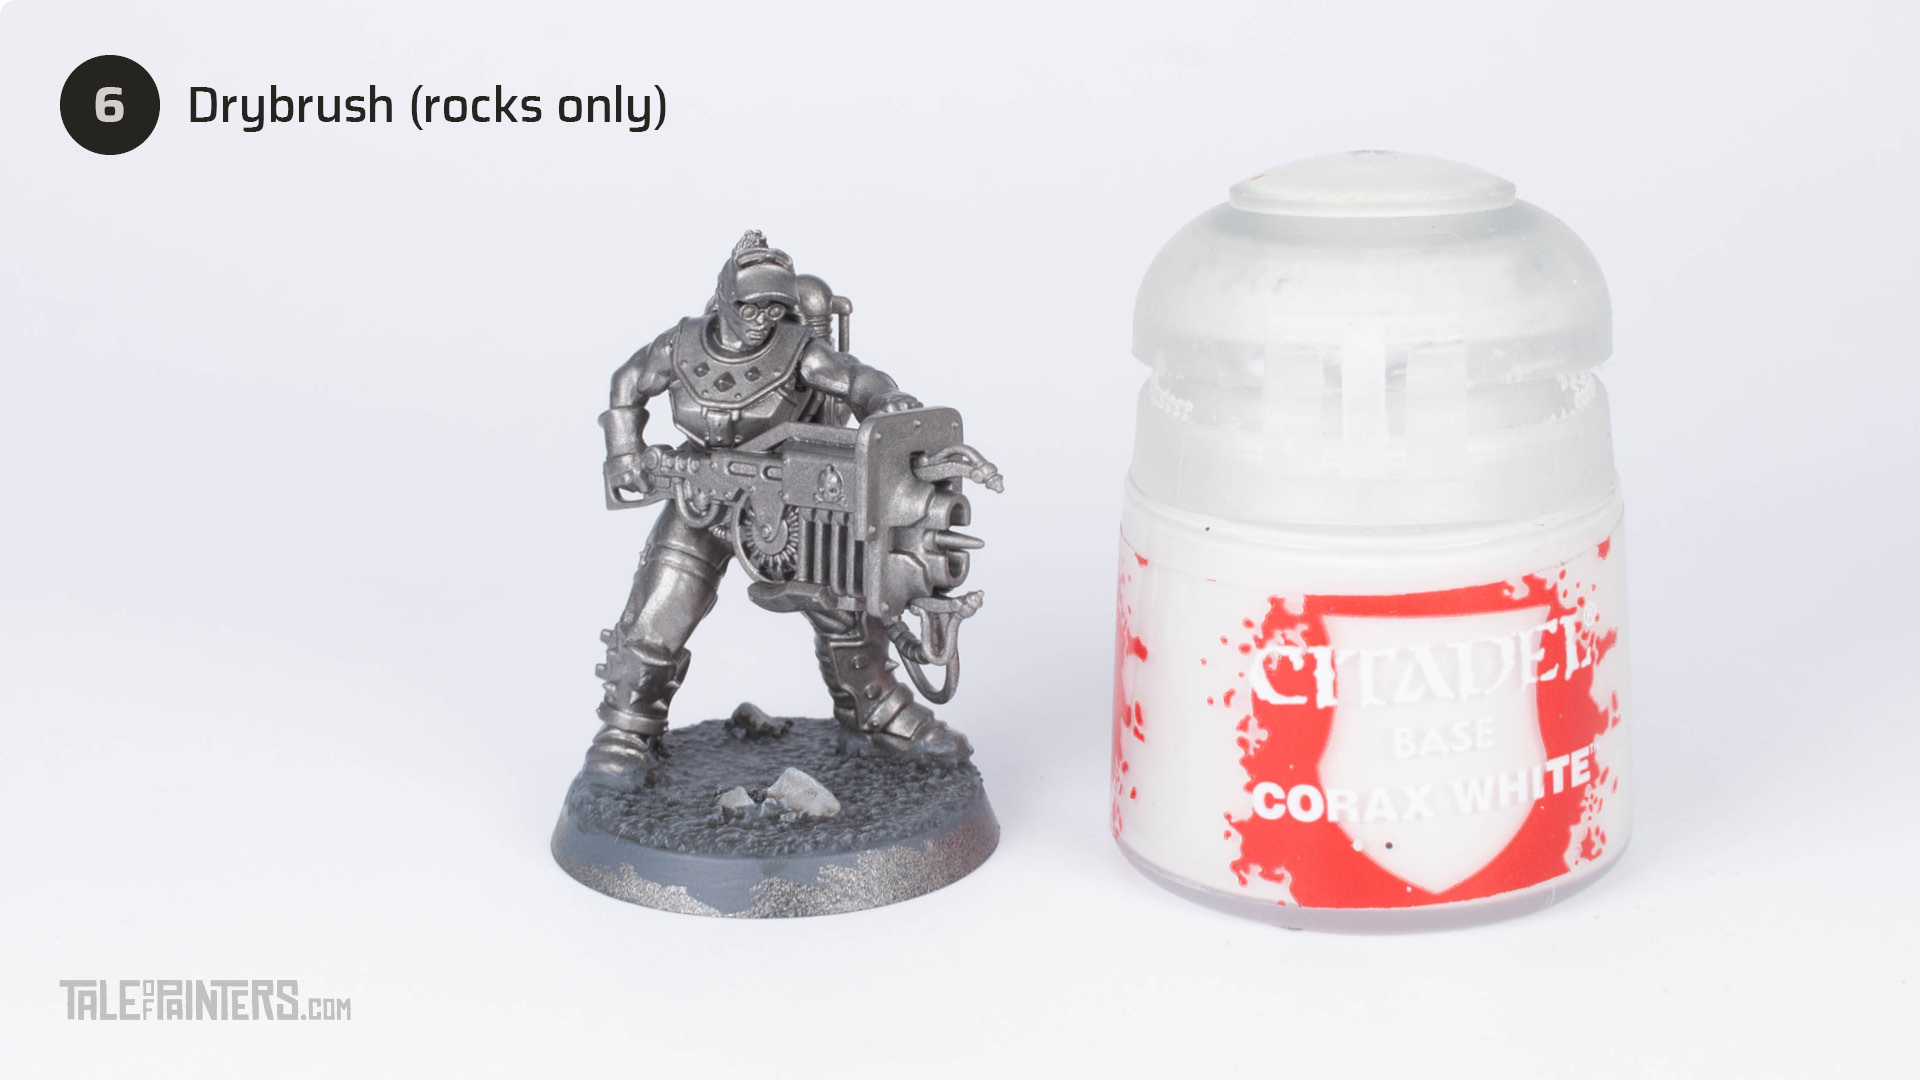

Gently drybrush only the rocks with Corax White.
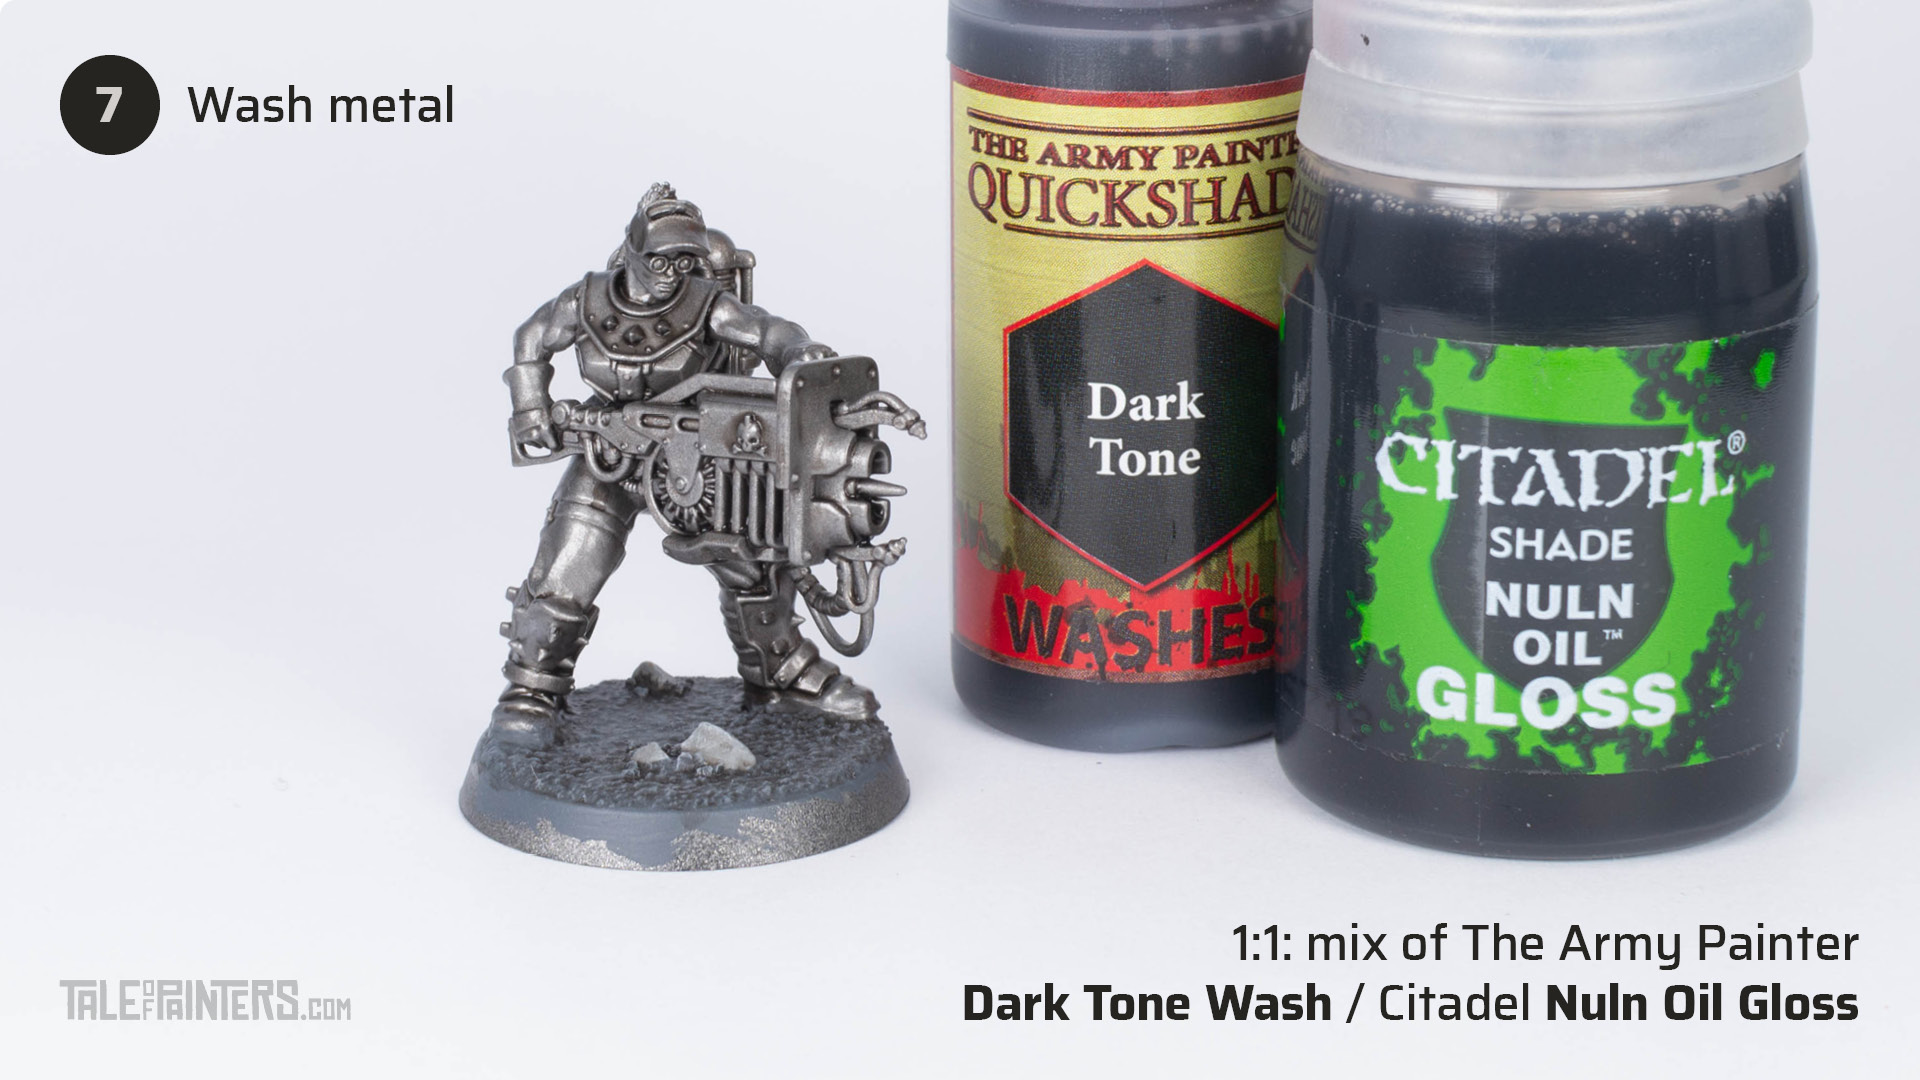

Wash all the metal areas with a 1:1 mix of The Army Painter Dark Tone Wash [Nuln Oil] and Nuln Oil Gloss.
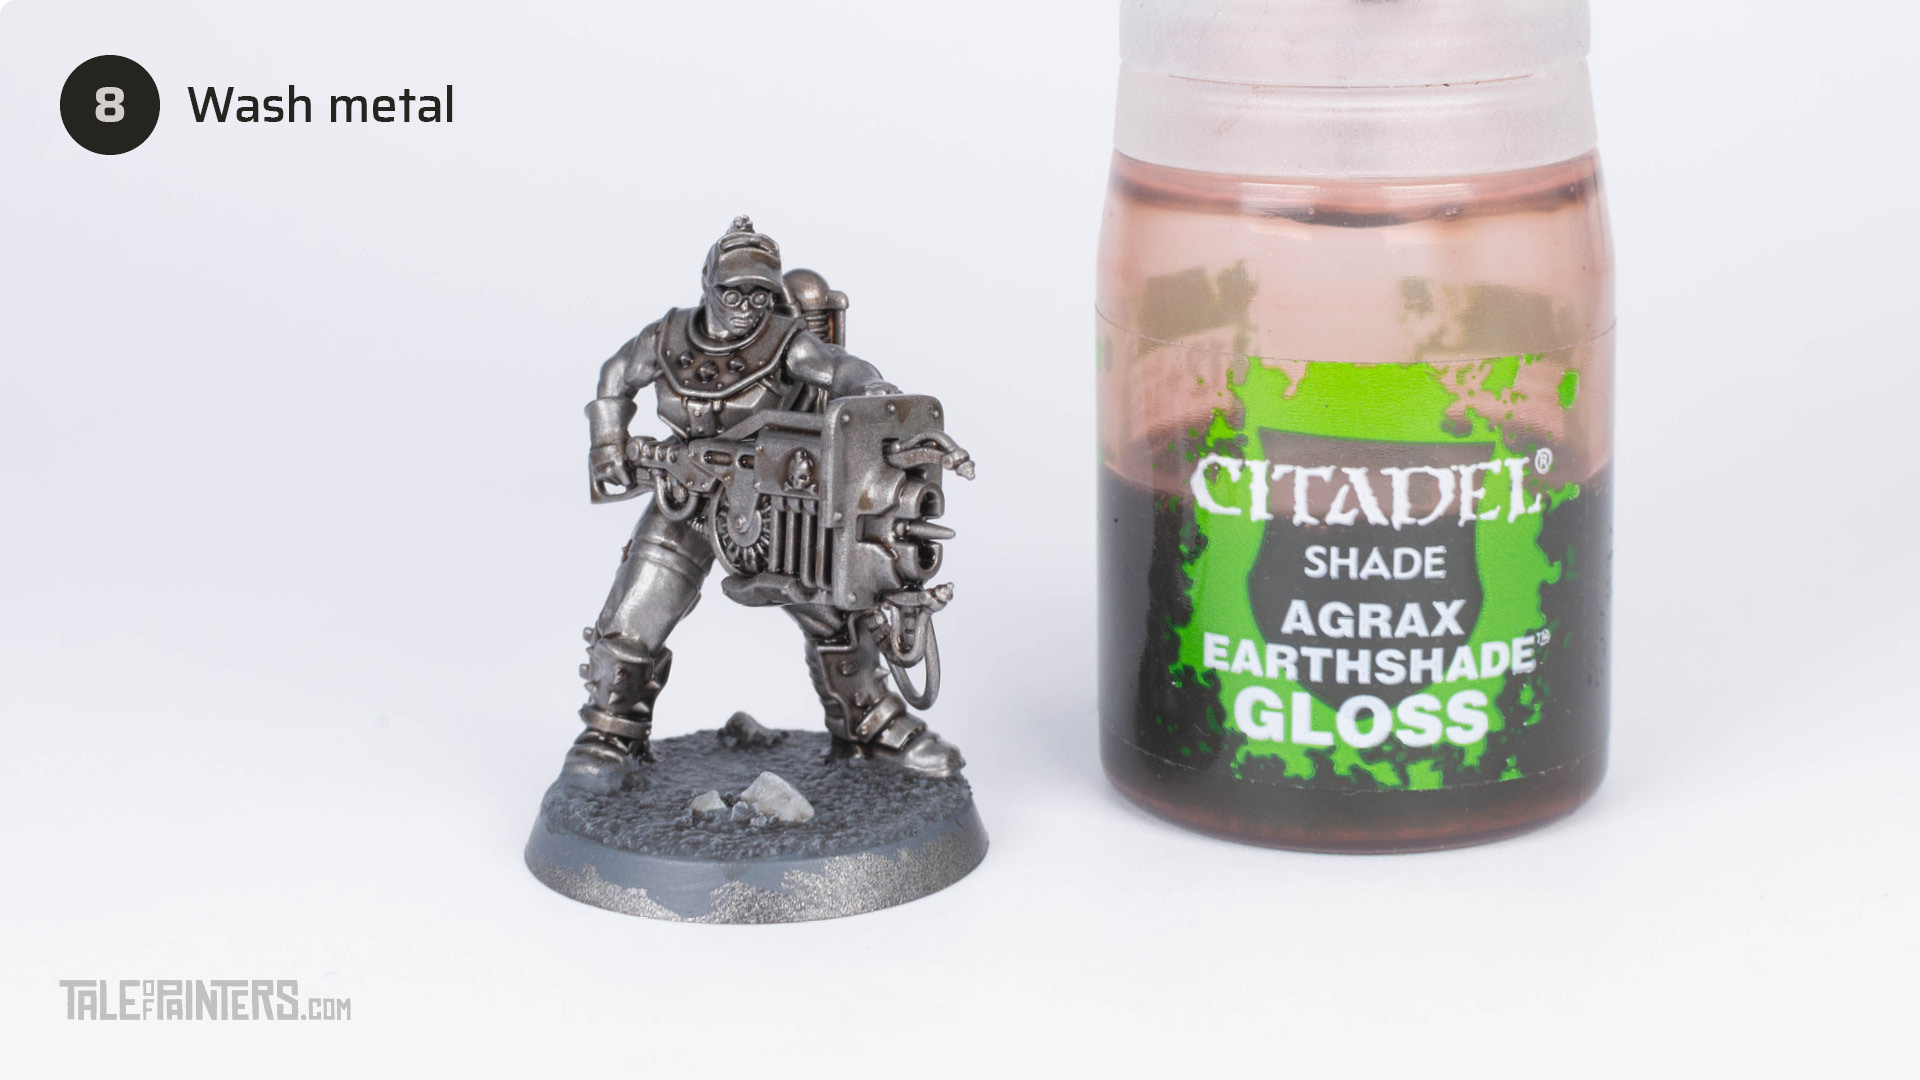

Give the metal another wash of Agrax Earthshade Gloss for an oily steen.
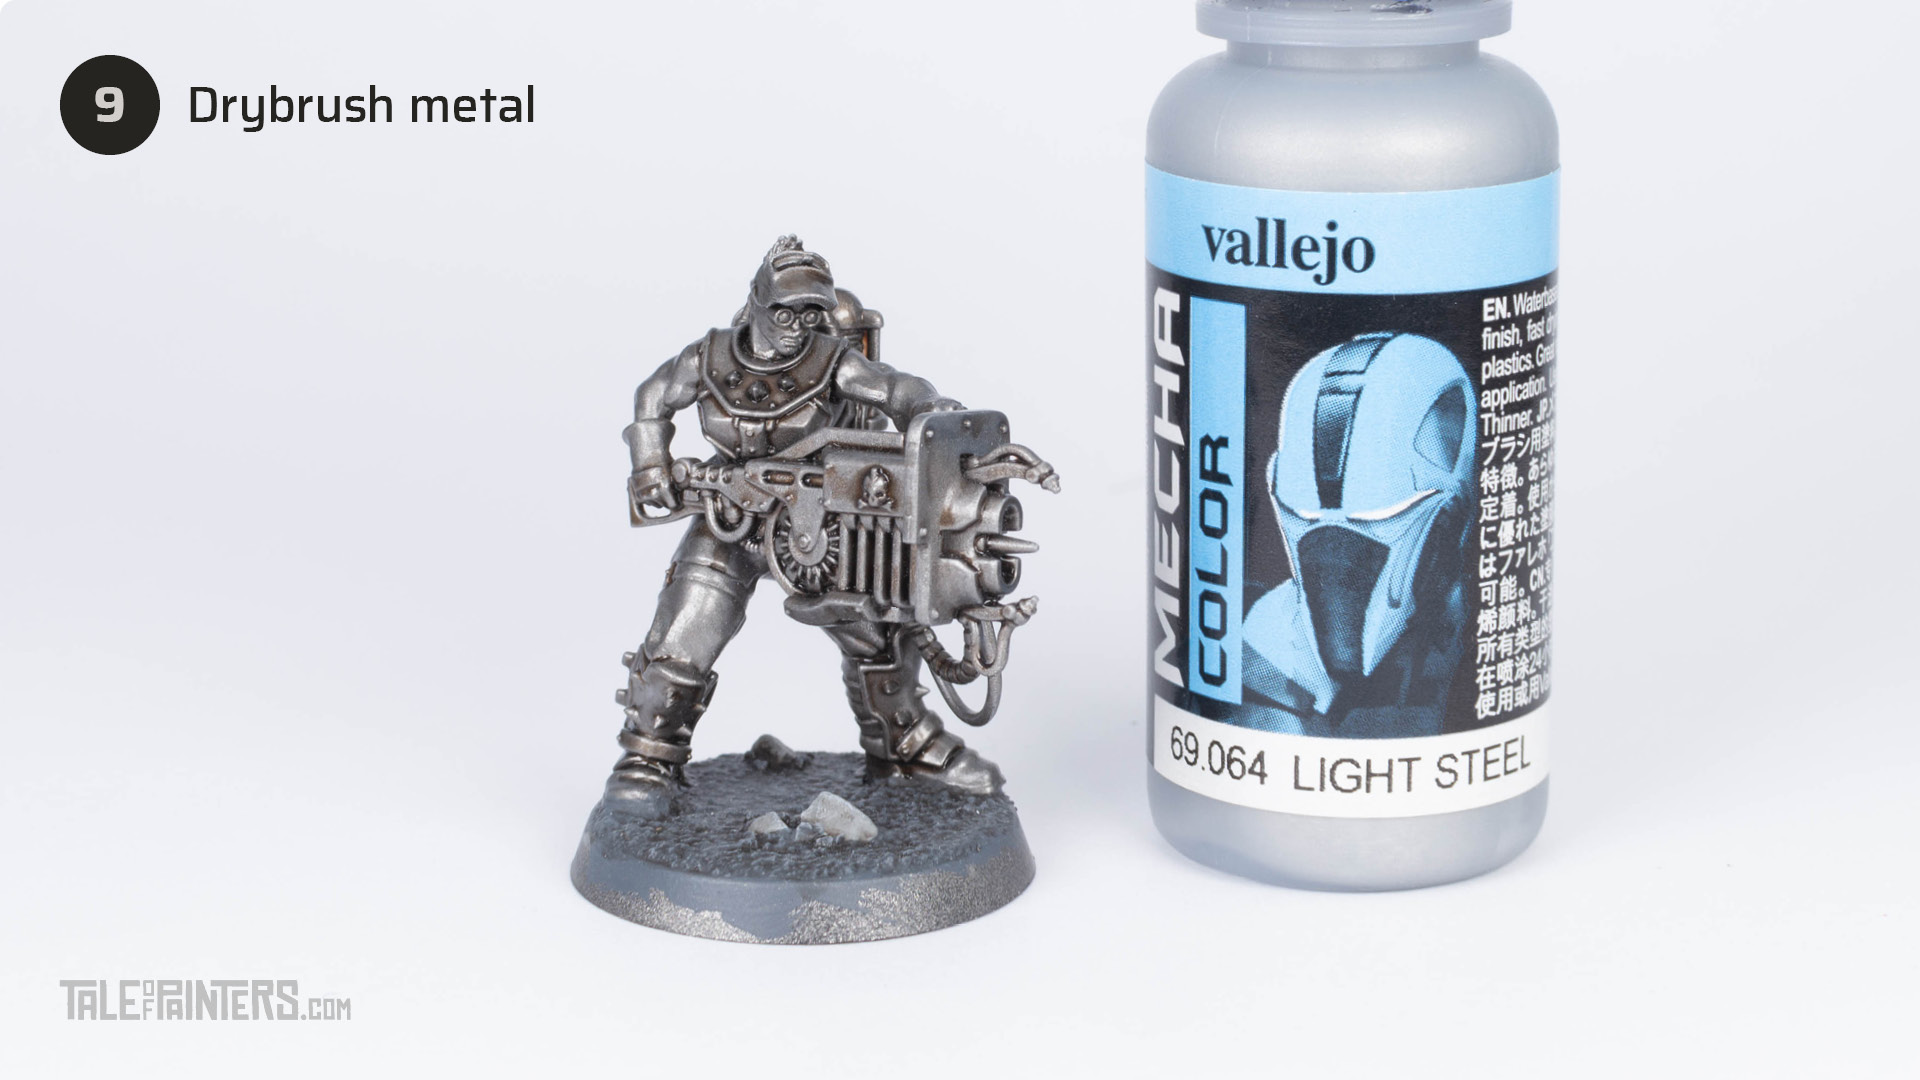

Drybrush the metal with Vallejo Mecha Color Light Steel [or Stormhost Silver].
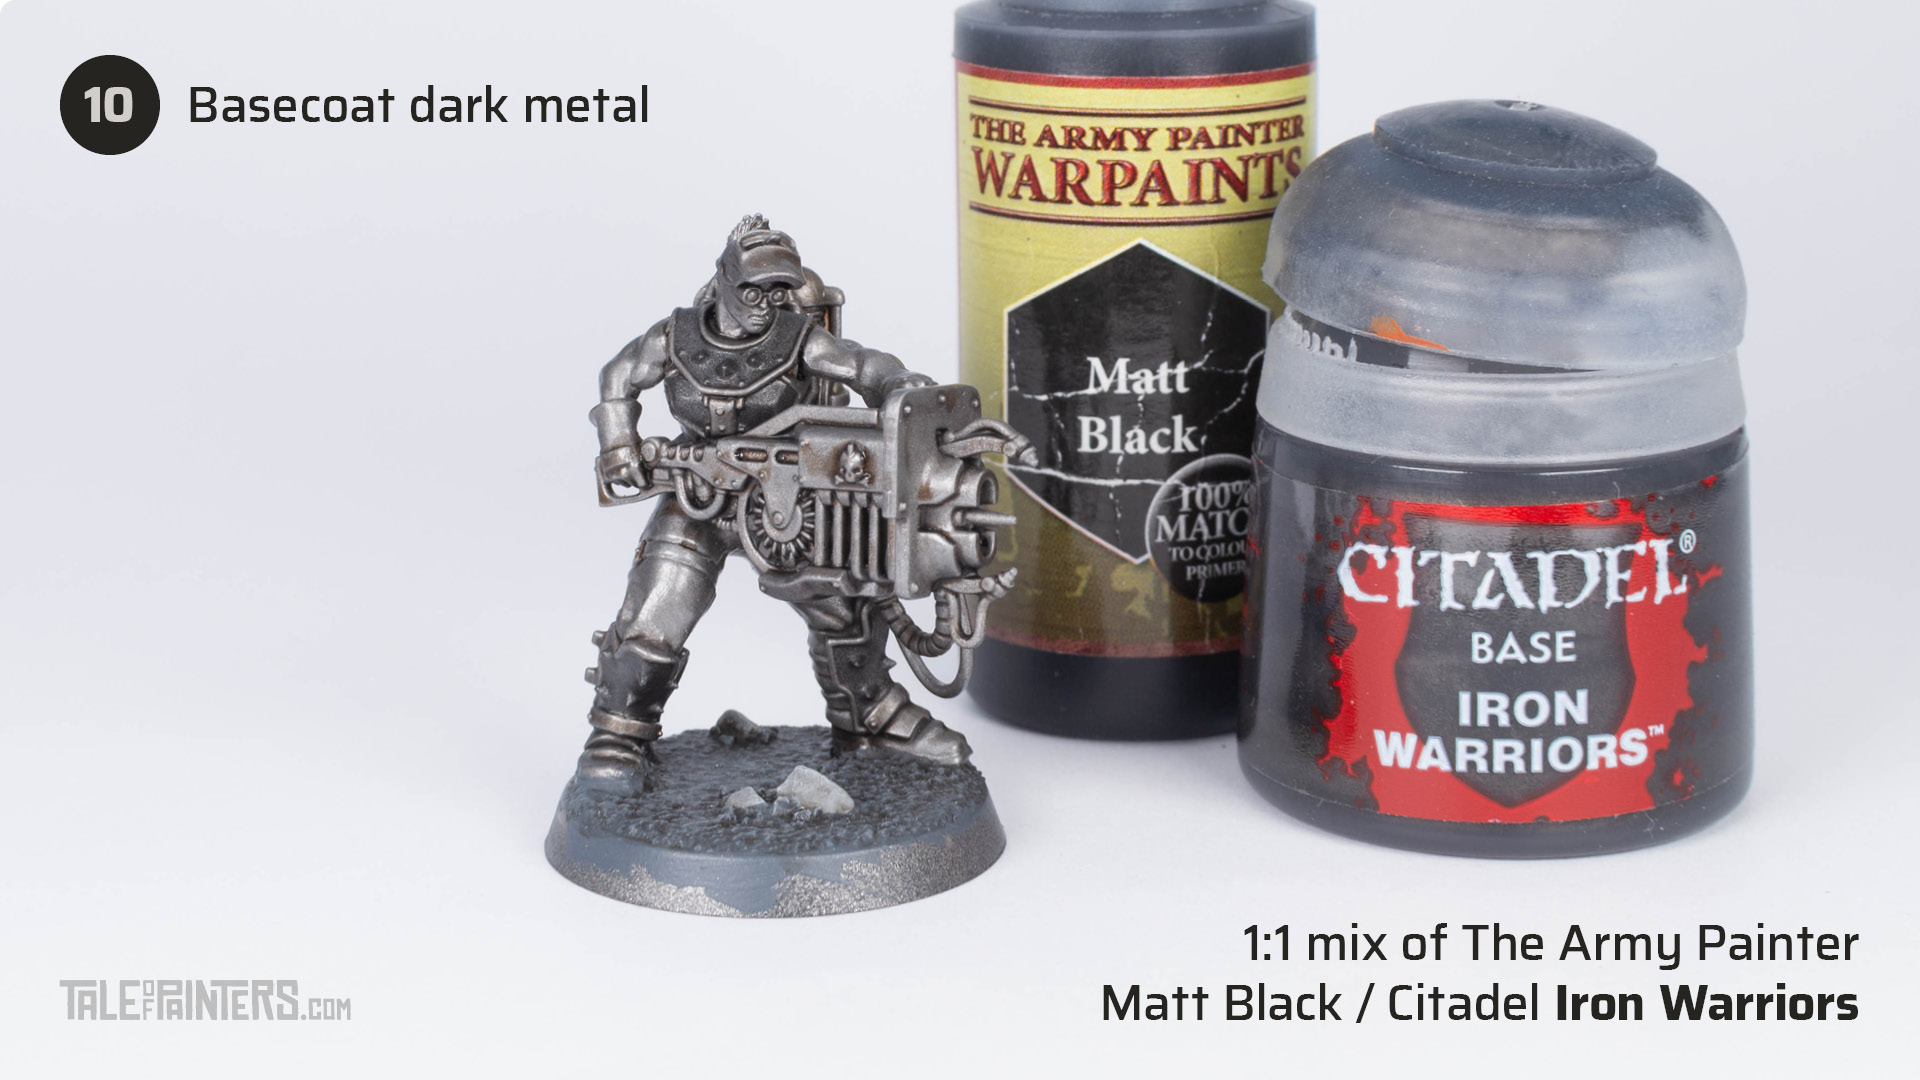

Basecoat the darker metal areas on the armour with a 1:1 mix of Warpaints Matt Black [Abaddon Black] and Iron Warriors.
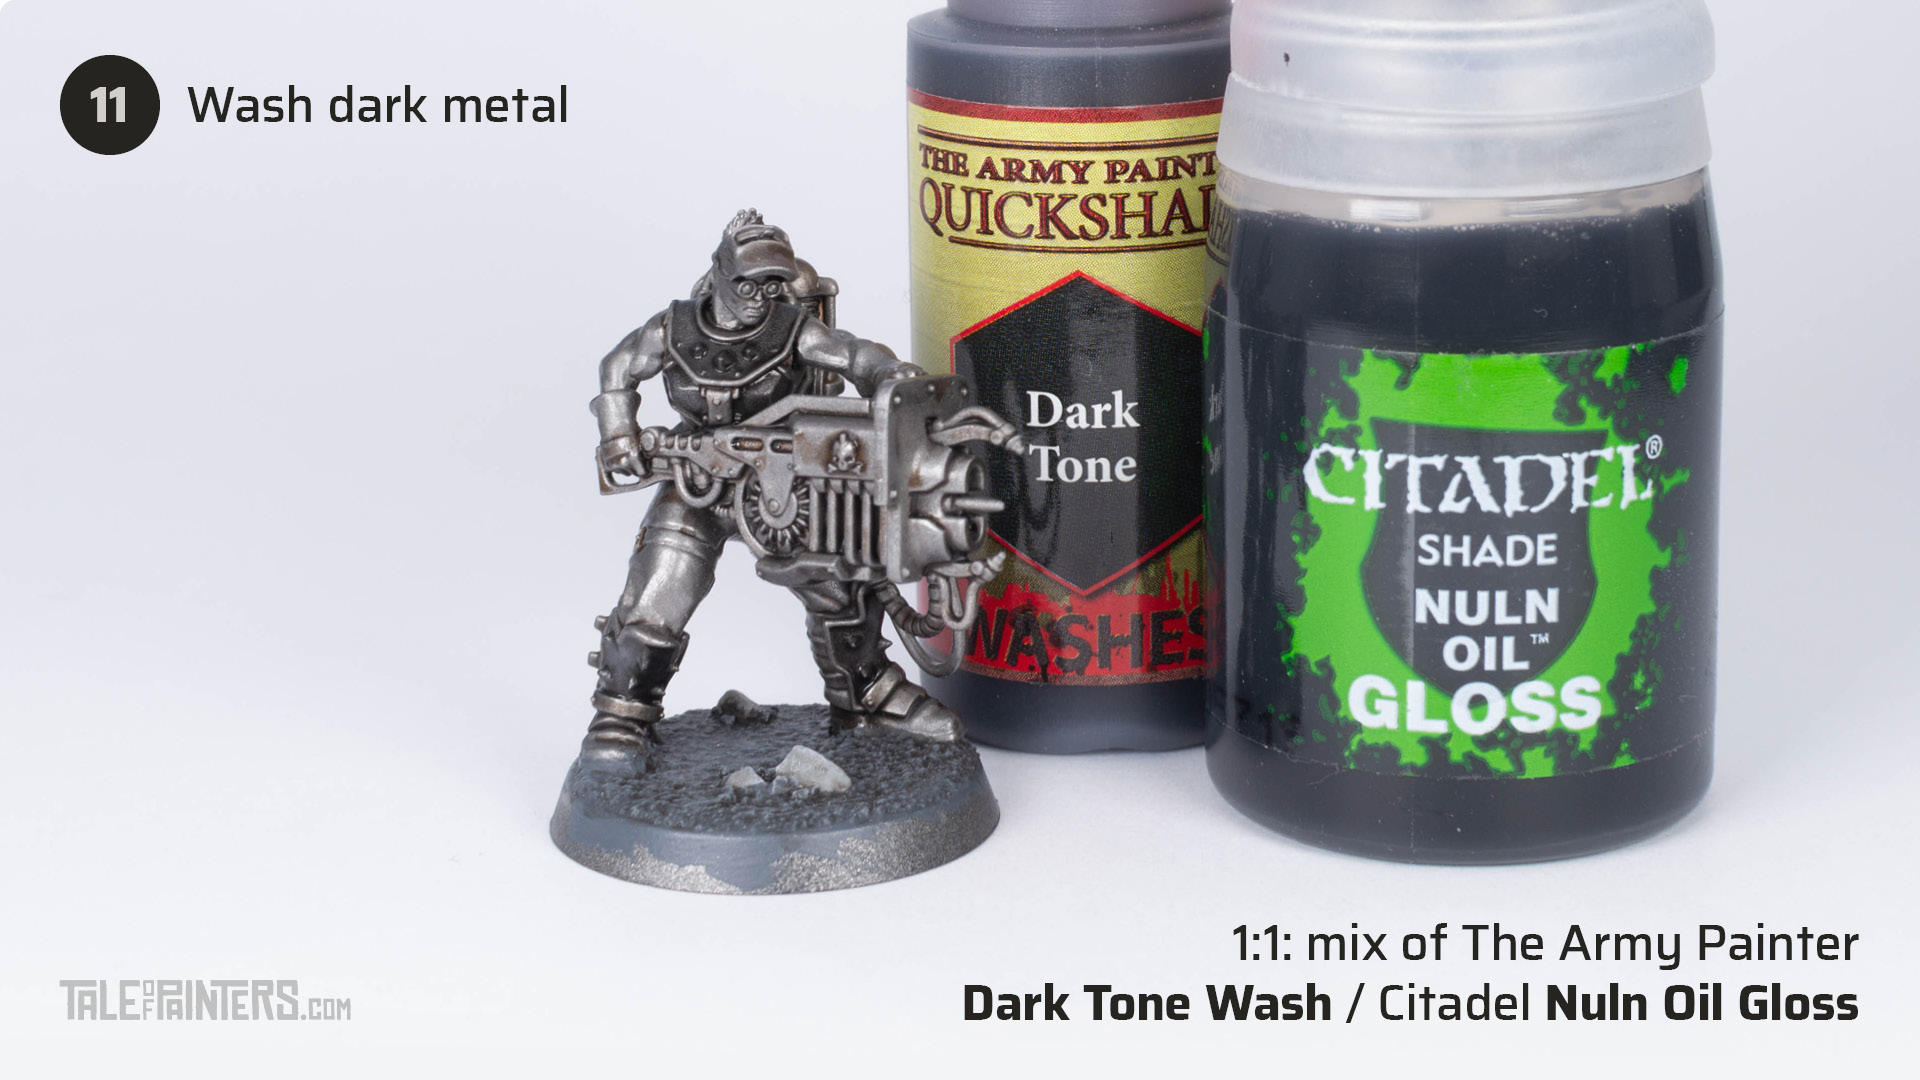

Wash the dark metal with a 1:1 mix of The Army Painter Dark Tone Wash [Nuln Oil] and Nuln Oil Gloss.
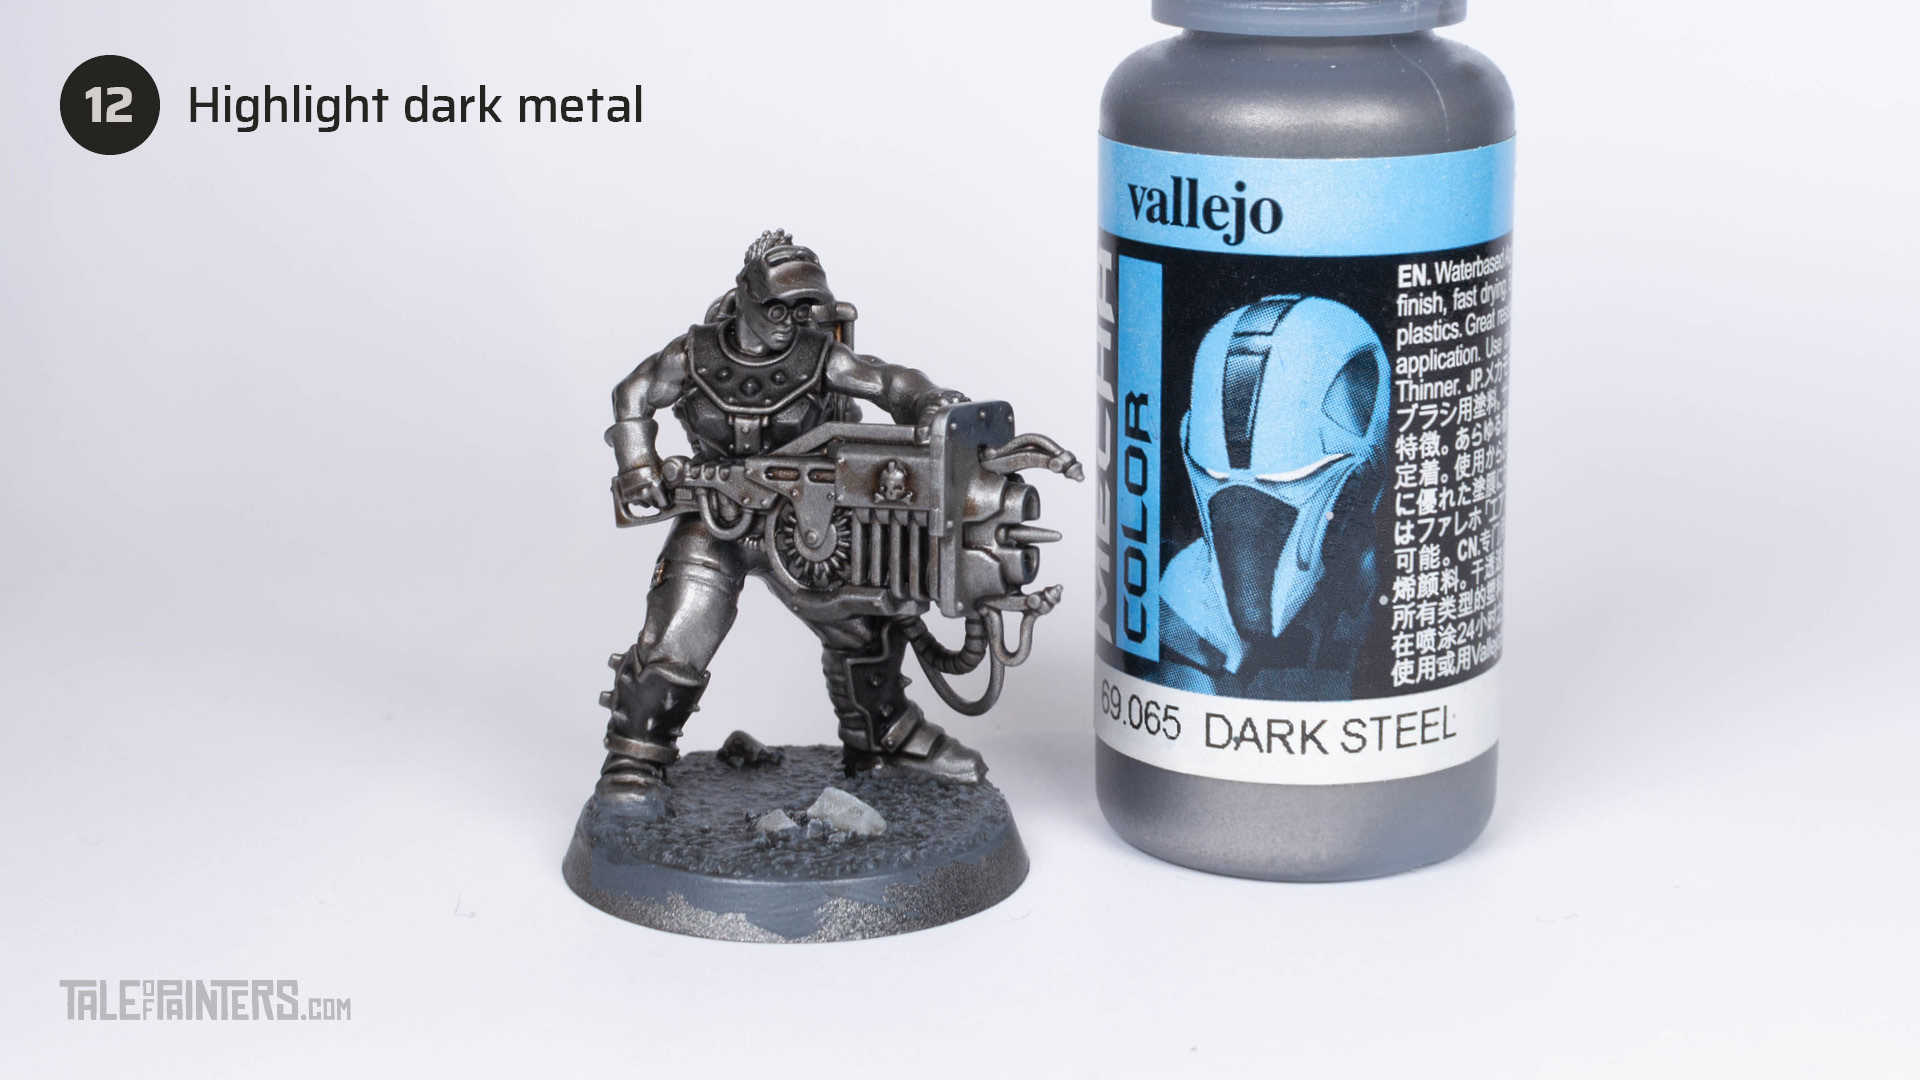

Highlight the dark metal with Vallejo Mecha Color Dark Steel [Leadbelcher].
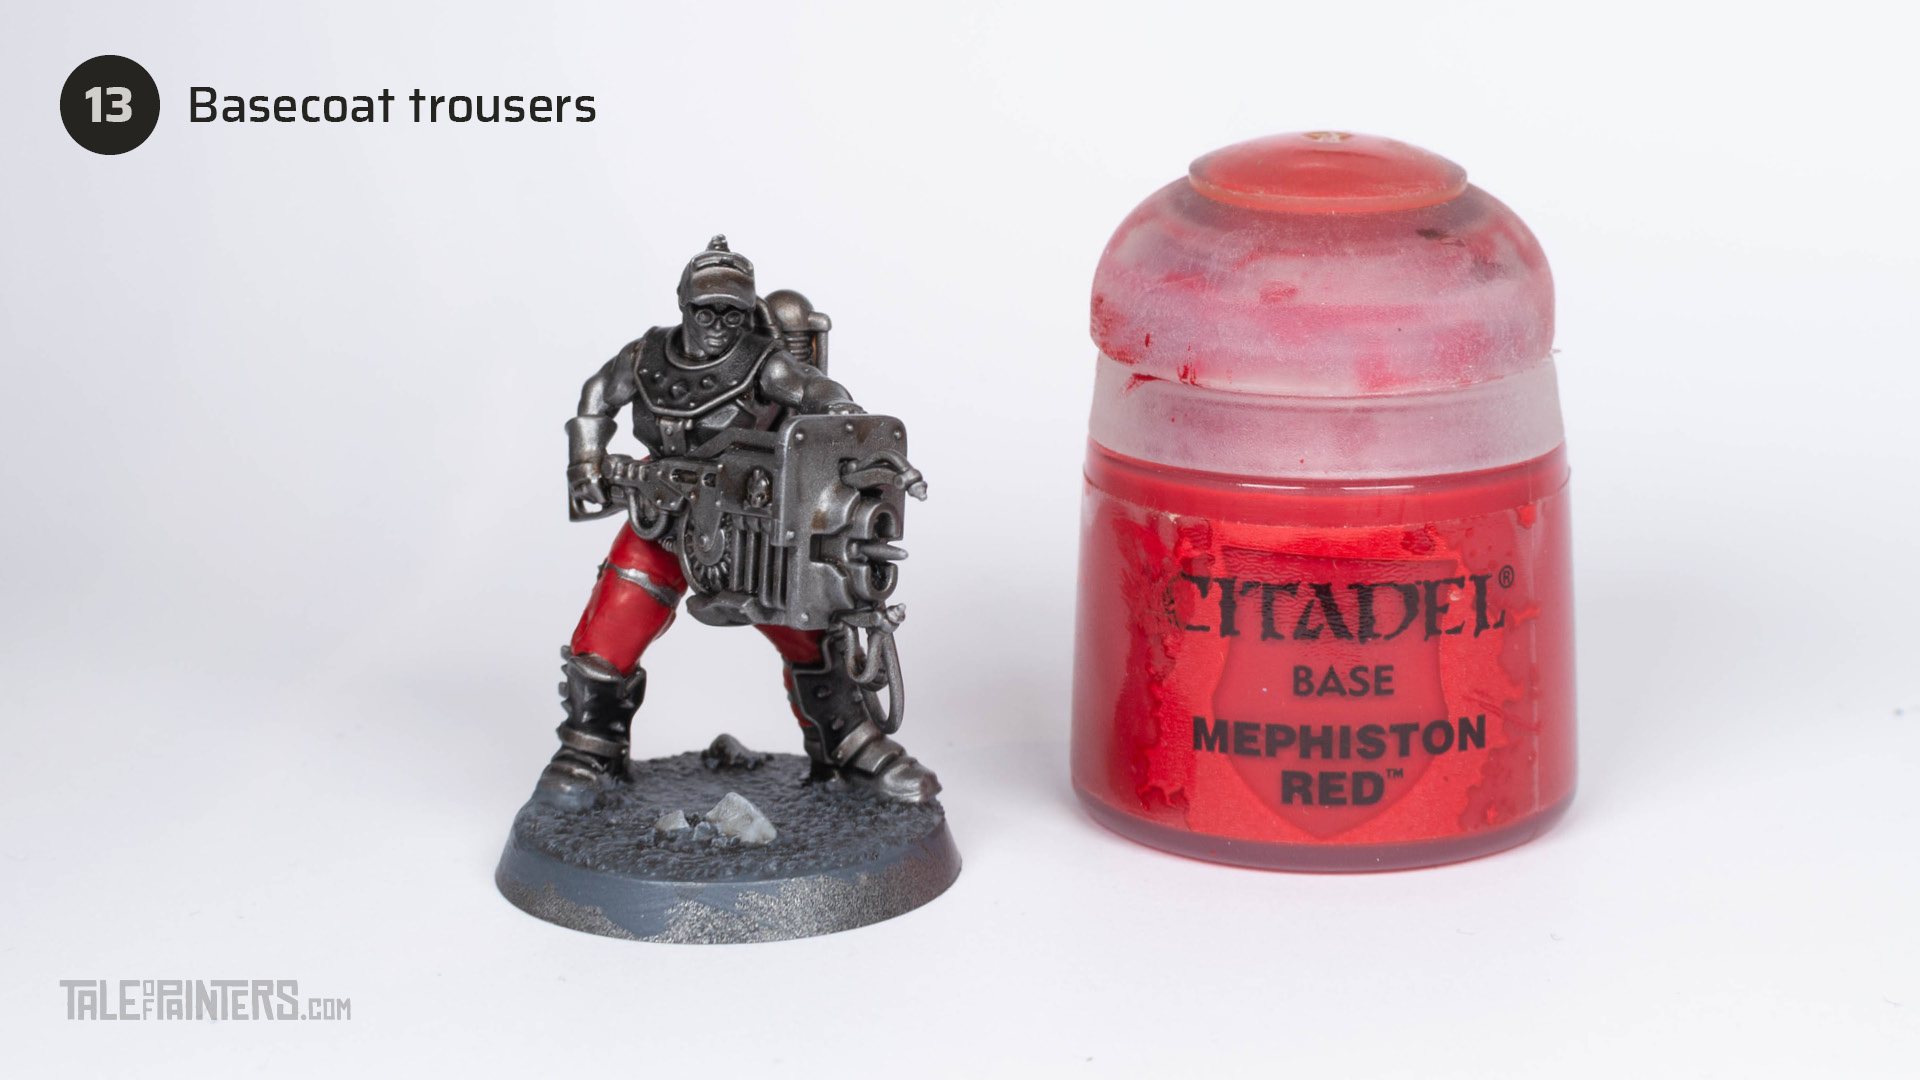

Basecoat the trousers with Mephiston Red.
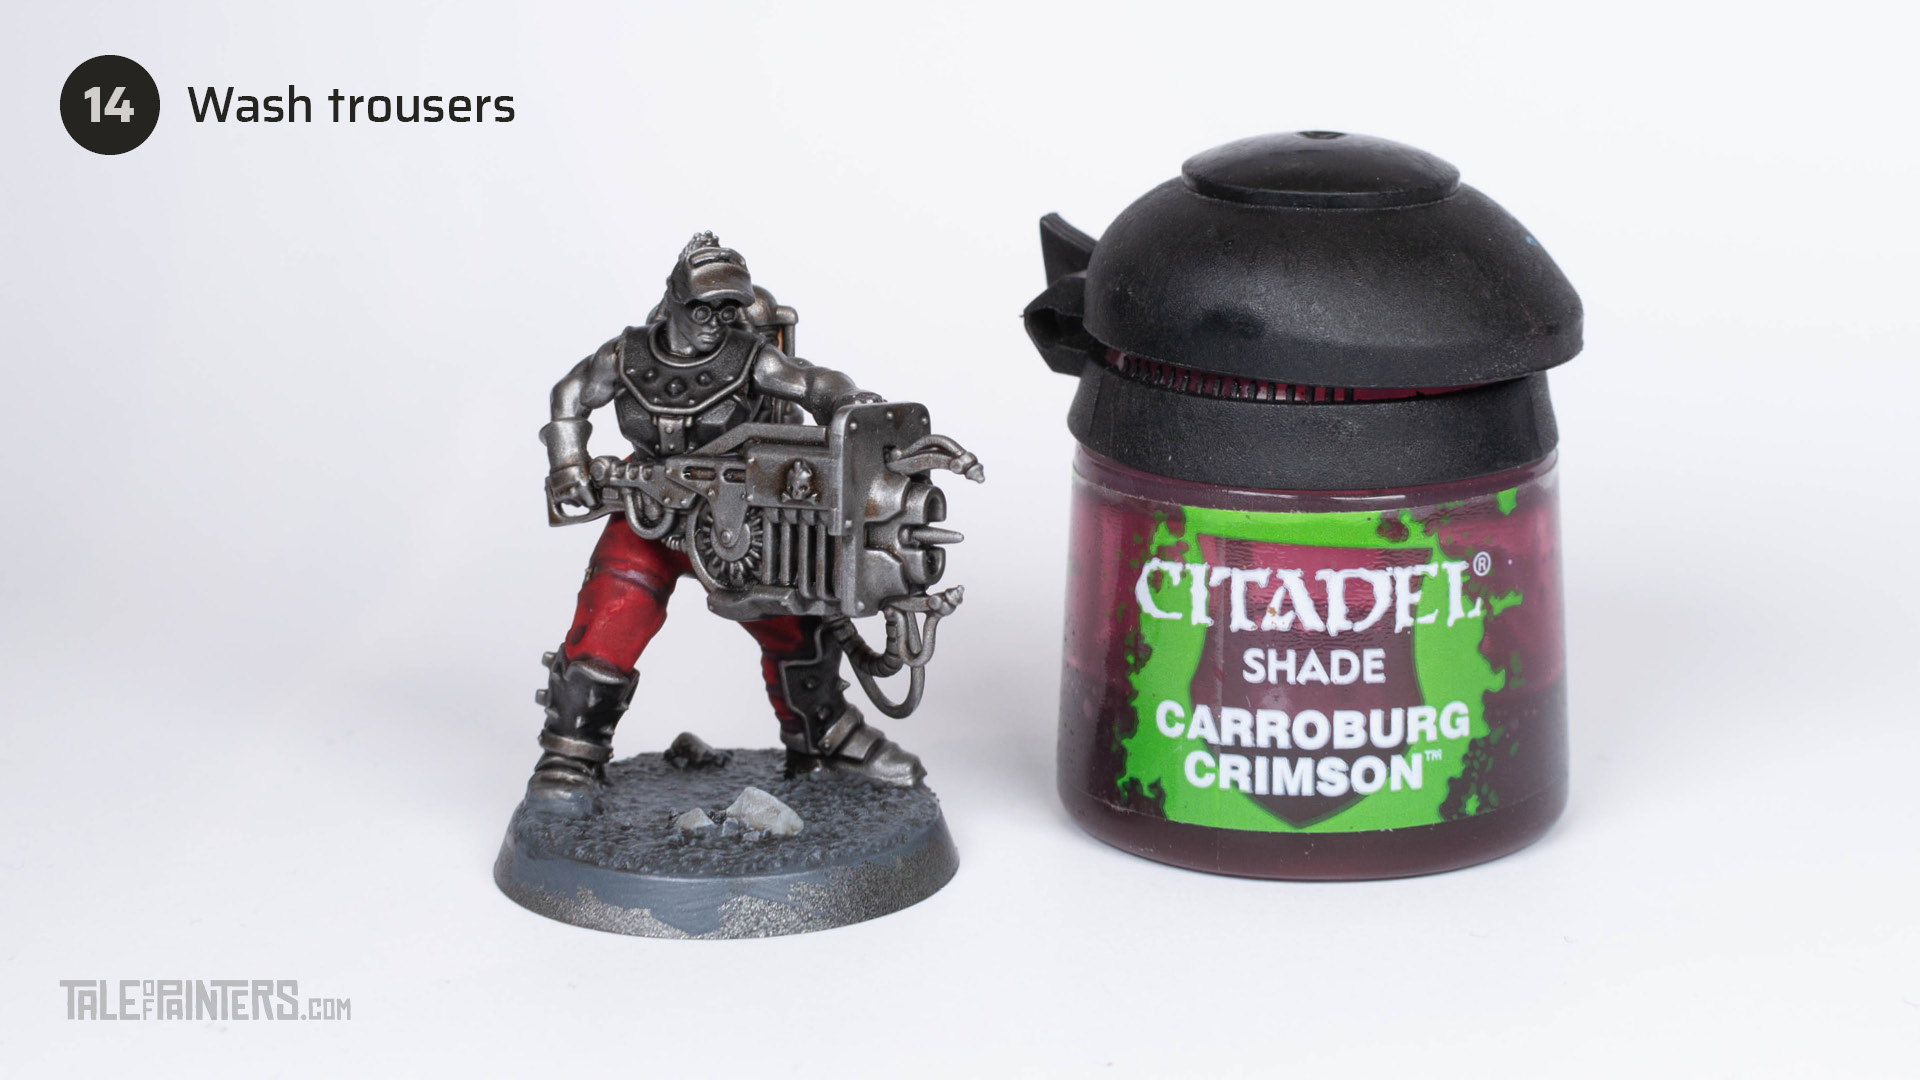

Give the trousers an all-over wash with Carroburg Crimson.
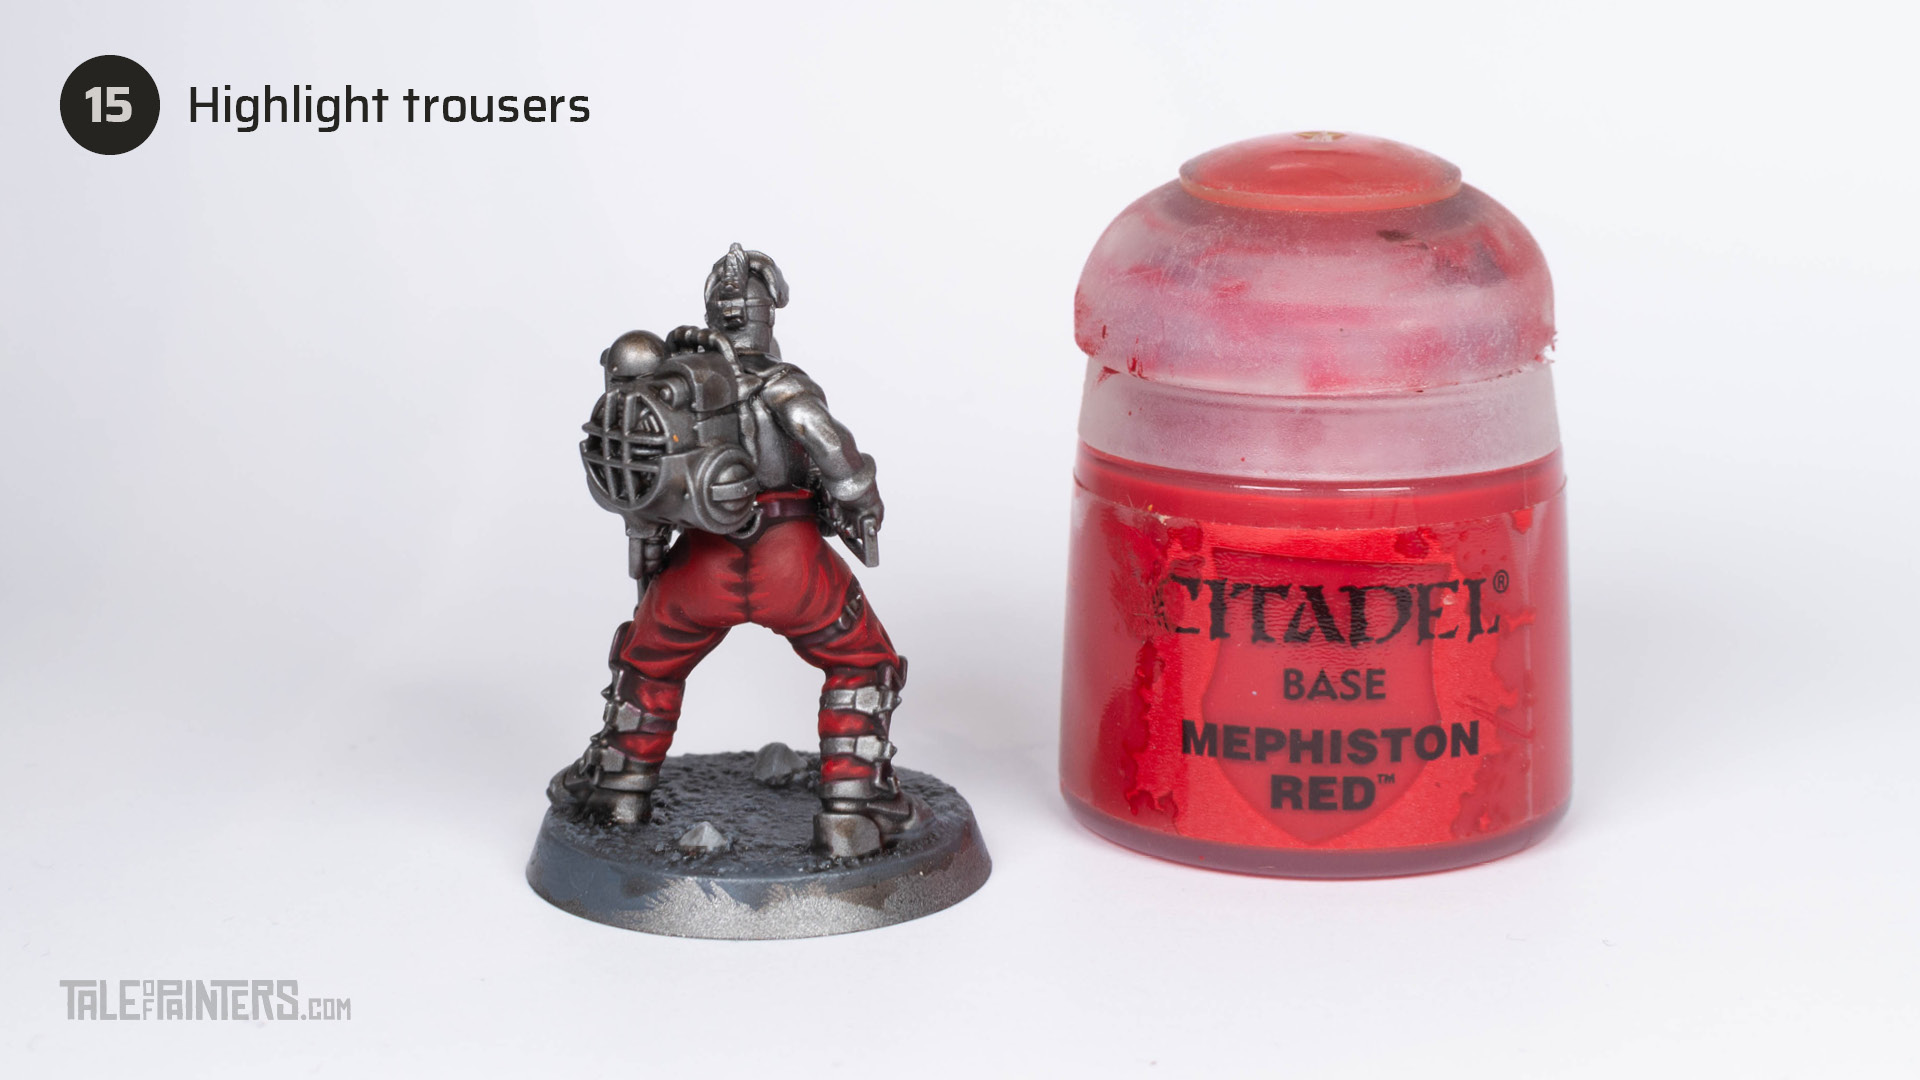

Highlight any creases with Mephiston Red.
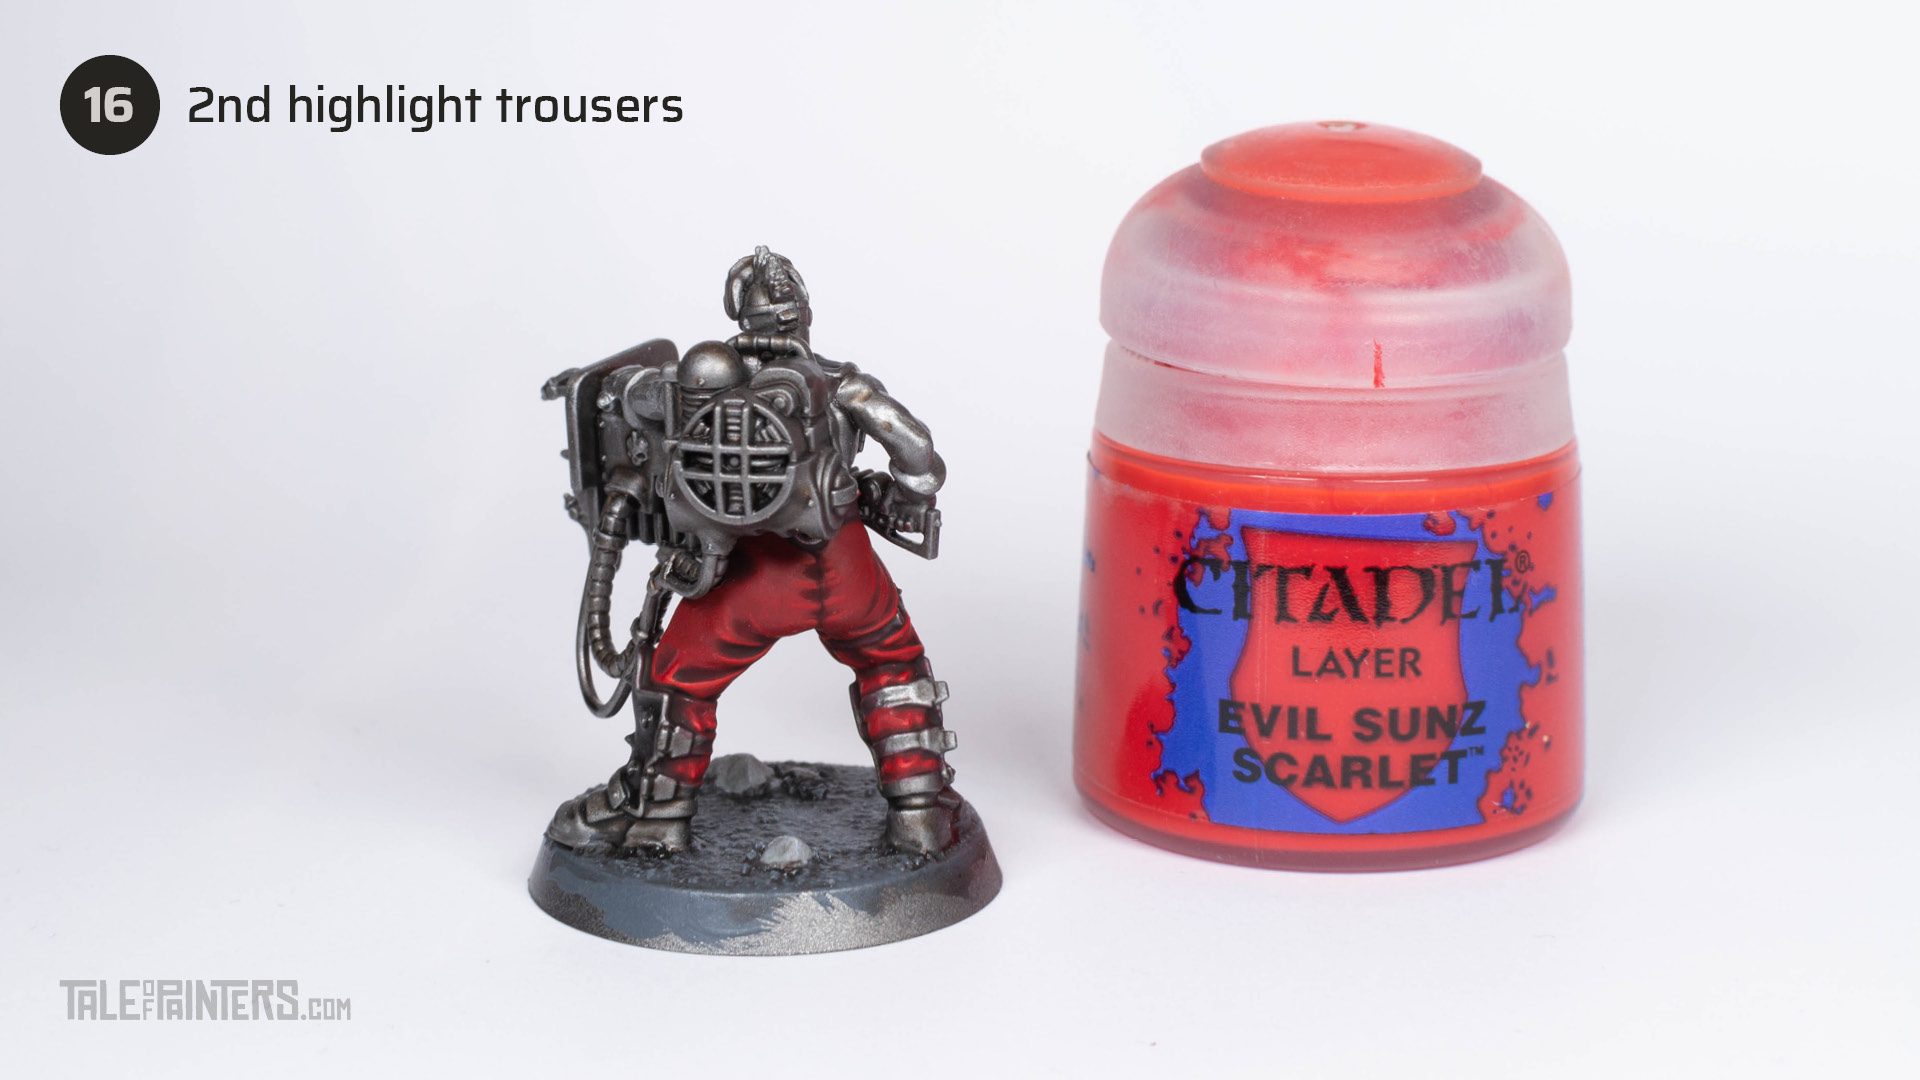

Give only the sharpest and most prominent creases a highlight of Evil Sunz Scarlet.
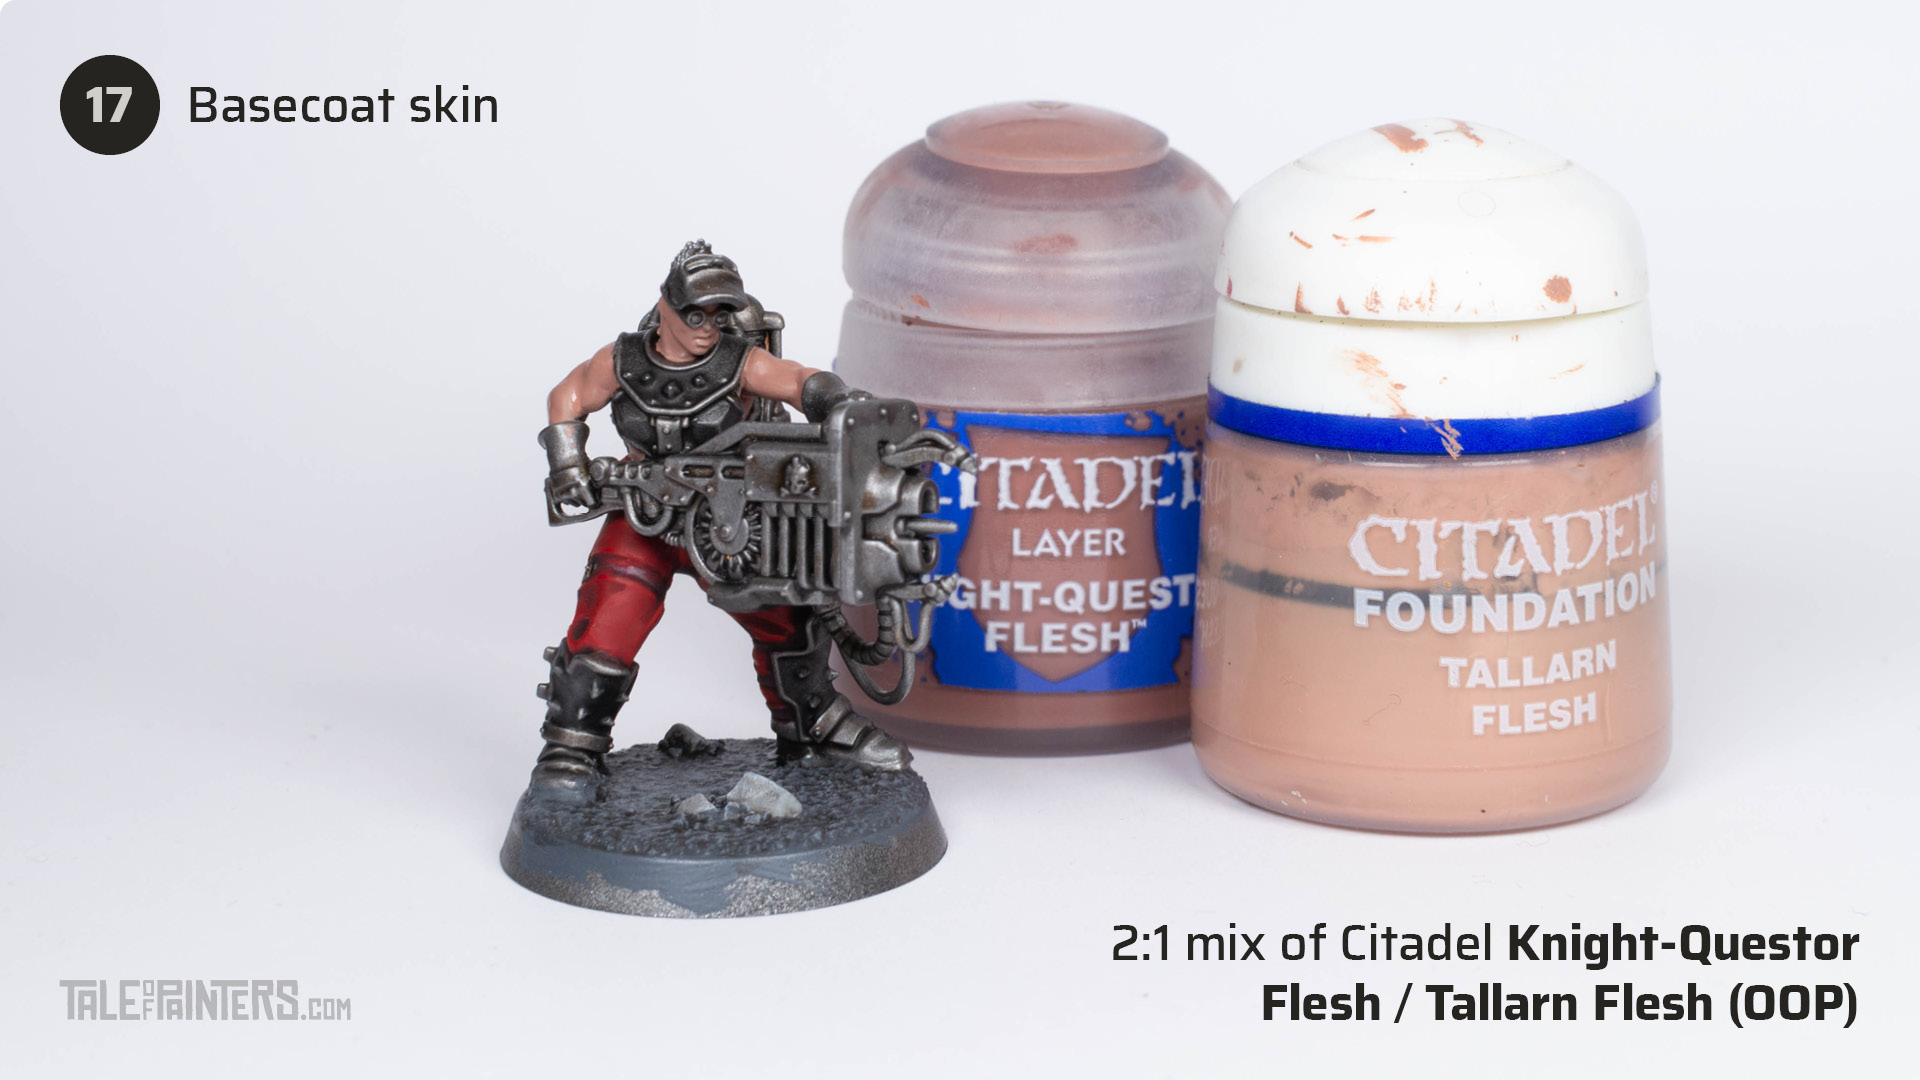

Basecoat the skin with a 2:1 mix of Knight-Questor Flesh and Tallarn Flesh [OOP, use Cadian Fleshtone but make the mix more like 1:2 or 1:3 as Cadian Fleshtone has a much weaker pigmentation].
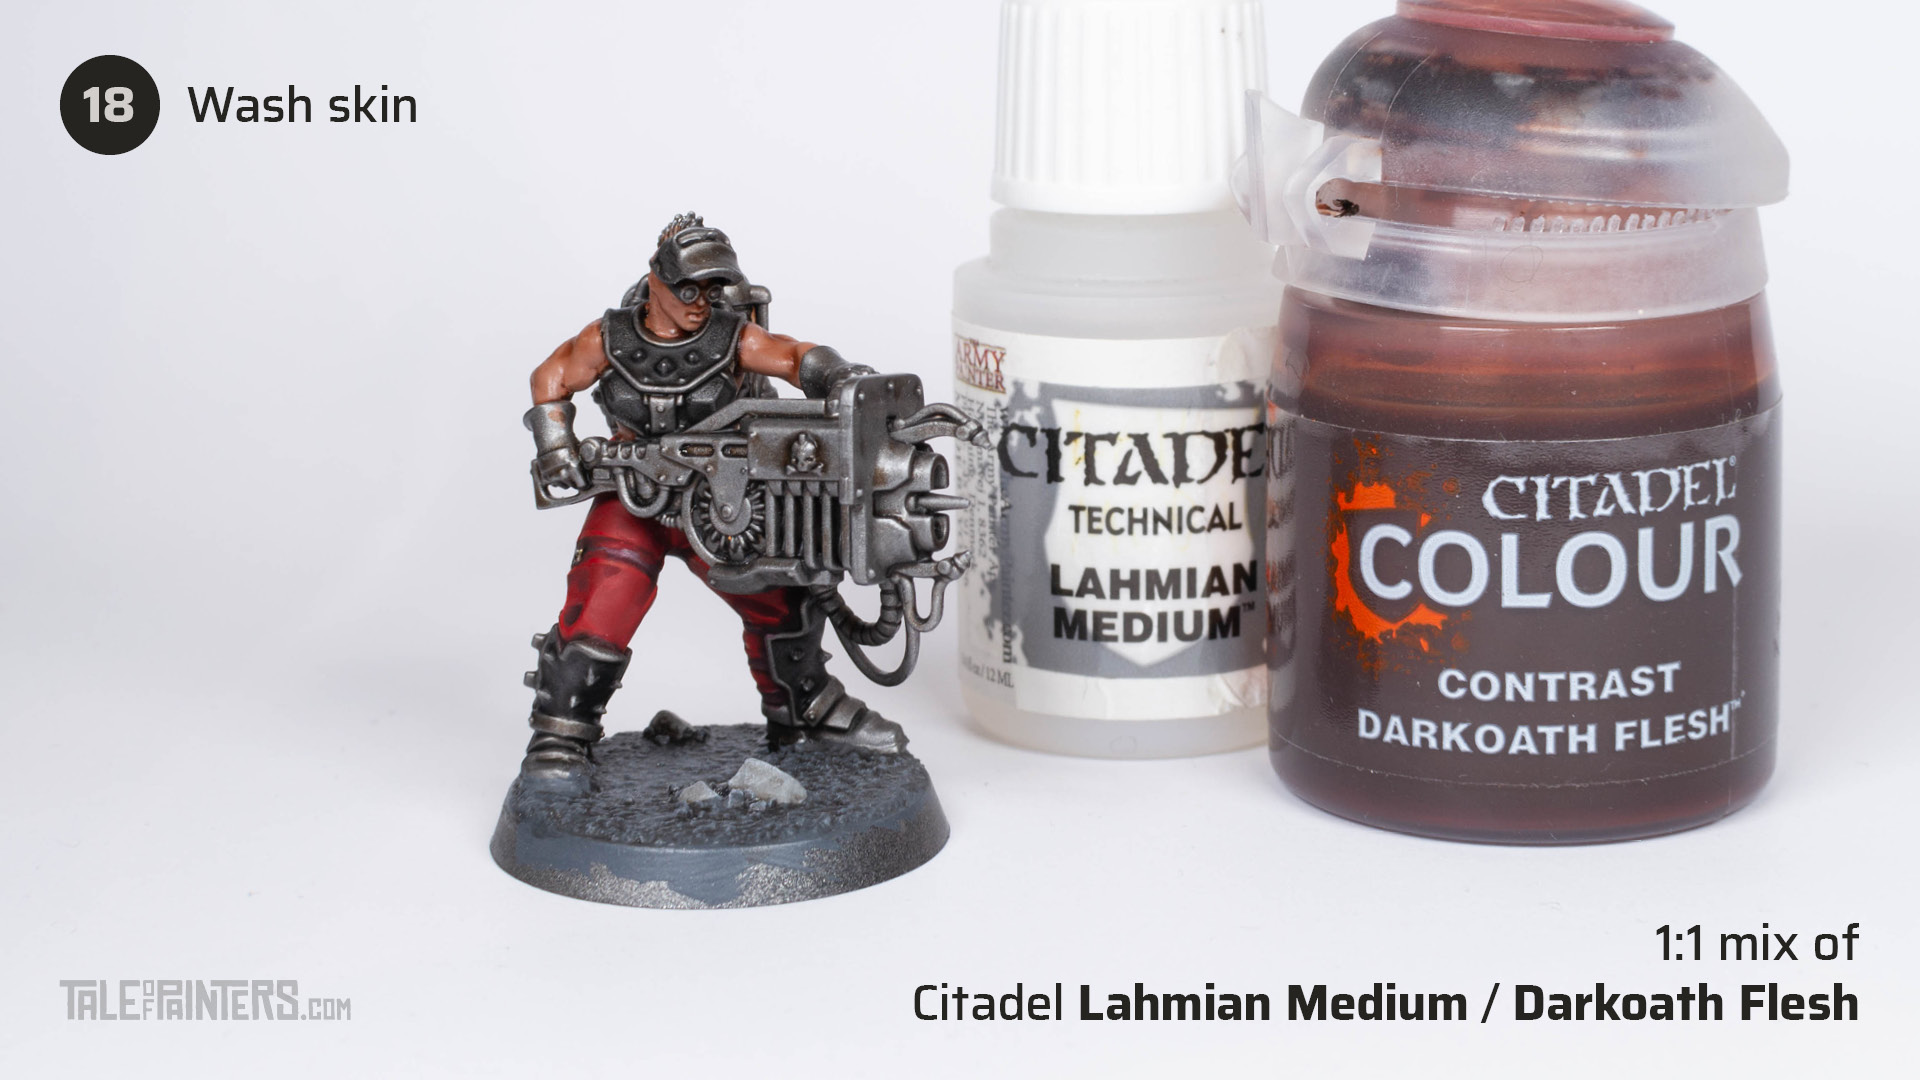

Wash the skin with a 1:1 mix of Lahmian Medium and Darkoath Flesh.
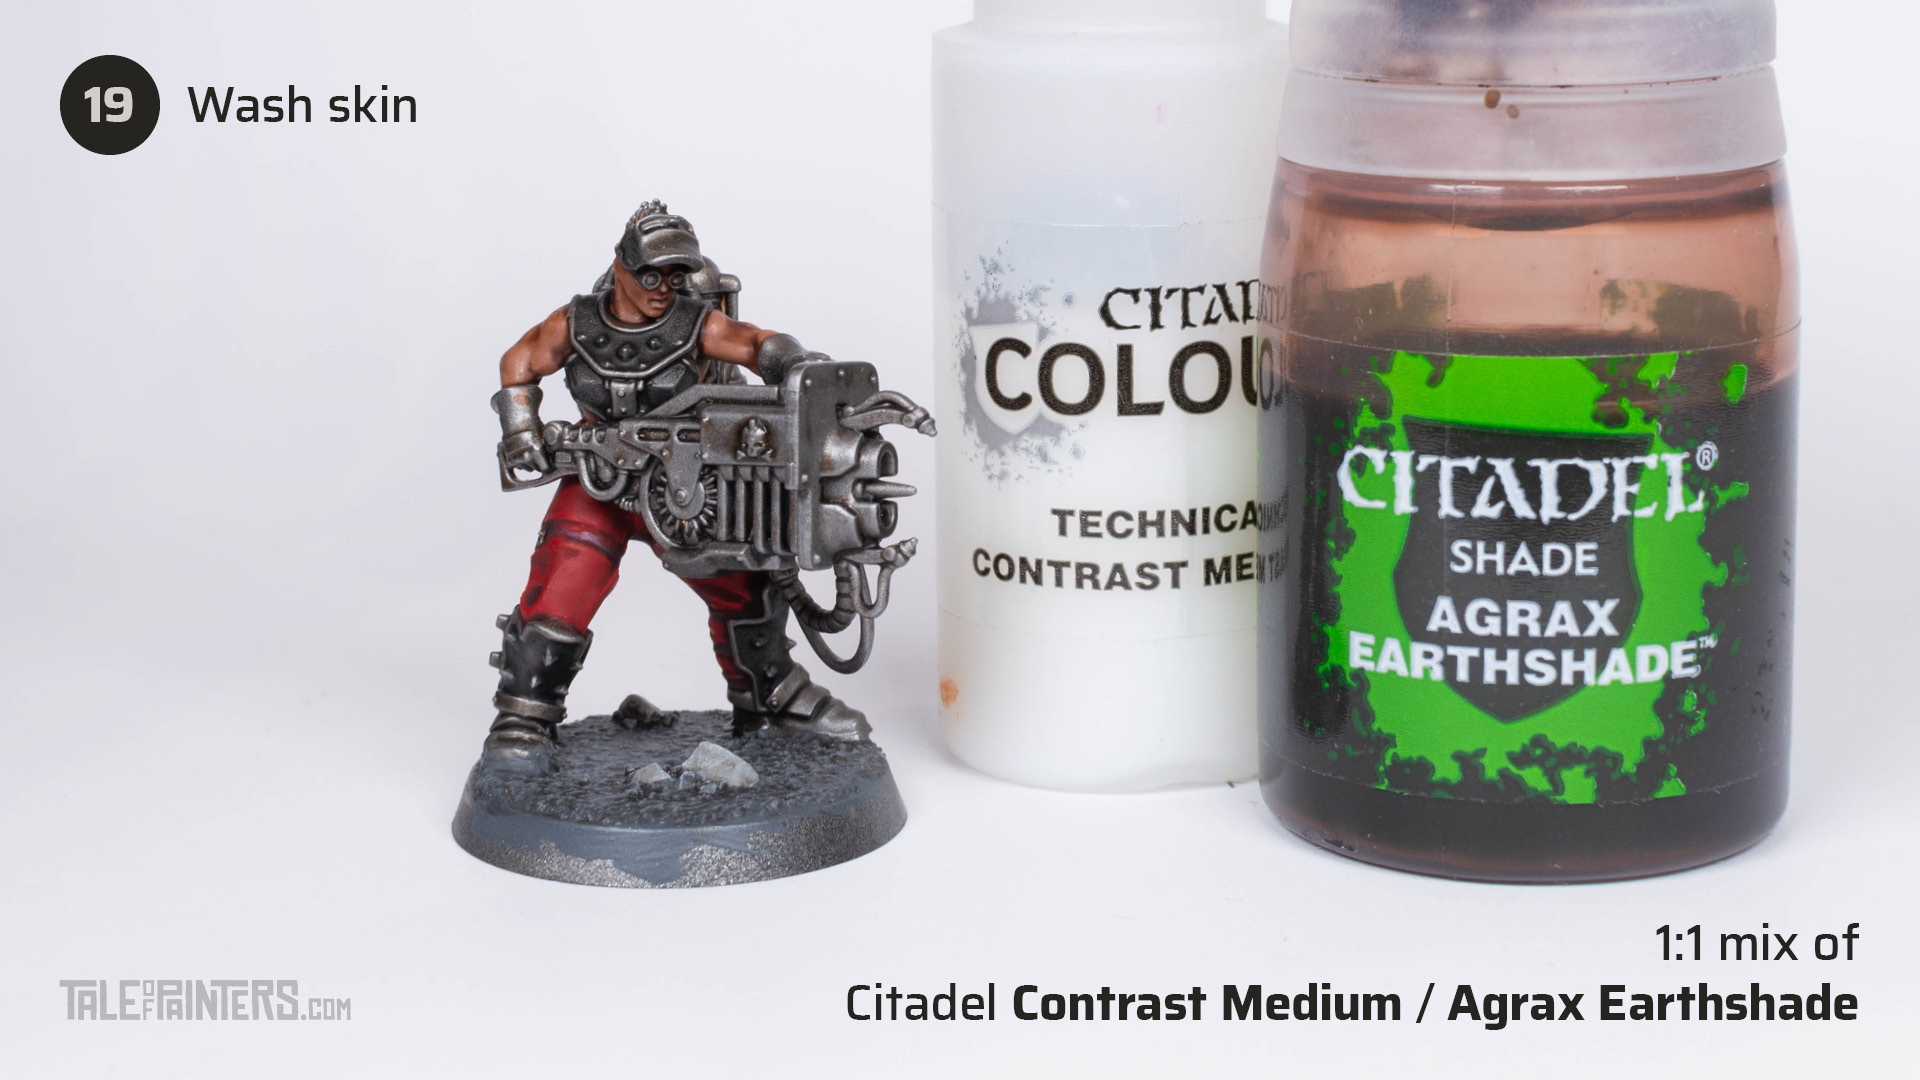

Wash the skin a second time, this time with a 1:1 mix of Contrast Medium and Agrax Earthshade. This mix will have more of a glaze-like consistency.
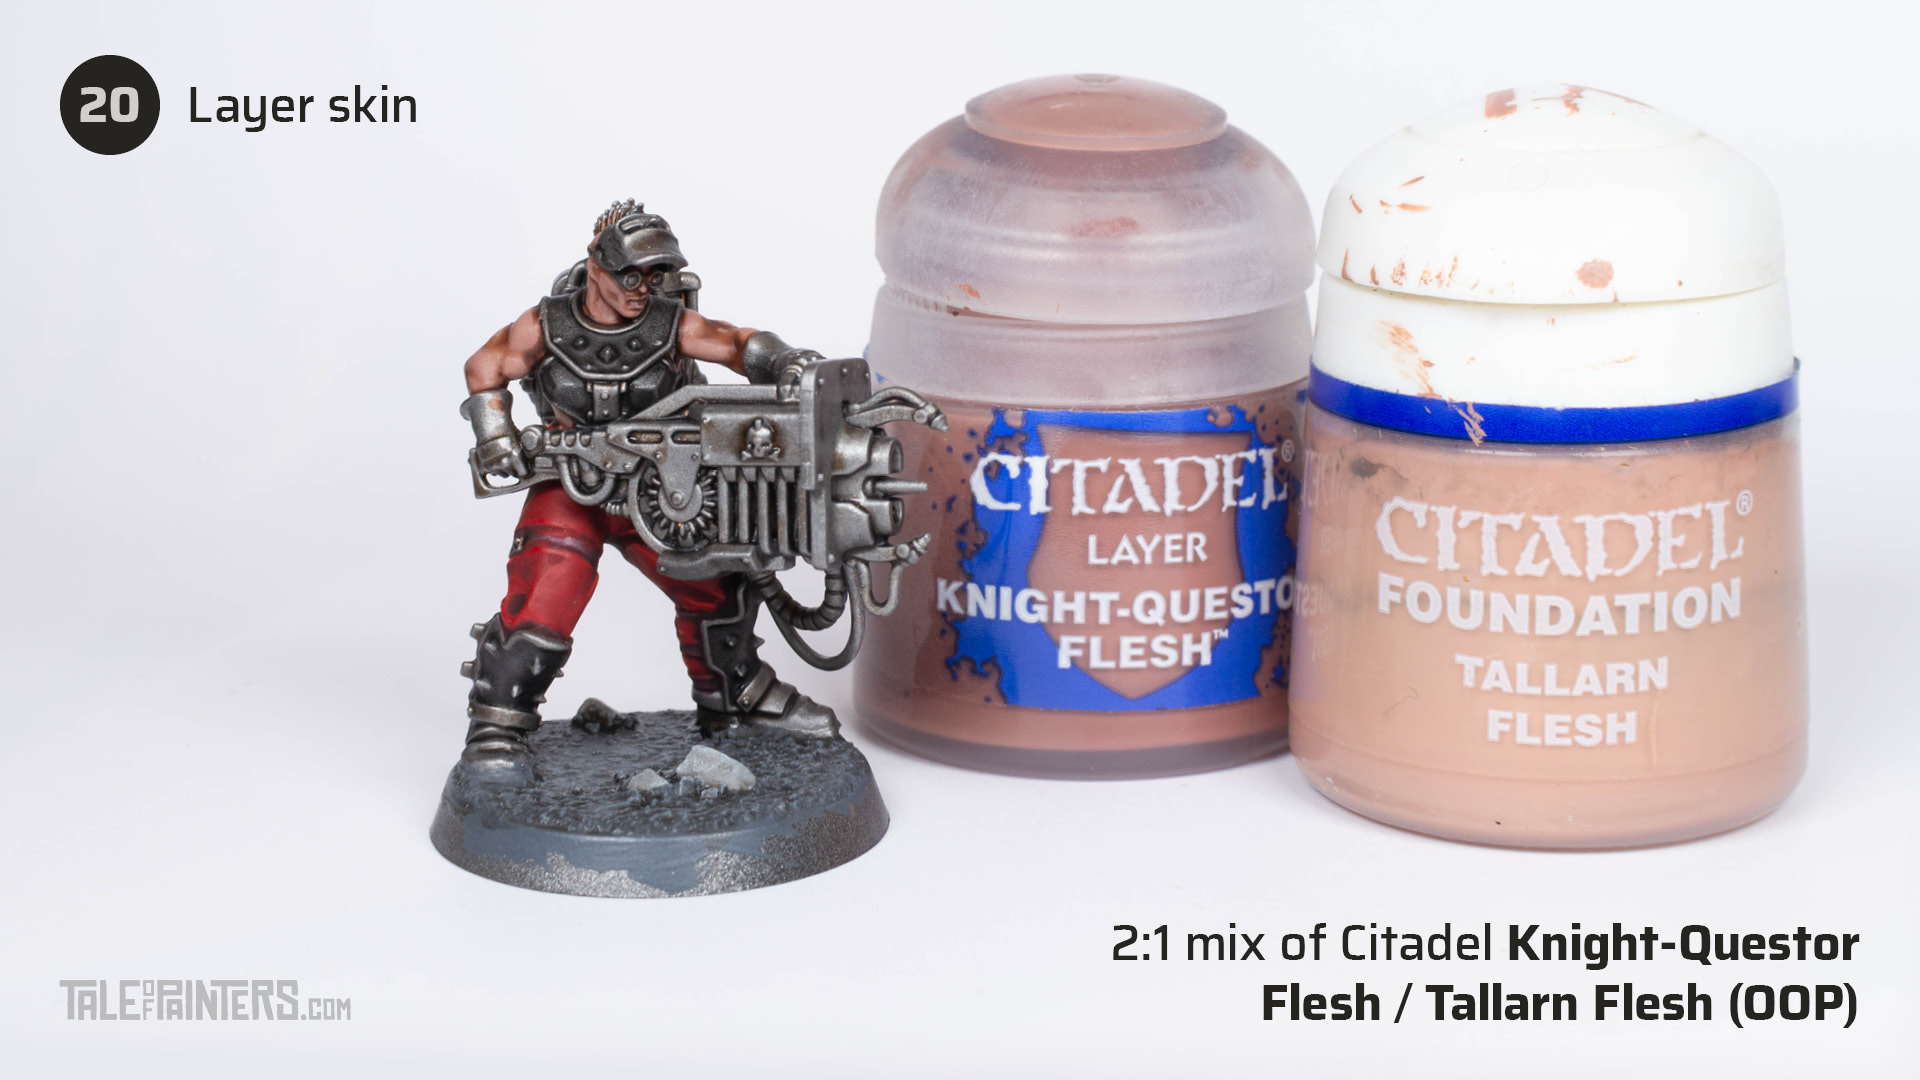

Bring out the basecoat colour from step 17 and layer over the muscles and facial features while leaving the recesses dark.
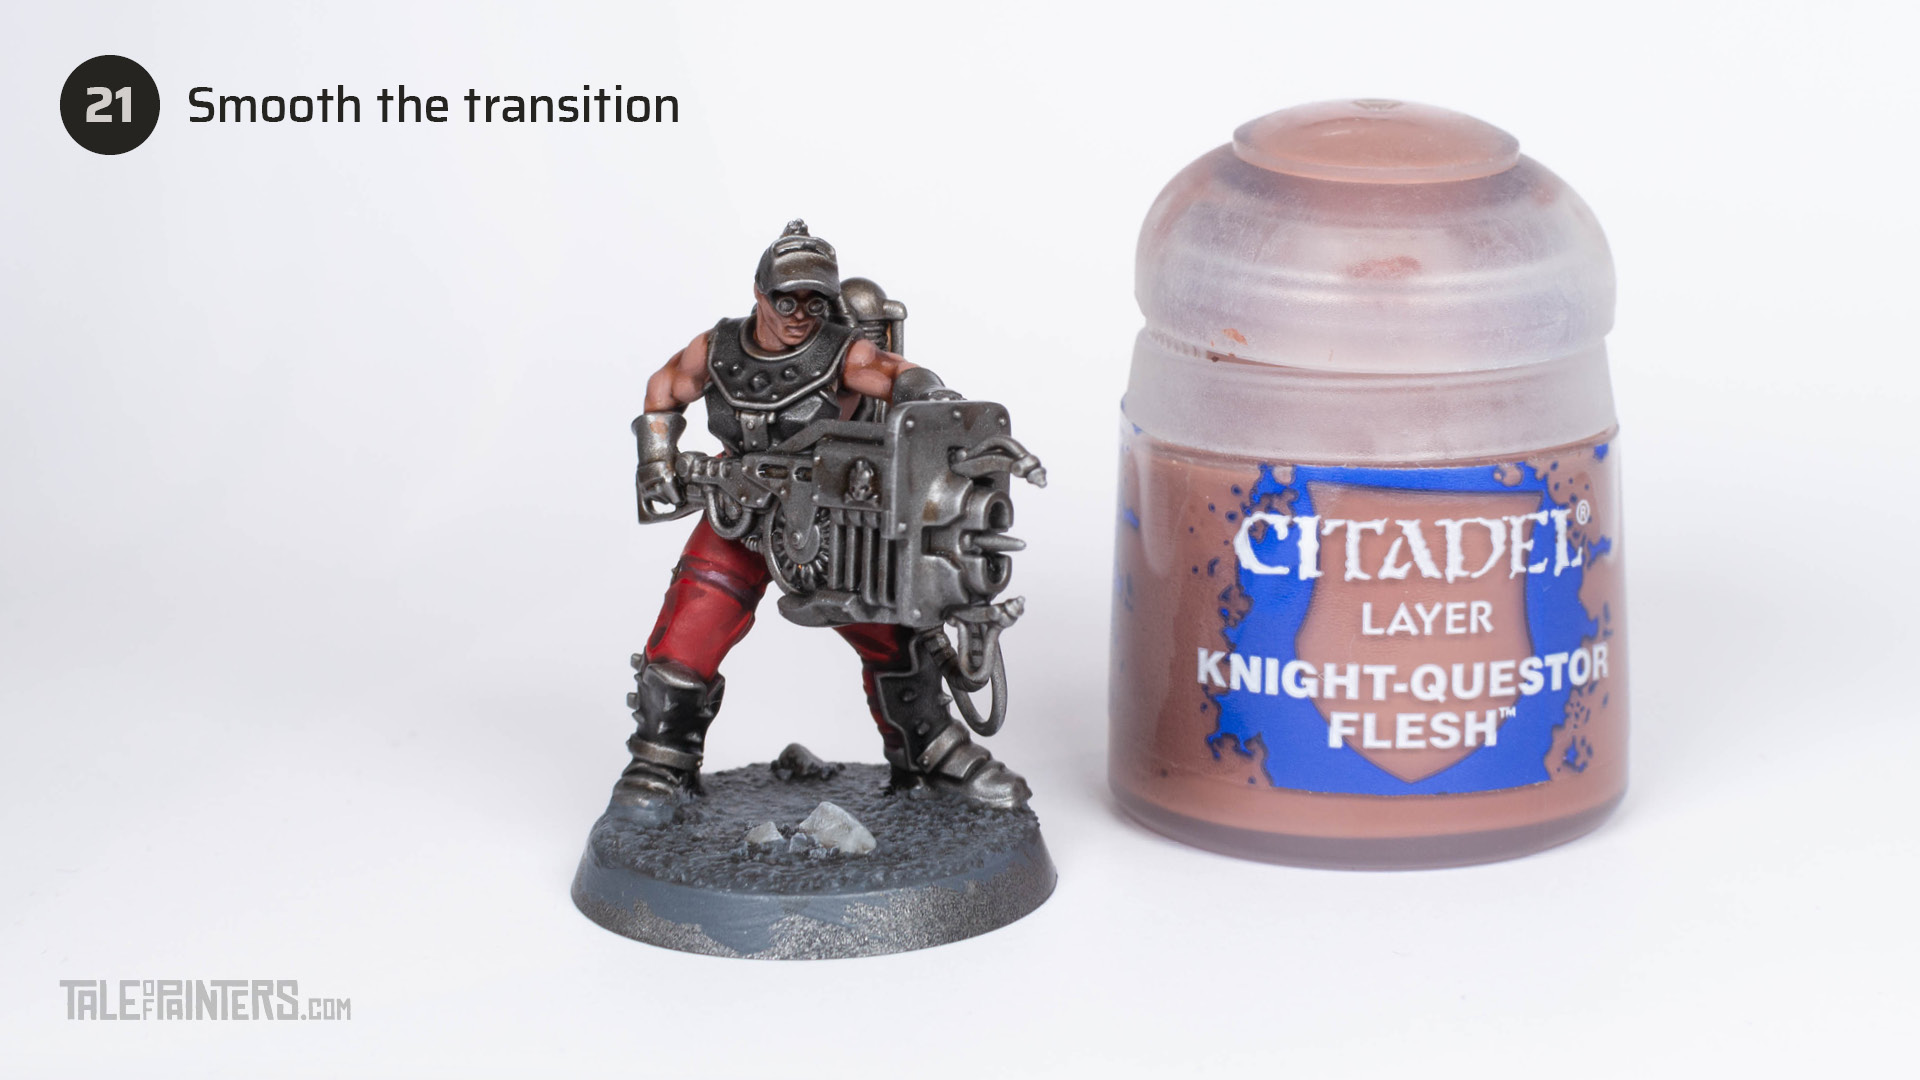

Use pure Knight-Questor Flesh to smooth the transitions from the base skin colour to the darker recesses.
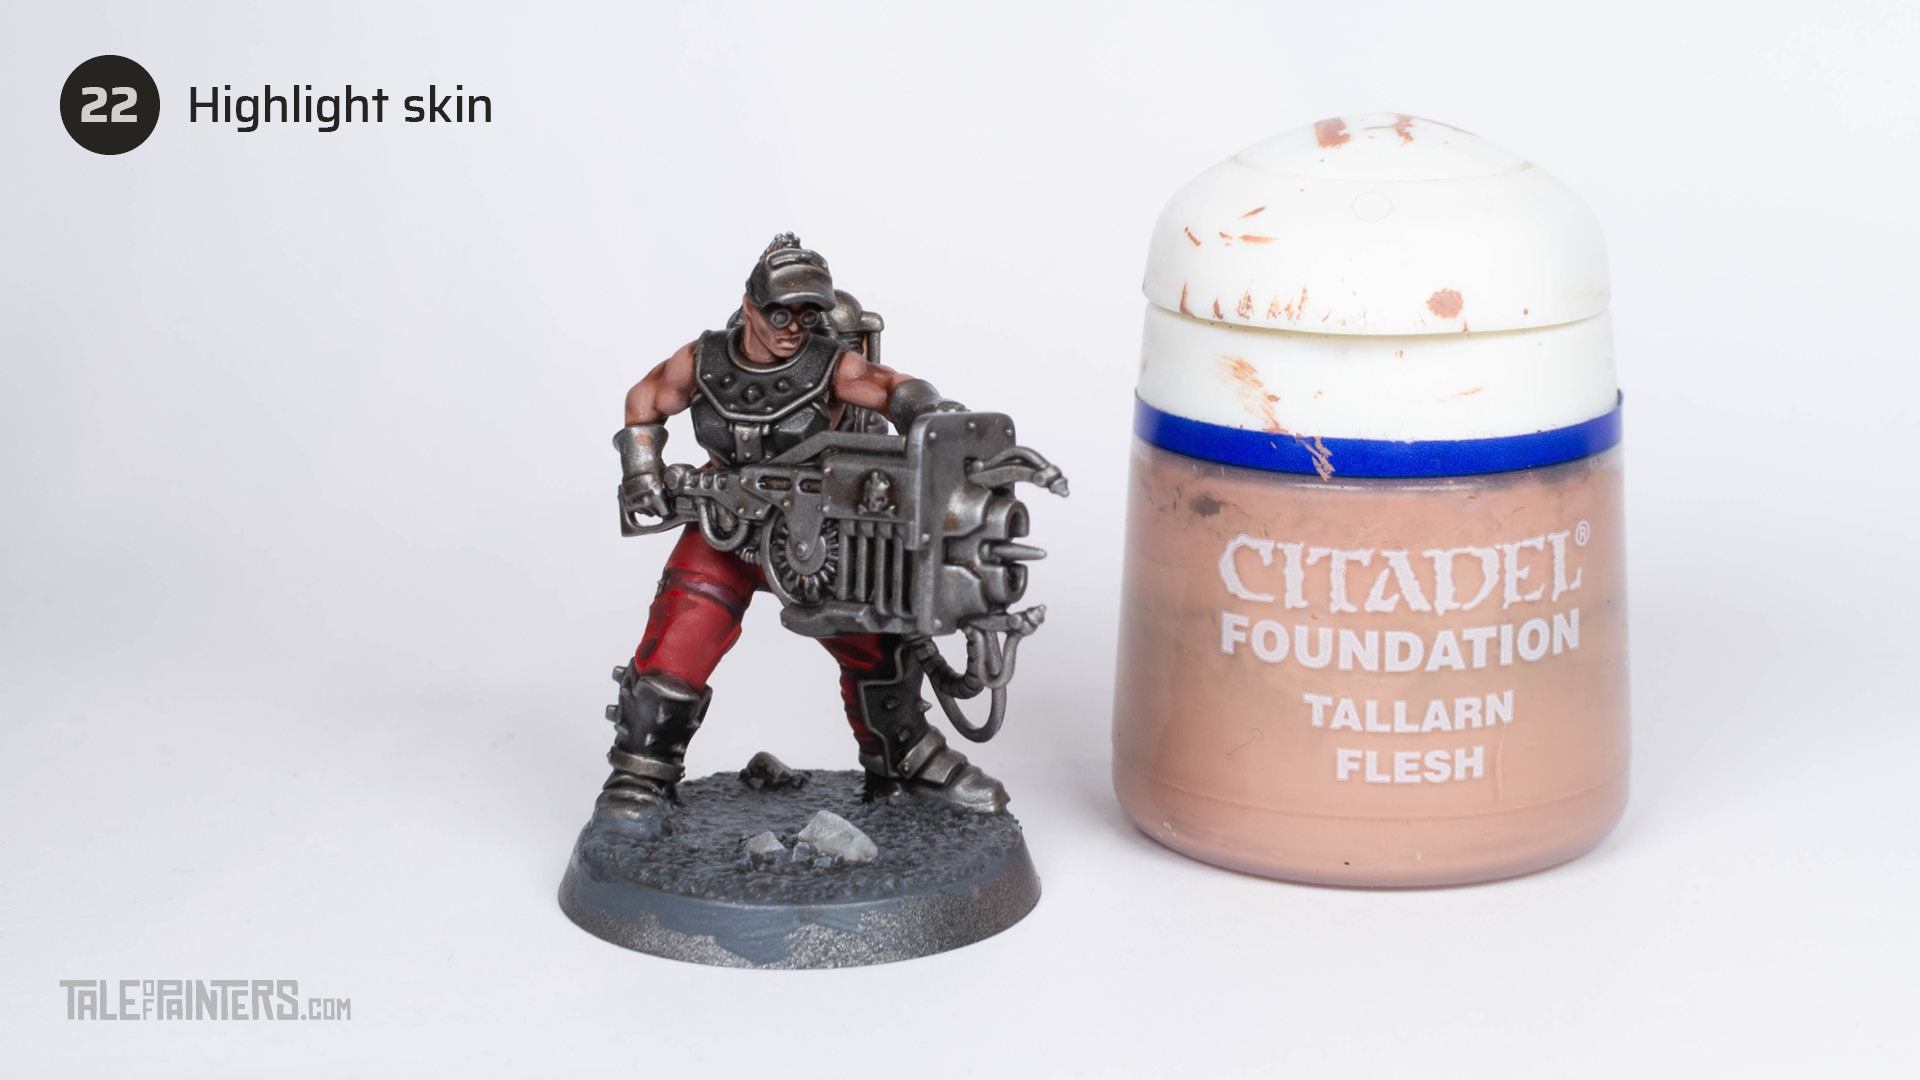

Highlight the facial features and elbows with thinned Tallarn Flesh [OOP, use Cadian Fleshtone instead].
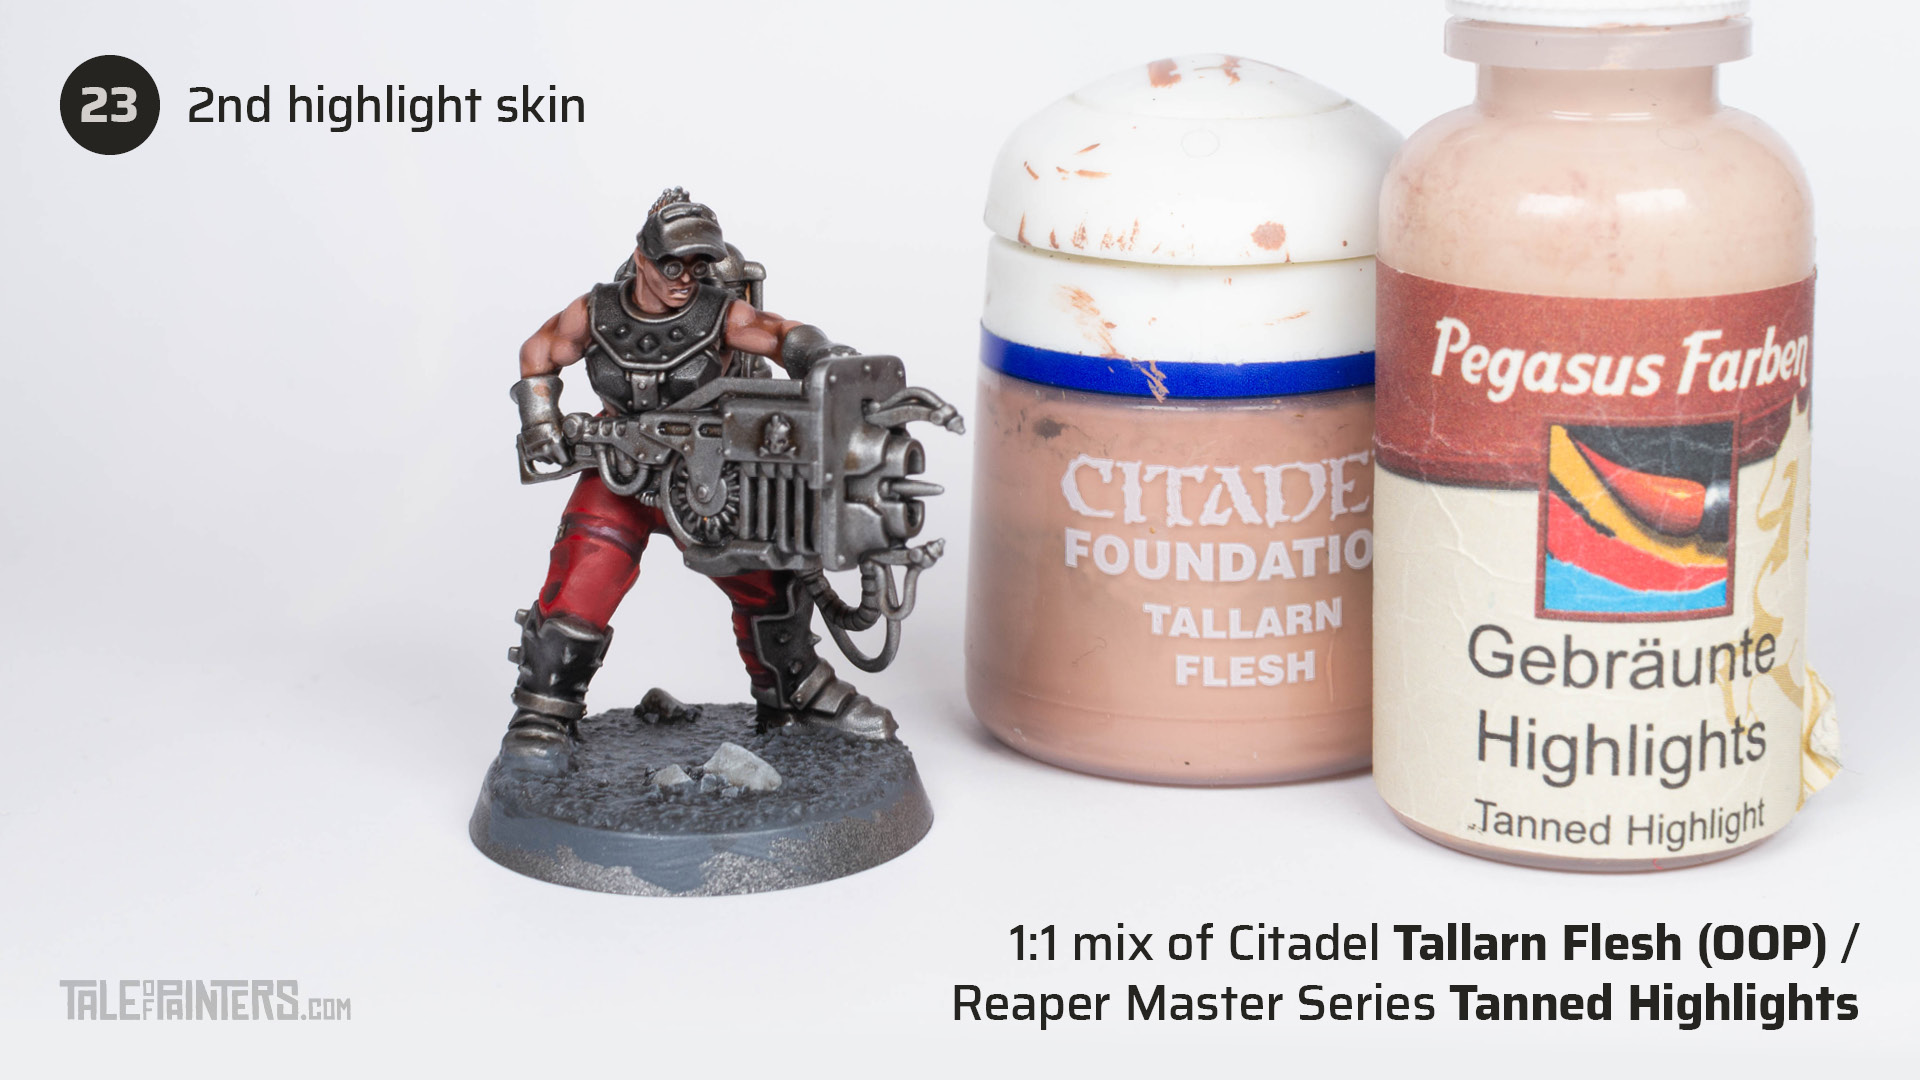

Apply a second highlight of a 1:1 mix of Tallarn Flesh [Cadian Fleshtone] and Reaper Master Series Tanned Highlights [Kislev Flesh] to the most prominent features on the face such as the nose, lips, ears and chin.
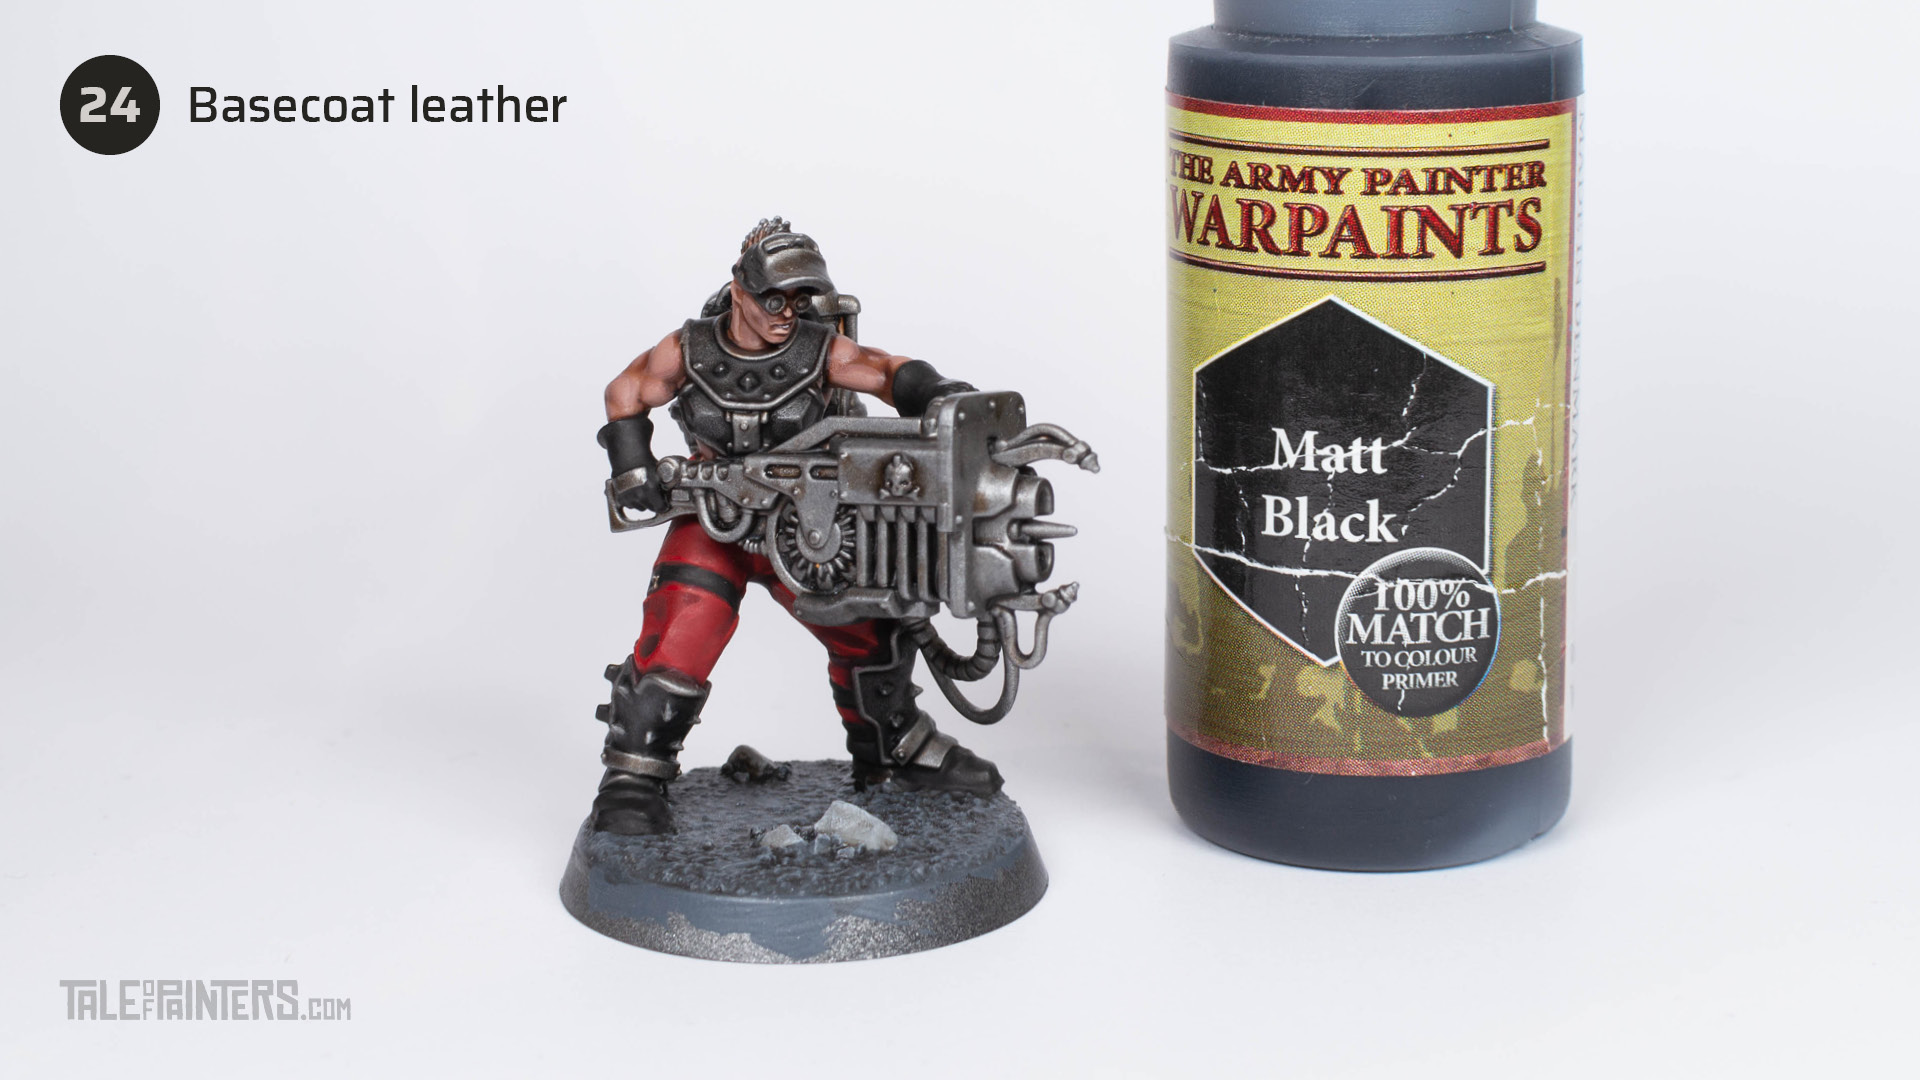

Basecoat the leather with Matt Black from The Army Painter [Abaddon Black].
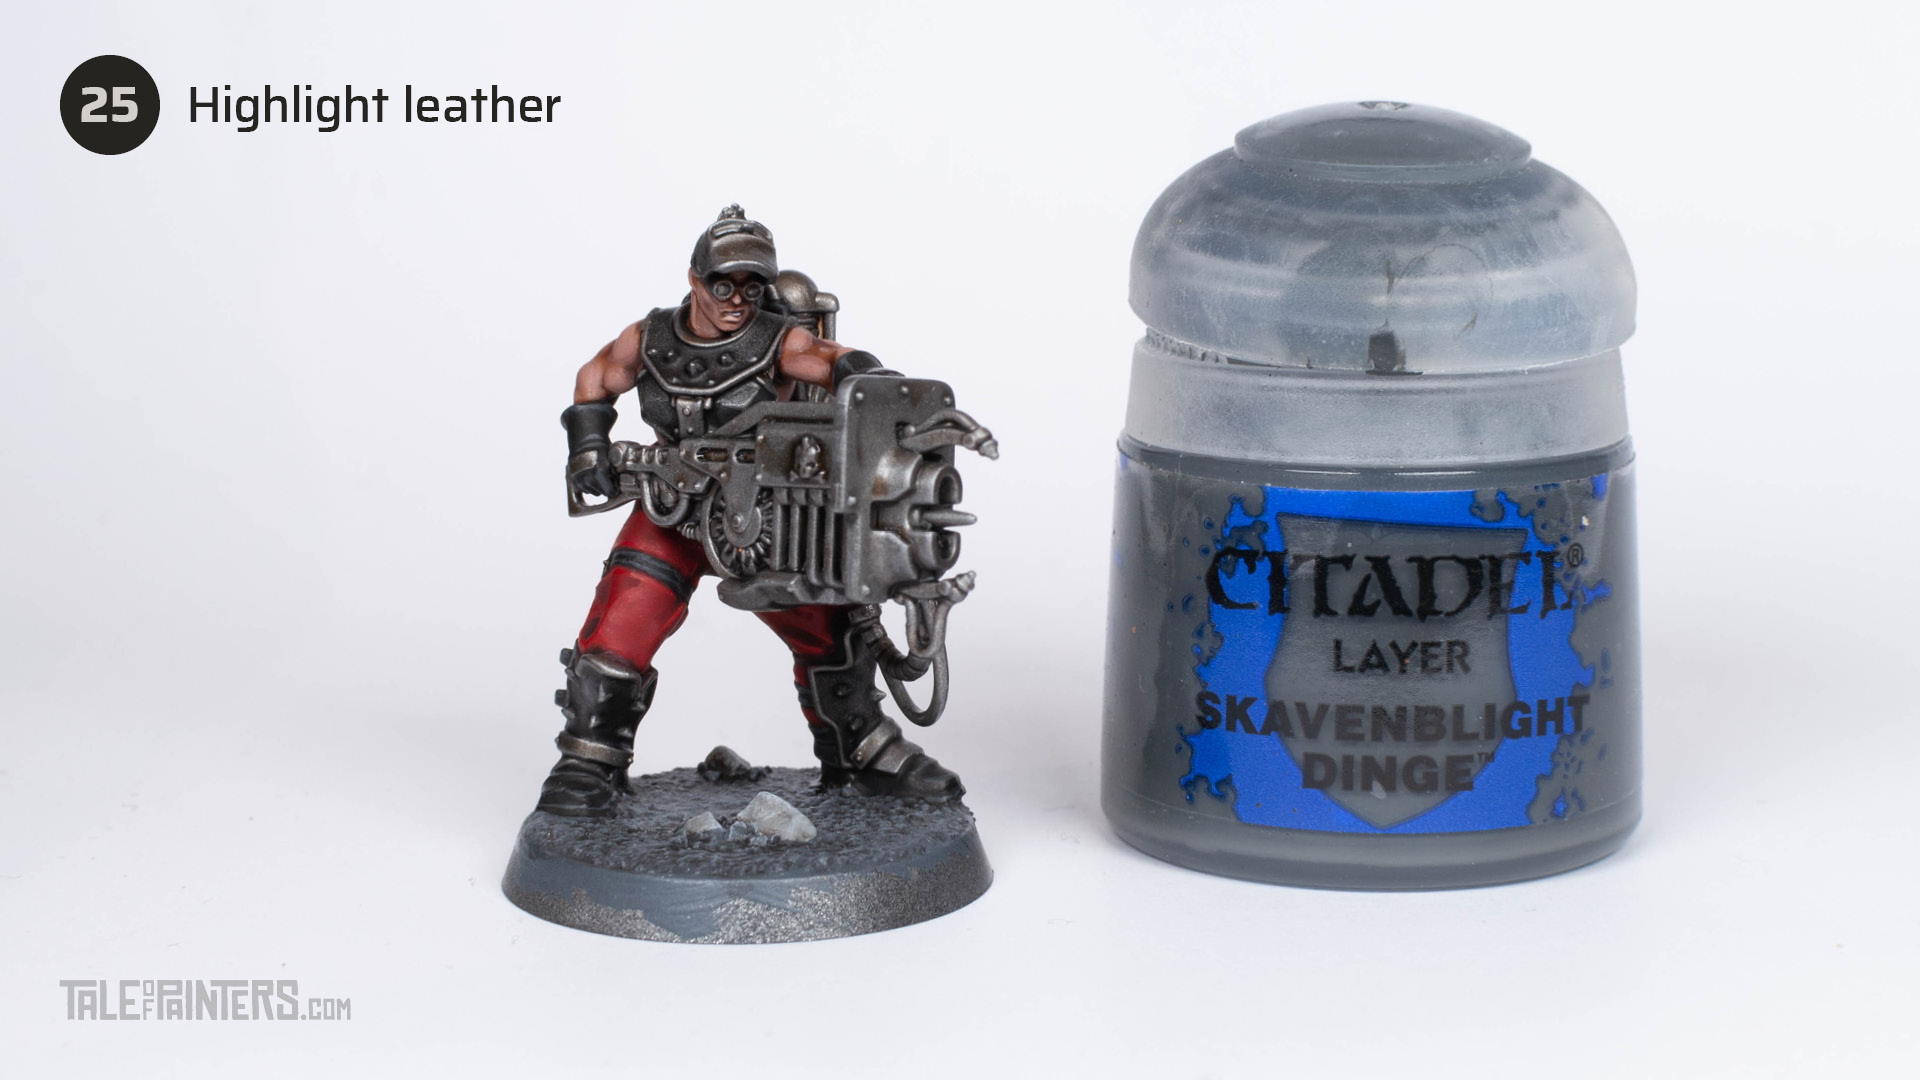

Highlight the leather with Skavenblight Dinge. Keep the highlight slightly irregular and scratchy to build up a worn texture.
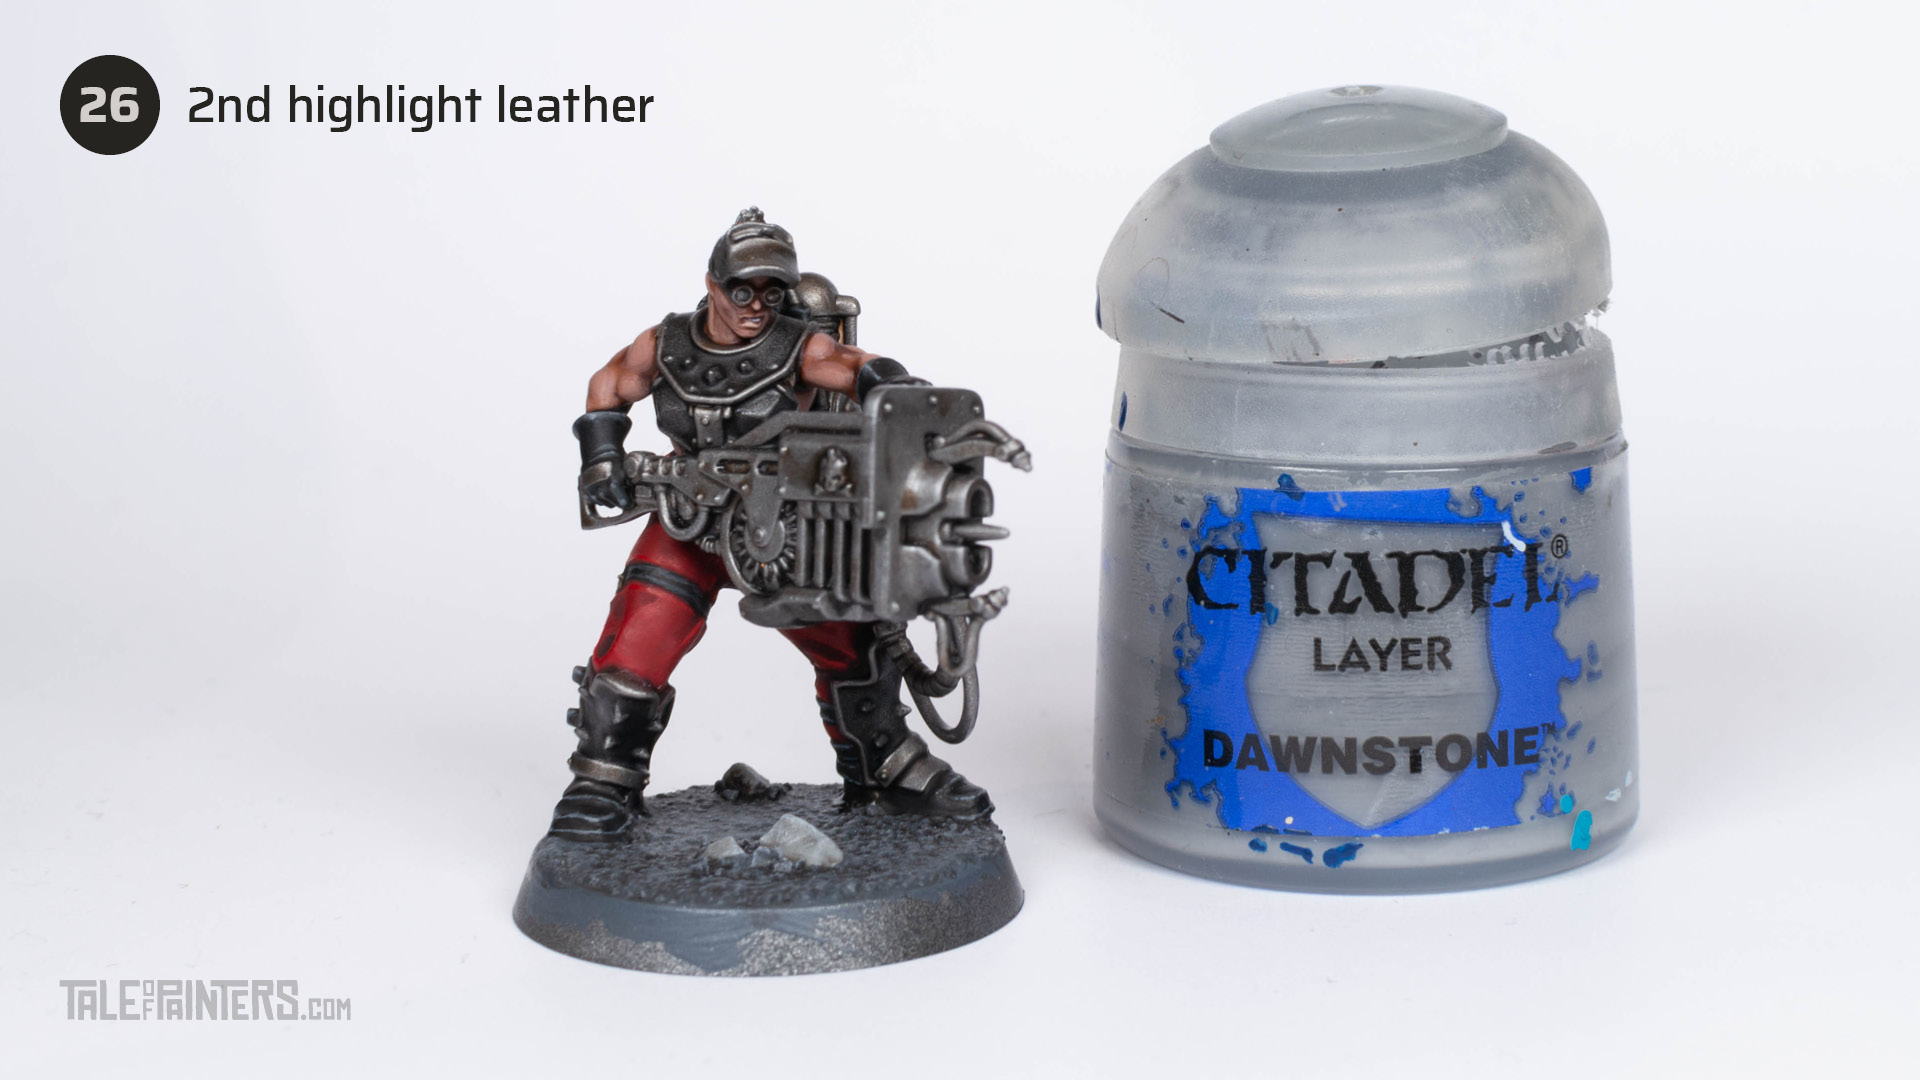

Apply a second highlight of Dawnstone, keep it irregular and add little scratches to add to the worn leather effect.
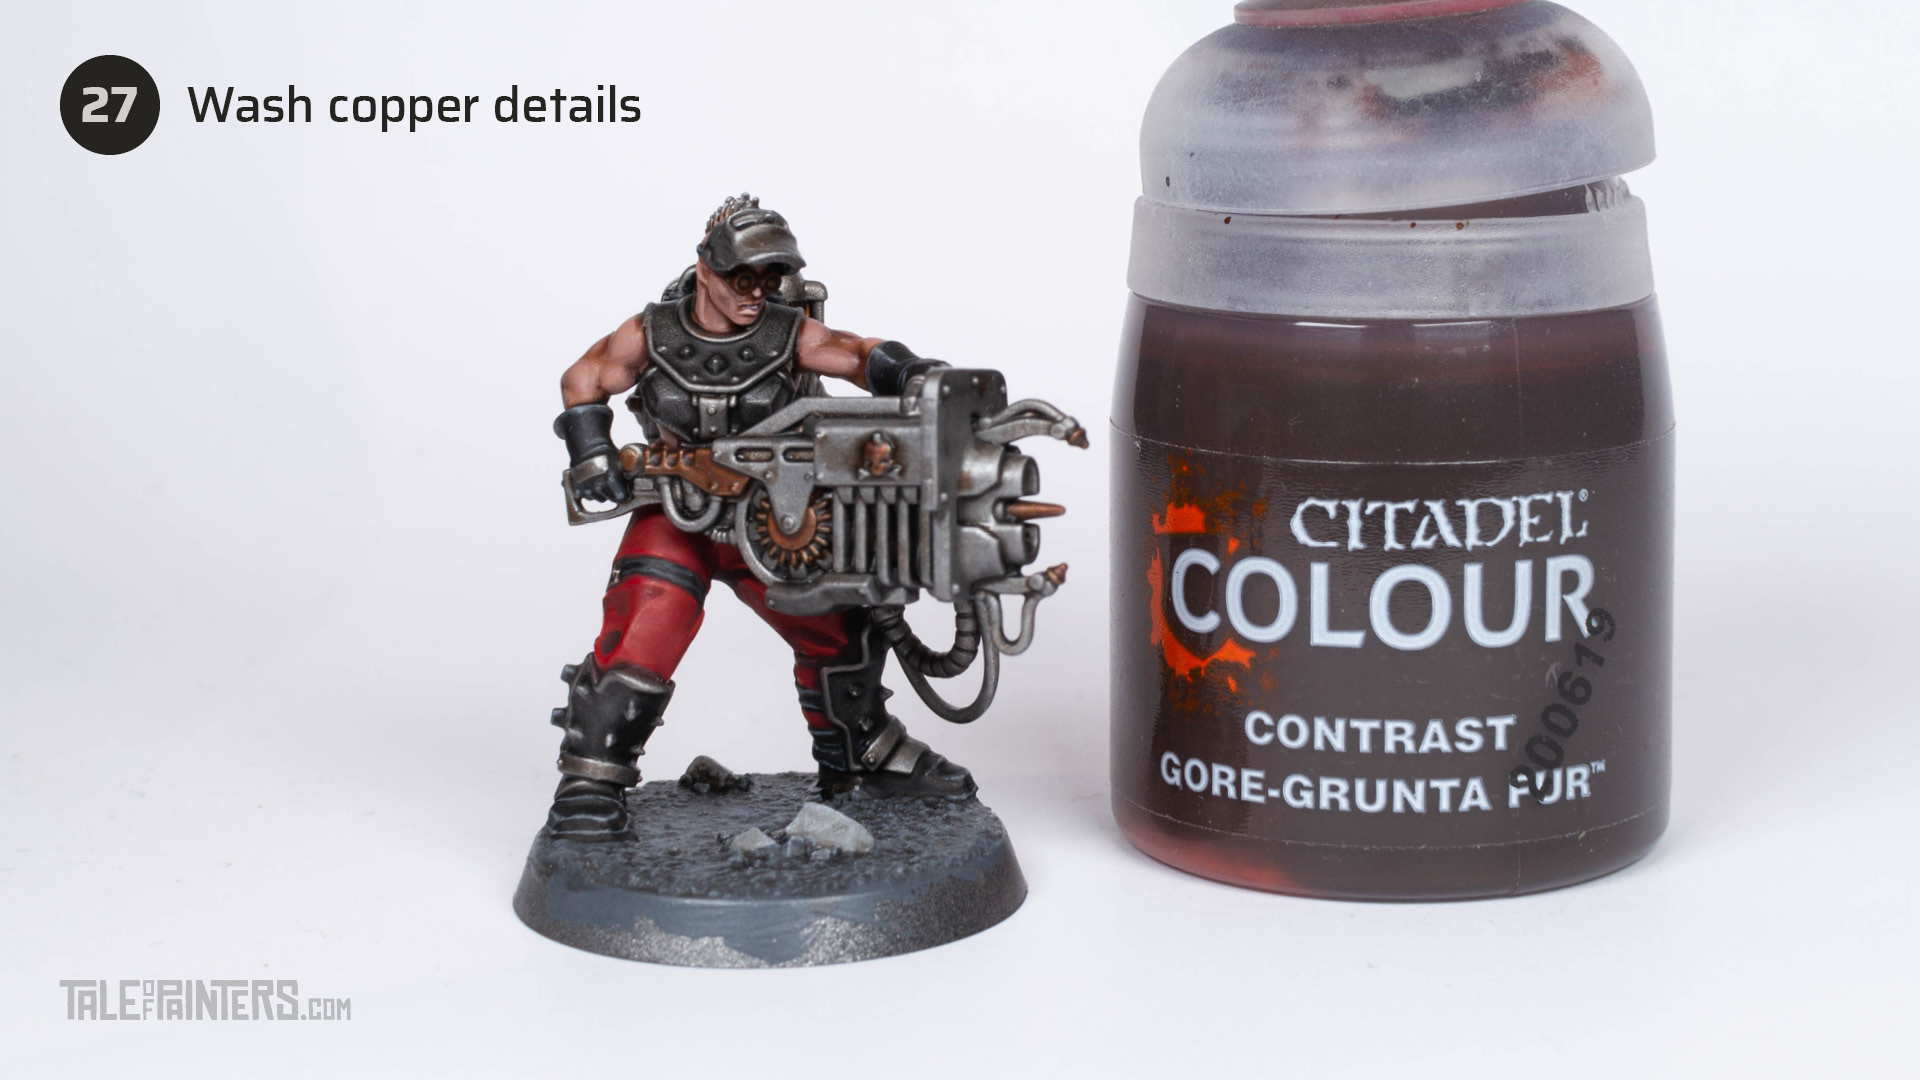

Wash Gore-grunta Fur over any metallic areas you want to be copper. Just apply it directly over the washed and drybrushed silver, the Contrast paint will do its trick.
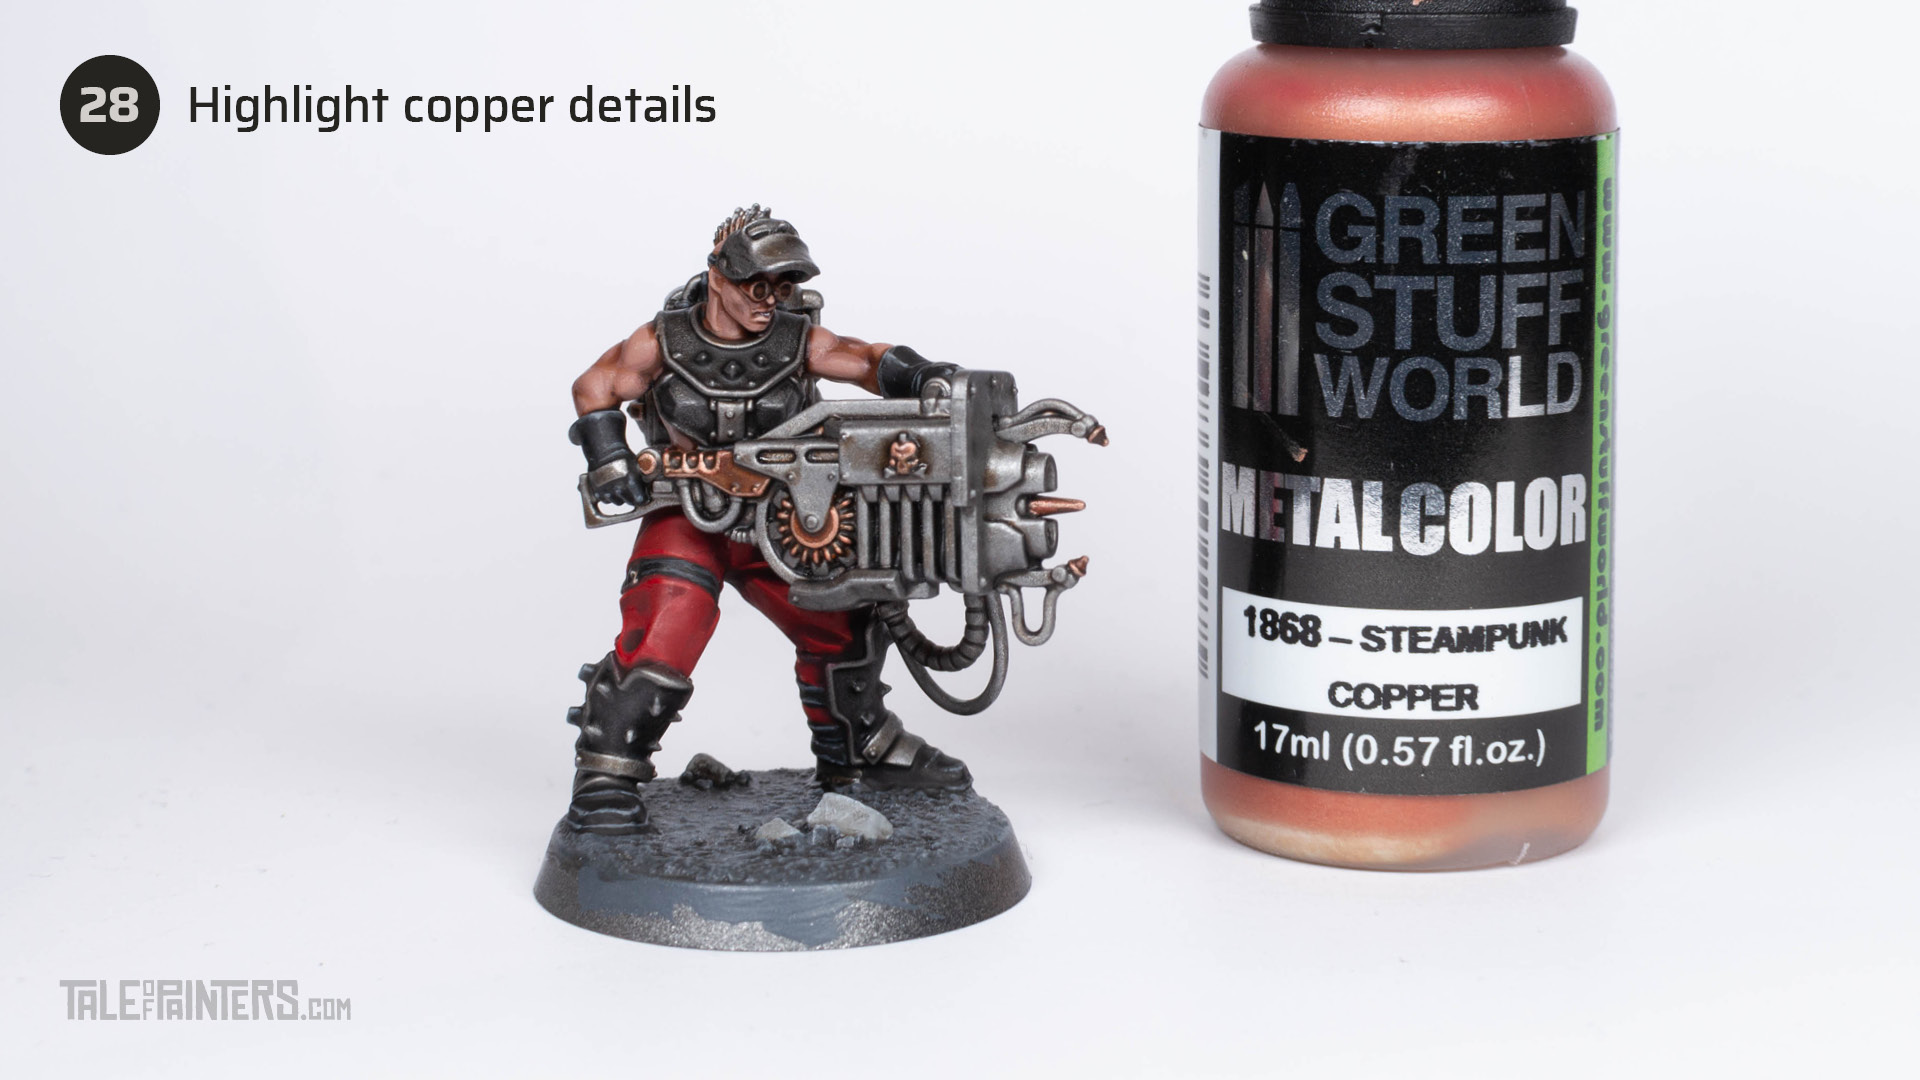

Highlight the copper details with Steampunk Copper from Green Stuff World [or mix Hashut Copper with Stormhost Silver]
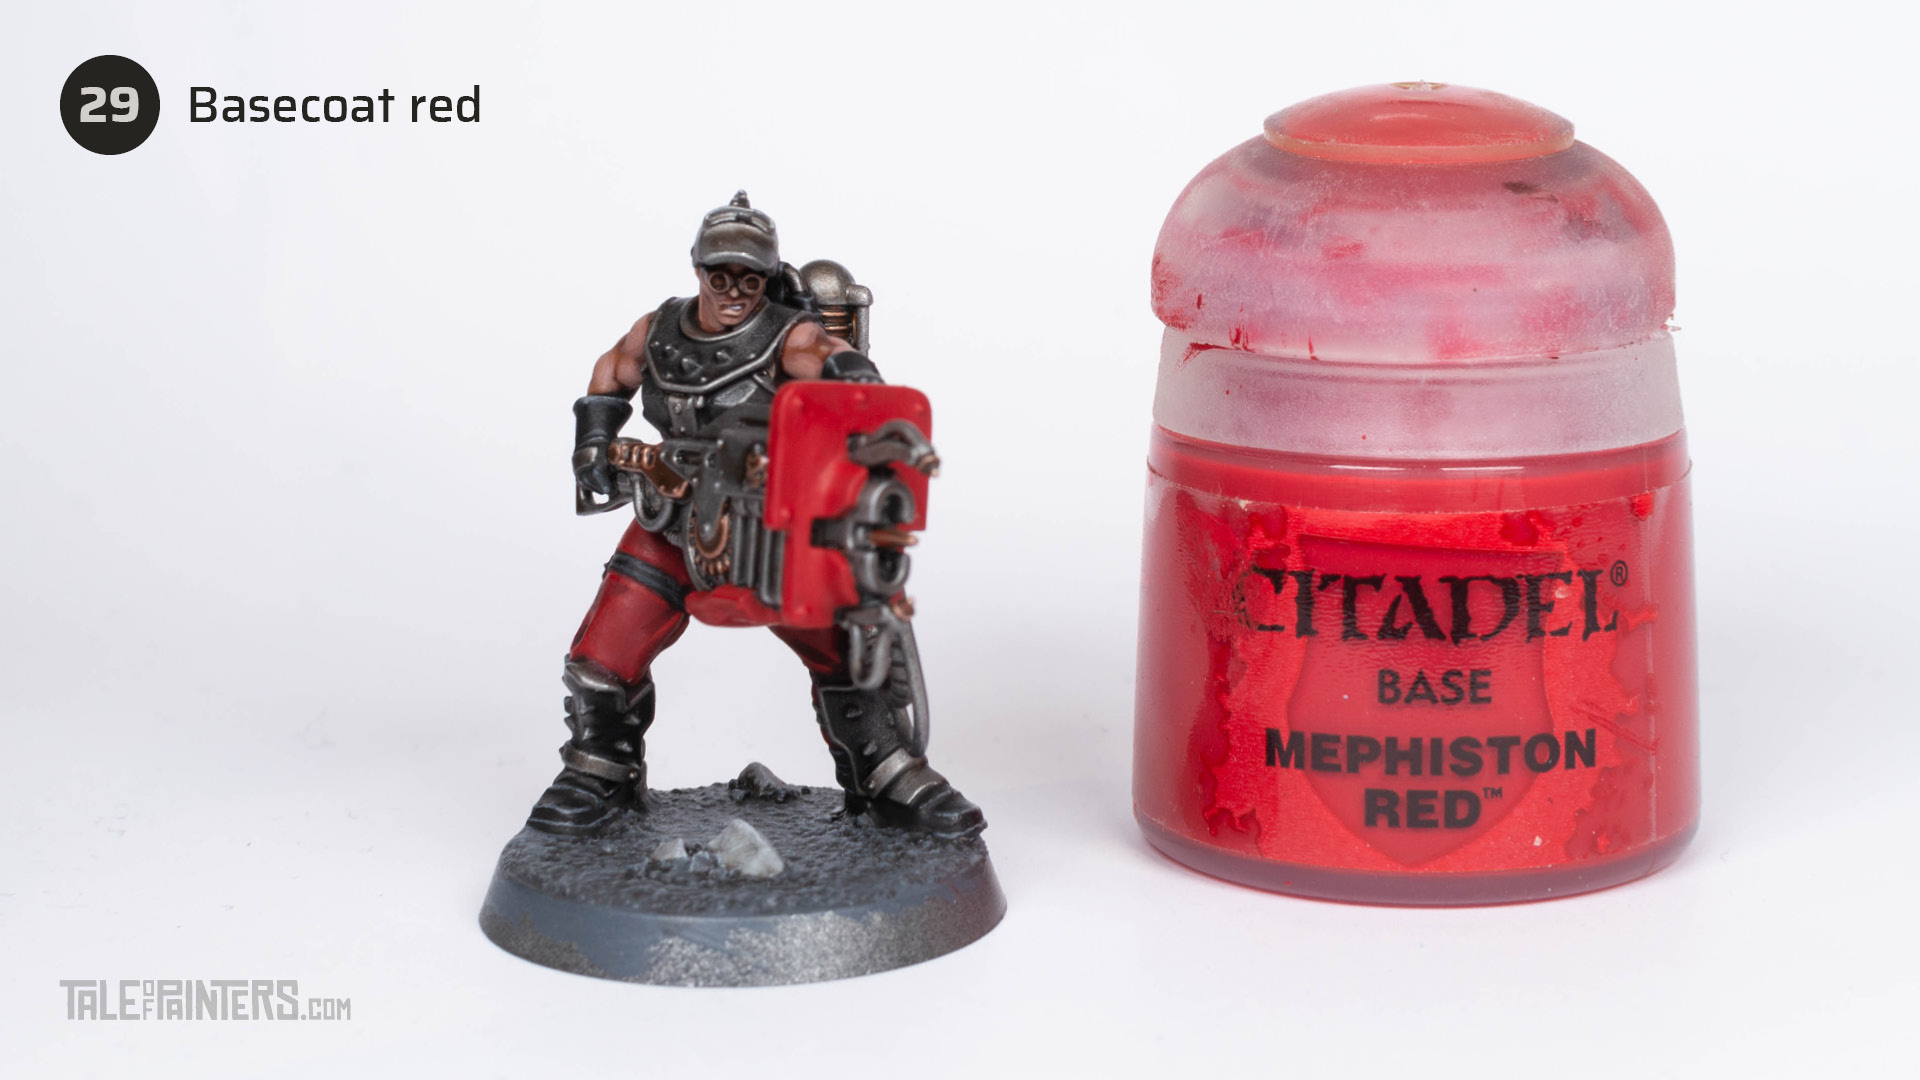

Basecoat any armour panels and details you want to be red with Mephiston Red.
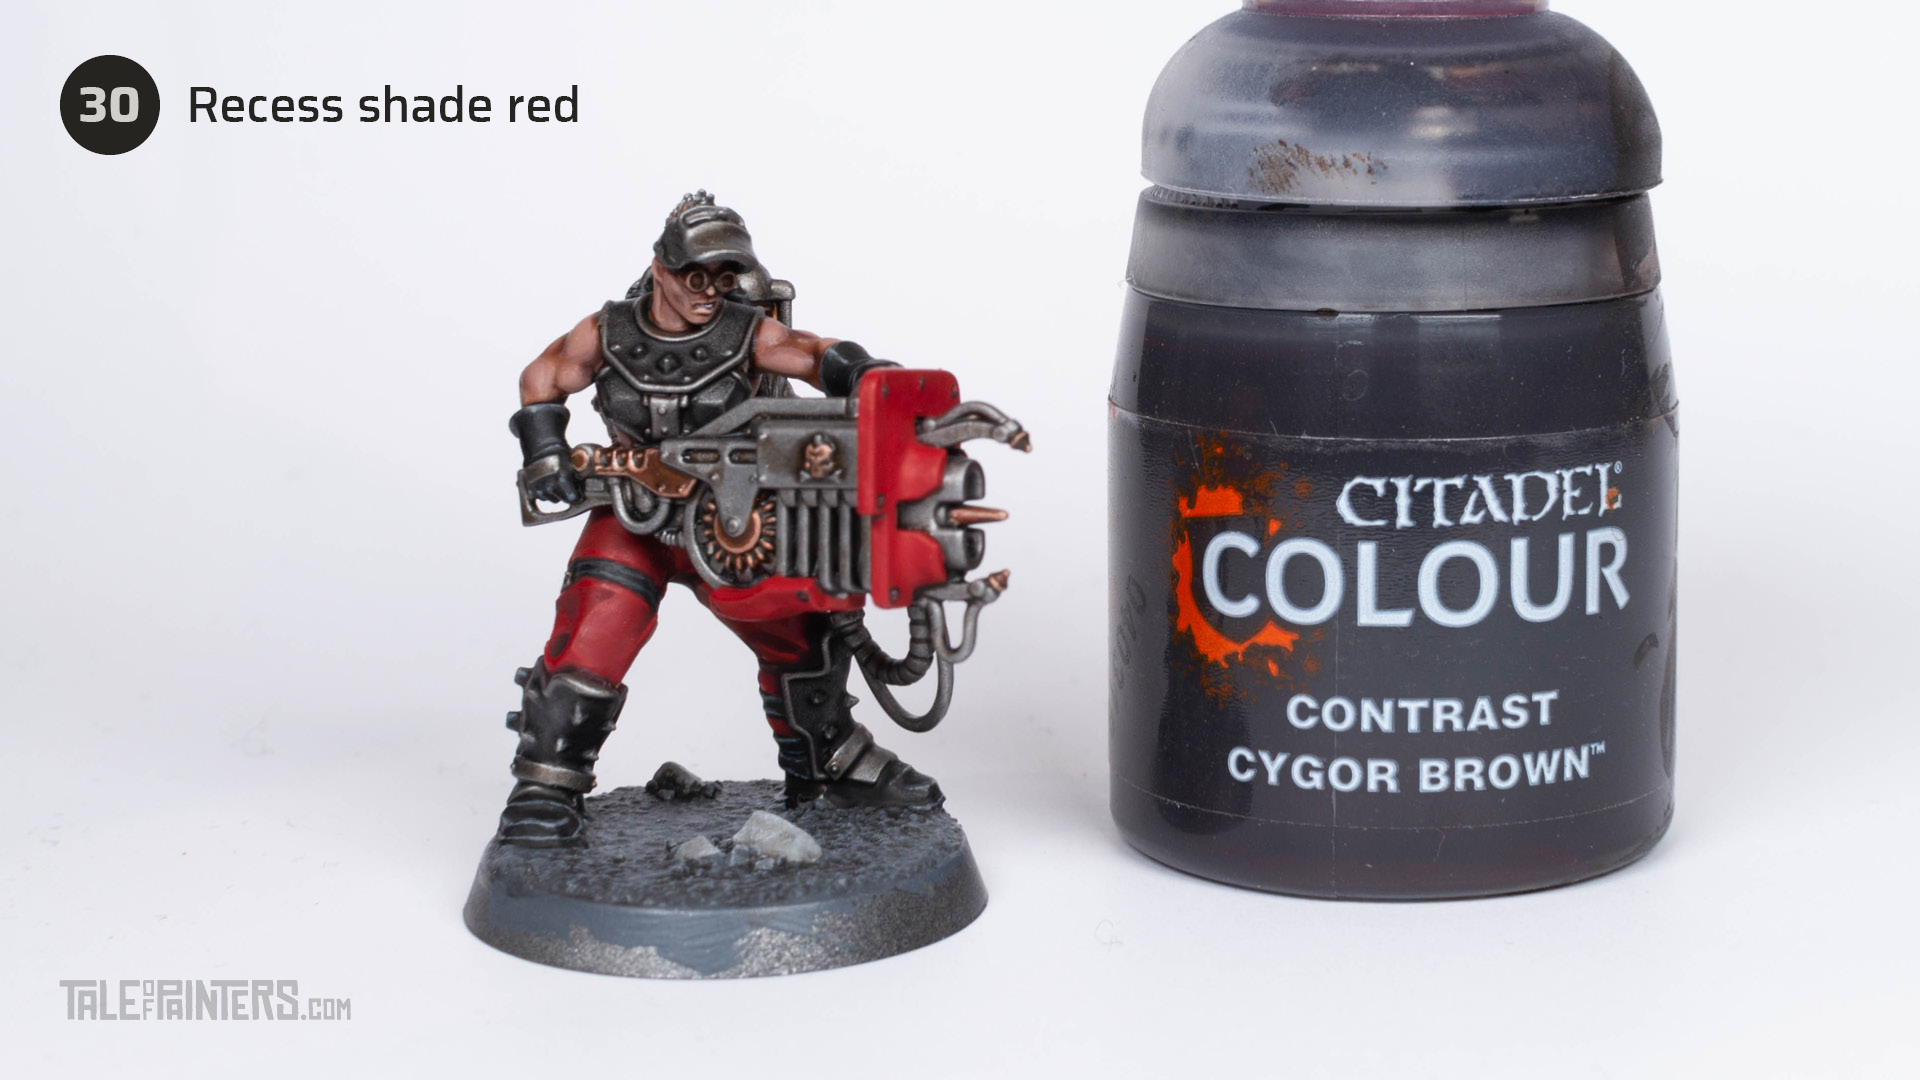

Recess shade the red panels with Cygor Brown Contrast paint. Clean up with Mephiston Red afterwards if needed.
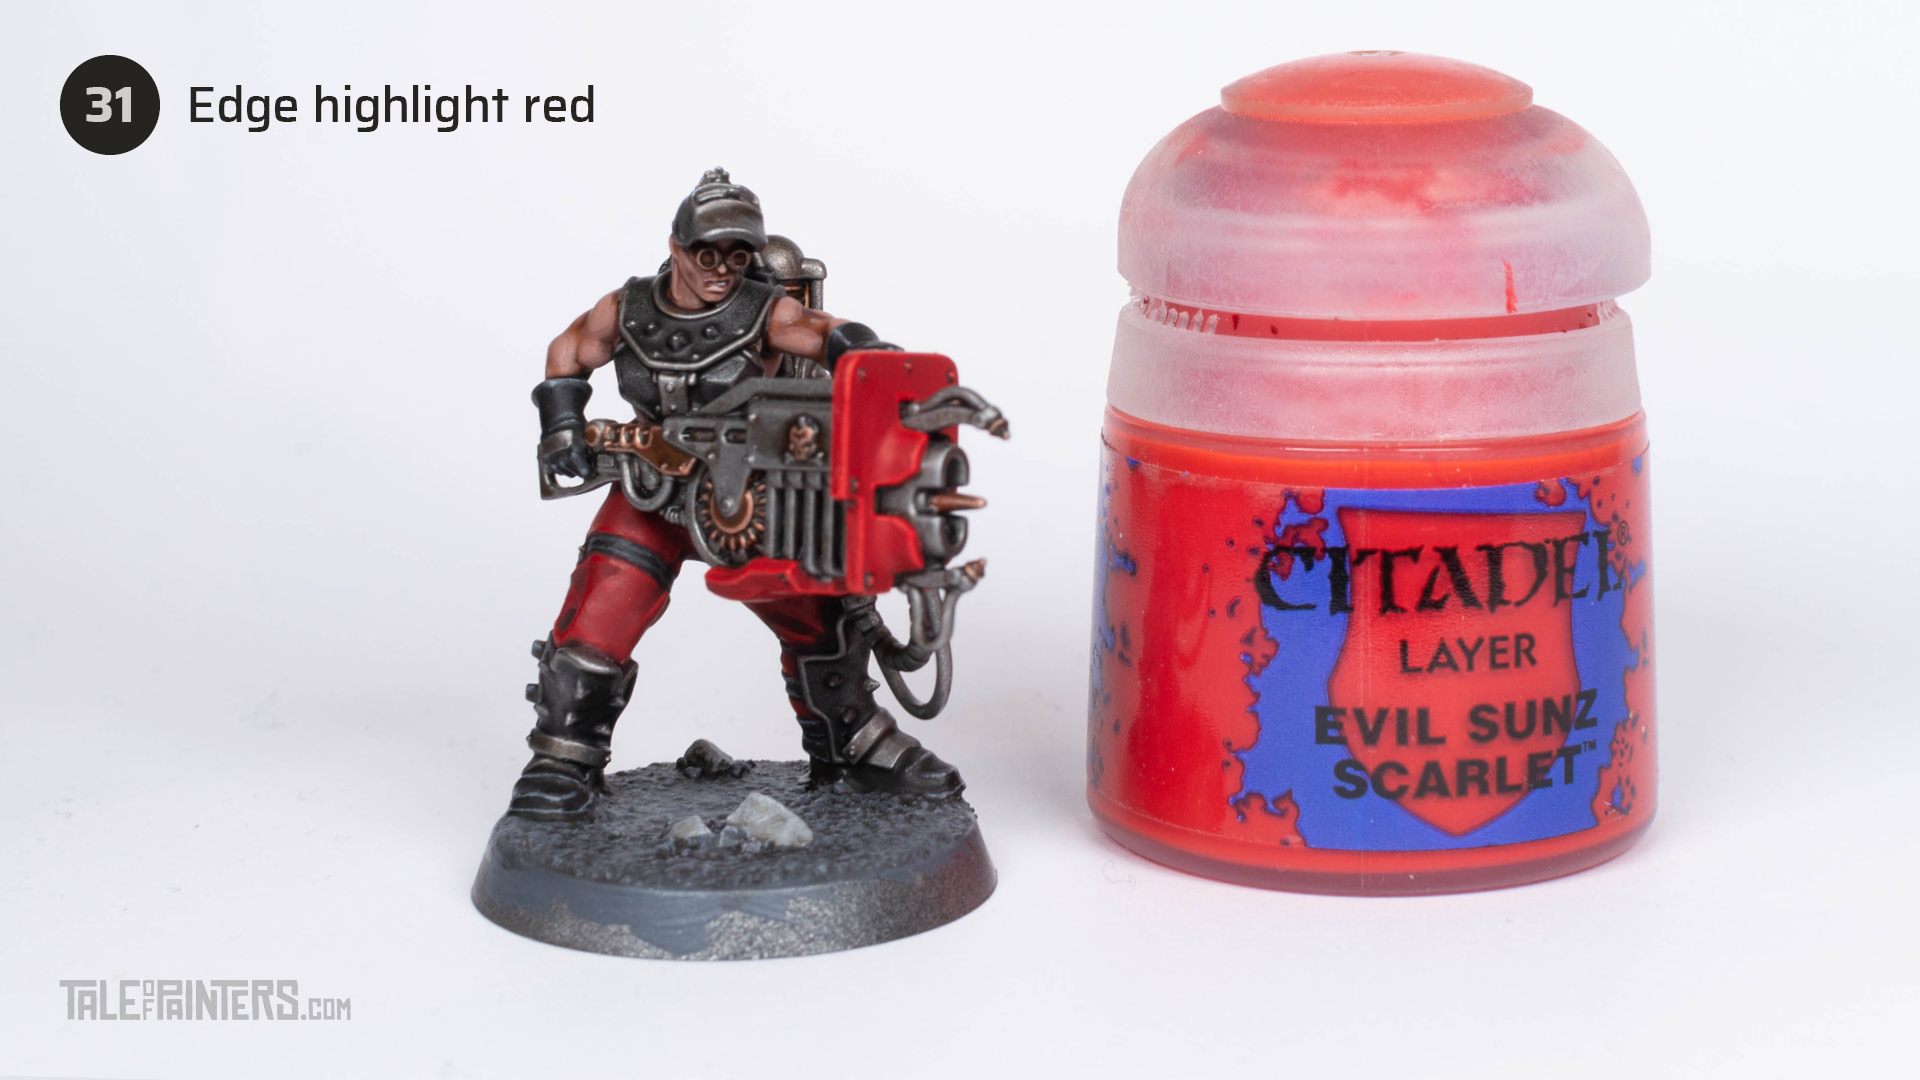

Edge highlight the red panels with Evil Sunz Scarlet.
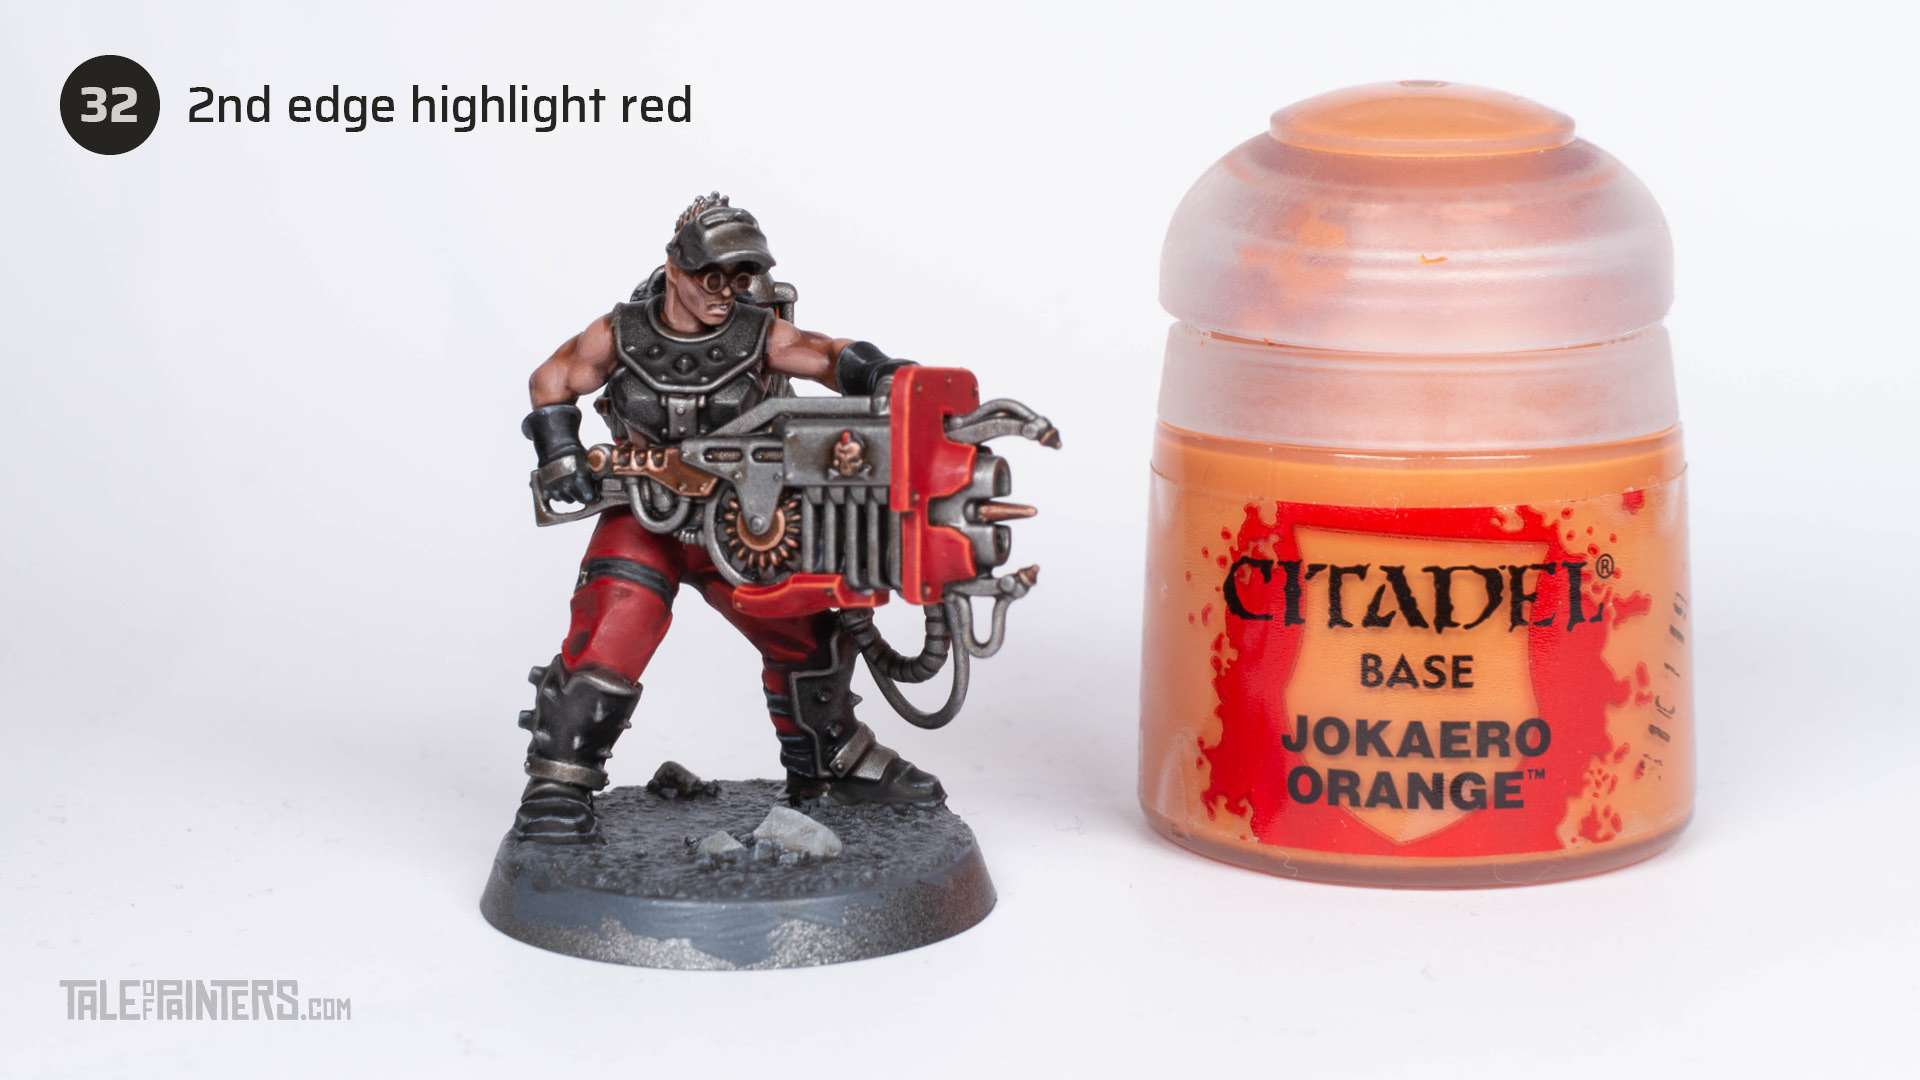

Apply a second, even thinner edge highlight of Jokaero Orange.
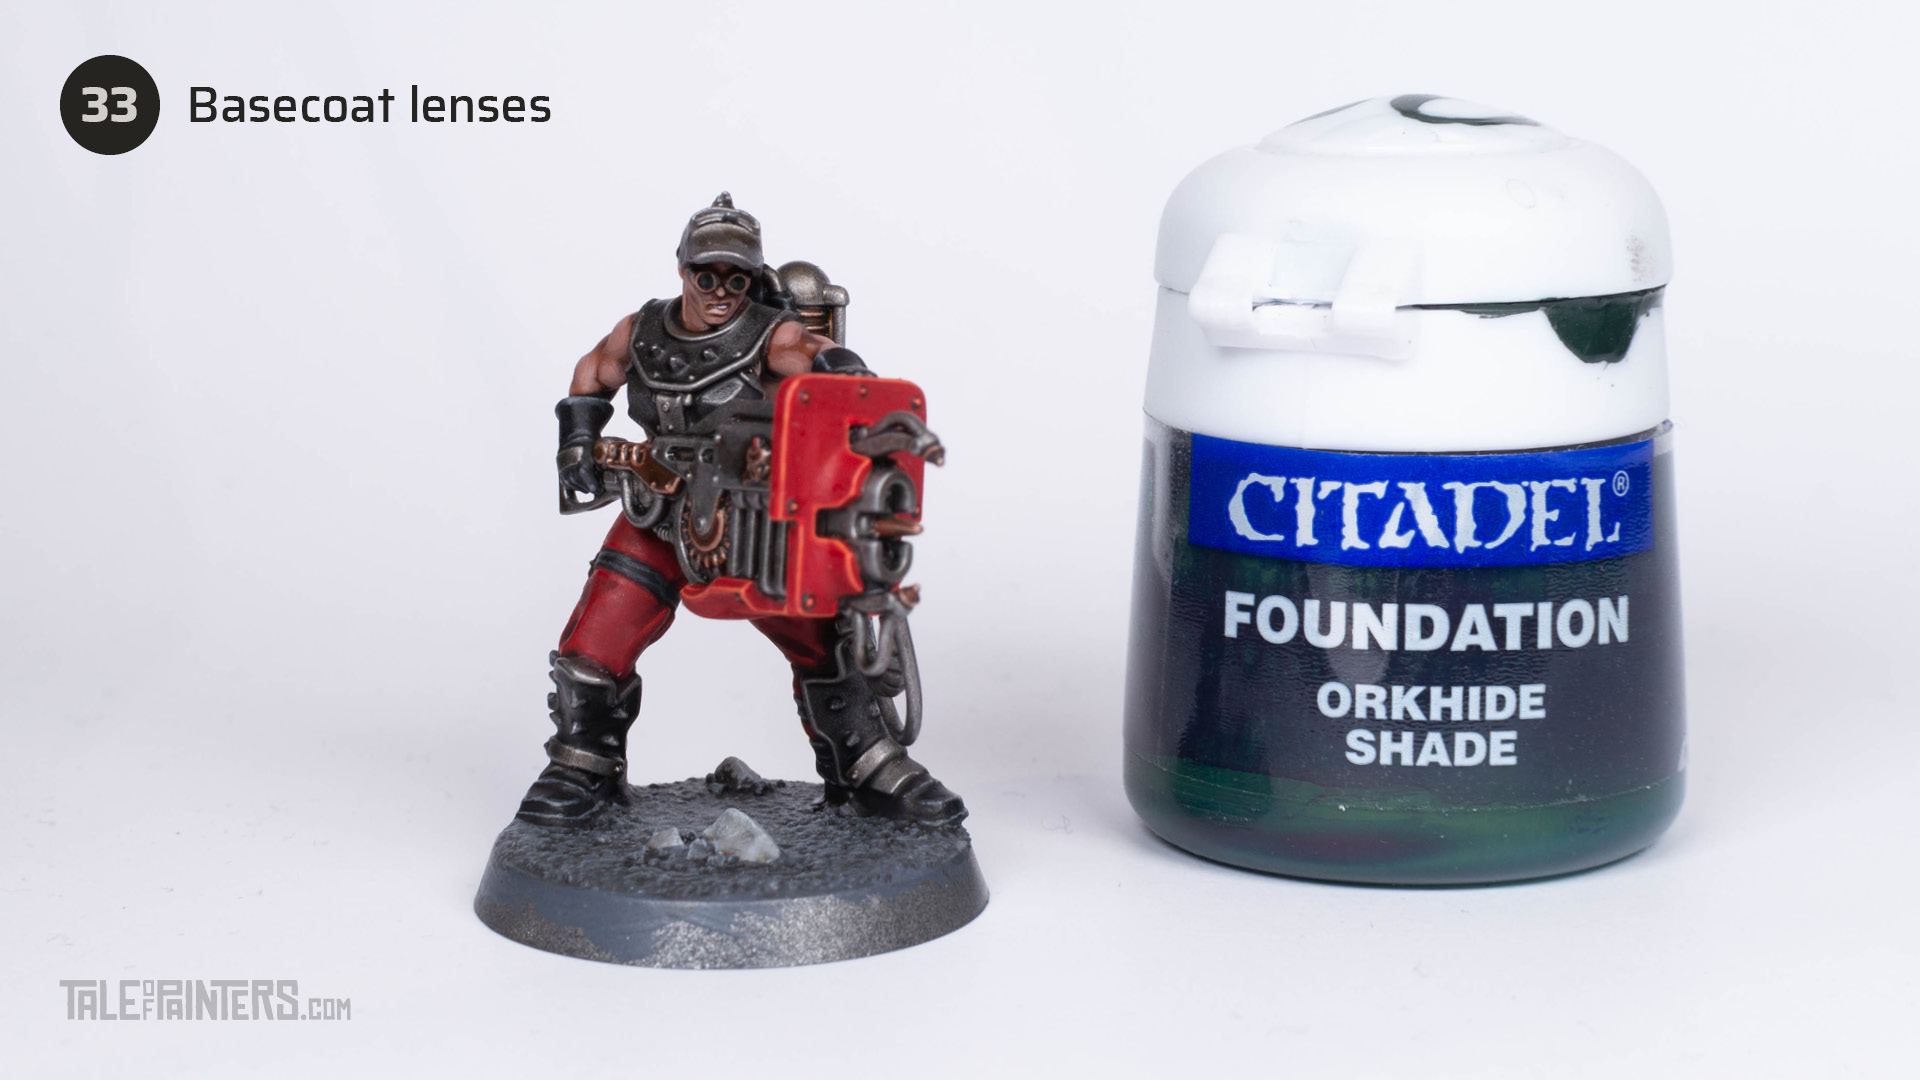

Pick out the green lenses on the goggles with Orkhide Shade [an OOP paint, use Caliban Green instead].
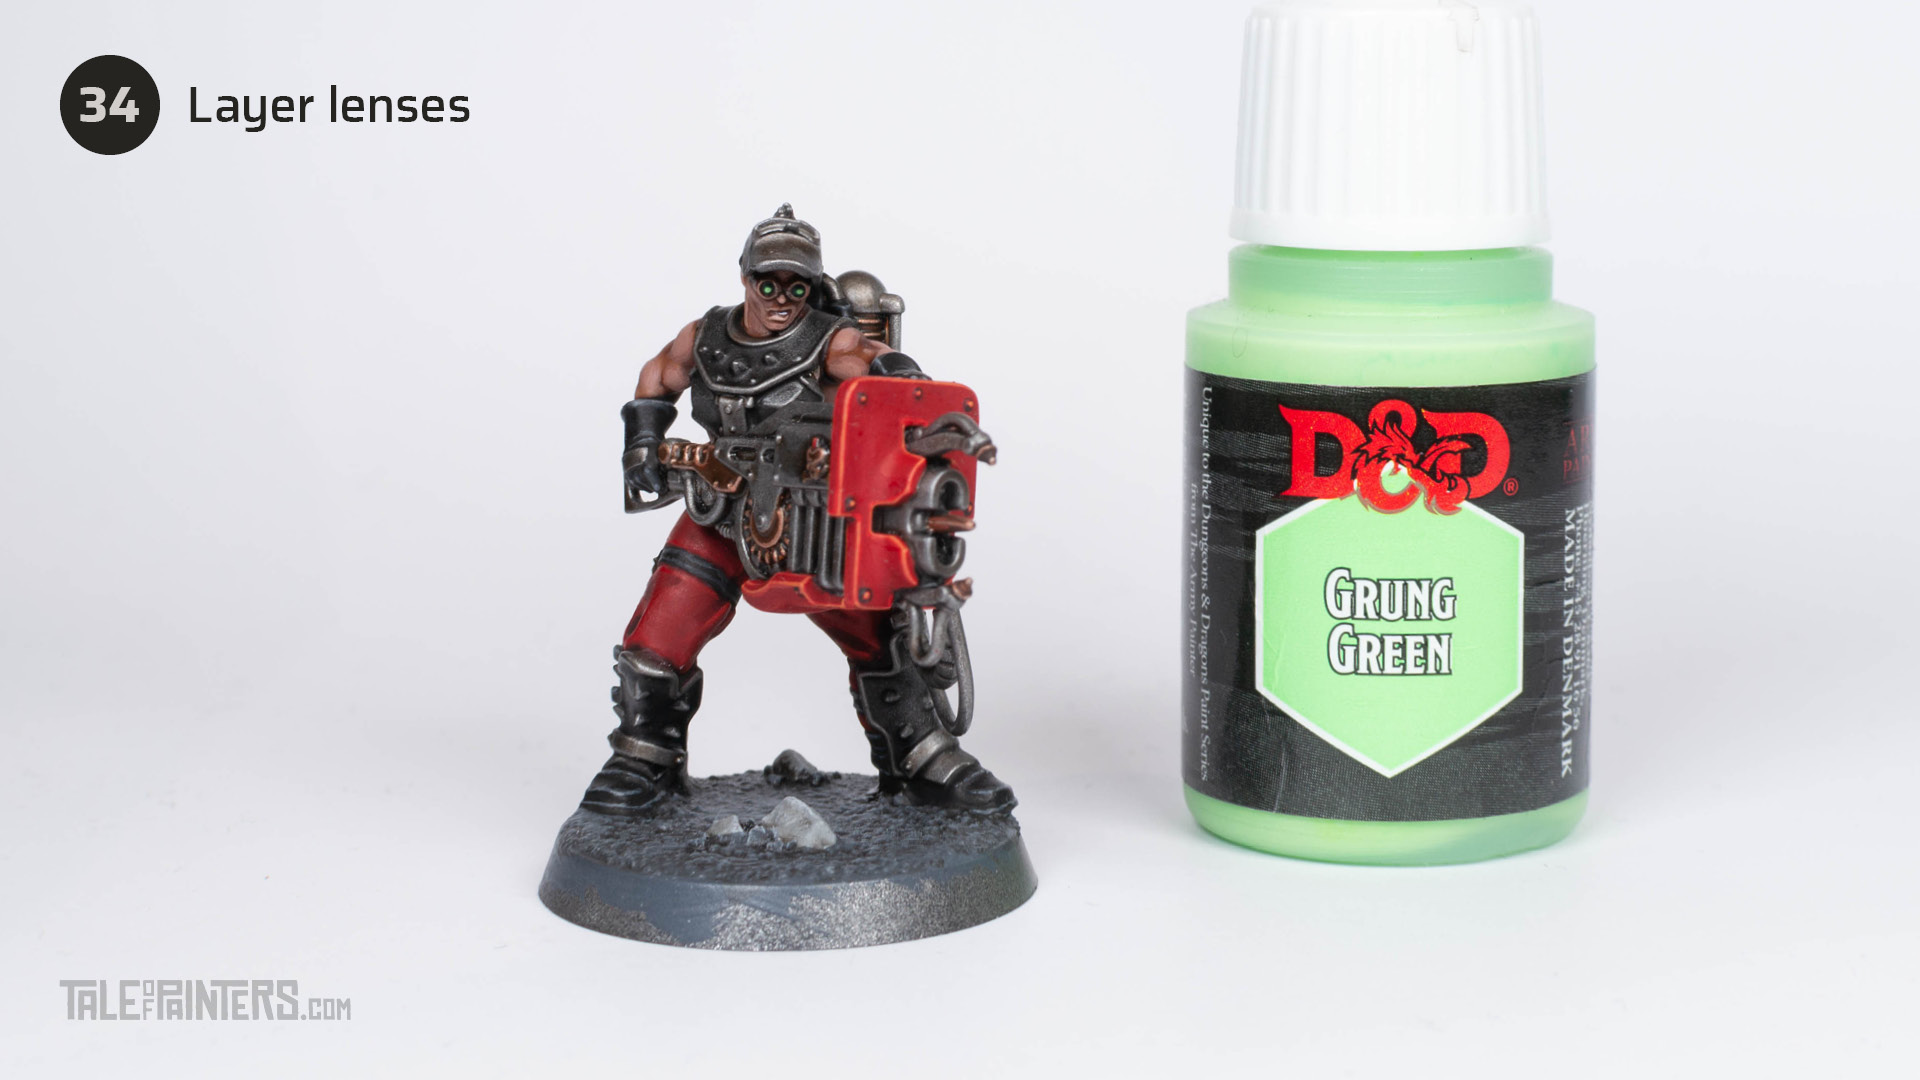

Layer the lenses with Grung Green from The Army Painter’s Dungeons & Dragons range. This is an almost neon light green with excellent coverage, if you don’t have it, [mix Gauss Blaster Green with Moot Green].
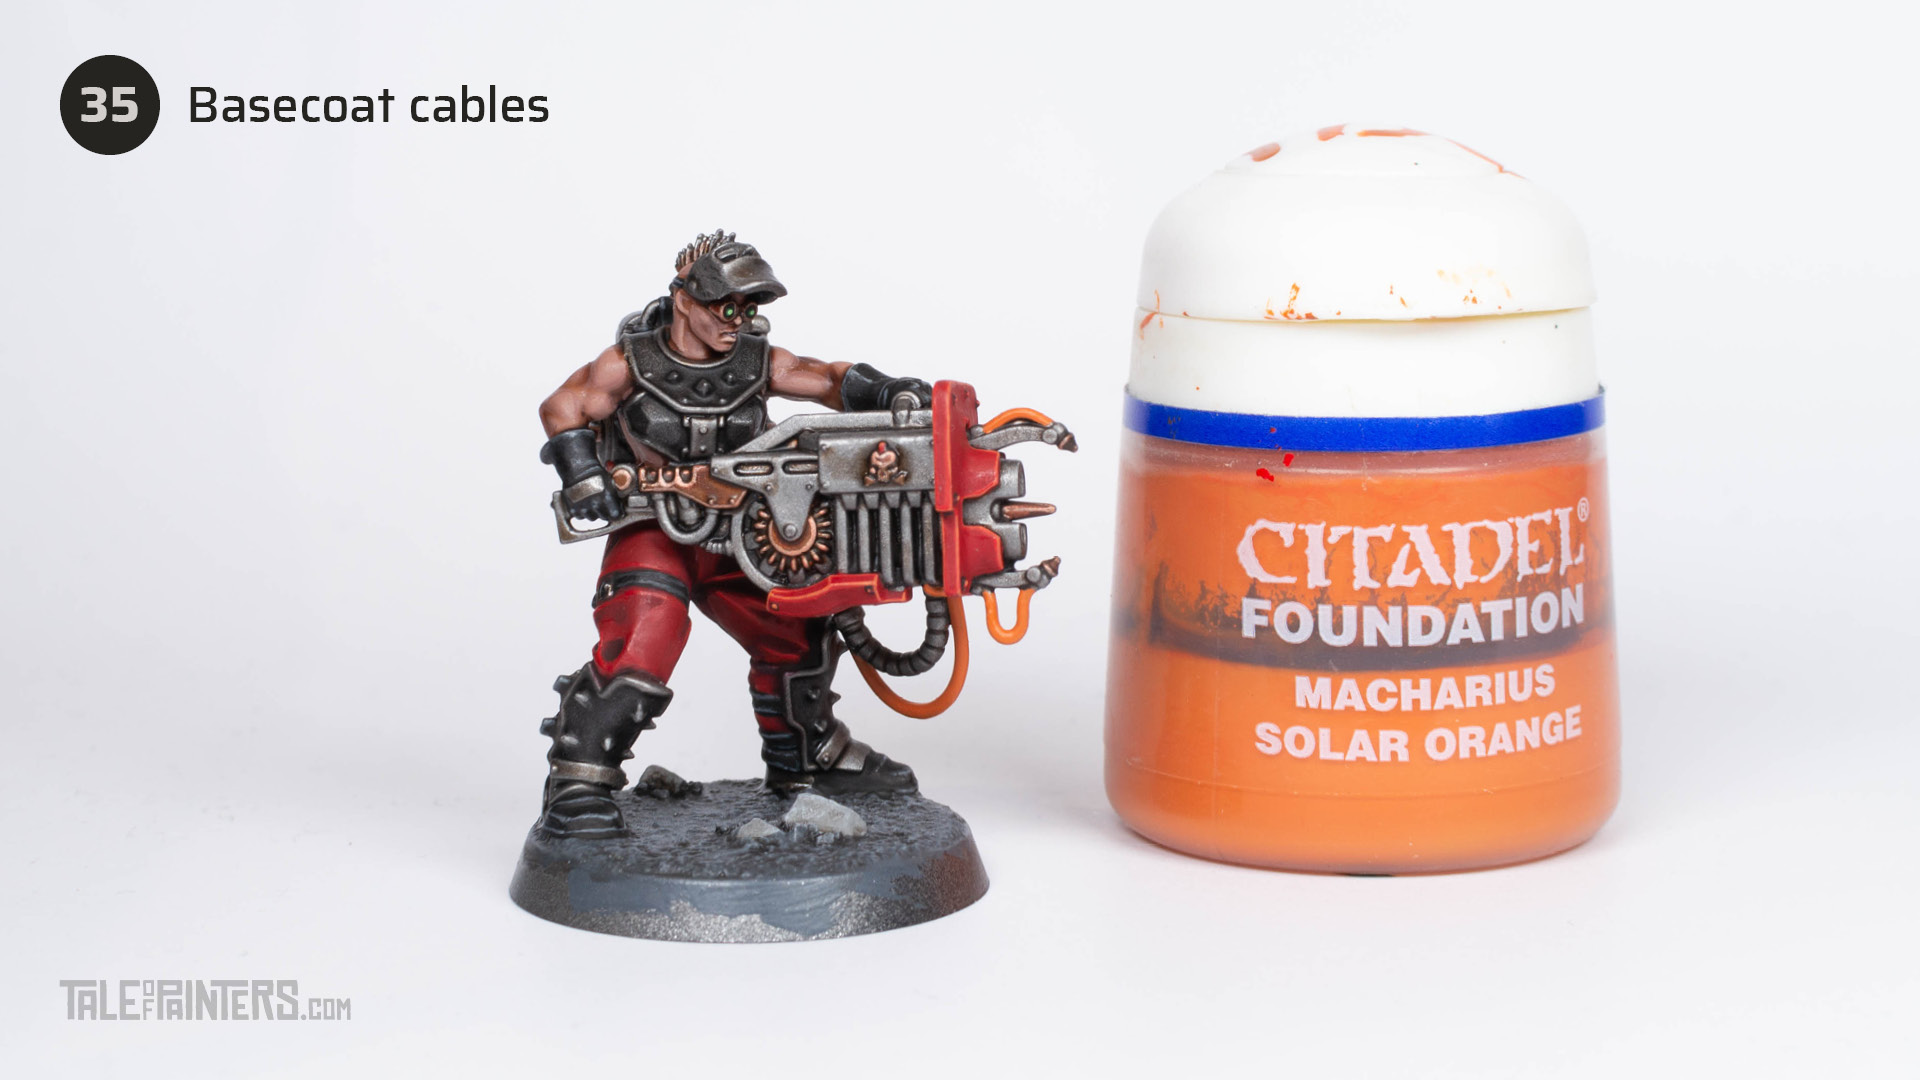

Basecoat the orange cables with Macharius Solar Orange [mix Trollslayer Orange and Jokaero Orange about 2:1].
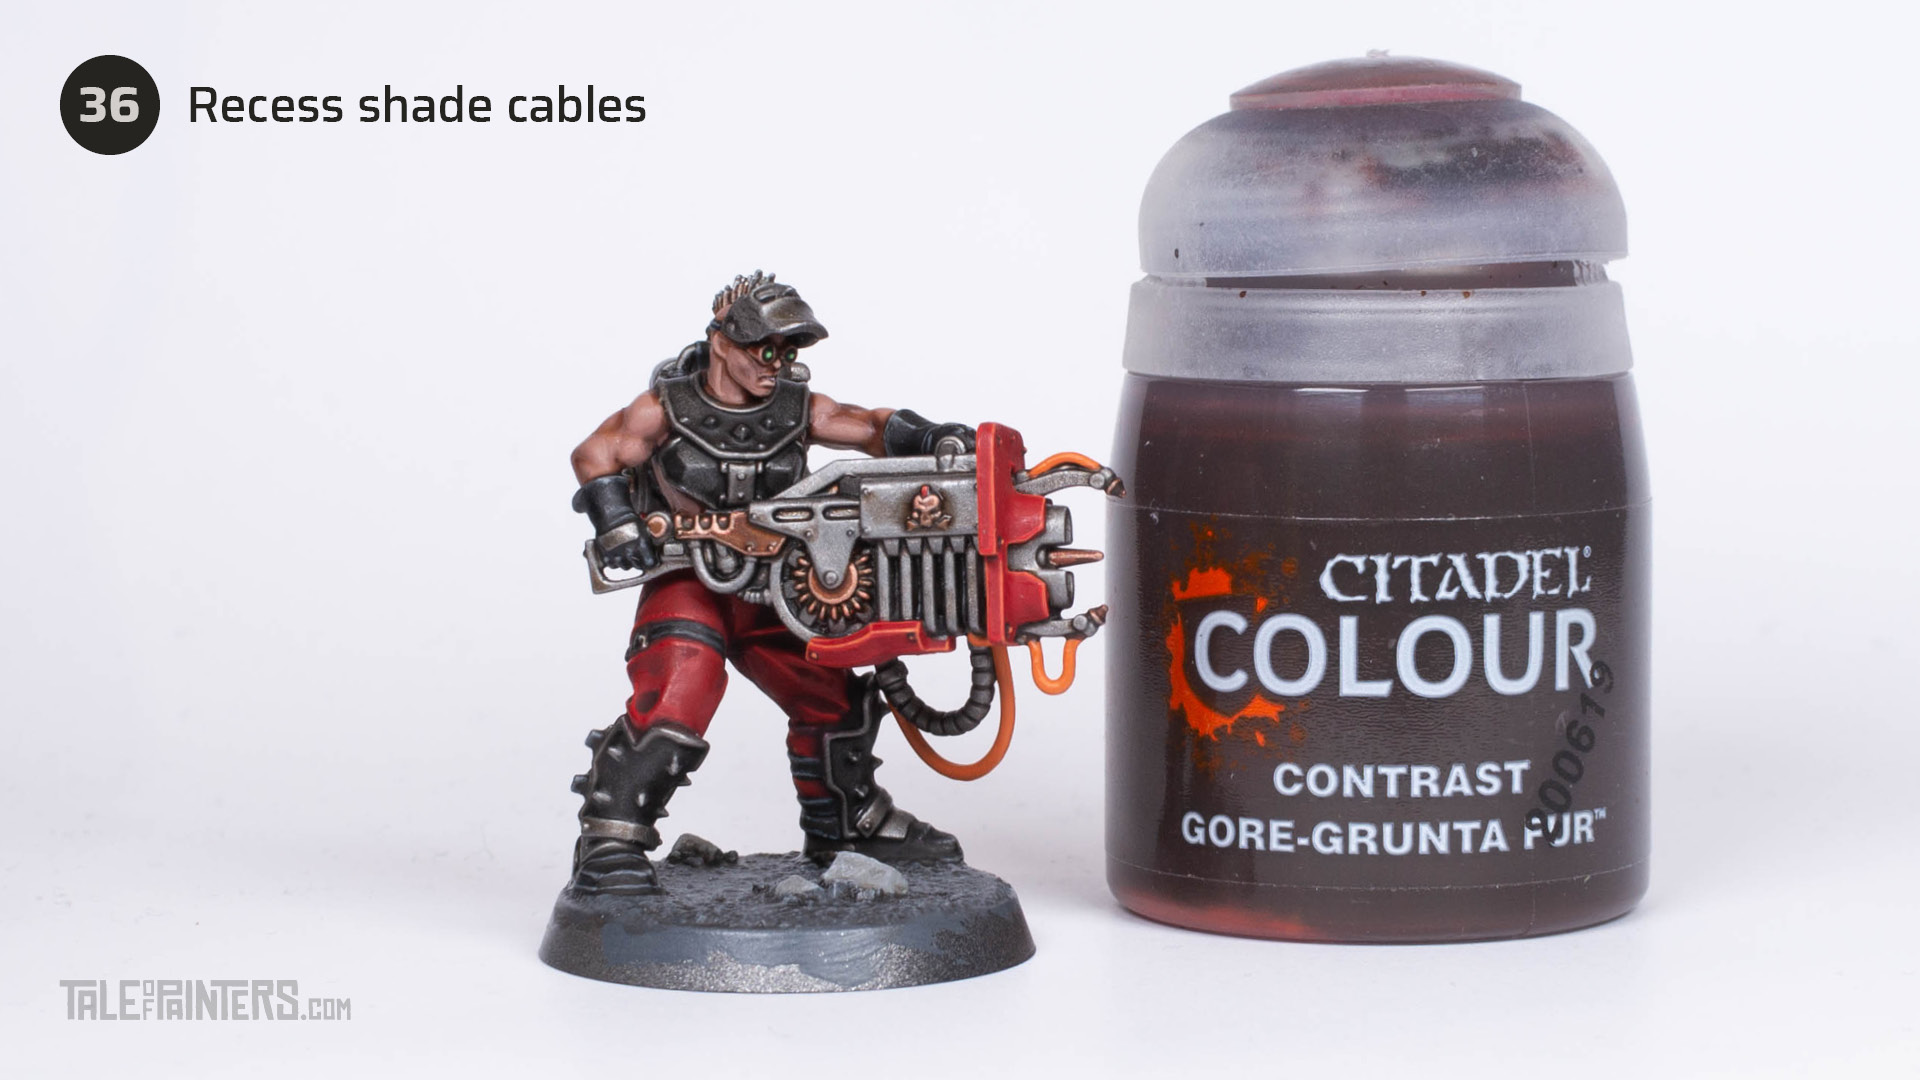

Shade the cables with Gore-grunta Fur.
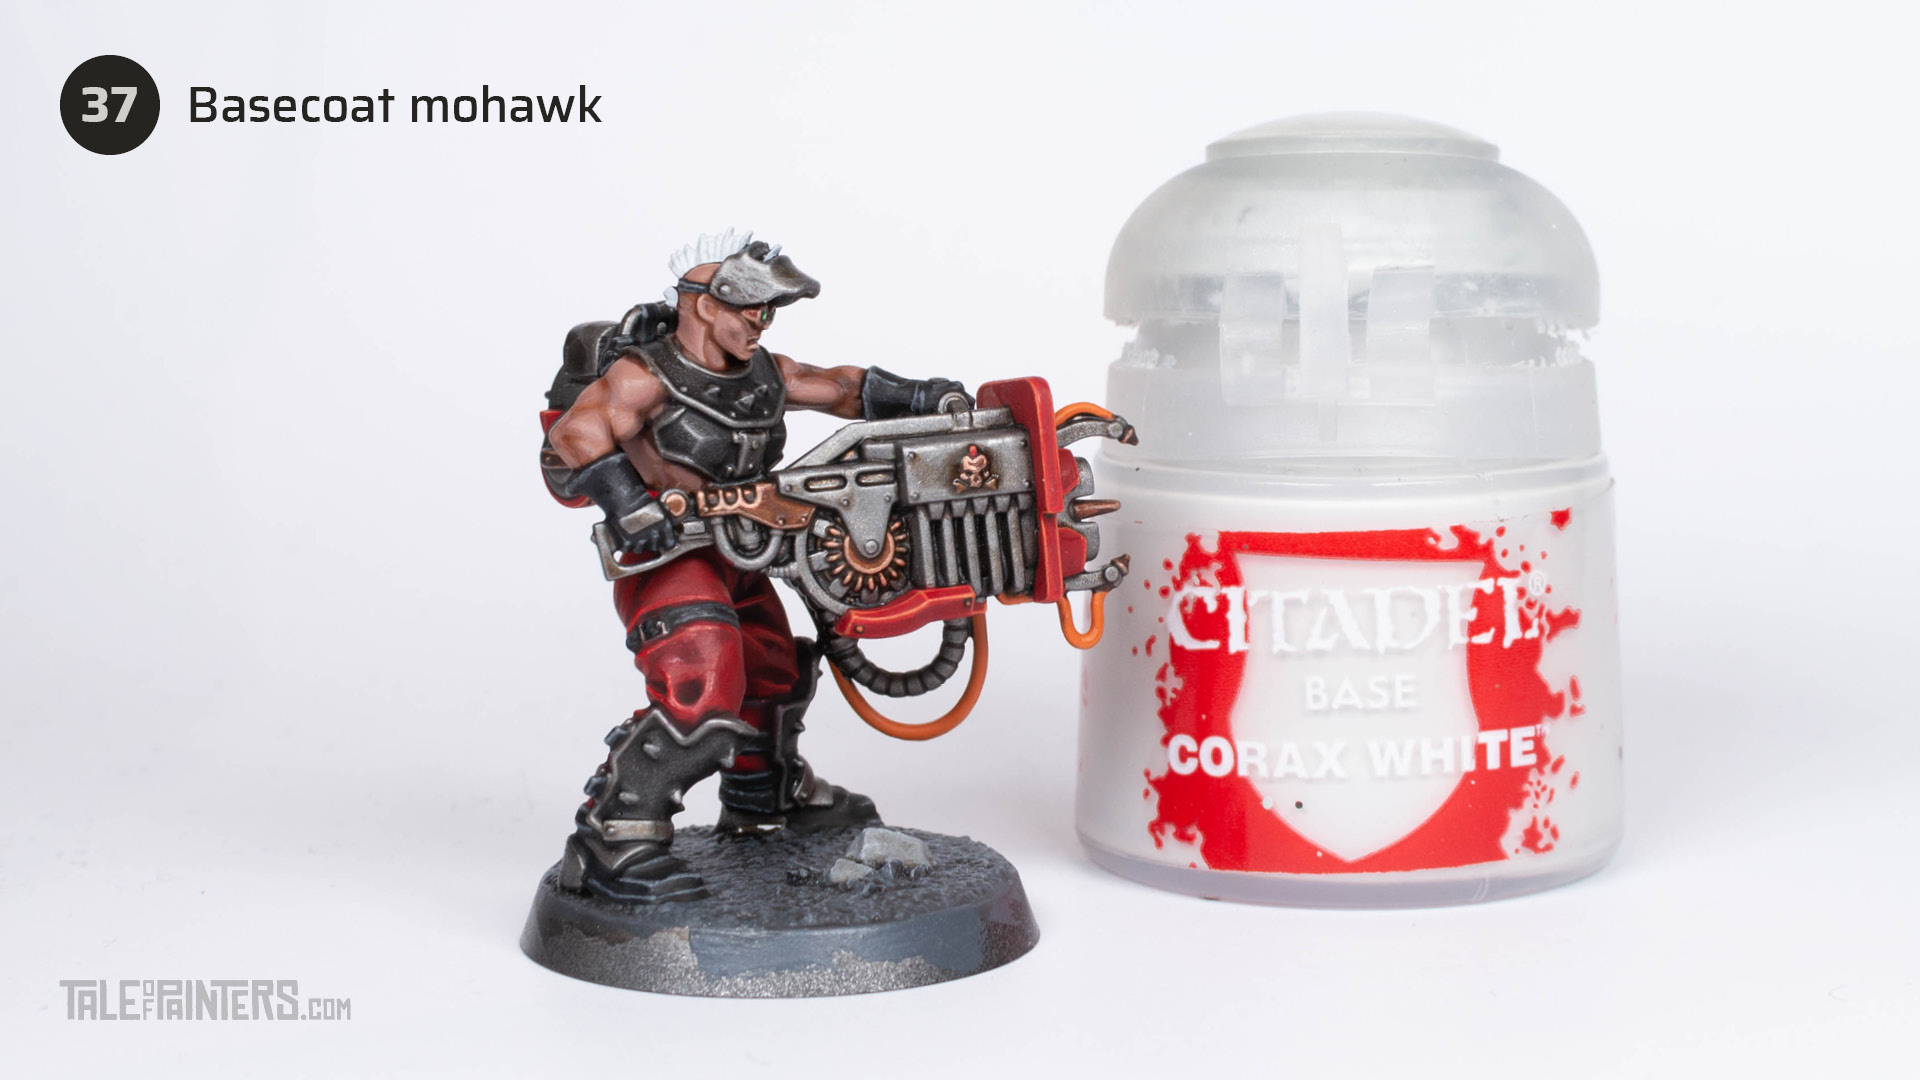

Basecoat the Mohawk with two thin coats of Corax White.
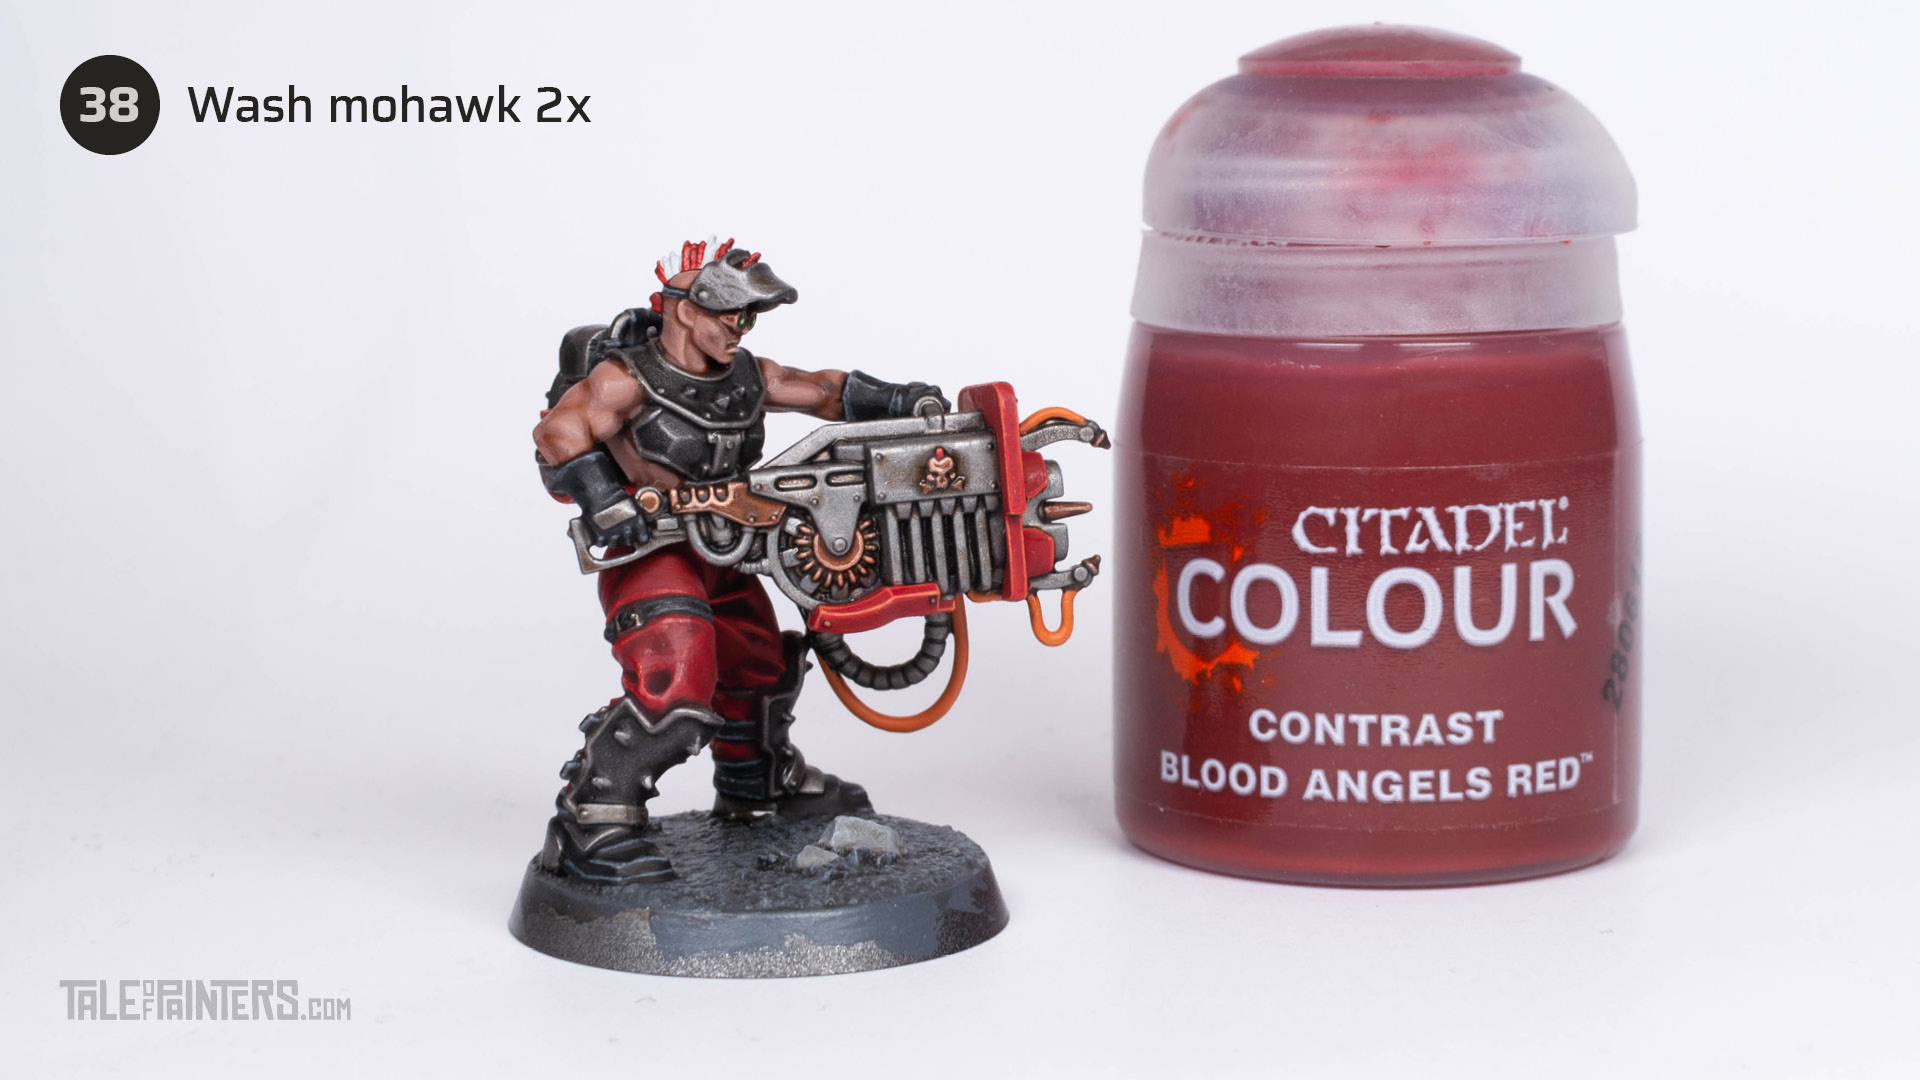

Pick out the red stripes of the mohawk with two layers of Blood Angels Red.
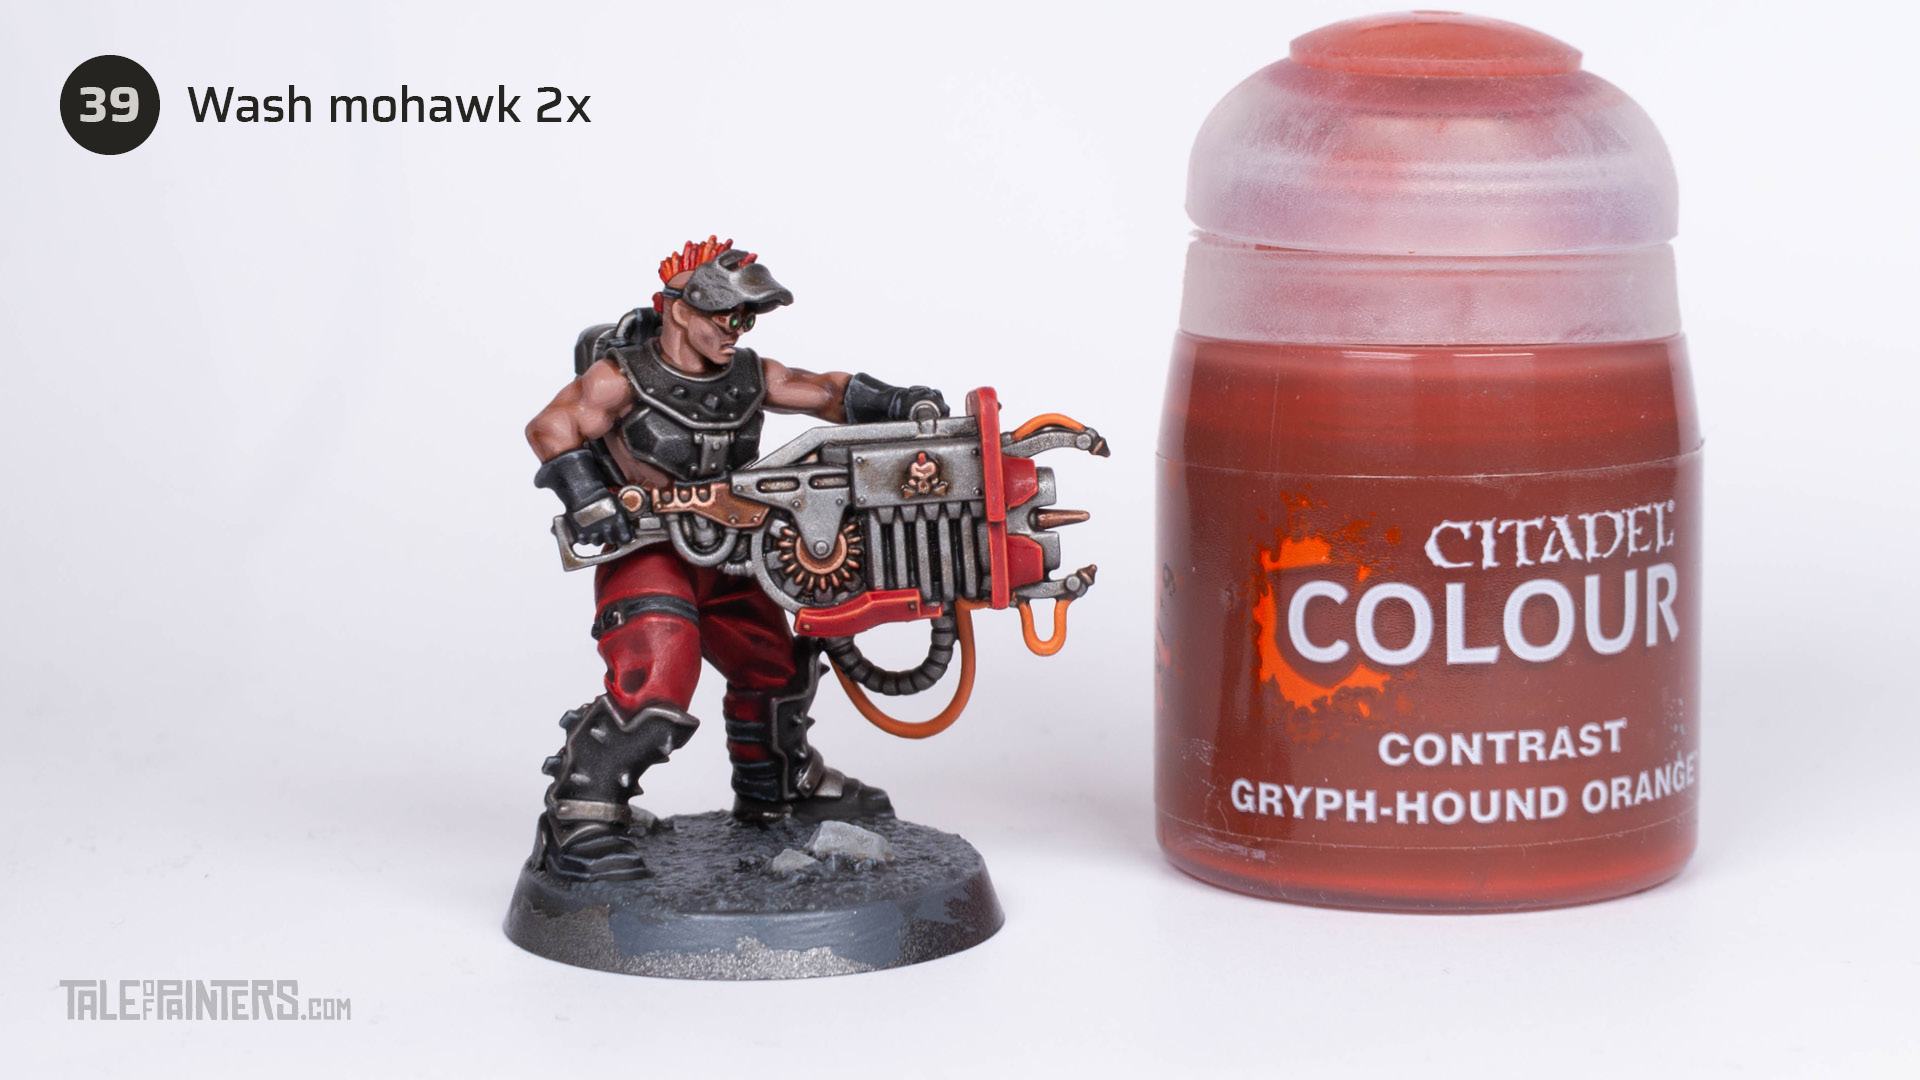

Then, pick out the orange stripes with two coats of Gryph-Hound Orange.
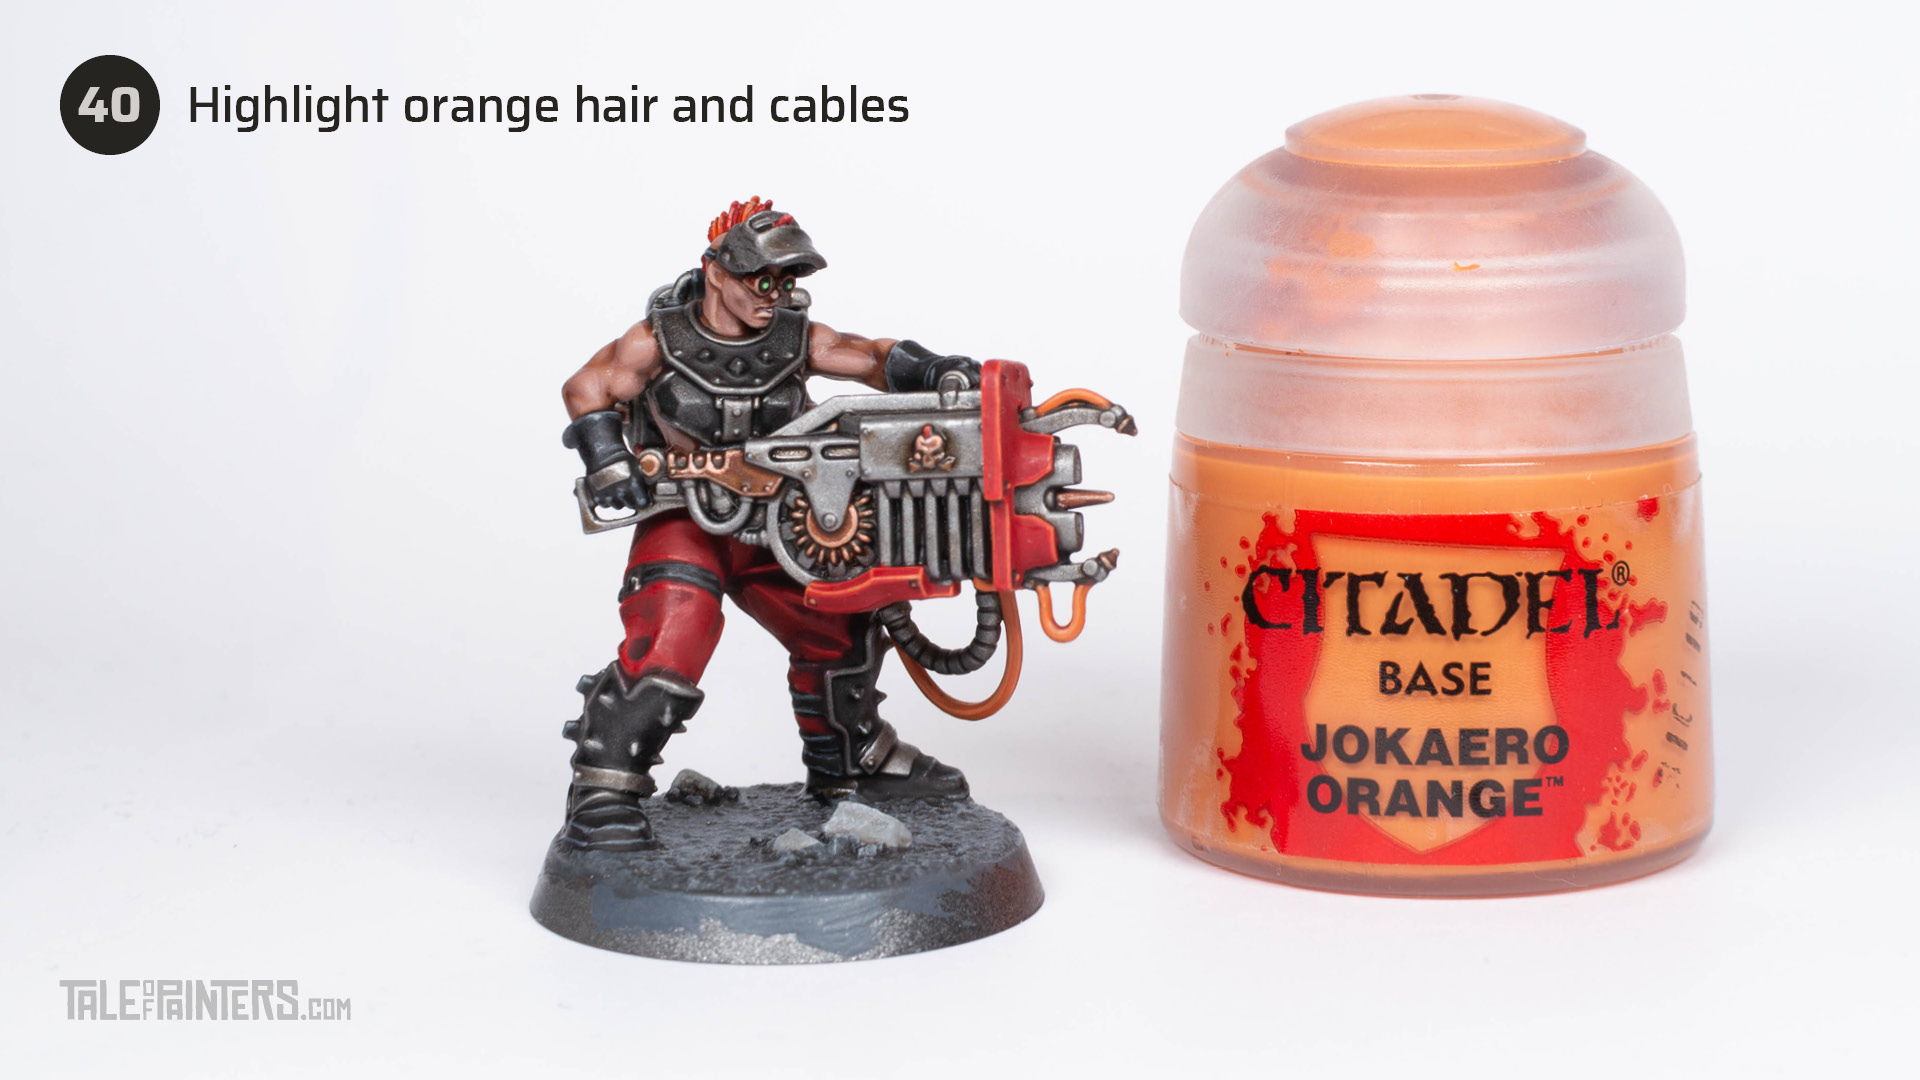

Highlight the orange hair and cables with Jokaero Orange.
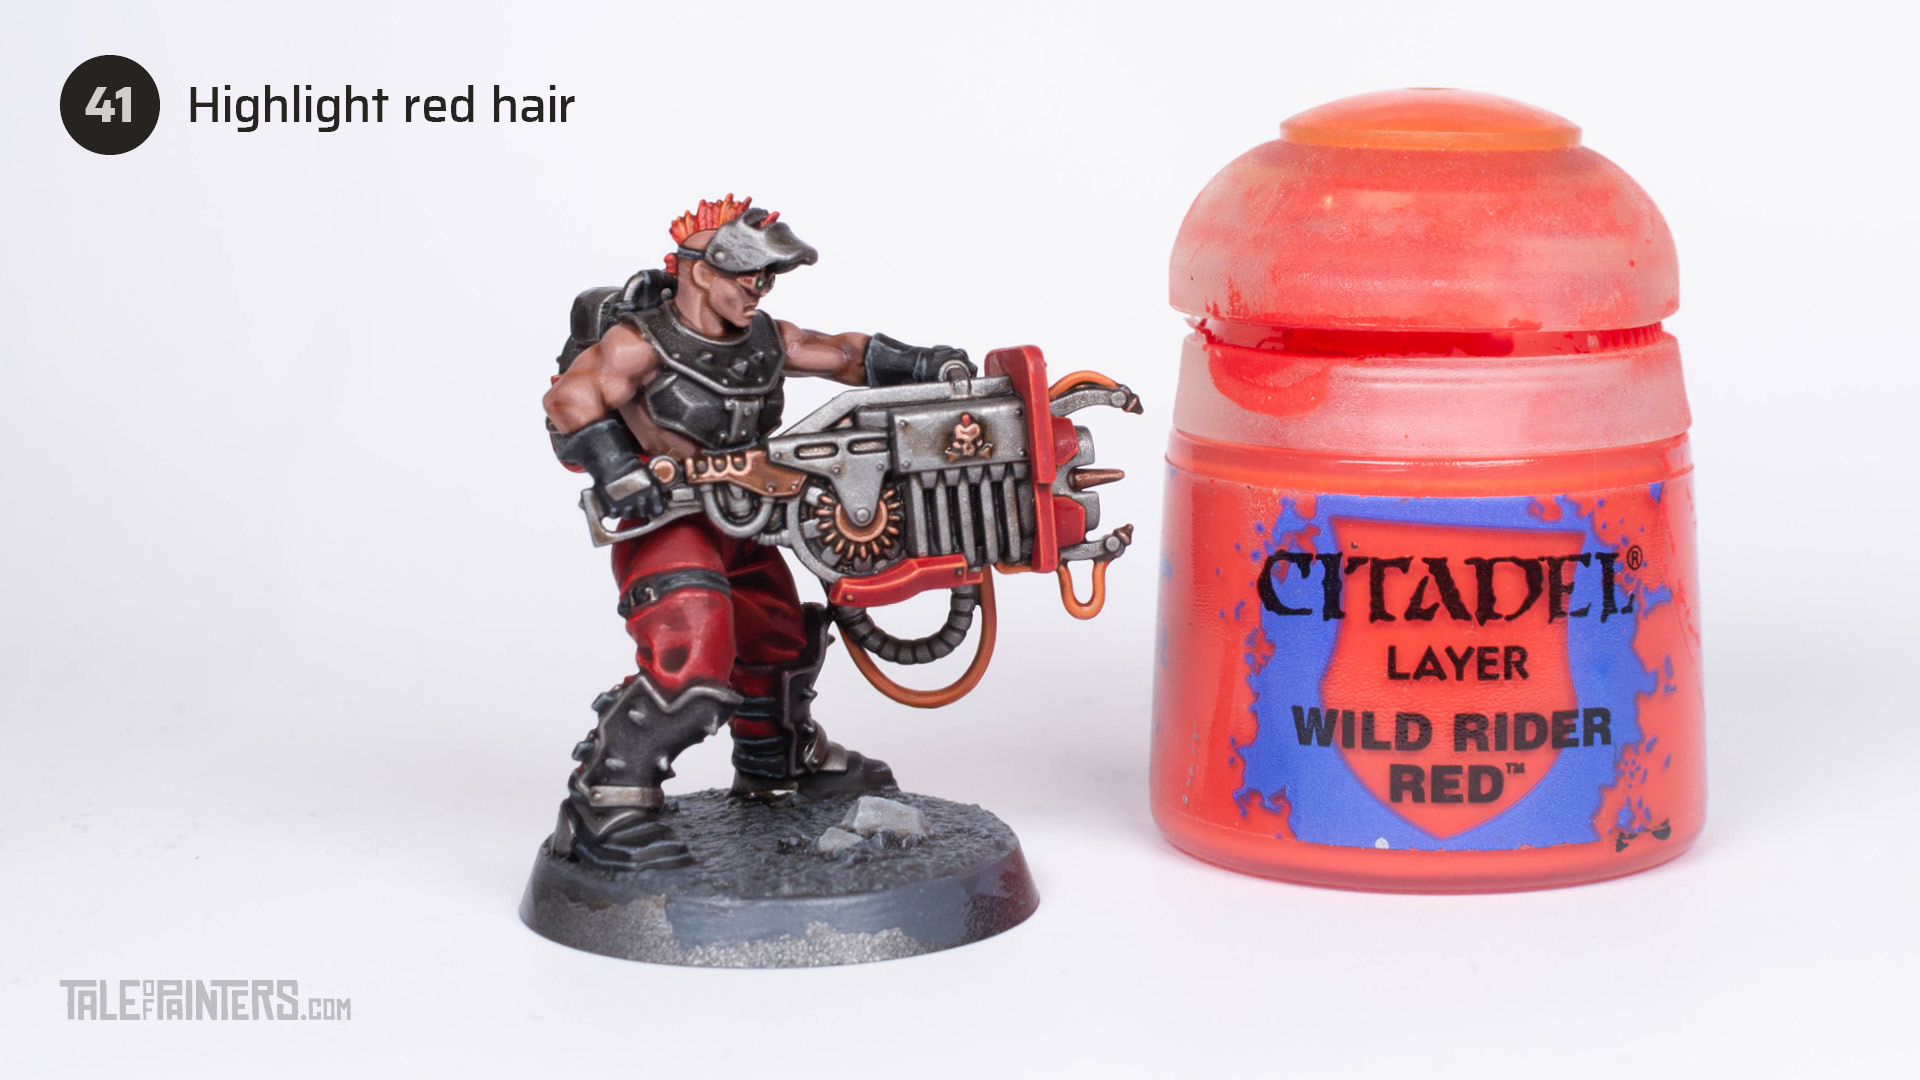

Highlight the red hair with Wild Rider Red.
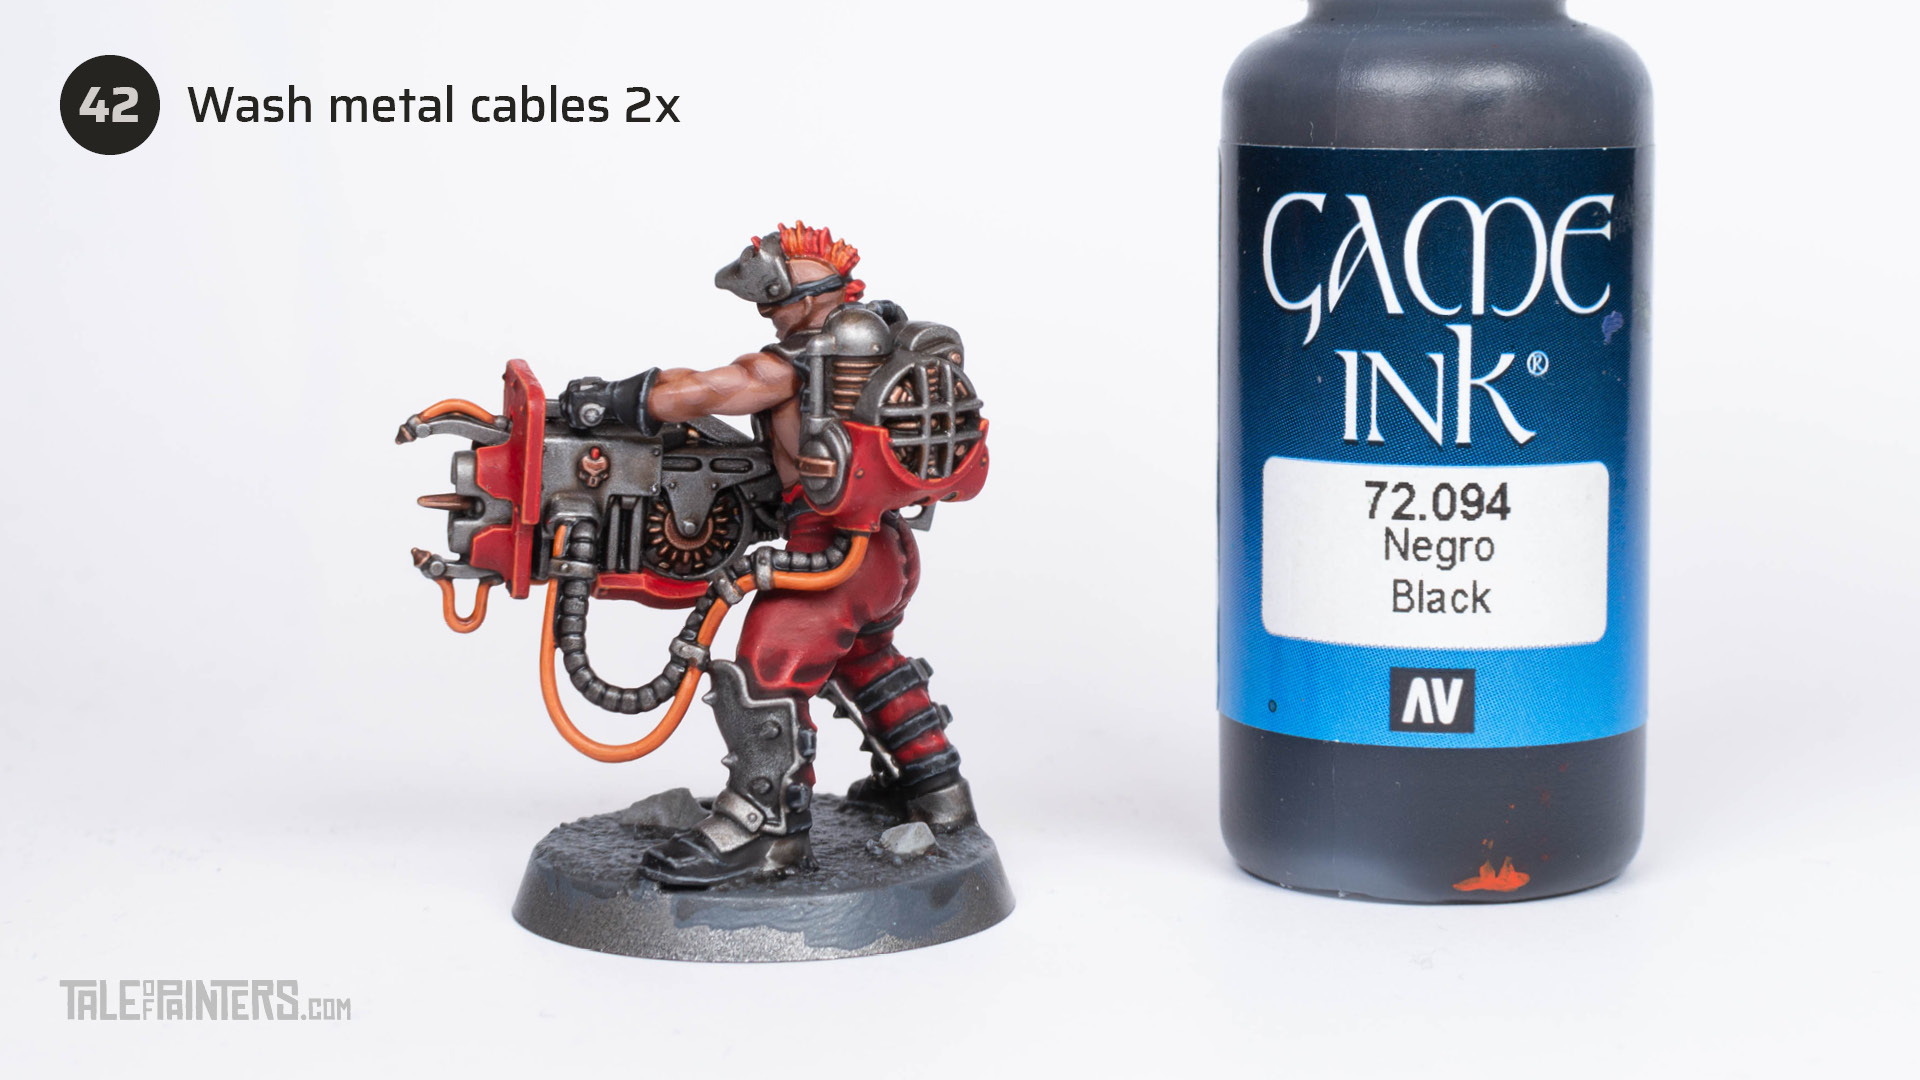

Wash the metal cables with two layers of Vallejo Game Color Black Ink [about three layers of Basilicanum Grey or Nuln Oil].
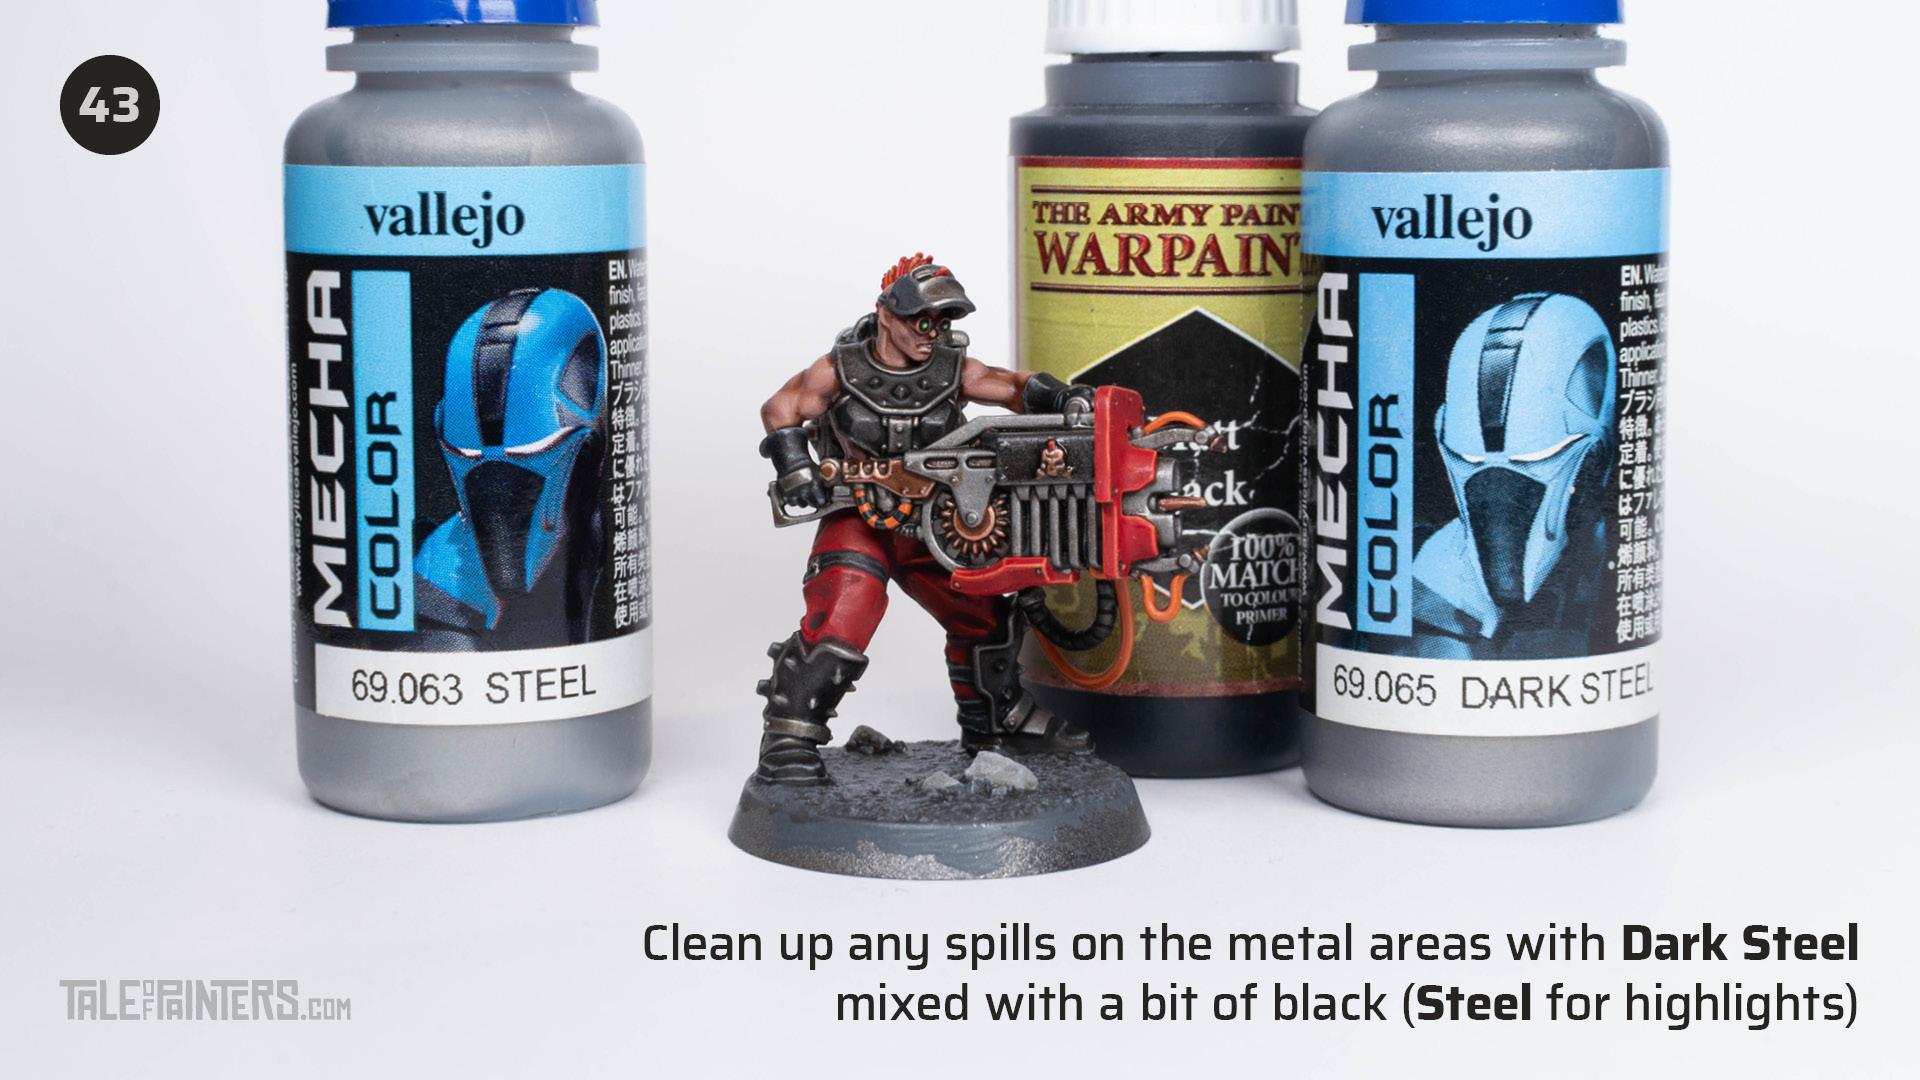

By now there will probably be a few spots where you spilled paint over the metal areas painted in steps 7 to 9. Don’t worry, just clean the steel with Vallejo Mecha Color Dark Steel [Leadbelcher] with a tiny bit of Matt Black [Abaddon Black] mixed in. Use Vallejo Mecha Color Steel [Iron Hands Steel] to restore drybrushed highlights from step 9.
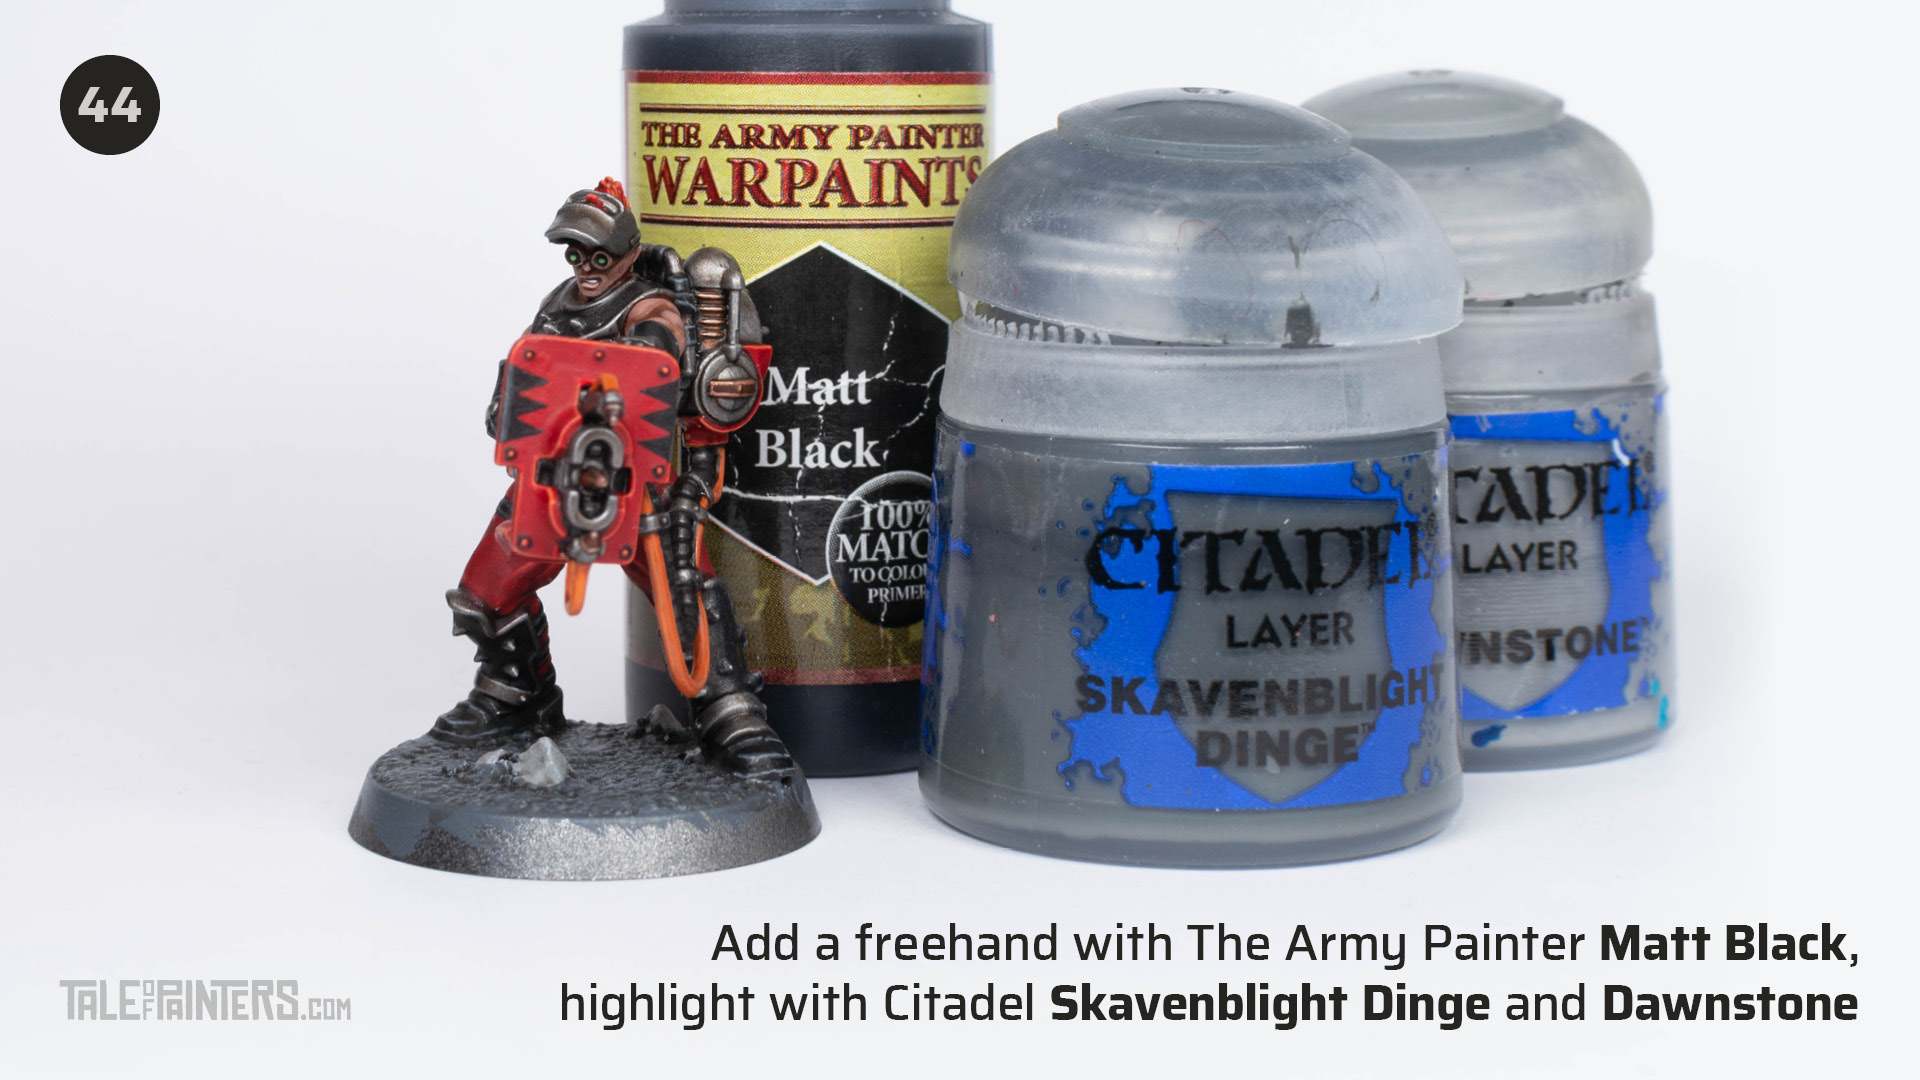

Optionally you can add some freehand markings to the gun shield with the same recipe as the black leather from steps 24 to 26, just keep your edge highlights straight this time.
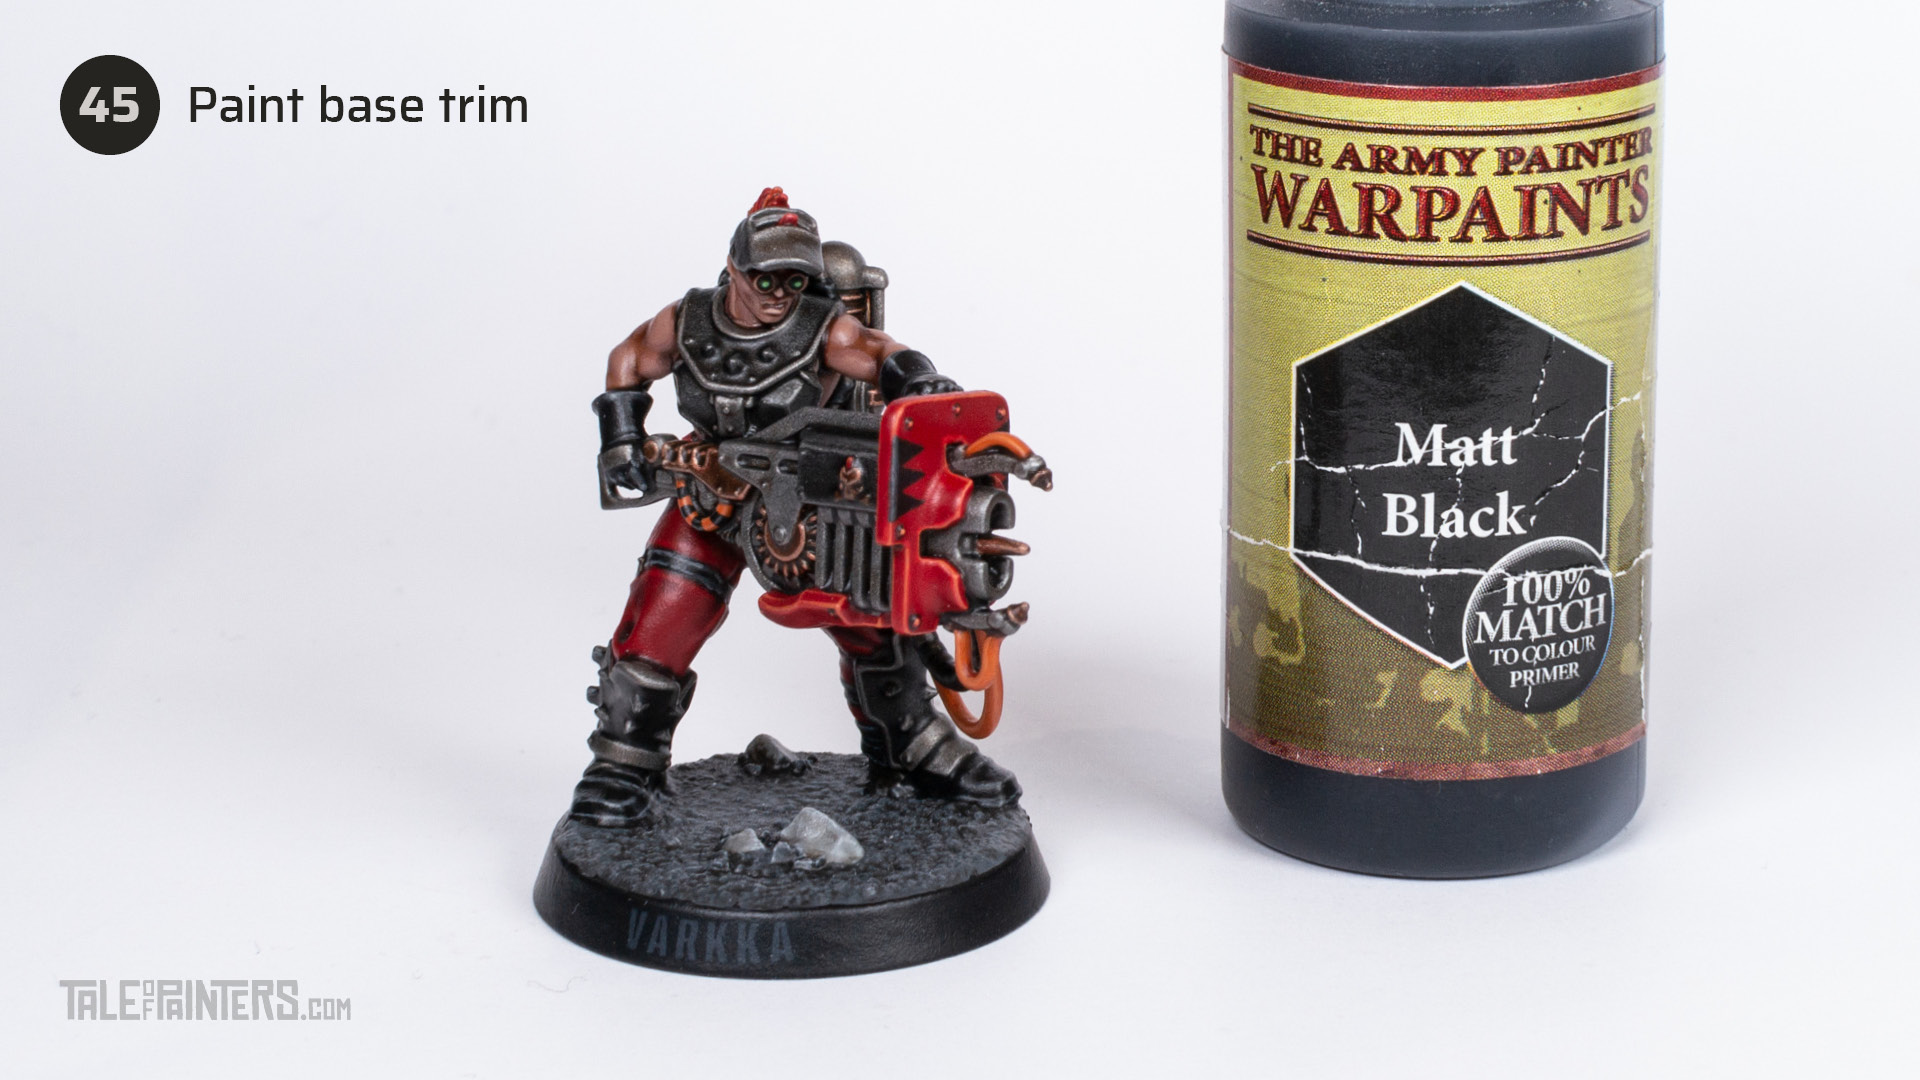

Finally, I painted the trim of the base with Warpaints Matt Black [Abaddon Black] and added one of my custom-designed name transfers.
And there we have a Goliath Forge-Born, painted in an inverted paint scheme with red trousers and black armour. This technique can be applied to all Goliath models, and probably wouldn’t look off on Blades of Khorne either. Check out a group shot of my whole Goliath Gang here.
Paints you will need for this tutorial:
Citadel (Games Workshop)
Leadbelcher Spray
Corax White (base paint)
Iron Warriors
Mechanicus Standard Grey
Mephiston Red
Jokaero Orange
Tallarn Flesh [OOP, or Cadian Fleshtone]
Orkhide Shade [OOP, or Caliban Green]
Macharius Solar Orange [OOP, or a mix of Trollslayer Orange and Jokaero Orange]
Dawnstone
Administratum Grey
Evil Sunz Scarlet
Wild Rider Red
Knight-Questor Flesh
Skavenblight Dinge
Gore-grunta Fur (contrast)
Blood Angels Red (contrast)
Gryph-Hound Orange (contrast)
Darkoath Flesh (contrast)
Cygor Brown (contrast)
Carroburg Crimson
Agrax Earthshade
Nuln Oil Gloss
Agrax Earthshade Gloss
Lahmian Medium
Contrast Medium
Green Stuff World
Steampunk Copper [or a mix of Hashut Copper and Stormhost Silver]
Reaper Master Series
Tanned Highlight [or Kislev Flesh]
The Army Painter Warpaints
Matt Black [or Abaddon Black]
Strong Tone Wash [or Agrax Earthshade]
Dark Tone Wash [or Nuln Oil]
Grung Green (from the D&D range) [or a mix of Gauss Blaster Green and Moot Green]
Vallejo
Game Color Black Ink [or Basilicanum Grey/Nuln Oil]
Mecha Color Dark Steel [or Leadbelcher]
Mecha Color Steel [or Iron Hands Steel]
Mecha Color Light Steel [or Stormhost Silver]
Model Color White [or White Scar]
If you need to expand your paint collection to follow the tutorial, check out our partner stores Wayland Games and Element Games, which offer an amazing range of paints at a discount.
Hope you enjoyed this tutorial. If so, leave a comment or reaction below, and if you got any questions, leave them here so I can answer them for you.


