In this post, I’m going to teach you how to paint my grim black-and-grey Death Korps of Krieg paint scheme. Together we’ll paint the whole miniature in 32 easy-to-follow steps, so you can ready your Veteran Guardsmen Kill Team from Kill Team: Octarius in no time (or sacrifice yourself trying, like any proper Krieg Guardsmen is expected to).
This tutorial assumes you know the basic grips of painting Warhammer miniatures. Step-by-step I explain all the paints and techniques I used. I have a rather eclectic paint collection, so when I use a paint that is not from Games Workshop (or out of production), I’ll try to provide you with suitable alternatives from the current Citadel paint range [in brackets]. However, if you want to achieve exactly the same result as shown, I recommend expanding your paint collection. You’ll find a list of all the paints used in this tutorial at the end of the post.
How to paint Death Korps of Krieg
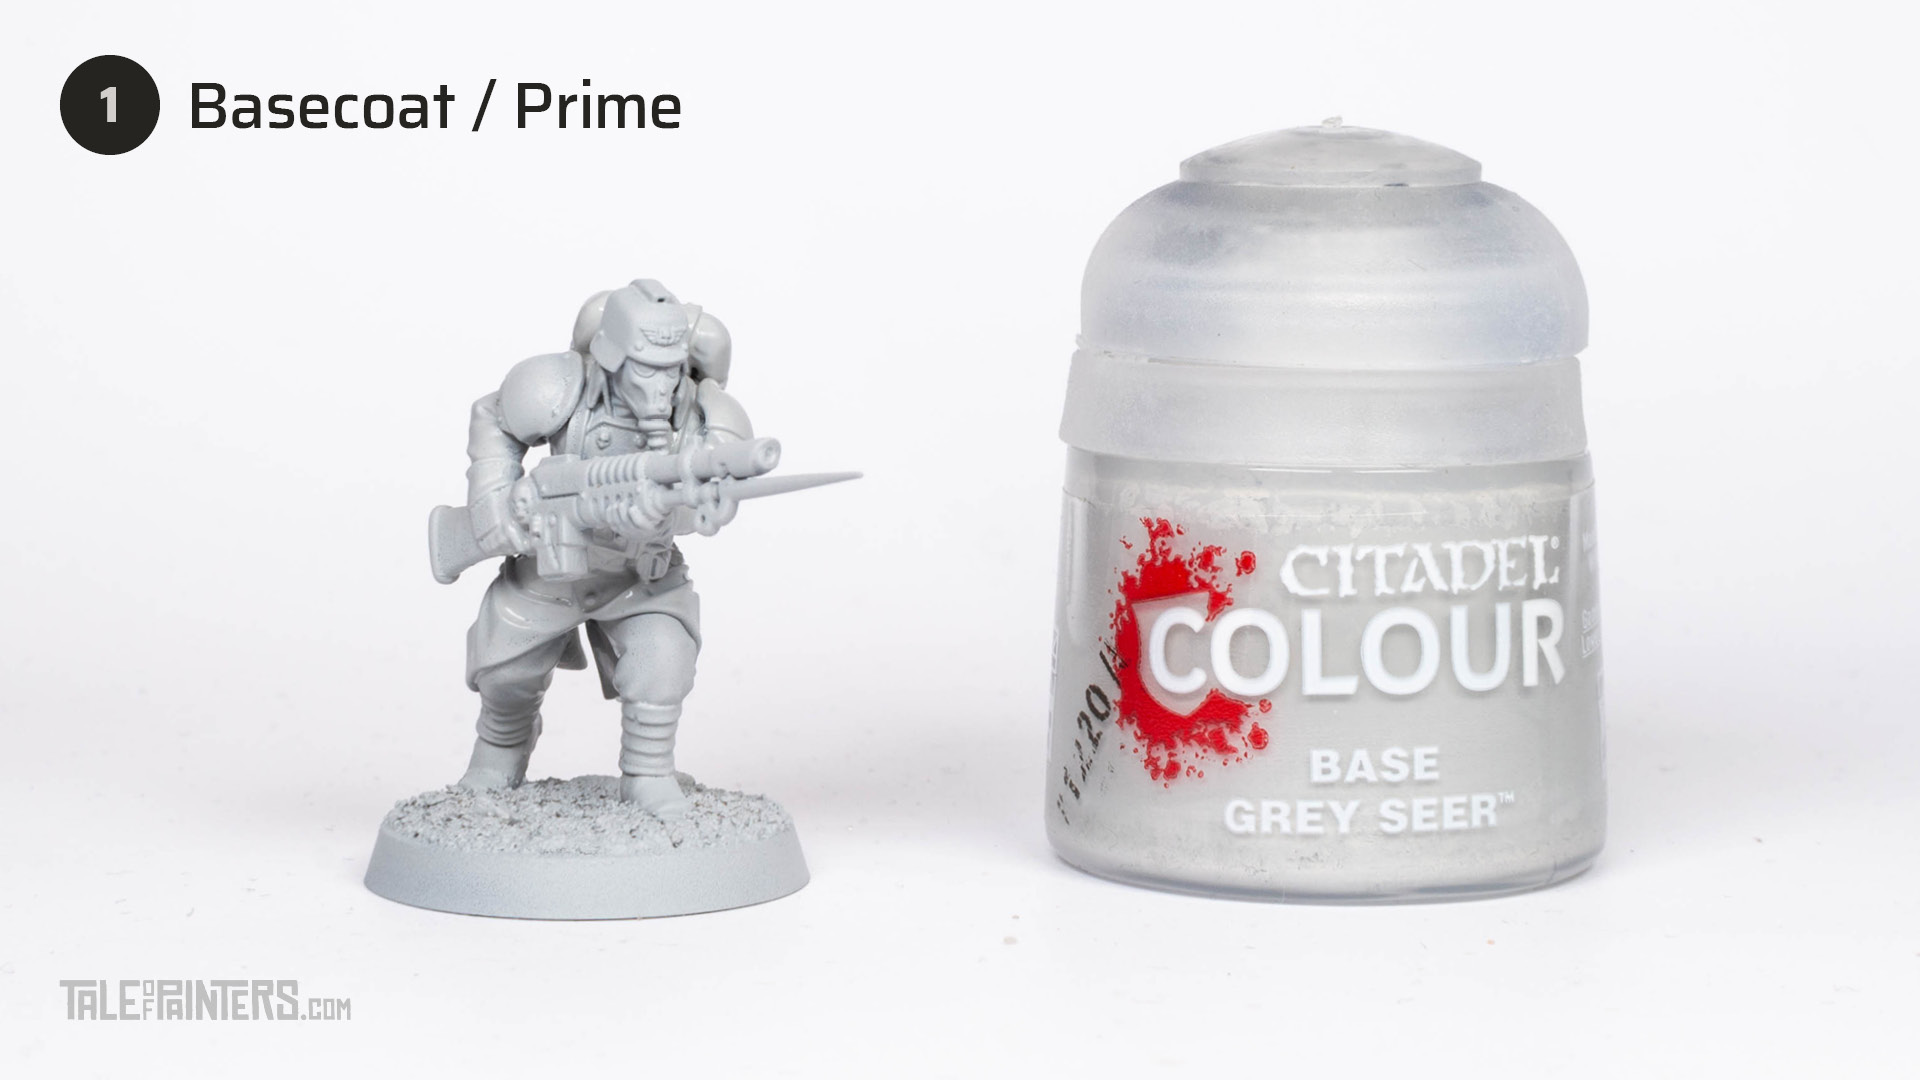

Basecoat the model with Grey Seer primer. Then paint any areas the primer didn’t reach with Grey Seer base paint.
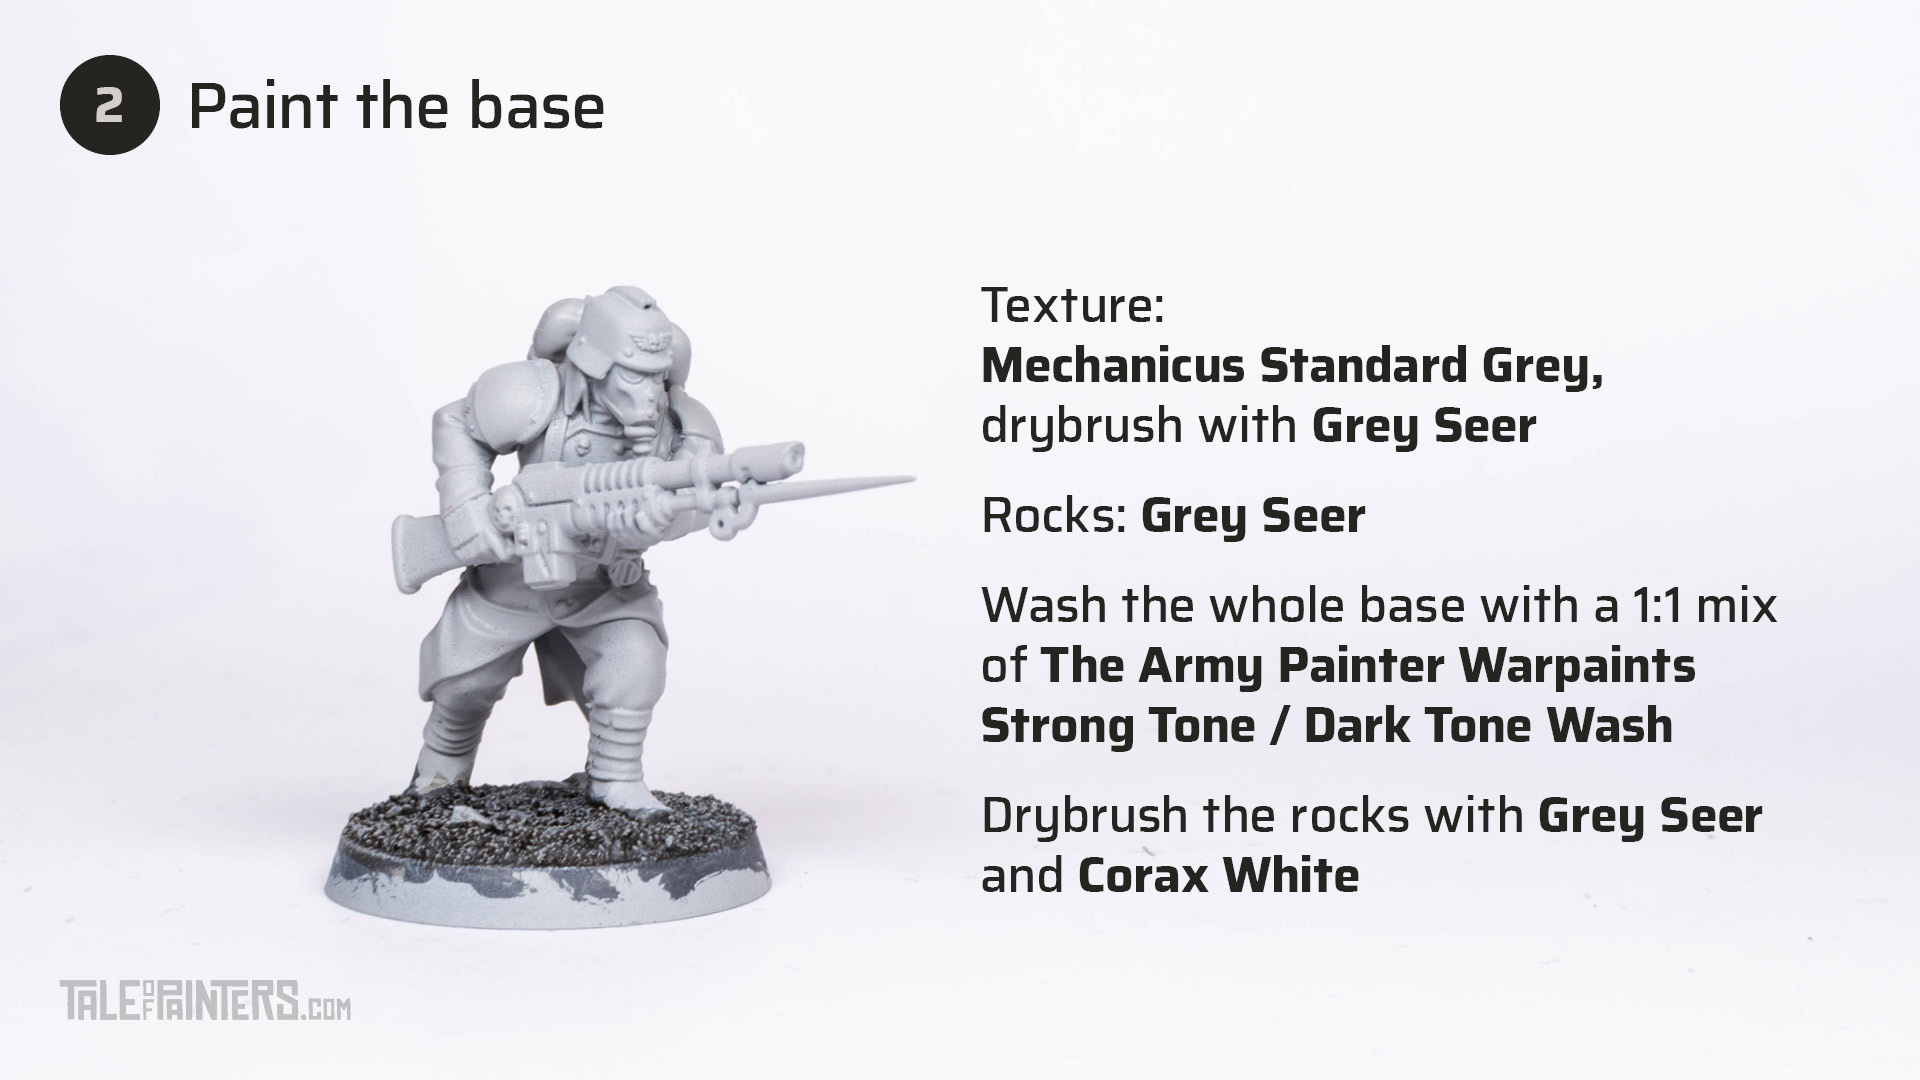

Paint the texture of the base with Mechanicus Standard Grey, while leaving the rocks with Grey Seer. Drybrush the texture with Grey Seer, then wash the whole base with a 1:1 mix of Dark Tone and Strong Tone Wash from The Army Painter’s Warpaints [or Nuln Oil / Agrax Earthshade]. Drybrush the rocks with Grey Seer and Corax White.
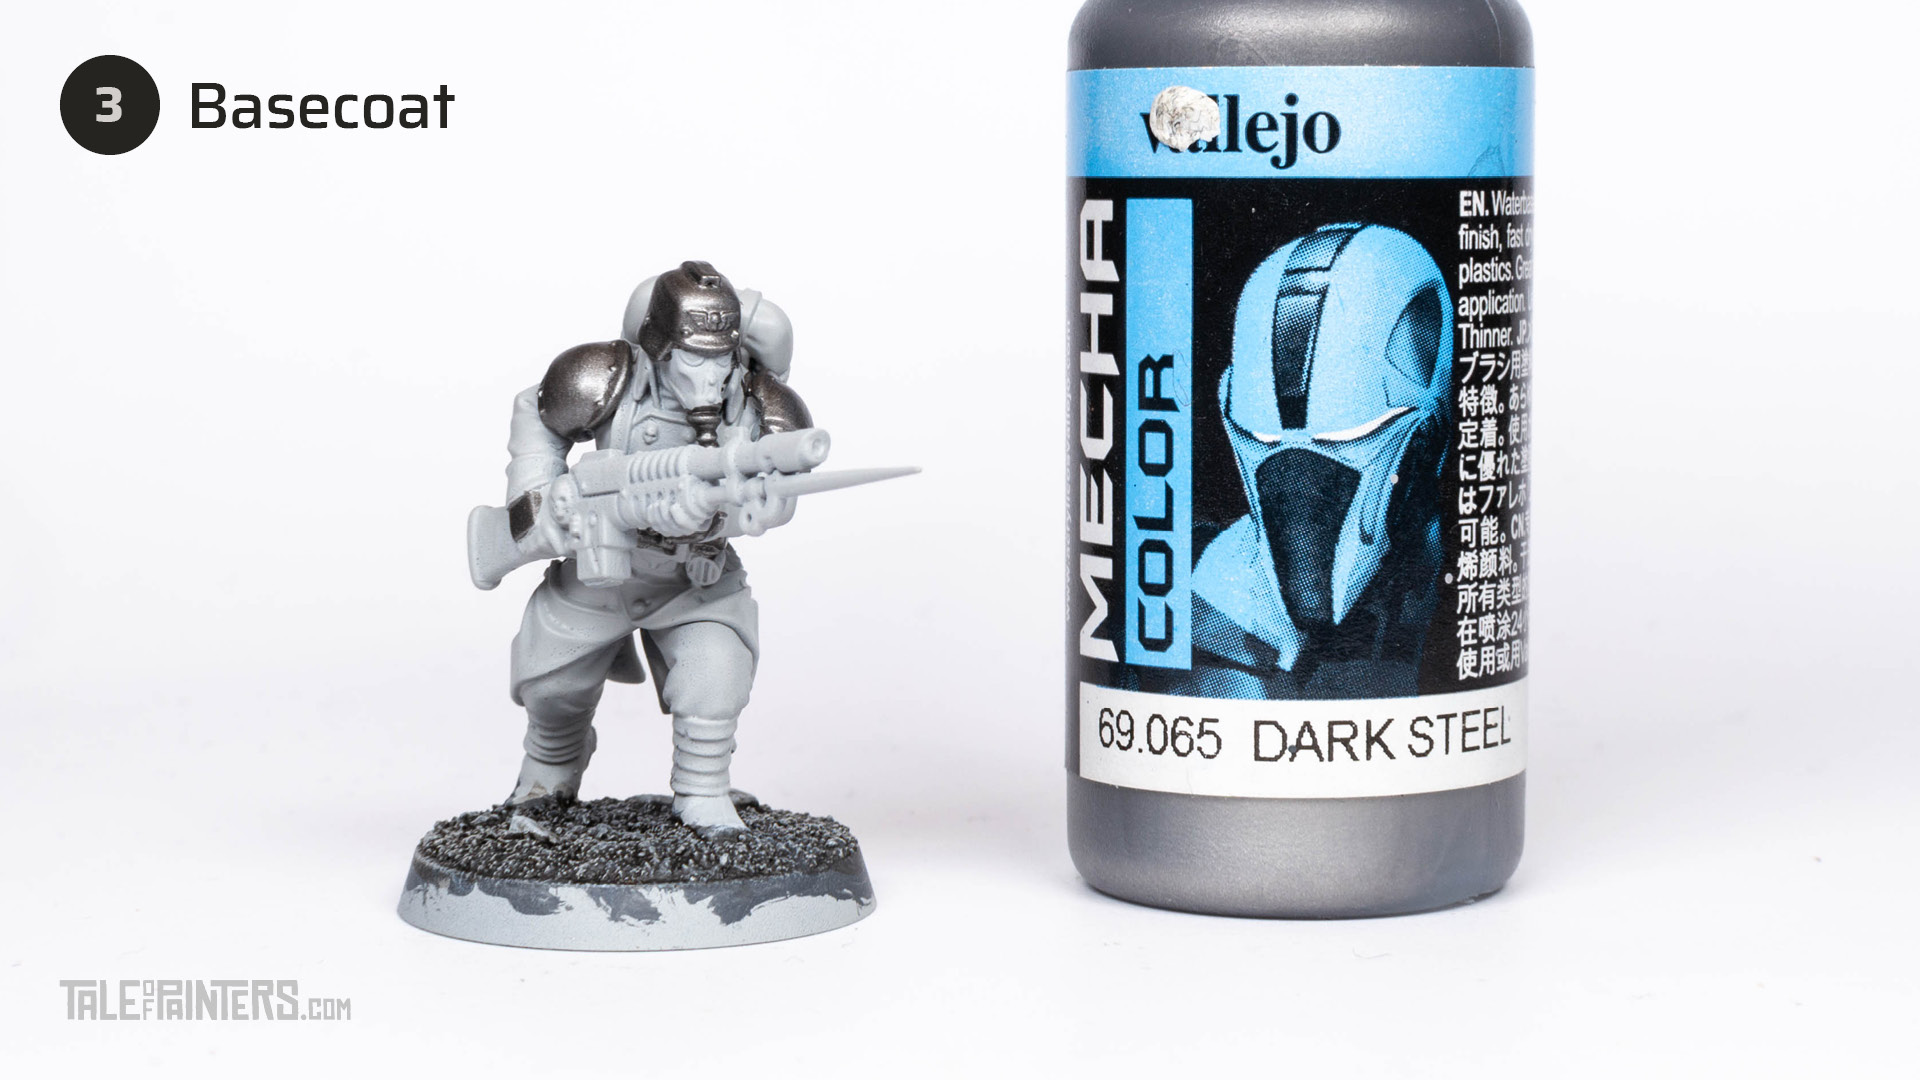

Paint the armour with Vallejo Mecha Color Dark Steel [or Leadbelcher].
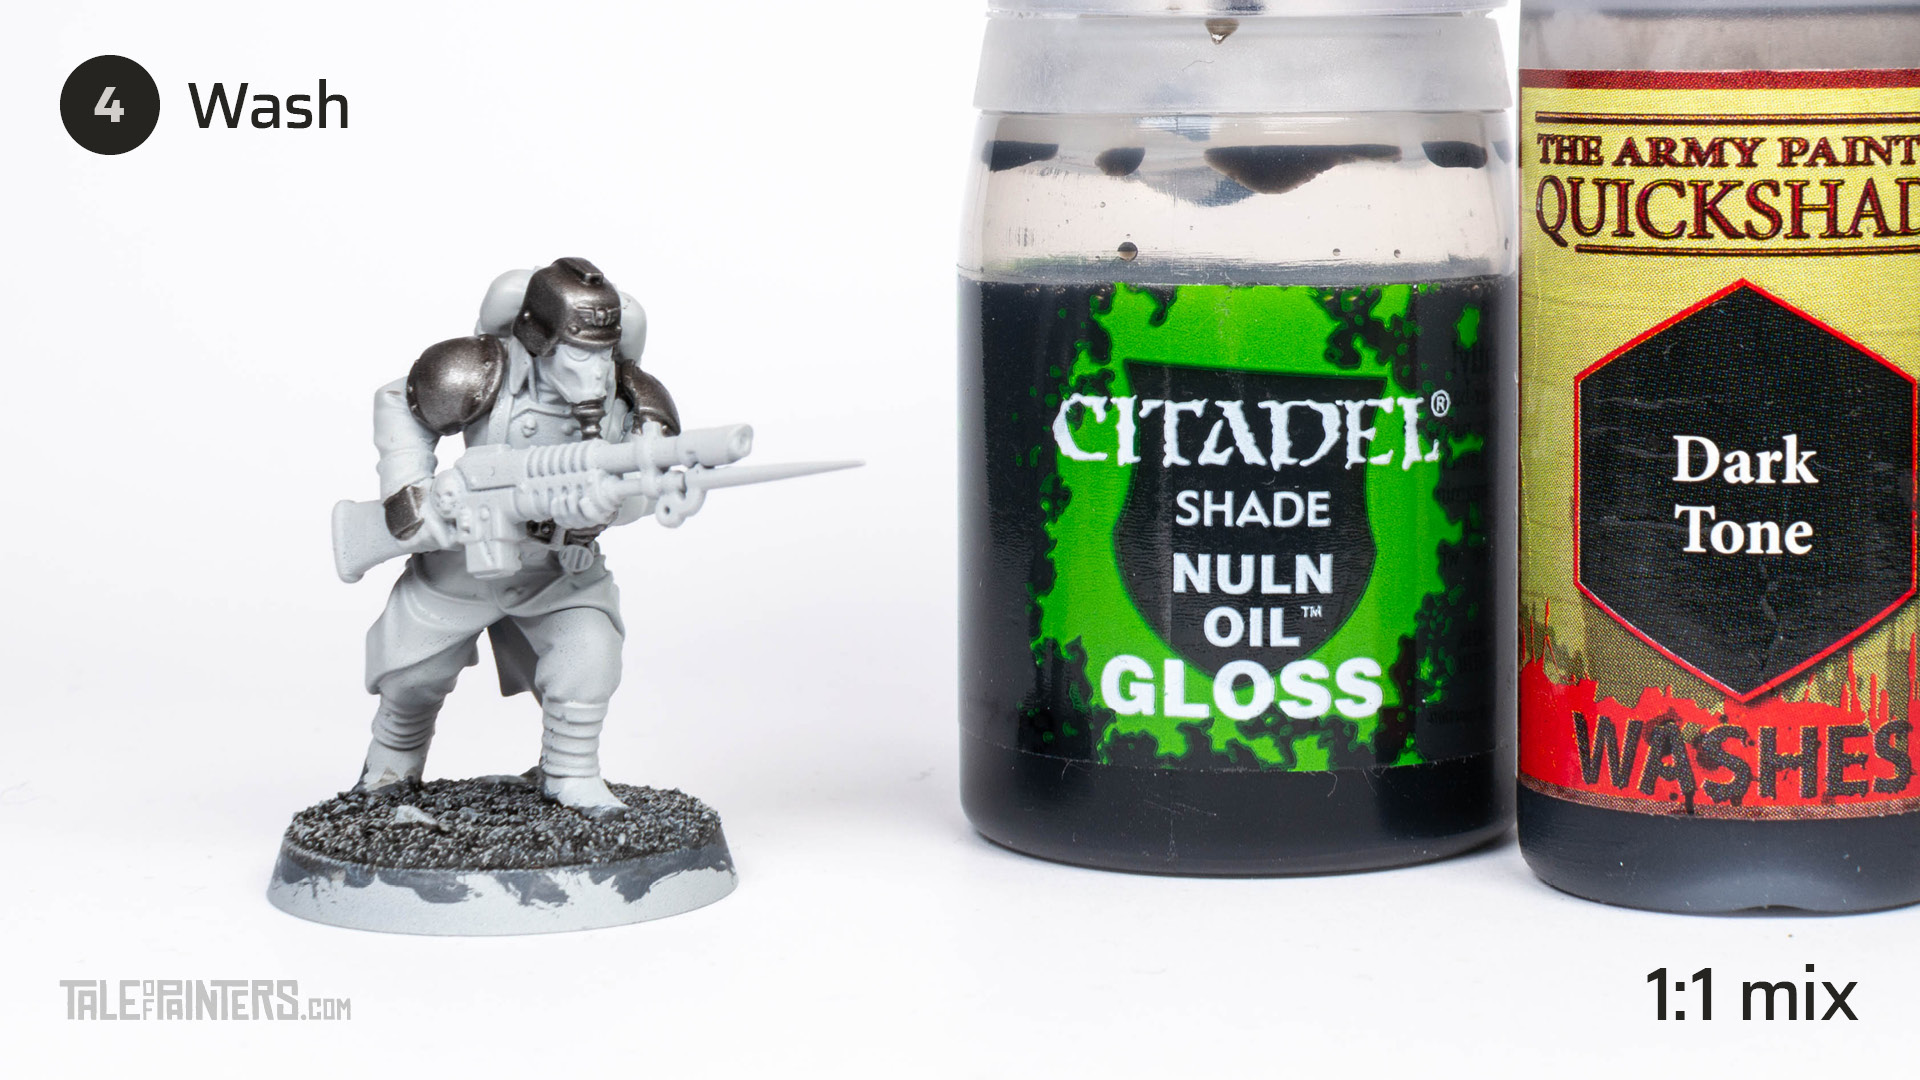

Wash the armour with a 1:1 mix of Warpaints Dark Tone Wash [or Nuln Oil] and Nuln Oil Gloss. Be generous, but if you notice excessive pooling, use a damp brush to soak up the excess.
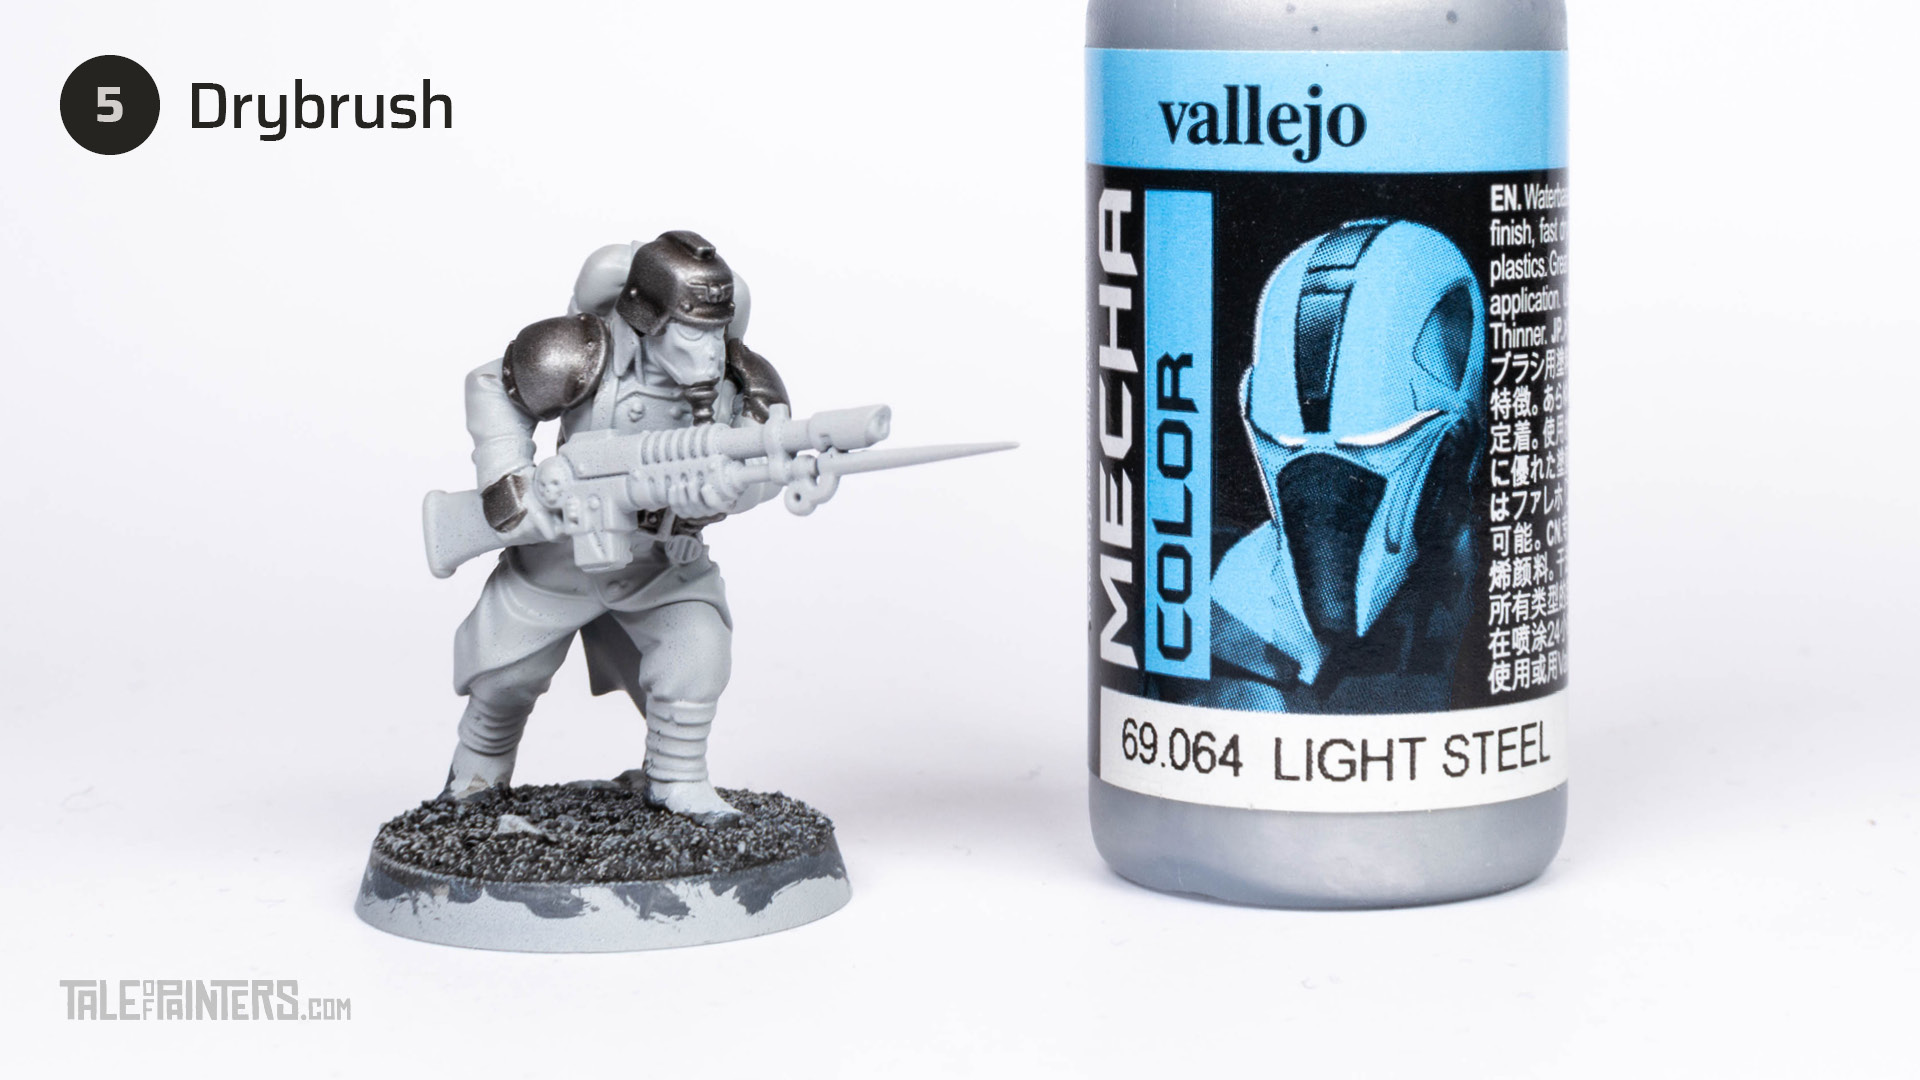

Gently drybrush the metallic armour with Mecha Color Light Steel [or Stormhost Silver], concentrating on the edges.


Tidy up the coat and trousers with a layer of Grey Seer.
Later on I decided it would be a good idea to pick out the trousers and hems in a darker shade of grey – check out steps 29 to 31. If you would like to do so as well, I recommend doing it now because then you can wash the whole uniform in the next step.


Create a wash by mixing Basilicanum Grey with Contrast Medium, about 2:3. Apply a liberal amount all over the uniform, let it settle for a moment, then soak up any excess with a damp brush. Put the model sidewards, so gravity won’t pull the wash towards the bottom, and leave it plenty of time to dry.
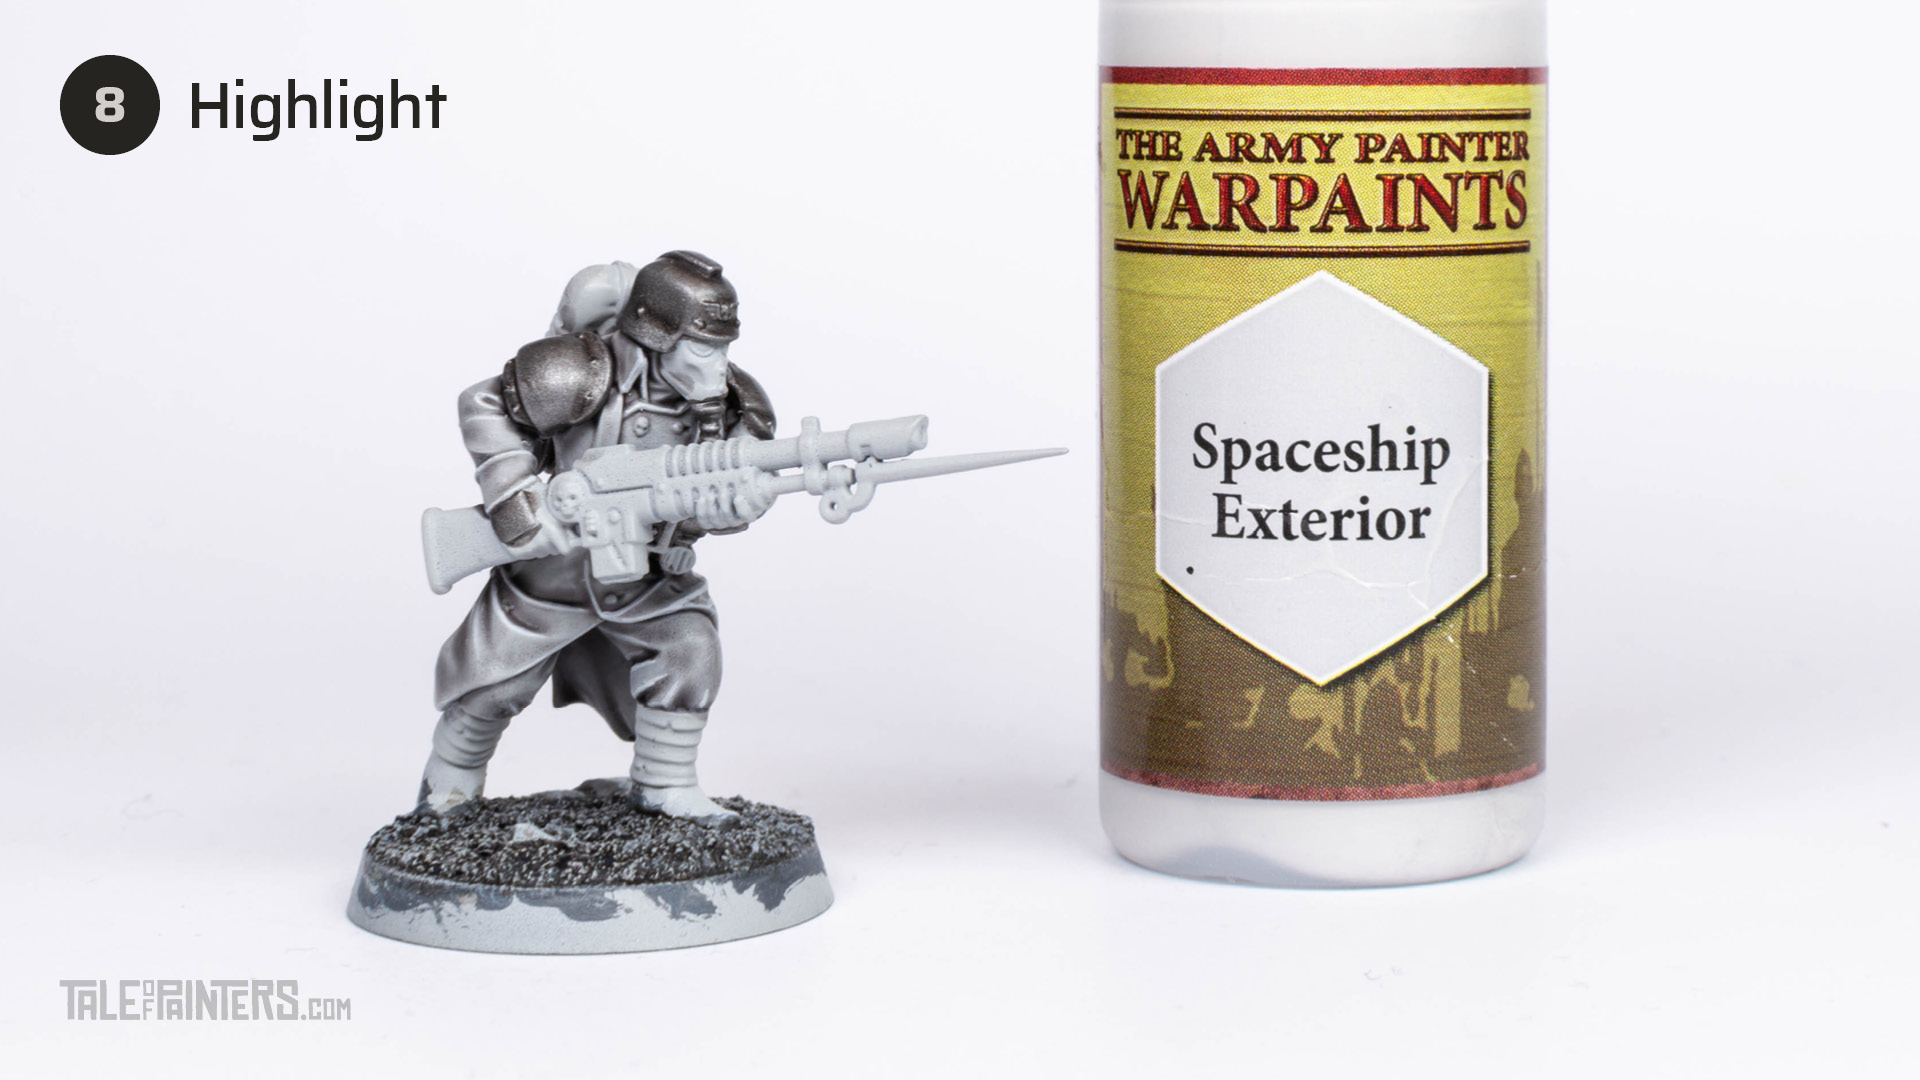

If you did it right, the thinned Basilicanum Grey should have created a beautifully soft shading that won’t need much more refinement. I added a highlight of Warpaints Spaceship Exterior [or Ulthuan Grey], but you could even skip this step when you’re in a hurry.
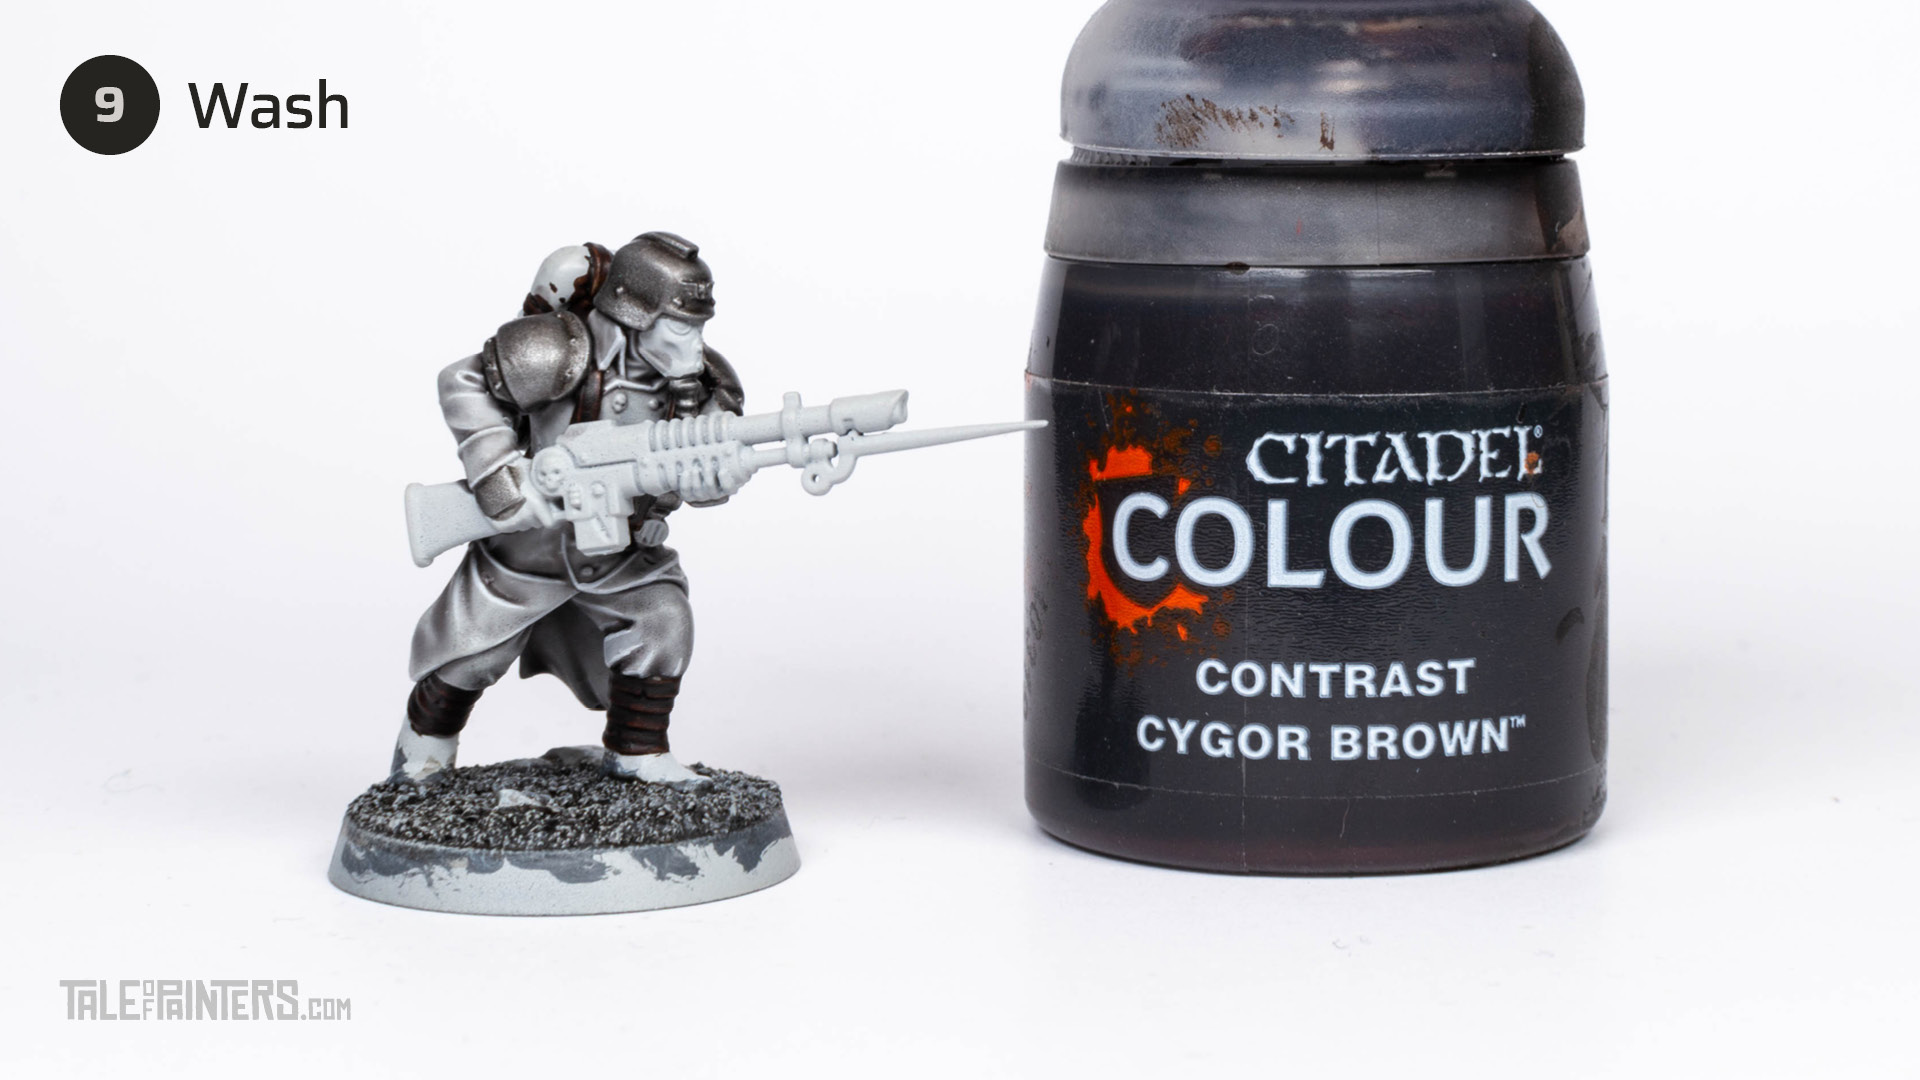

Apply a coat of Cygor Brown over all the leather details. Make sure you don’t miss the little straps that keep the shoulder armour in place.
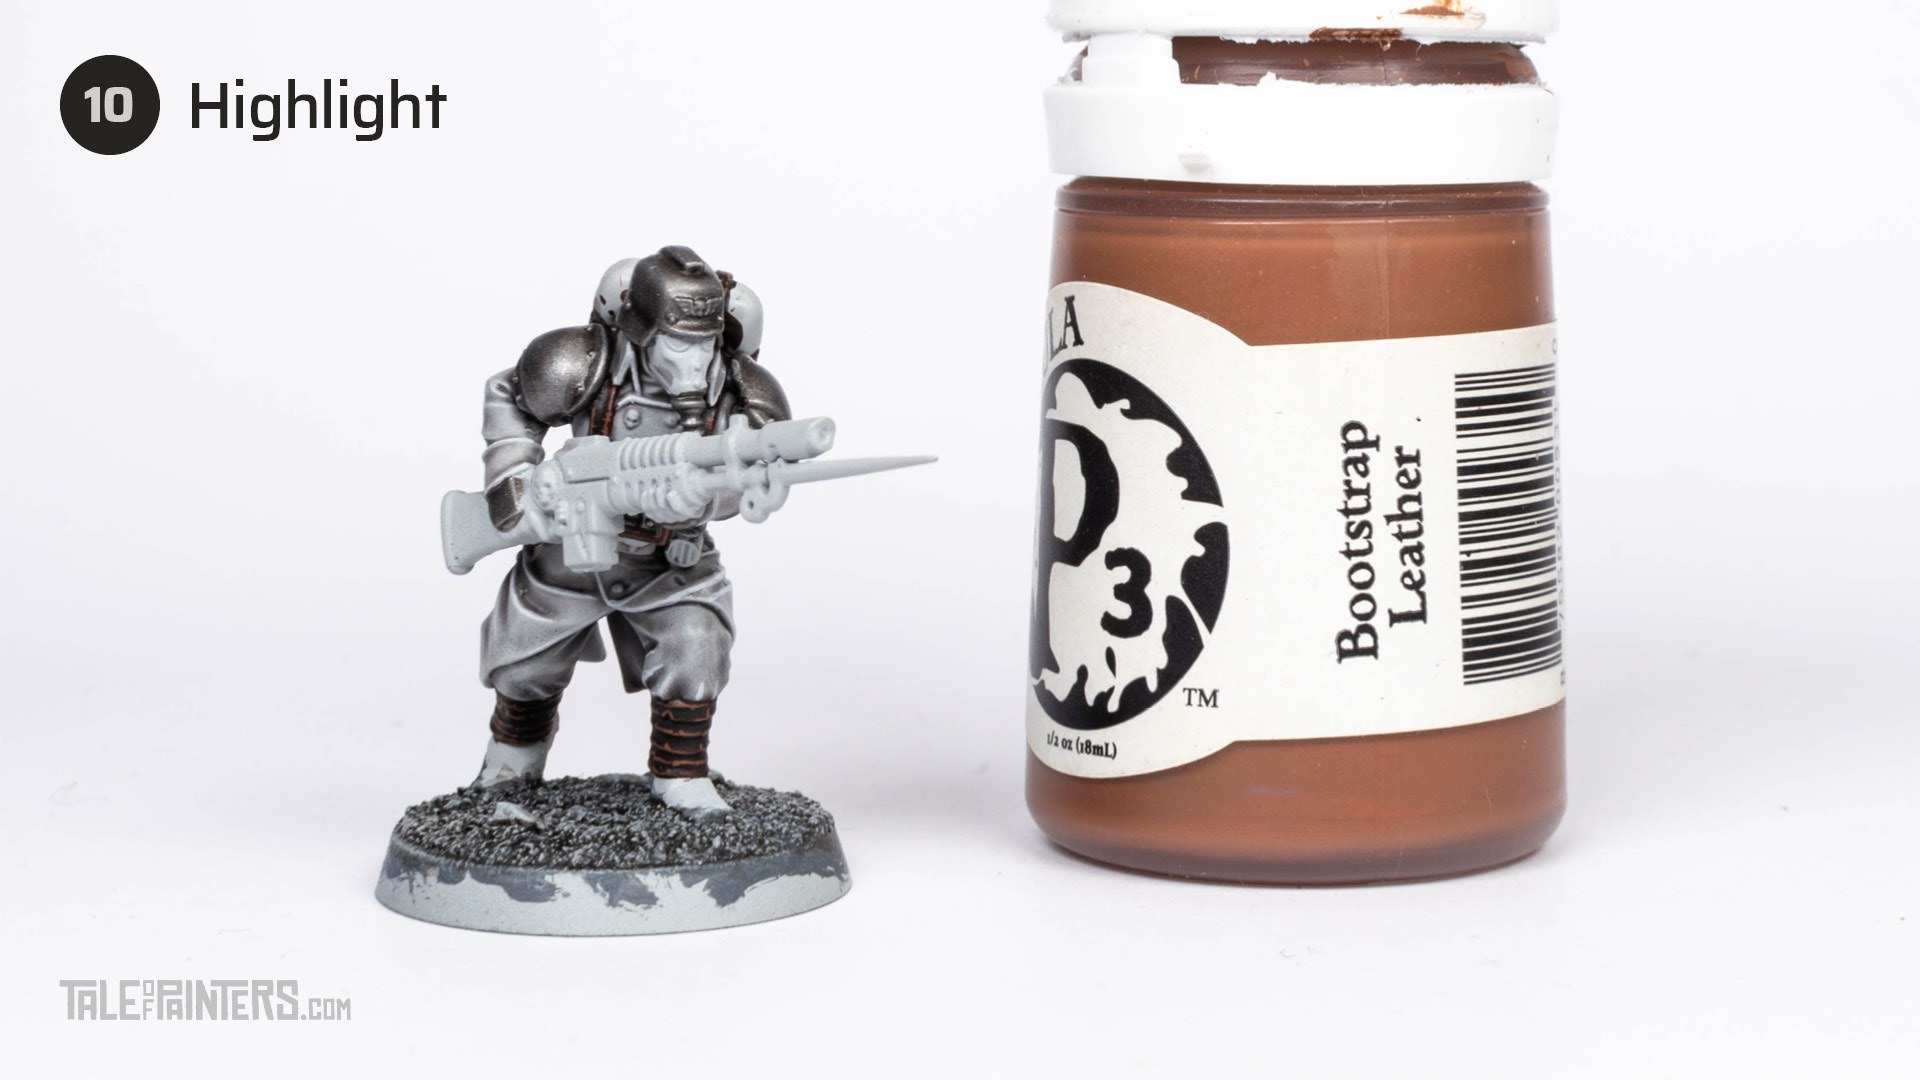

Highlight the leather with Formula P3 Bootstrap Leather [closest GW colour would be Mournfang Brown] in a scruffy way to add a worn texture.
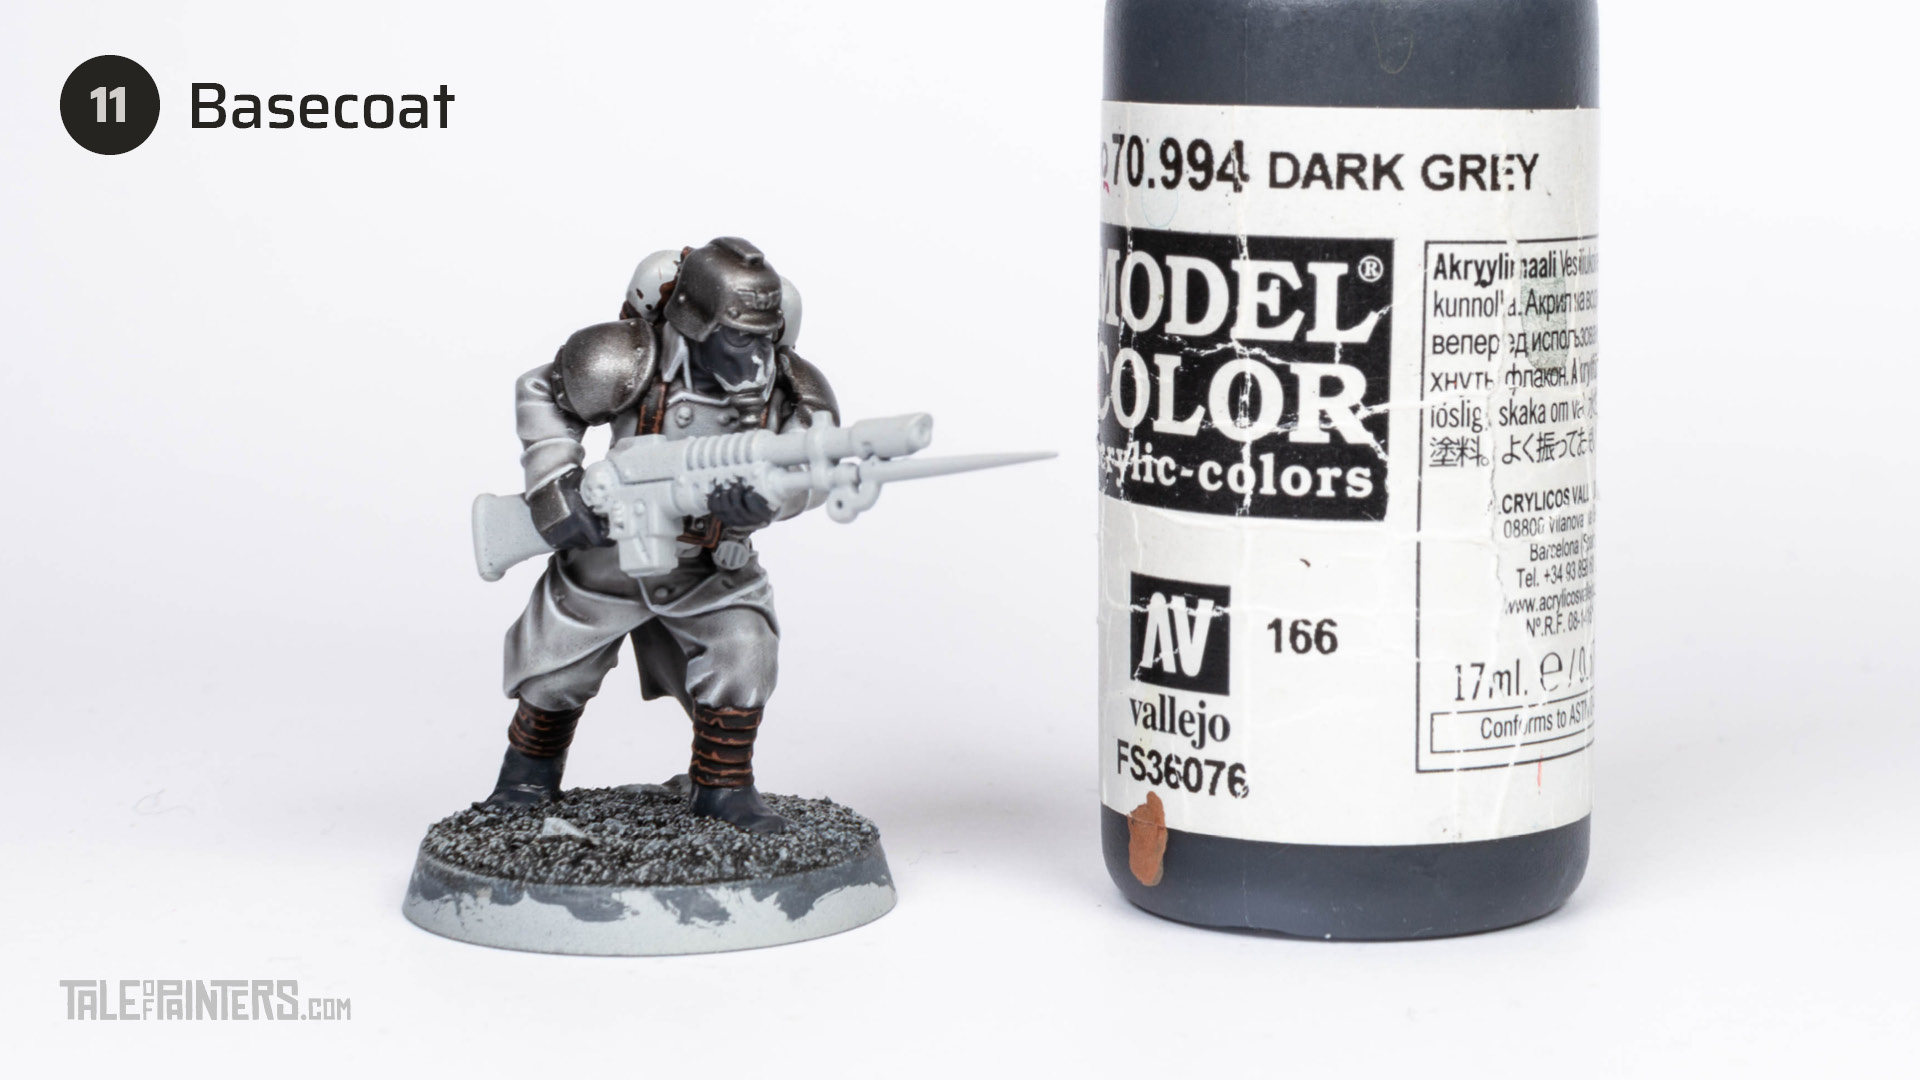

Paint the gloves, boots, and gas mask with Vallejo Model Color Dark Grey [or Eshin Grey].


Apply a wash of Warpaints Dark Tone Wash [Nuln Oil] over the dark grey areas.


Highlight the gloves, boots, and mask with VMC Dark Grey [or Eshin Grey].


Add a second highlight with Mechanicus Standard Grey.


Basecoat the light steel details on the weapon and gas mask with Mecha Color Steel [or Ironbreaker or Iron Hands Steel].


Create a wash by mixing Basilicanum Grey with Lahmian Medium about 1:1 and apply it over the silver details.


Wash the gas mask’s hose you painted with Dark Steel in step 3 with Basilicanum Grey.
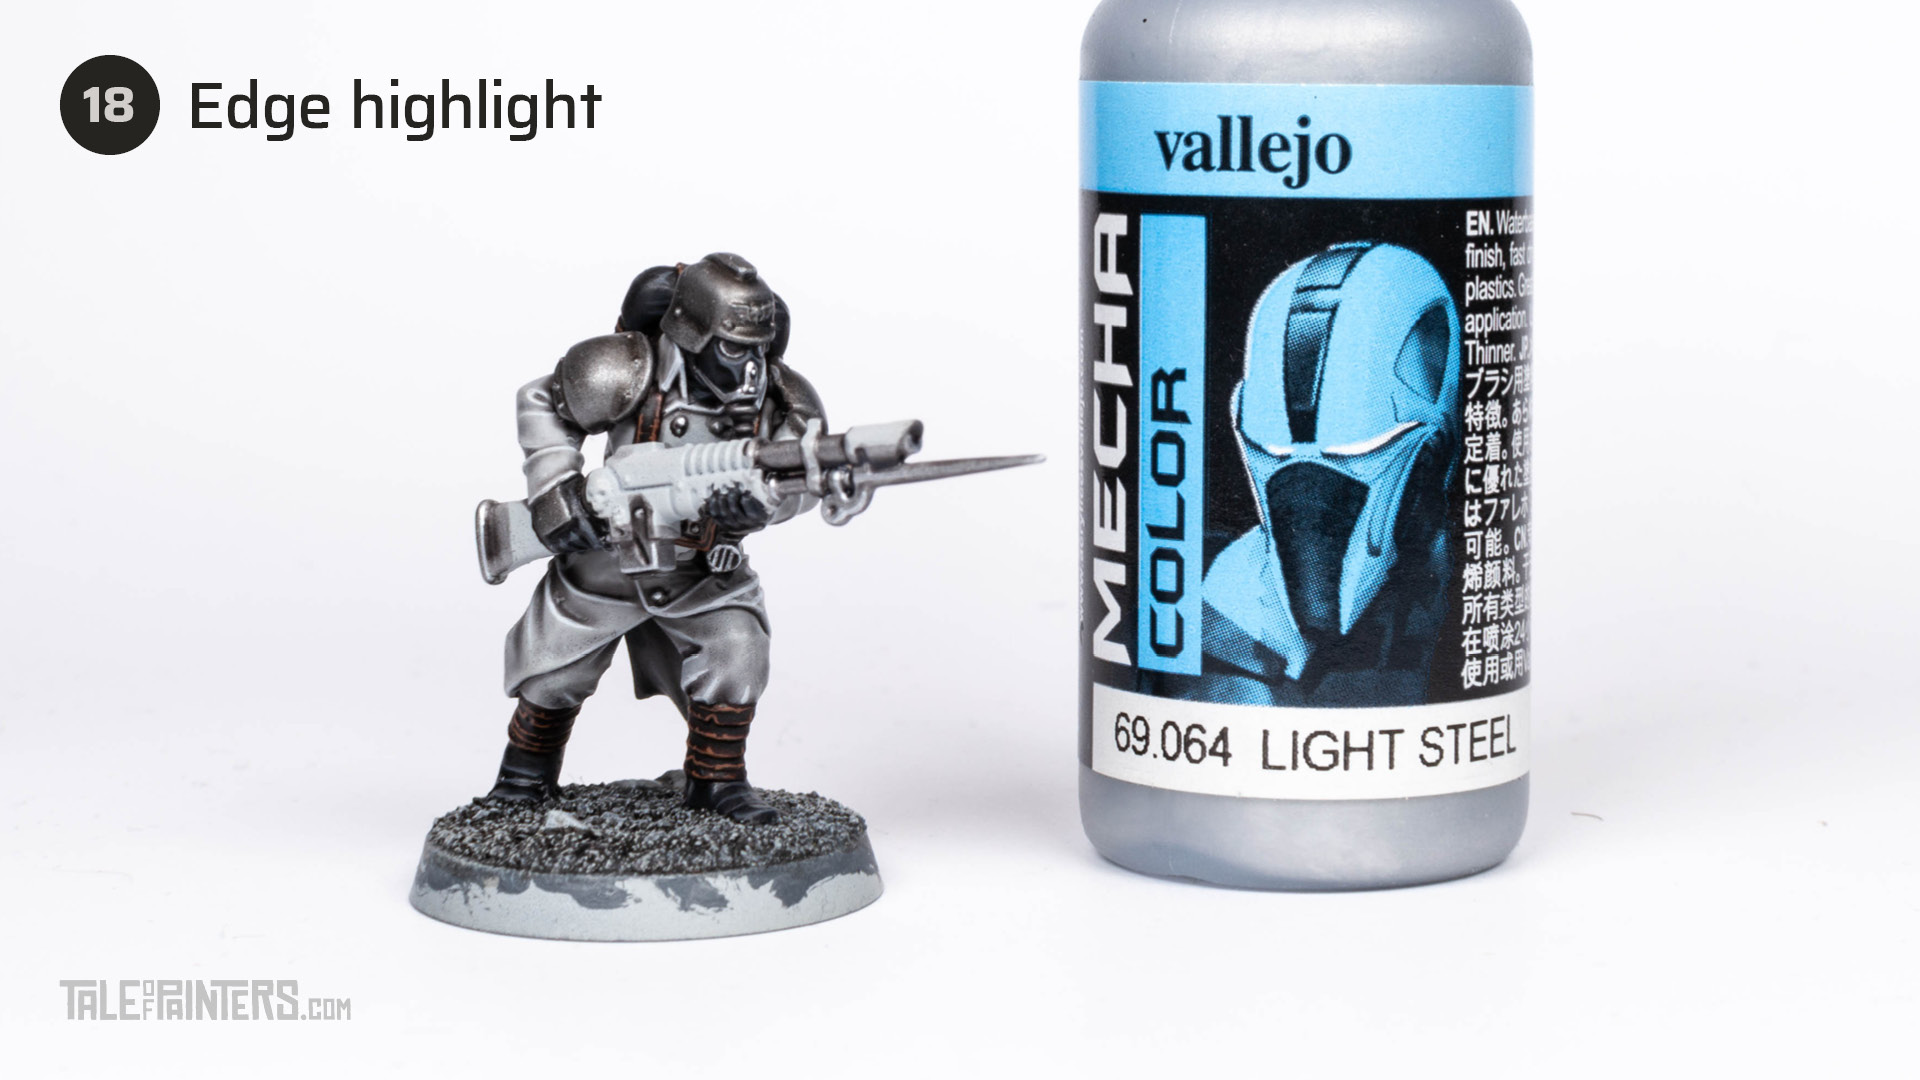

Highlight the steel details with Mecha Color Light Steel [Stormhost Silver].


Paint the gun casing with Warpaints Matt Black [or Abaddon Black].
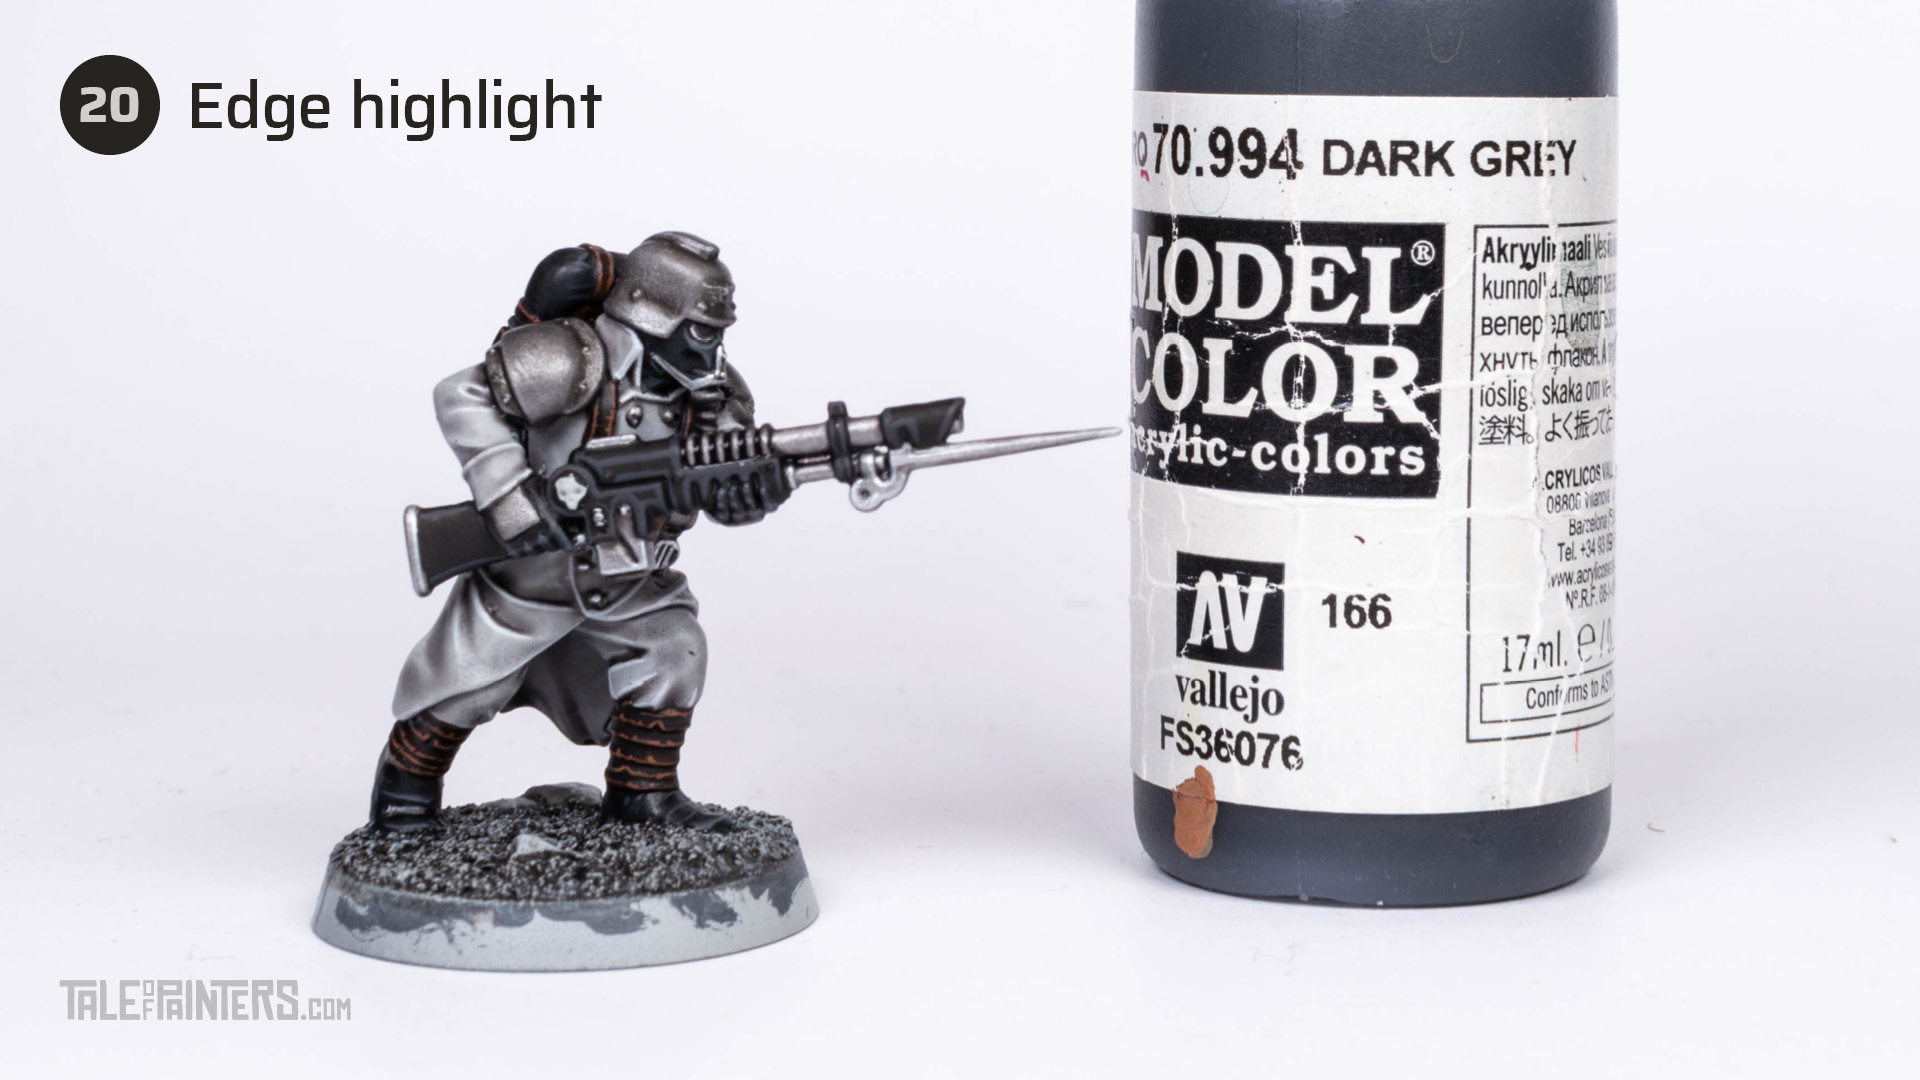

Edge highlight the casing with VMC Dark Grey [or Eshin Grey].
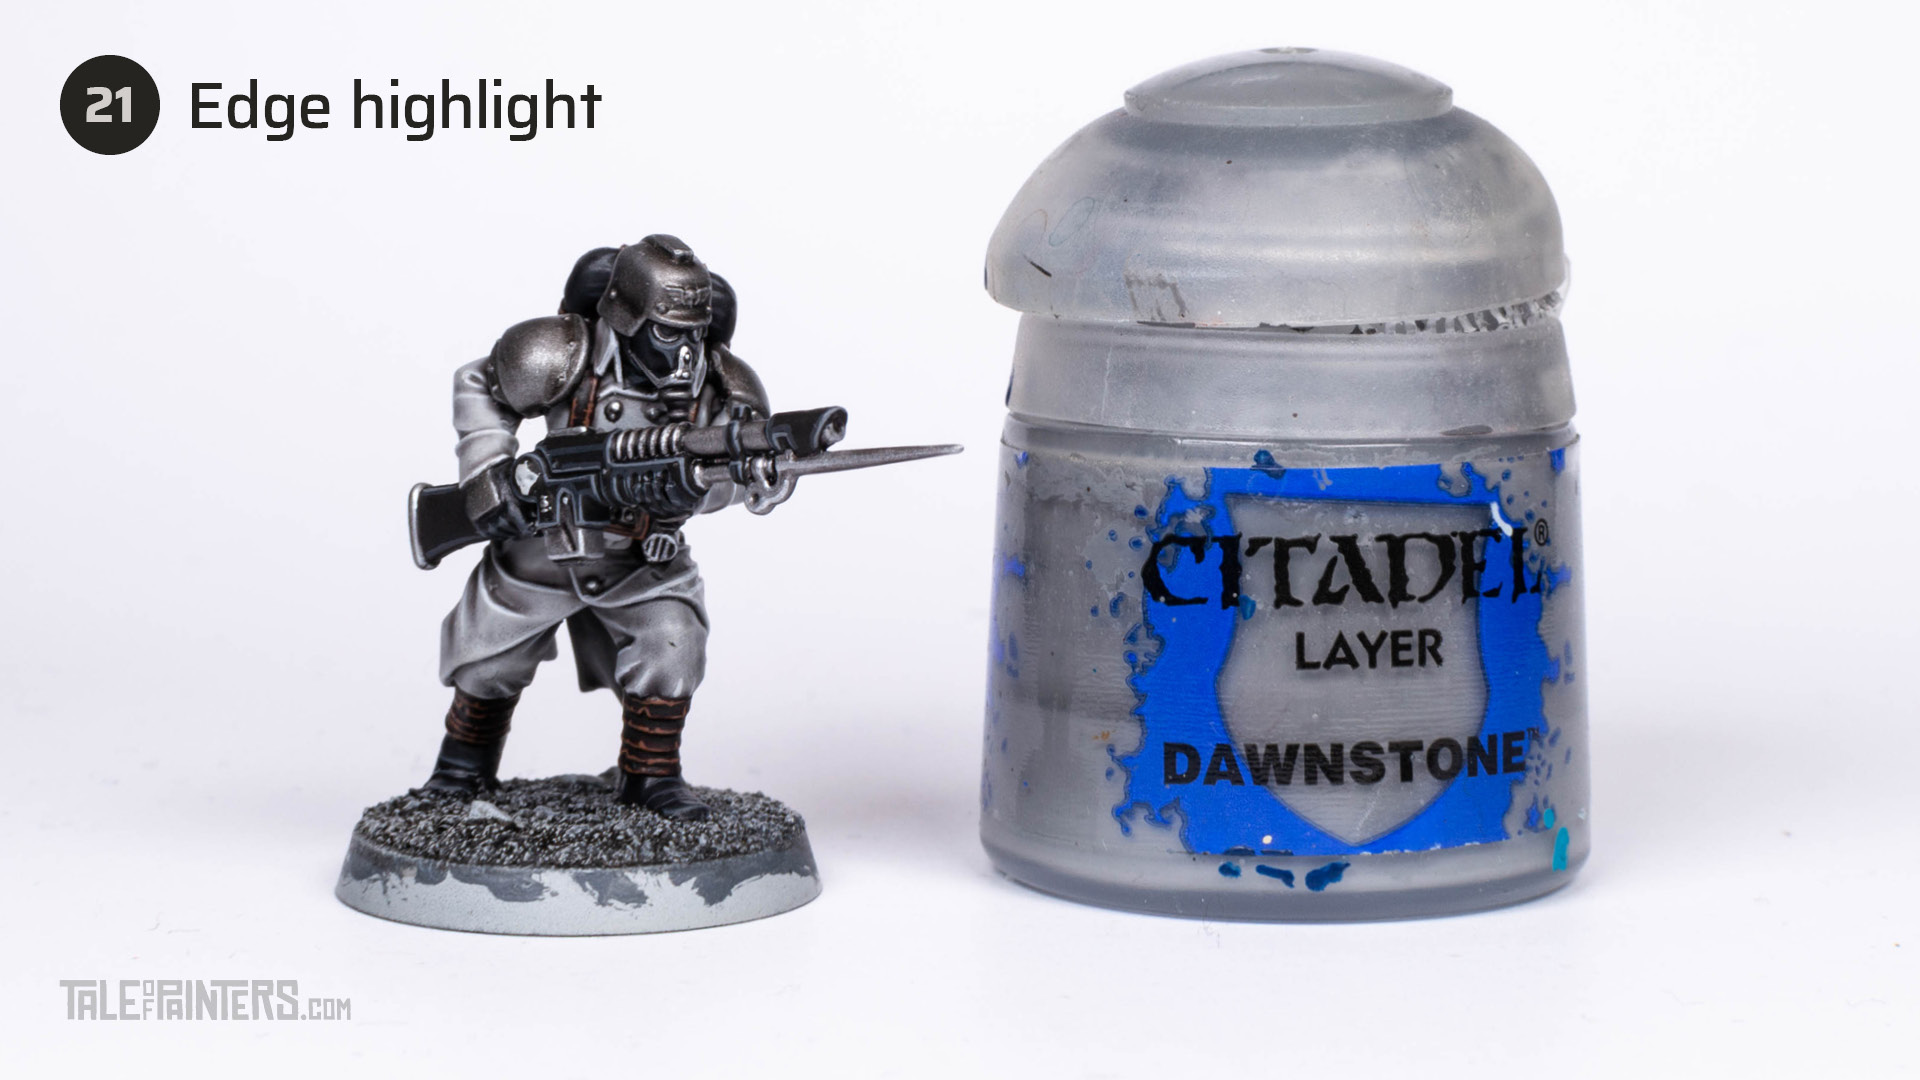

Add an even finer edge highlight of Dawnstone.
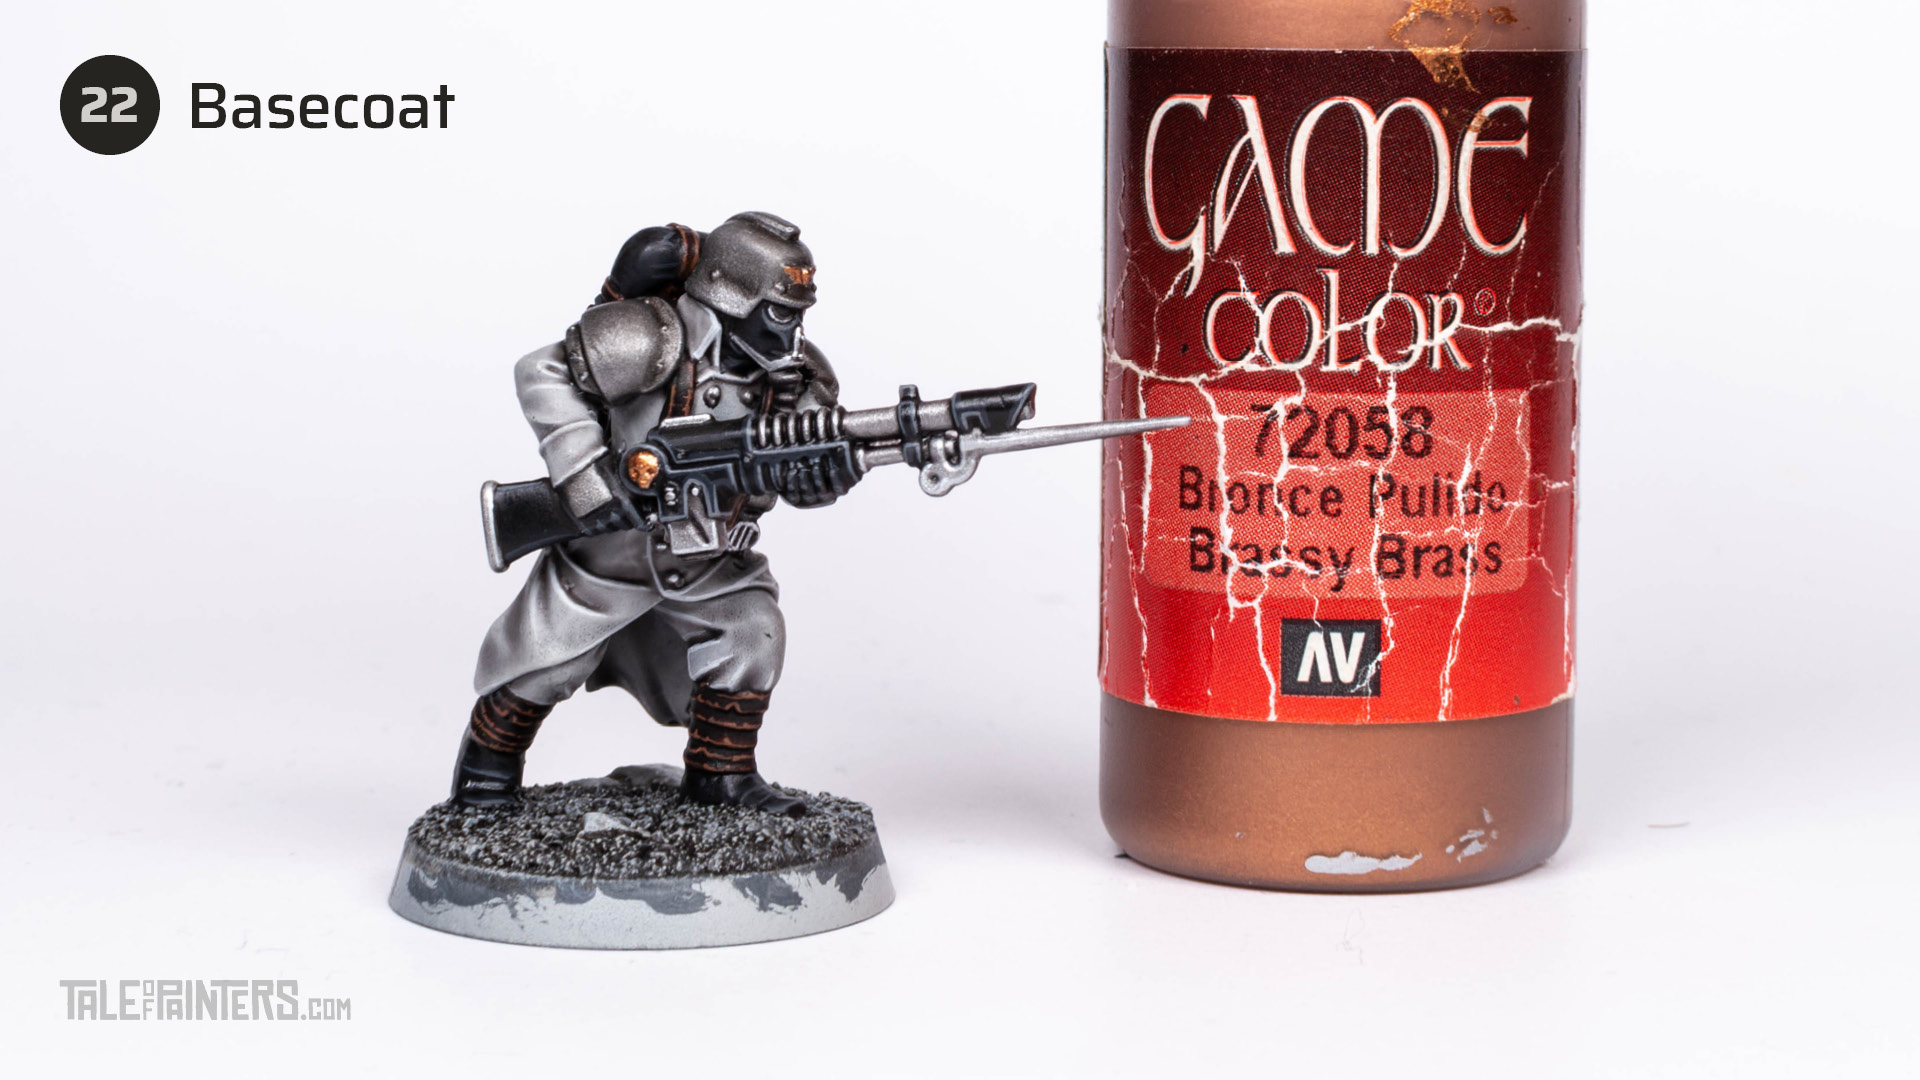

Basecoat the brass details such as the Imperial Eagles, the skull on the gun, and the buckle with Vallejo Game Color Brassy Brass [or Brass Scorpion].
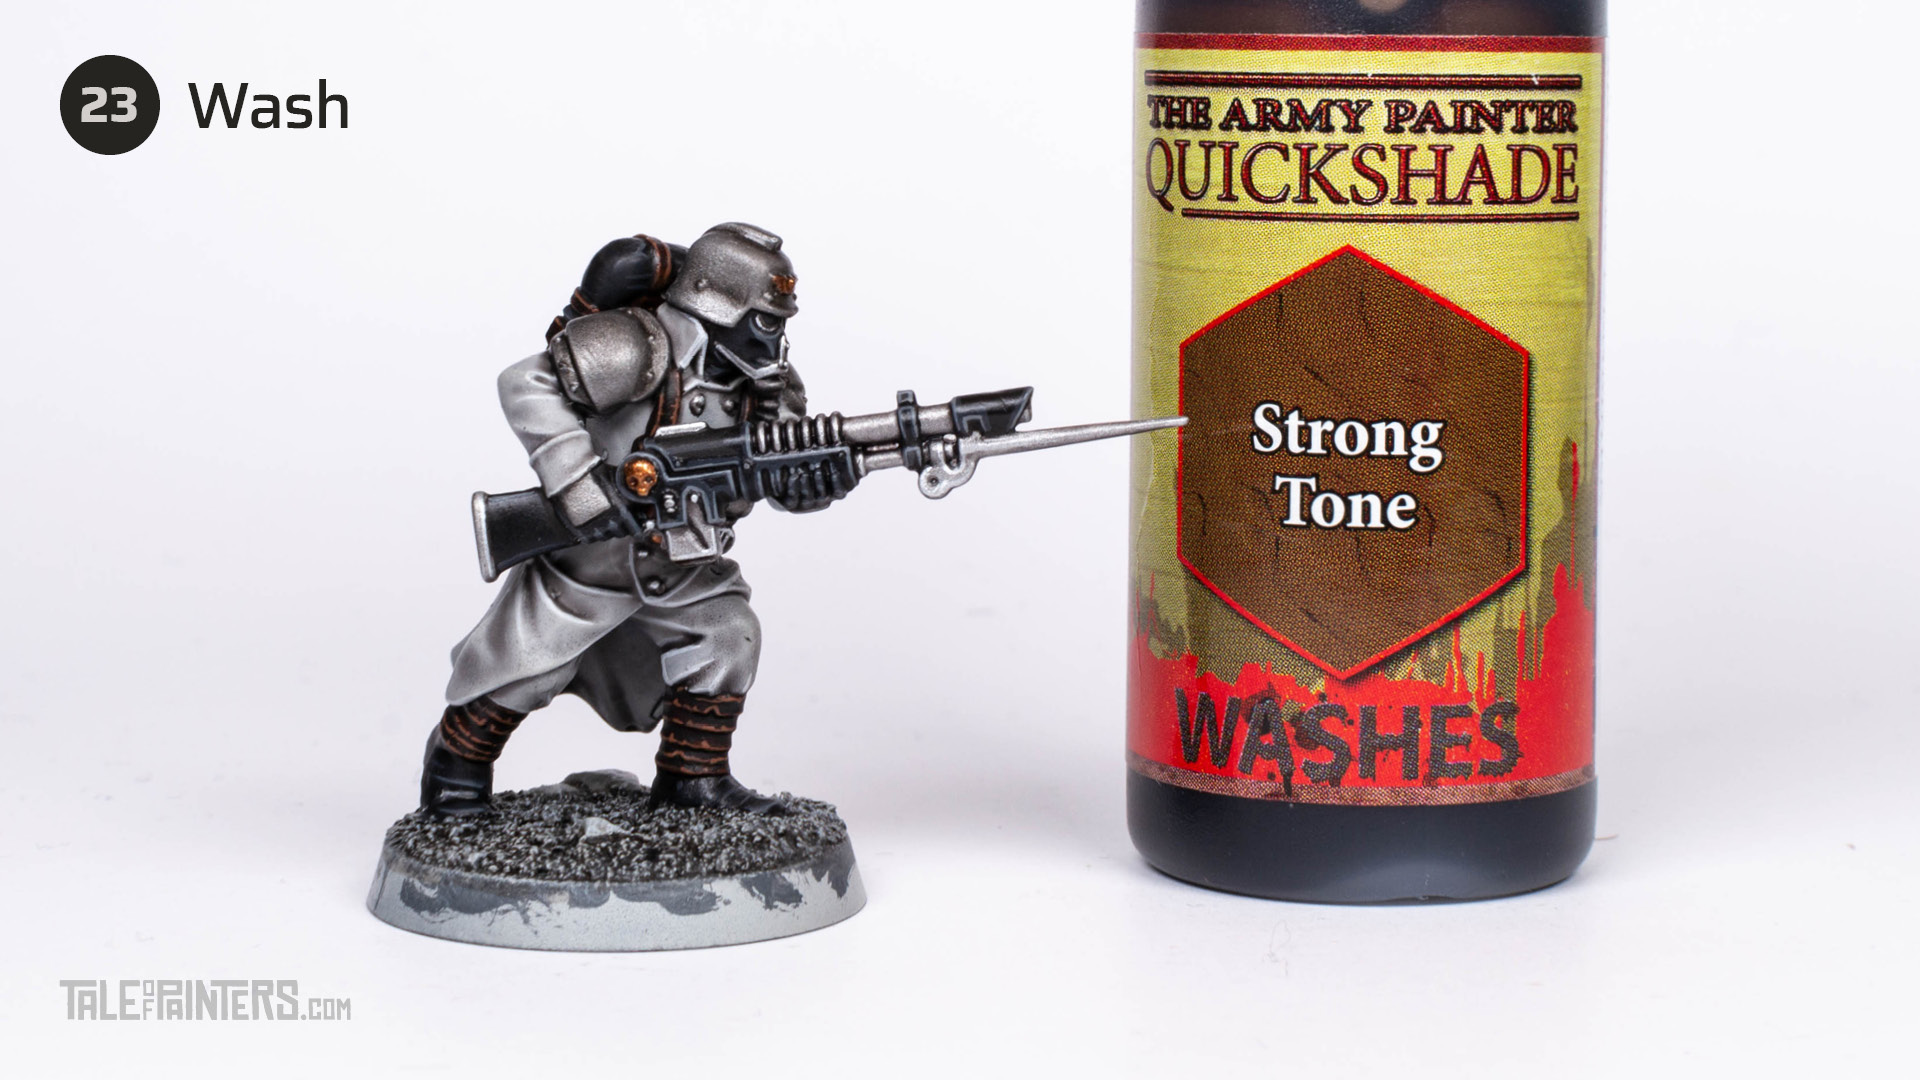

Wash the brassy details with Warpaints Strong Tone Ink [or an Agrax Earthshade / Nuln Oil 2:1 mix].


Highlight the brass with Canoptek Alloy.
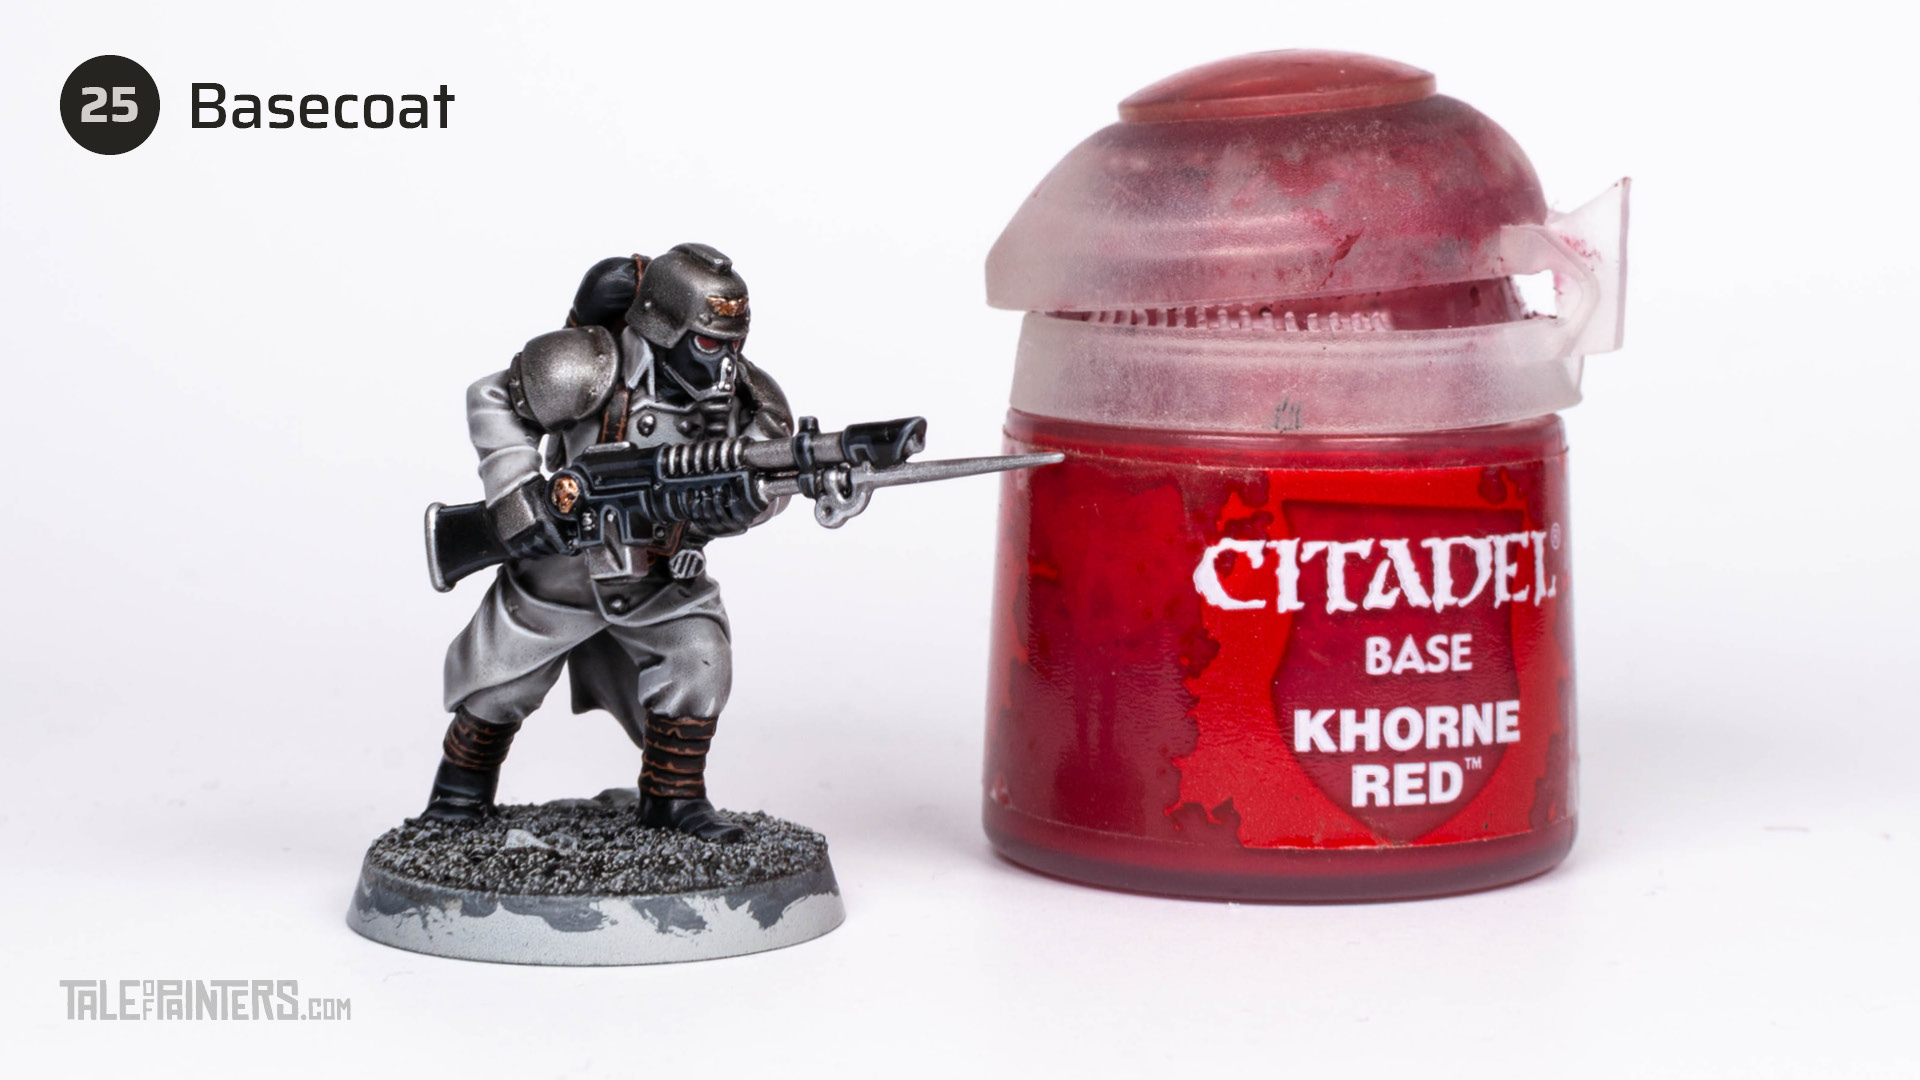

Basecoat the lenses with Khorne Red. Try to leave a fine black line between the silver frame and the lens.
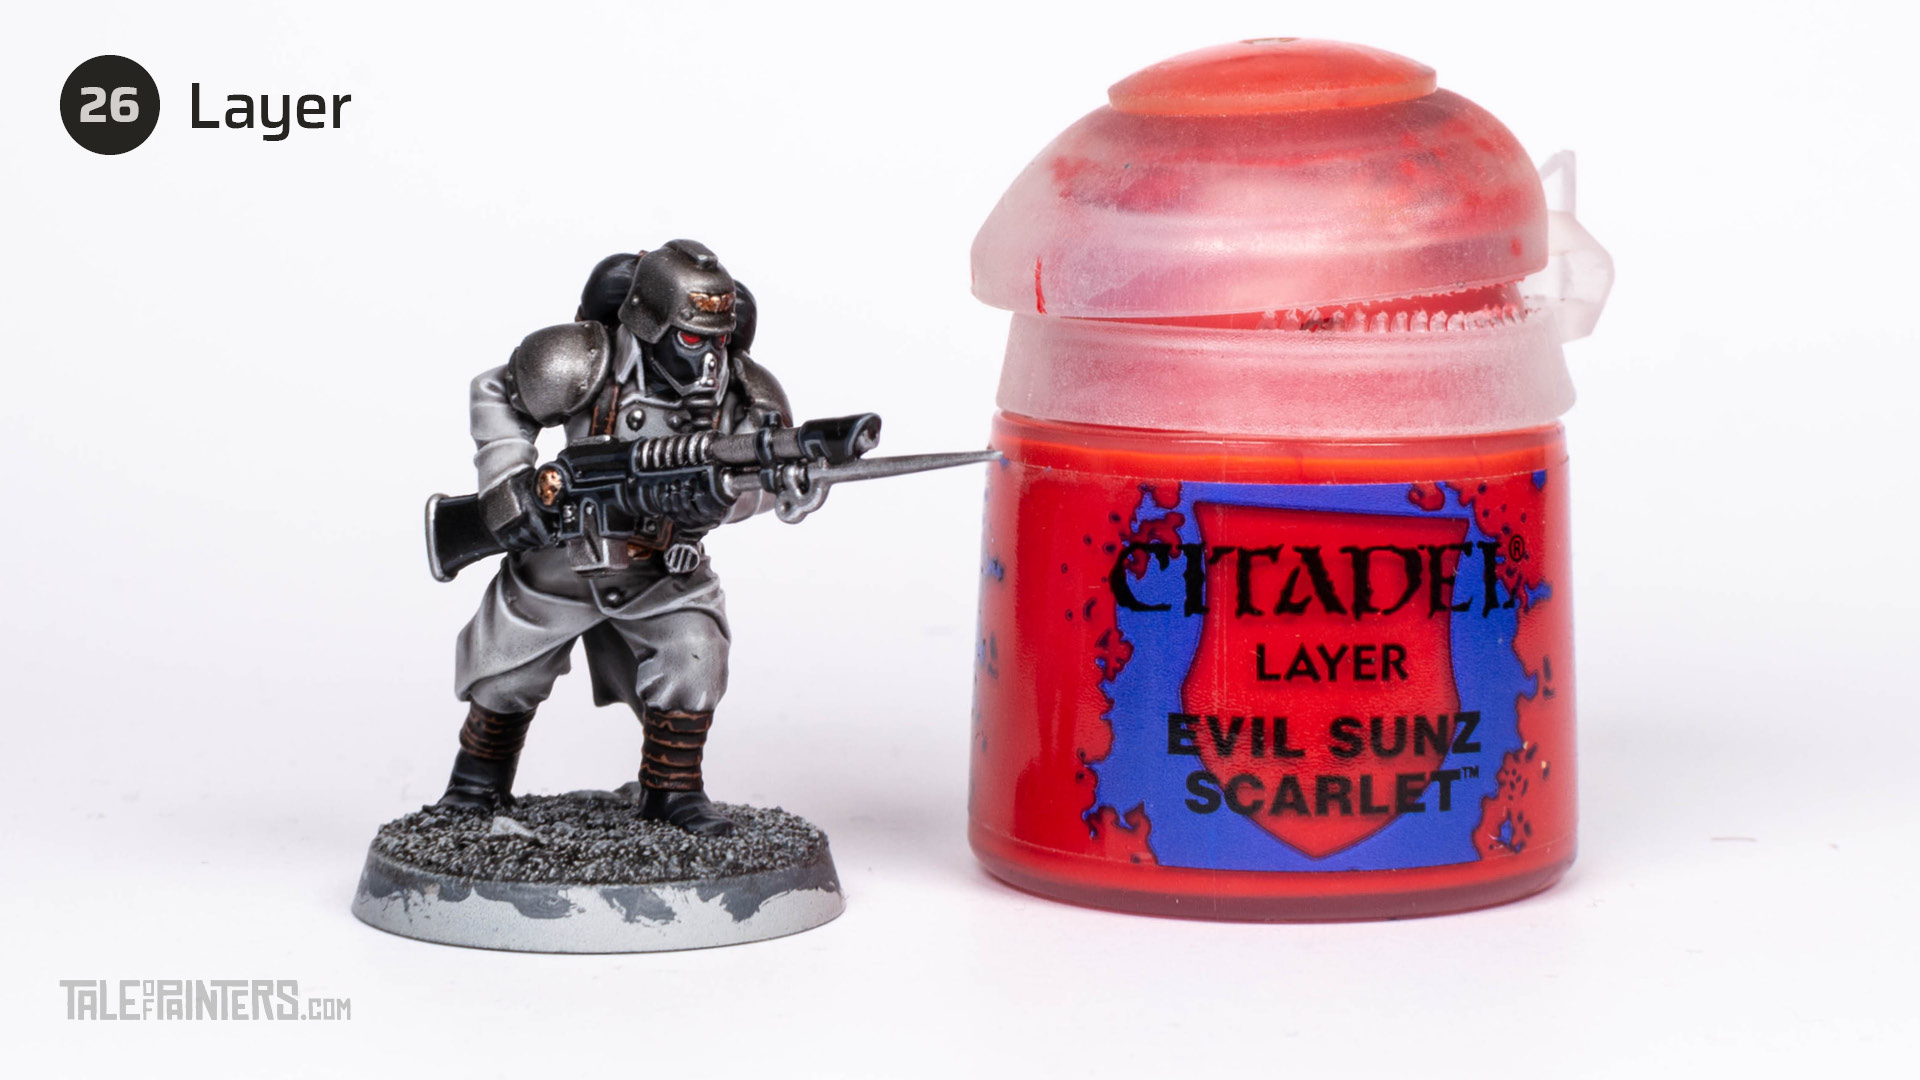

Layer with Evil Sunz Scarlet, concentrating on the lower halves of the round lenses, aiming for a half-moon shape.
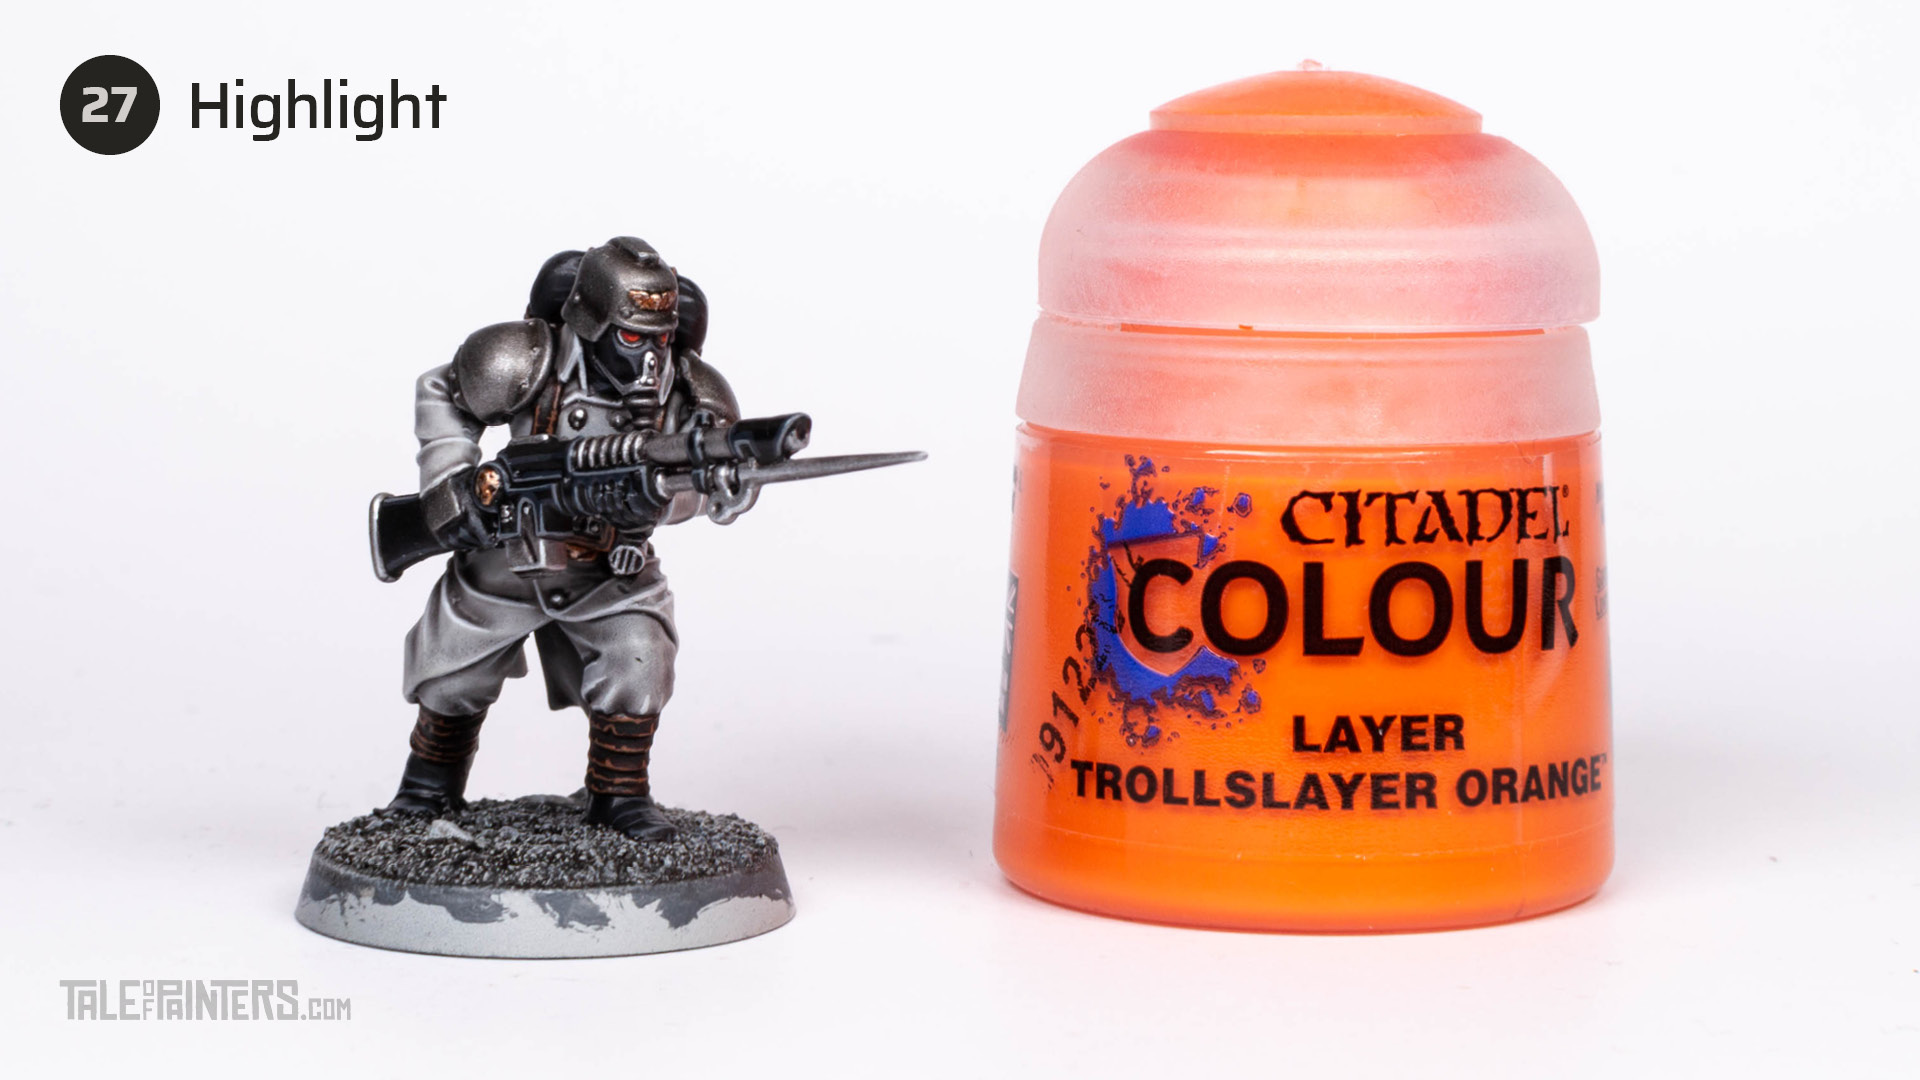

Apply an even finer highlight to the lower part of the lenses with Troll Slayer Orange. I know it’s hard because the lenses are so small. Skip this step if you don’t feel confident enough.
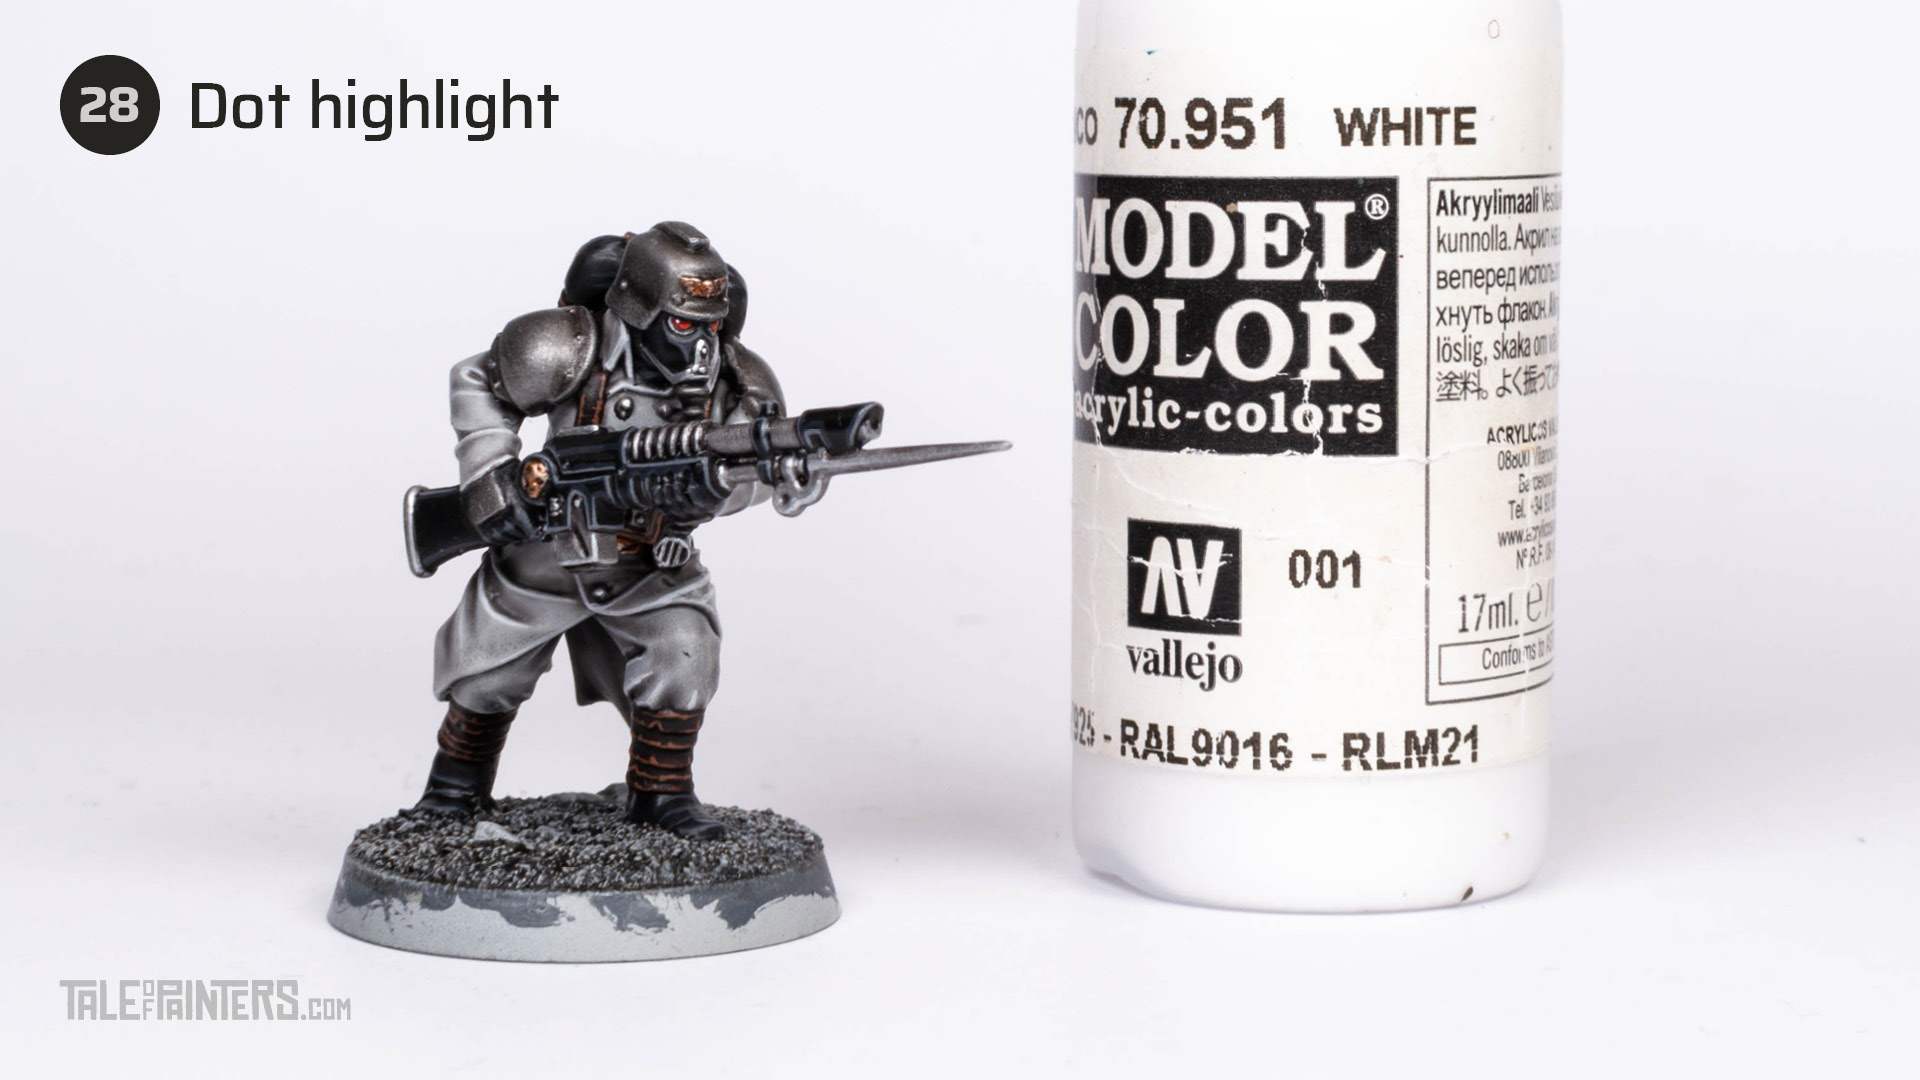

Add tiny white dots to the corners of the lenses with VMC White [or White Scar].
As mentioned earlier, I felt that uniform looked a bit bland. Inspired by the ‘Eavy Metal painted Death Korps, I decied to pick out the the trousers and hems in a different shade of grey.


Basecoat the trousers and hems with Dawnstone.


Like in step 5, create a wash of 2:3 Basilicanum Grey to Contrast Medium and apply it all over the grey.
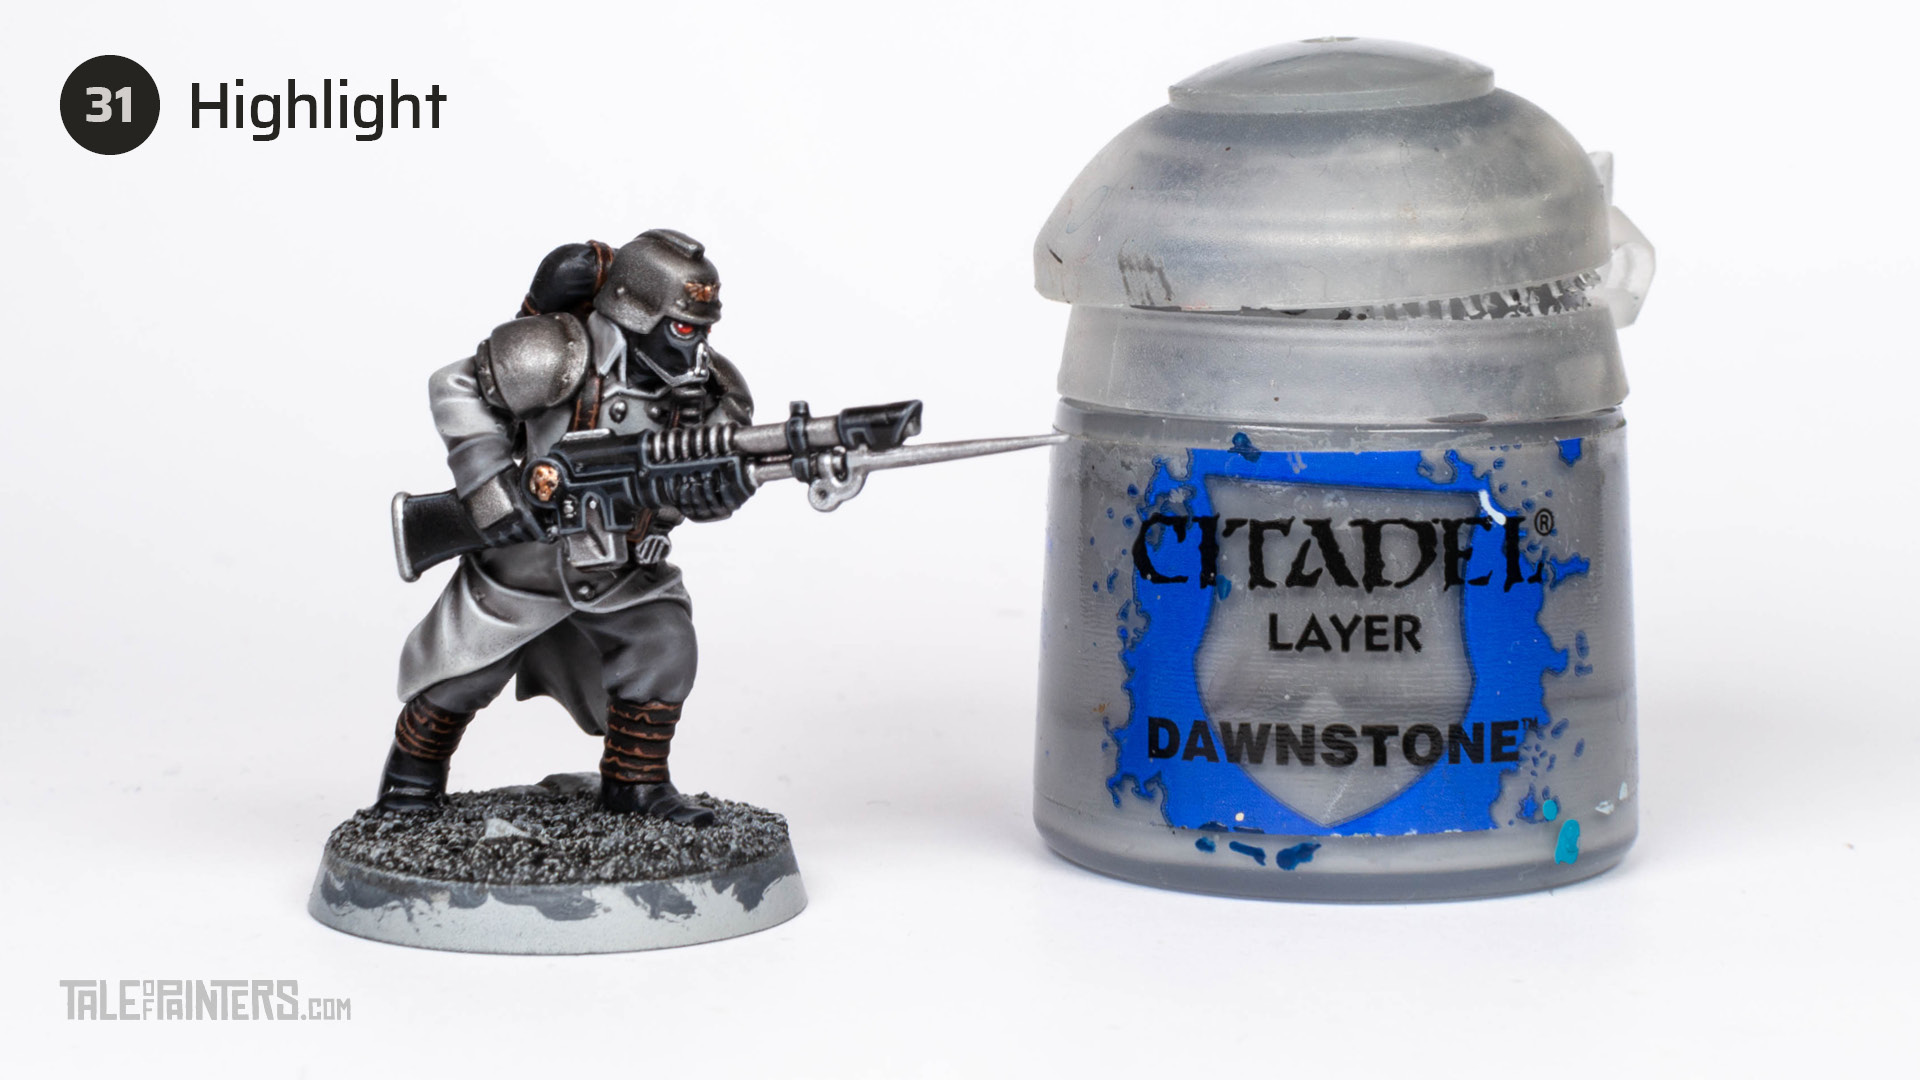

Finally, highlight the grey trousers and hems with Dawnstone.
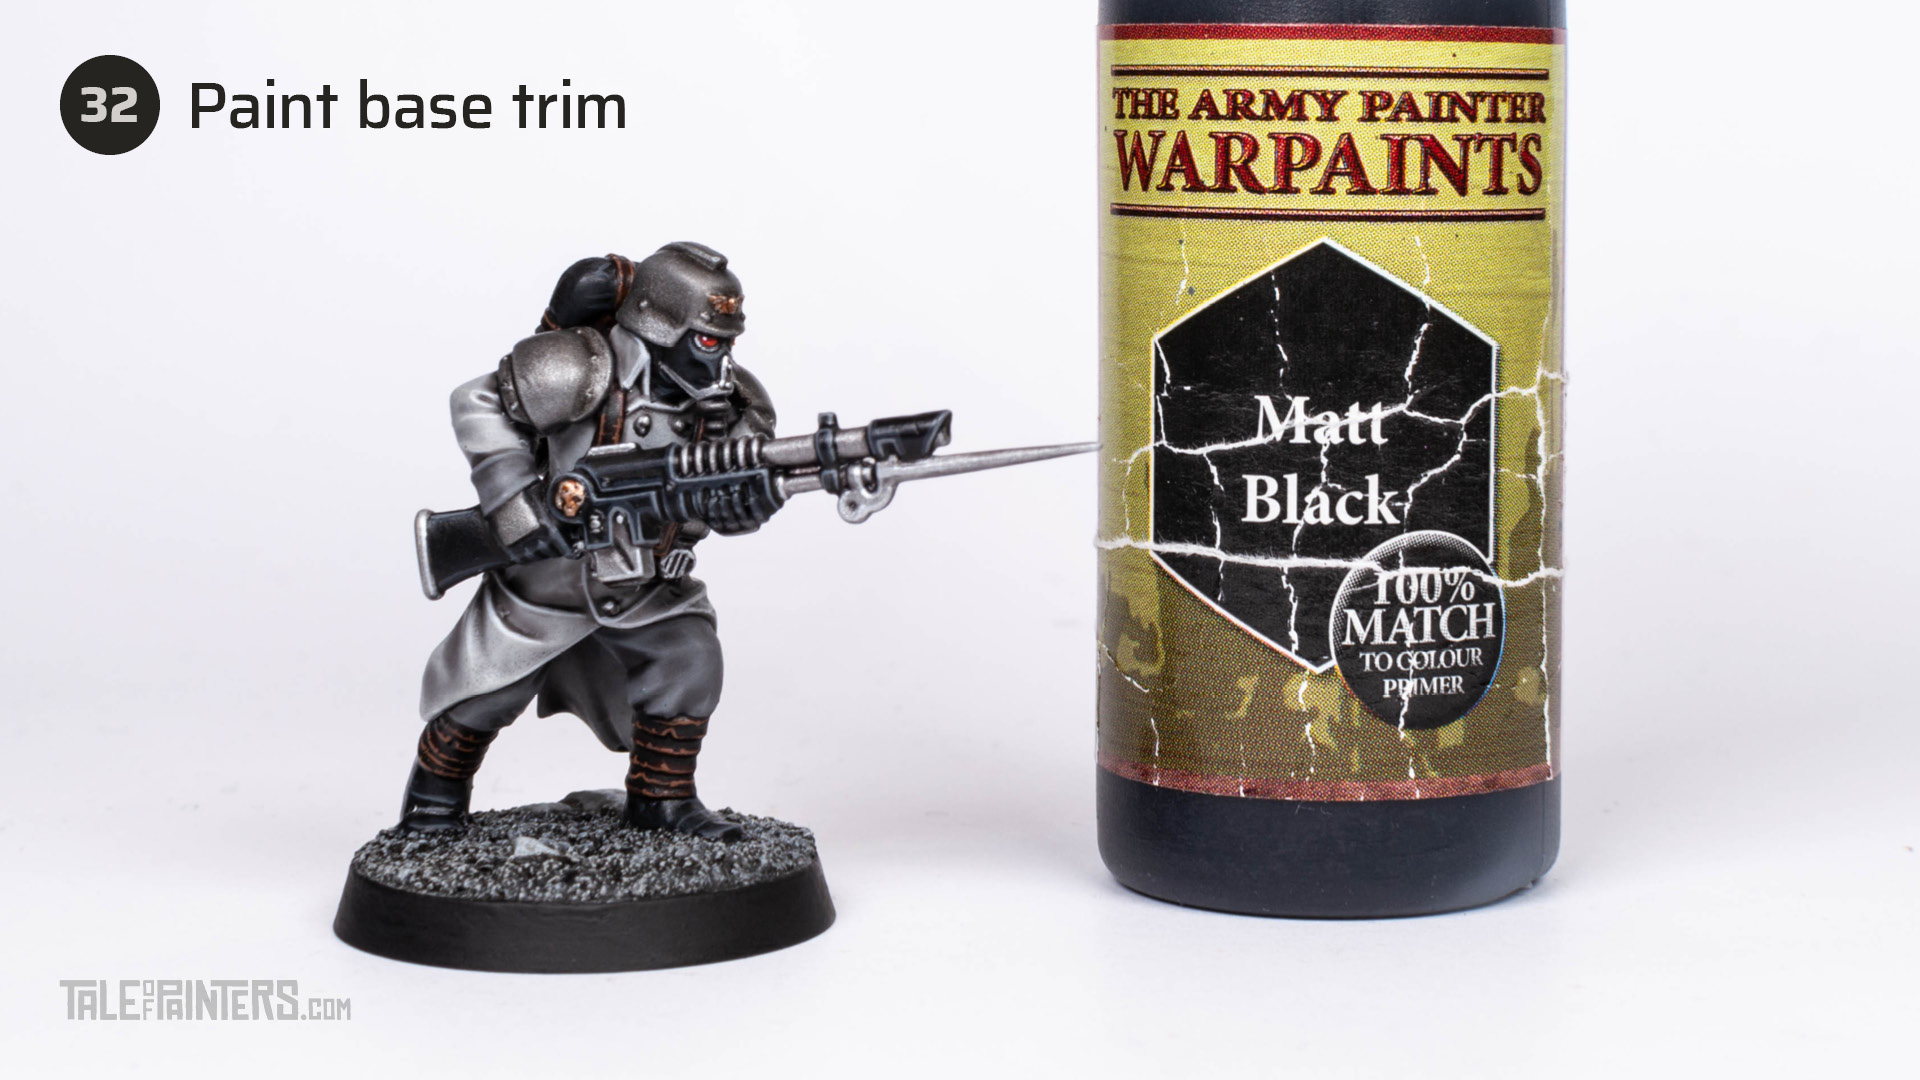

To complete the model, painted the trim of the base with Warpaints Matt Black [or Abaddon Black] or in a colour that matches your gaming board.
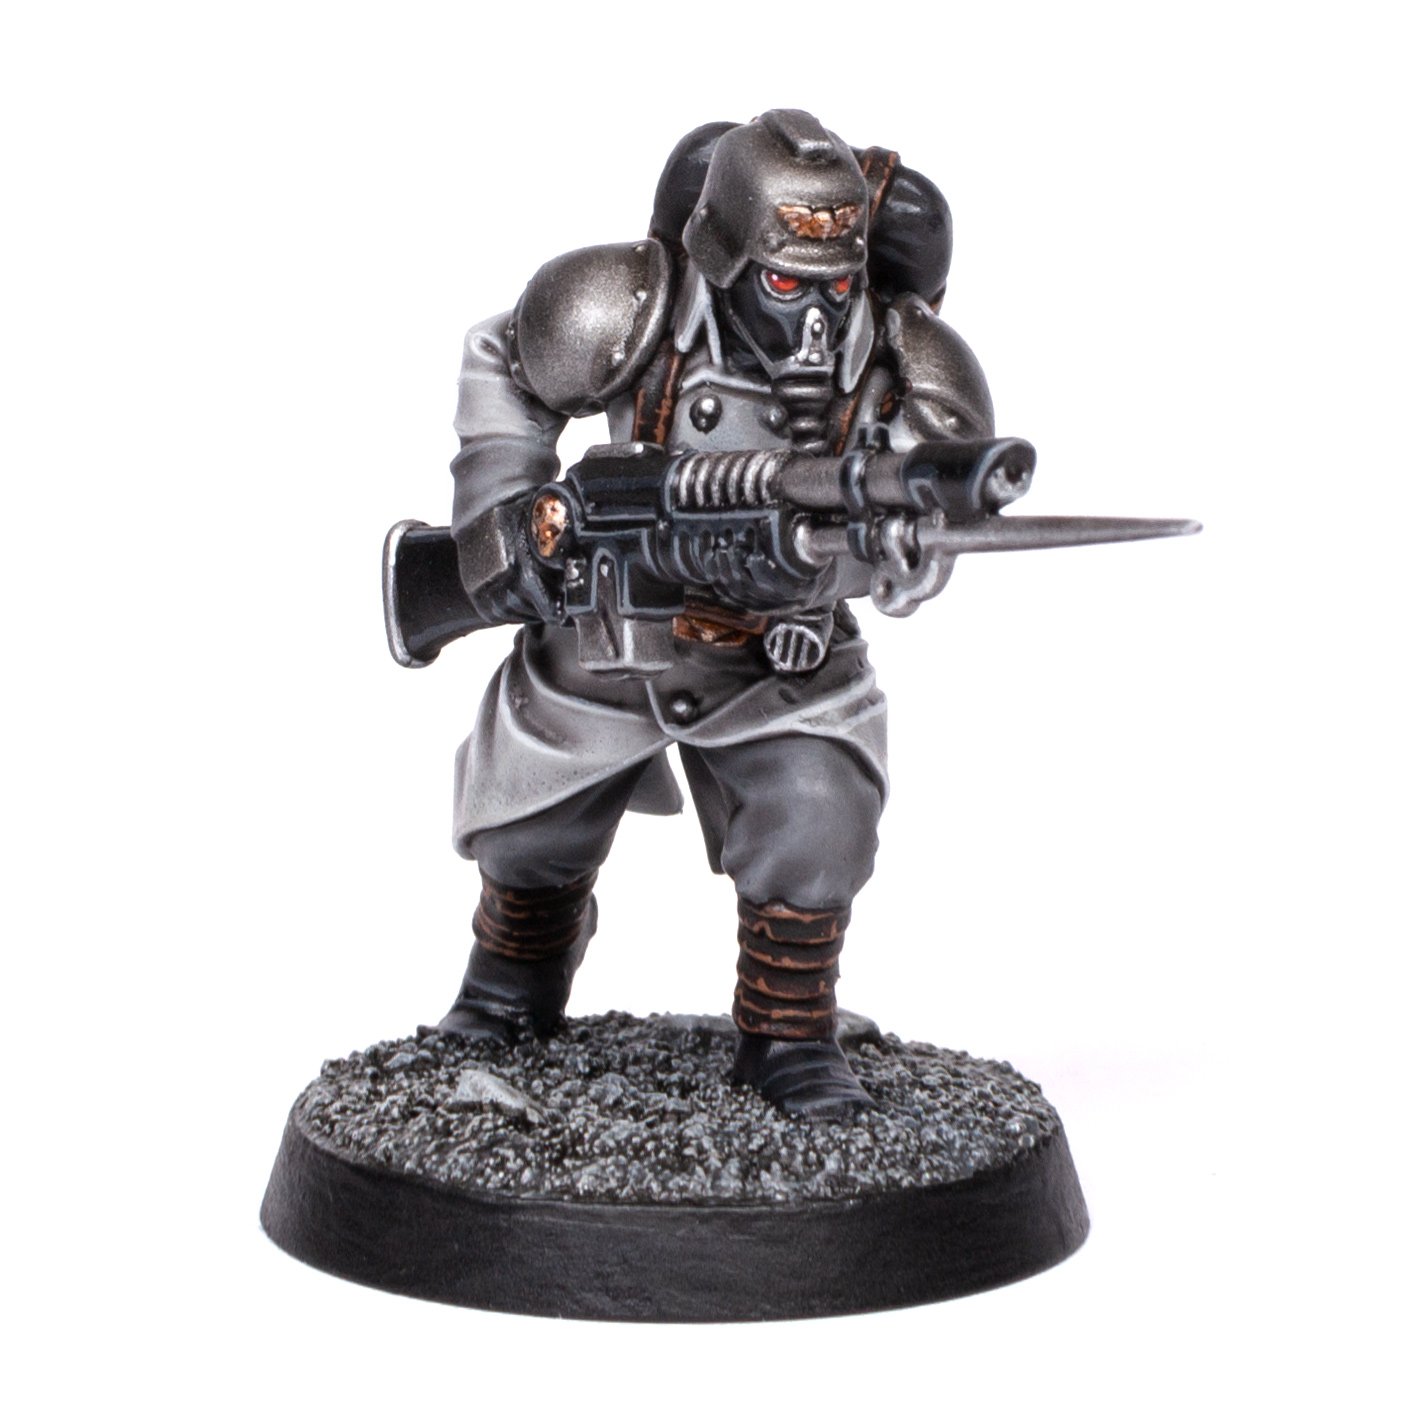
And here we have the finished model. Matching the grey rubble of the Battlezone Manufactorum gaming board from the Warhammer 40.000 starter sets, I chose shades of grey for the uniform. The armour is pure ceramite, the weapon lacquered black with polished silver details like on my Silver Skulls, with the only splash of colour the piercing red eyes. For the Emperor, and for Krieg. In death, we seek atonement!


Paints you will need for this tutorial:
Citadel (Games Workshop)
Grey Seer Primer / base paint
Mechanicus Standard Grey
Corax White
Dawnstone
Khorne Red
Evil Sunz Scarlet
Trollslayer Orange
Canoptek Alloy
Nuln Oil Gloss
Cygor Brown (Contrast)
Basilicanum Grey (Contrast)
Lahmian Medium
Contrast Medium
Formula P3
Bootstrap Leather [or Mournfang Brown]
The Army Painter Warpaints
Matt Black [or Abaddon Black]
Spaceship Exterior [or Ulthuan Grey]
Dark Tone Wash [or Nuln Oil]
Strong Tone Wash [or Agrax Earthshade]
Vallejo Mecha Color
Mecha Color Dark Steel [or Leadbelcher]
Mecha Color Steel [or Iron Hands Steel / Ironbreaker]
Mecha Color Light Steel [or Stormhost Silvre / Runefang Silver]
Vallejo Model Color
VMC White [or White Scar]
VMC Dark Grey [or Eshin Grey]
Vallejo Game Color
VGC Brassy Brass [or Brass Scorpion]
If you need to expand your paint collection to follow the tutorial, check out our partner stores Wayland Games and Element Games, which offer an amazing range of paints at a discount.
Hope you enjoyed this tutorial. If so, leave a comment or reaction below, and if you got any questions, leave them here so I can answer them for you.


is it possible to prime with chaos black?
Well, you could prime with Chaos Black and then apply a few coats of Grey Seer base paint, but it will take much longer and the surface of the mini won’t be as smooth because of the manual application. The Contrast paint will likely be not as even as over a smooth coat of primer, so I wouldn’t really recommend it.
I’m getting an effect much more akin to a standard wash when I’m using the technical for that soft grey. Did you struggle with it originally? Tipping it over helps, but I wonder if I need to be taking more care with the brush control and treating it less like a wash.
Maybe I’ve got the ratio wrong? Any tips?
Well we want a really soft, subtle shading, so if in doubt, add more Contrast Medium 😉
My advice for using washes and Contrast paints is to apply them generously, wait a little while so the medium in the wash can do its magic, and when you notice excess wash pooling, soak it up with your brush. Also, for larger areas, it might help to let the model dry horizontally to get a more even result, as the gravity will pull the wash to the bottom so it will collect there.
I’m thinking abou this scheme for my DKoK, but maybe with Gasmask, Blanket and Gloves in white (maybe Apothekary white)? I think this will fit more to the winter theme and breaks up a bit with the dark parts? What do you think about? Or maybe you also tried it?
Good idea, you should try and post a link here! Apothecary White has a slight blue greyish hue, you could also try to thin down Basilicanum Grey or Nuln Oil / Dark Tone Wash with lots of Contrast Medium to create a soft grey wash if you want to keep the neutral monochrome black and white look.