
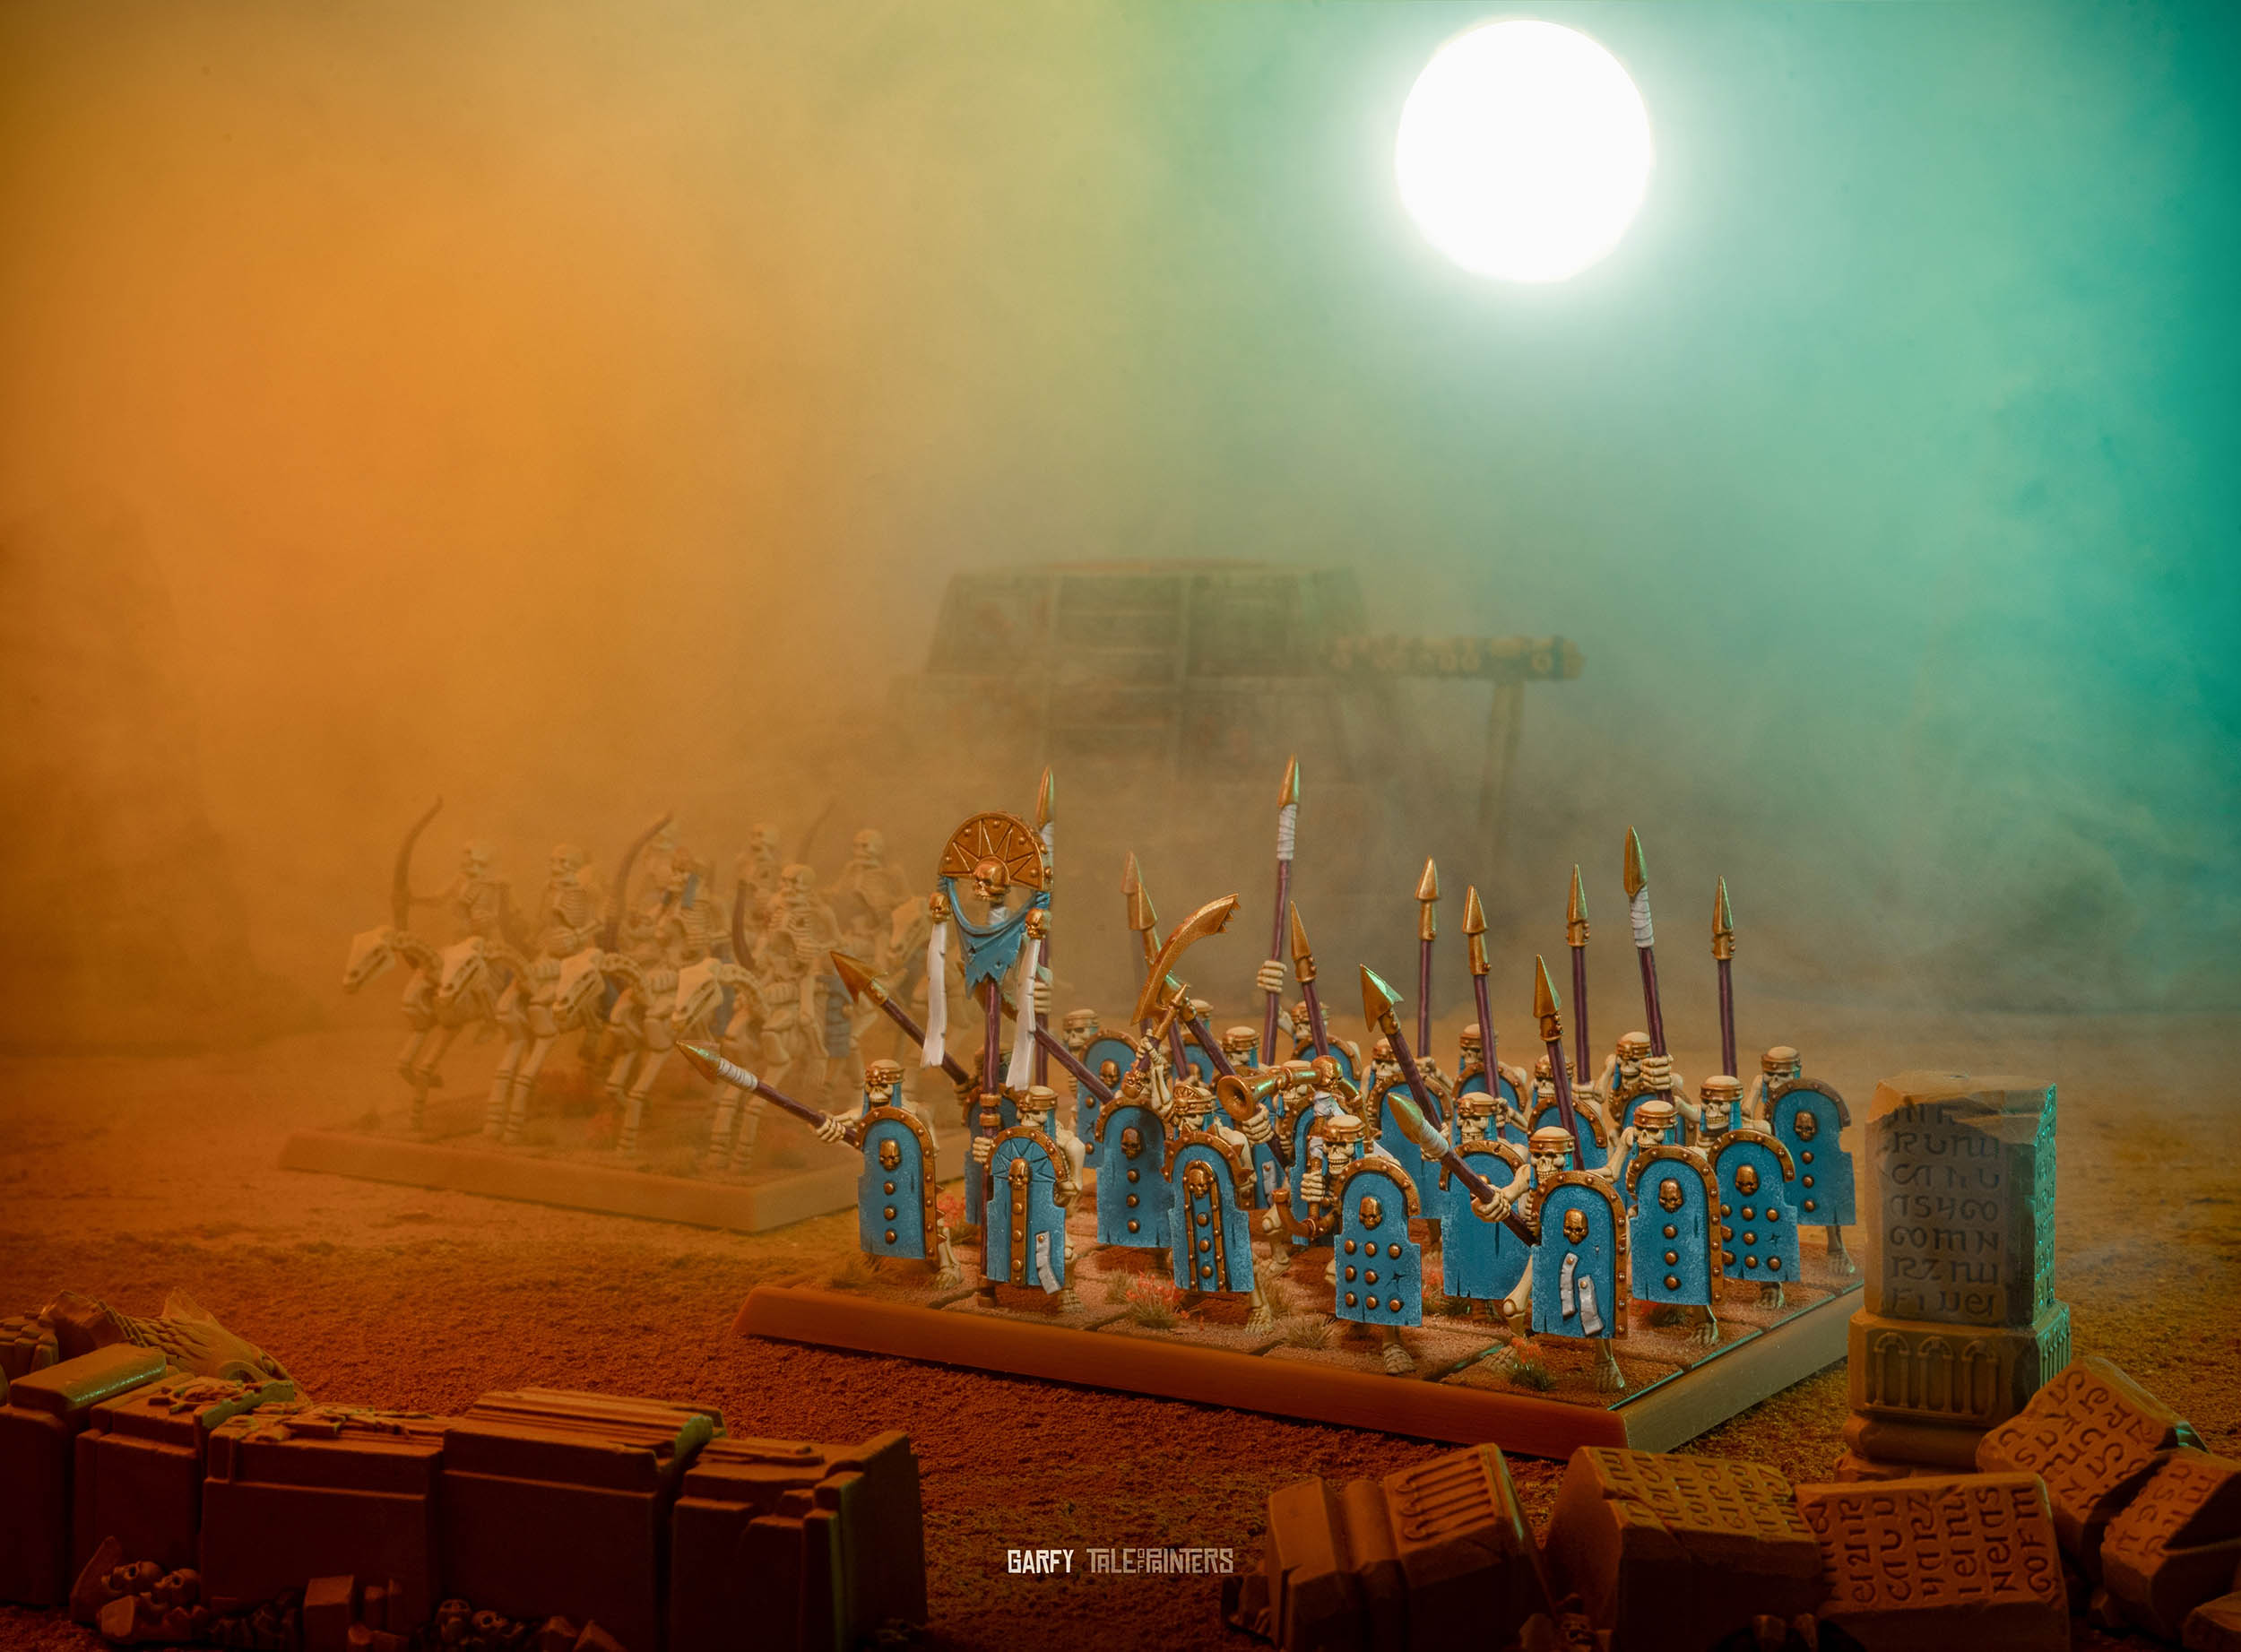
More Tomb Kings of Khemri for the blog today, I’ve already shared the first spearmen regiment so I thought I’d put them with the mounted archers into a single post. These are the last two regiments I needed to paint from the Tomb Kings of Khemri Army Starter Set. I just have the Bone Dragon and a Tomb King to paint and the set is complete.
These models were sent to me by Games Workshop for free. My thoughts are my own.
I’m really happy with the Tomb Kings army project. It’s an enjoyable paint scheme to work on that doesn’t take that long to paint. I think this is because the models are so simple. Modern Age of Sigmar models seem to be intent on cramming as much detail onto the model as possible, which makes them fun and interesting to paint but it’s a bit of a drag when you have an army to paint. So it’s been really refreshing to paint Tomb Kings, quite nostalgic as well because the sculpts are old and I remember them the first time they were released.

It’s quite interesting that the old sculpts can scrub up and look really presentable with a lot of mould line scraping. A tidy paint job using contemporary paints like Contrast and Washes (things we didn’t have 25 years ago, we had inks) goes a long way too. Finally digital photography has its part to play as well, using some smoke and lights and some colour correction in photoshop I’ve turned these vintage miniatures into something cinematic and exciting.

I think that’s my super power, they say you can’t polish a turd… well I can take a turd, roll it in glitter and photograph it with a smoke machine and some lights.

The colours and techniques I used for my Tomb Kings are covered by my Tomb Kings of Khemri recipe card. One thing I would like to expand on is the bone. I think a little more detail on the application of the Skeleton Horde paint is needed to help people achieve clean results like the above.
You’ll see in the recipe card I mention mixing Skeleton Horde with Contrast Medium. You’ll want a ratio of 1 part Skeleton Horde for 3 parts Contrast Medium. Because we already have a base of Screaming Skull on the model, we don’t want the Contrast paint to colourise the skeleton, just shade it. Contrast paint (and medium) is designed to contract and fill recesses, it’s perfect for shading rib cages, eye sockets etc. On larger flatter areas like the horses head or legs, the contrast light have no recesses to flow into so it’ll sit on the flat area and collate into a blob, this is called pooling. Acting fast whilst it’s pooling and still wet use a spare brush to wick away the access. That’s what I did and I don’t have any unsightly pooling on the models.
