
I’ve wanted to paint this model for a while now but honestly, the amount of detail has been putting me off. The Lord Relictor is littered with amazing little intricate details like candles and bones. The sculpt is really layered too with segmented armour and lowing tapestries. The only way to paint a model like this is in sub-assemblies. Read on to see how I approached this.
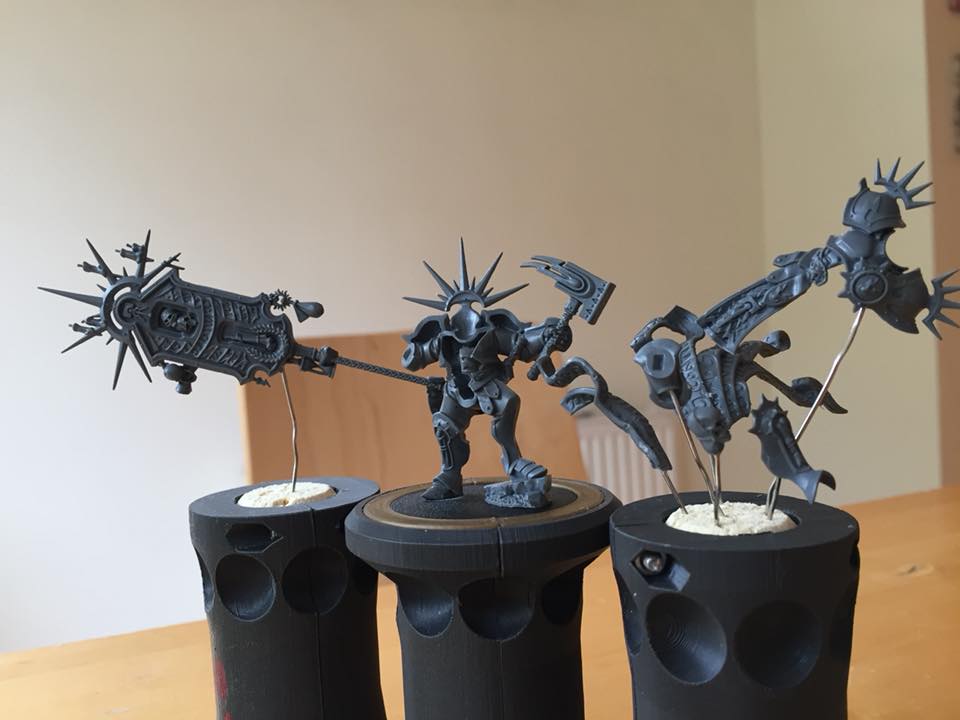
My paint scheme is not an easy one, at least I don’t make it easy for myself. You see, some of the scheme paints better over a black undercoat (greys, silvers etc) and some paints better over a white undercoat (yellows, white tapestries etc). The first thing for me to do was work out what parts would be white undercoat and what parts would be black undercoat. After that, I carefully used a pin vice to drill a hole single hole into each part and superglued a length of a paper clip into the hole. I then push this length of a paper clip into a cork (part of my Get-a-Grip). I’m then ready for undercoating the sub-assemblies.

The picture above shows the finished undercoating session. I have my grips in my extractor booth and I’ve undercoated the models using Vallejo Surface Primer. I really rate the white. it takes a few thin coats but is silky smooth, unlike aerosol white primers which always tend to be a little “furry”.
I’ve also used taken some of the parts which I had undercoated white and then base coated them yellow. I used Tamiya X20-A with Yriel Yellow to thin the paint and then applied this mix to the parts using my cheap airbrush.
Check out my video for an introduction to airbrushing.
This video explains how I clean my airbrush.
What’s next?
I think I’m going to work on the main body of the Lord Relictor first. With the core of the model painted I’ll be able to glue on parts as I finish them. My biggest concern is the join line on the shoulder pads. I’ll have to see what it looks licence it’s assembled and whether I need to use greenstuff to fill the gap and then repaint the shoulder. Watch this space!

Tale of Painters is the unofficial Warhammer hobby magazine run by hobbyists like you. Support our work by using the affiliate links from our partner stores for your next orders so we can continue to bring you fantastic FREE content every day:


![]()
![]()
Or support us directly:


