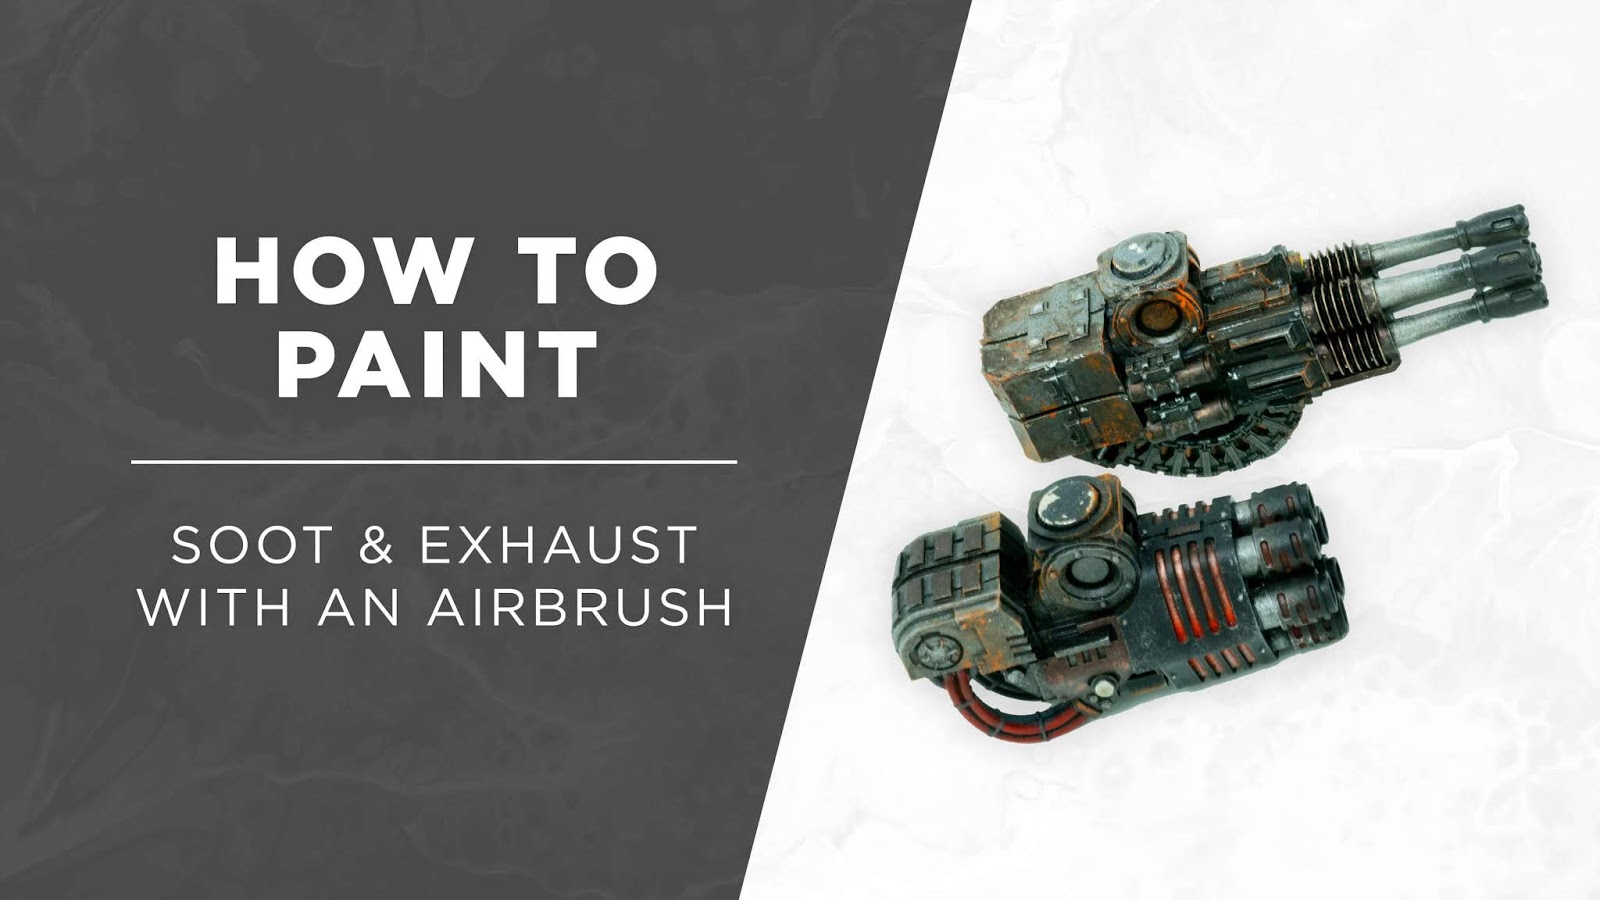

Hey gang, Silvernome back with yet another quick tutorial. I think most painters are used to using the tried and true drybrush approach to adding soot effects to weapons and even to their exhaust. But I started to use the airbrush and found I really liked the look a bit more on top of having a bit more control on how the effect could look.
Materials


Here are a few of the materials I use:
– Badger Minitaire Ghost Tint Paints (https://amzn.to/2Uhq0v6)
– Vallejo Airbrush Flow Improver (https://amzn.to/2CYYZ5v)
– Iwata Eclipse Airbrush (https://amzn.to/2uL2cBp)
– Metallic paint of your choice (I’m using Vallejo Model Air Steel)
Painting the Effect


I wanted to use this Contemptor melta weapon as an example. It’s finished being painted by brush and is ready to add the soot detail.
Start with adding a few drops of Oil Discharge Ghost Tint (by Badger Minitaire) to the airbrush along with a few drops of Airbrush Flow Improver, this will help the tint from dying too quickly in the airbrush and let it go on more smoothly. If you don’t have a transparent style paint, regular black would work but you’ll want to thin it down a lot so it goes on thin.
I tend to have my compressor at about 20-30 PSI when using the Ghost Tints through it. Then with a light trigger finger, focusing on my air than paint, slowly build up the paint, focusing the majority of it at the tip of the gun.


When it’s done, it may look a bit shiny. Using a matte varnish will help tone that back down. You can also add more details if you want. In this case, I added some Fresh Blood Ghost Tint after the black to help build up the effect I wanted on this Melta weapon. For barrels, using a little silver drybrush to help weather the black in spots can go a long way as well.


A similar approach can be used for exhaust tips on vehicles, here I’m using my World Eaters Contemptor as the example. If you’re new to airbrushing, feel free to mask off the areas just in case so you don’t ruin the paint on other areas of your model. Again focus the heavier layers towards the tip.
Examples


Here are just a few examples of how it looks when finished. You can see the finished Melta from the examples above as well as some parts of one of my Death Guard themed Leviathan Dreadnoughts. Hope you find this tutorial useful!
I’ve also created a 4K video tutorial if you’d rather watch that:
If you like this model and want to see more, you can check out my site www.silvernome.com or follow my gaming group’s Instagram www.instagram.com/brookhammer40k
Do you like our tutorials and reviews? Here is what you can do to support us: Check out the websites of our sponsors, place your next orders at Wayland Games by clicking here or at Element Games by clicking here. Thank you very much, we appreciate any help to keep us going.


Wonderful tutorial. Thank you!
Glad you liked it Josh!