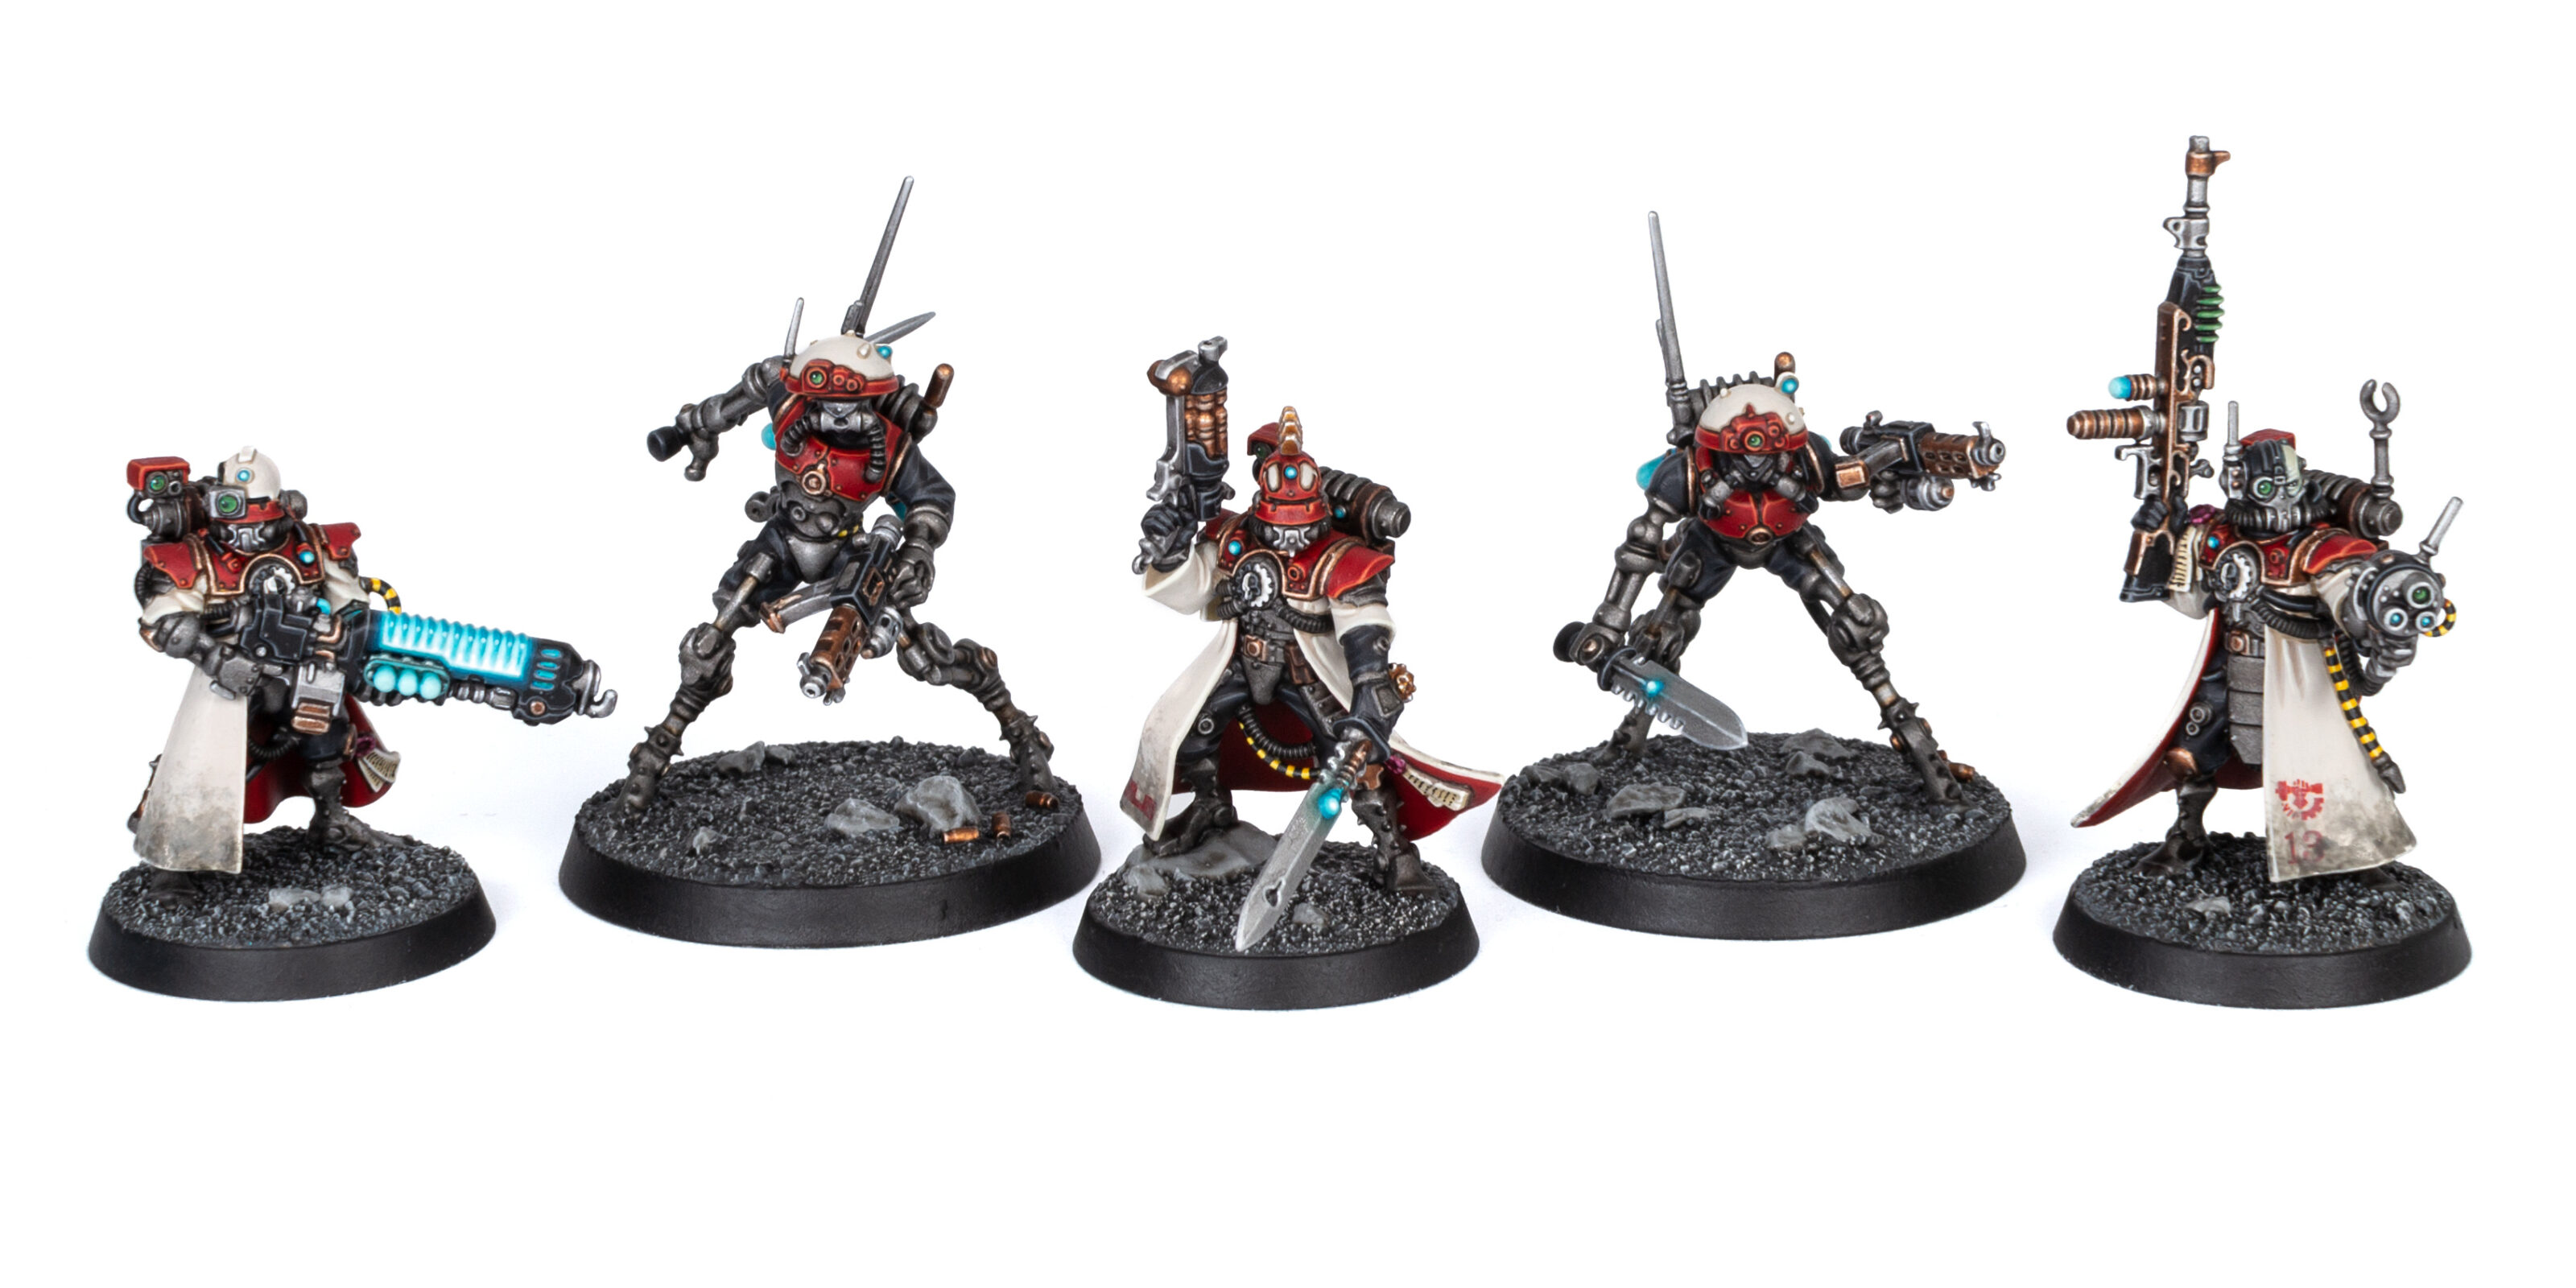
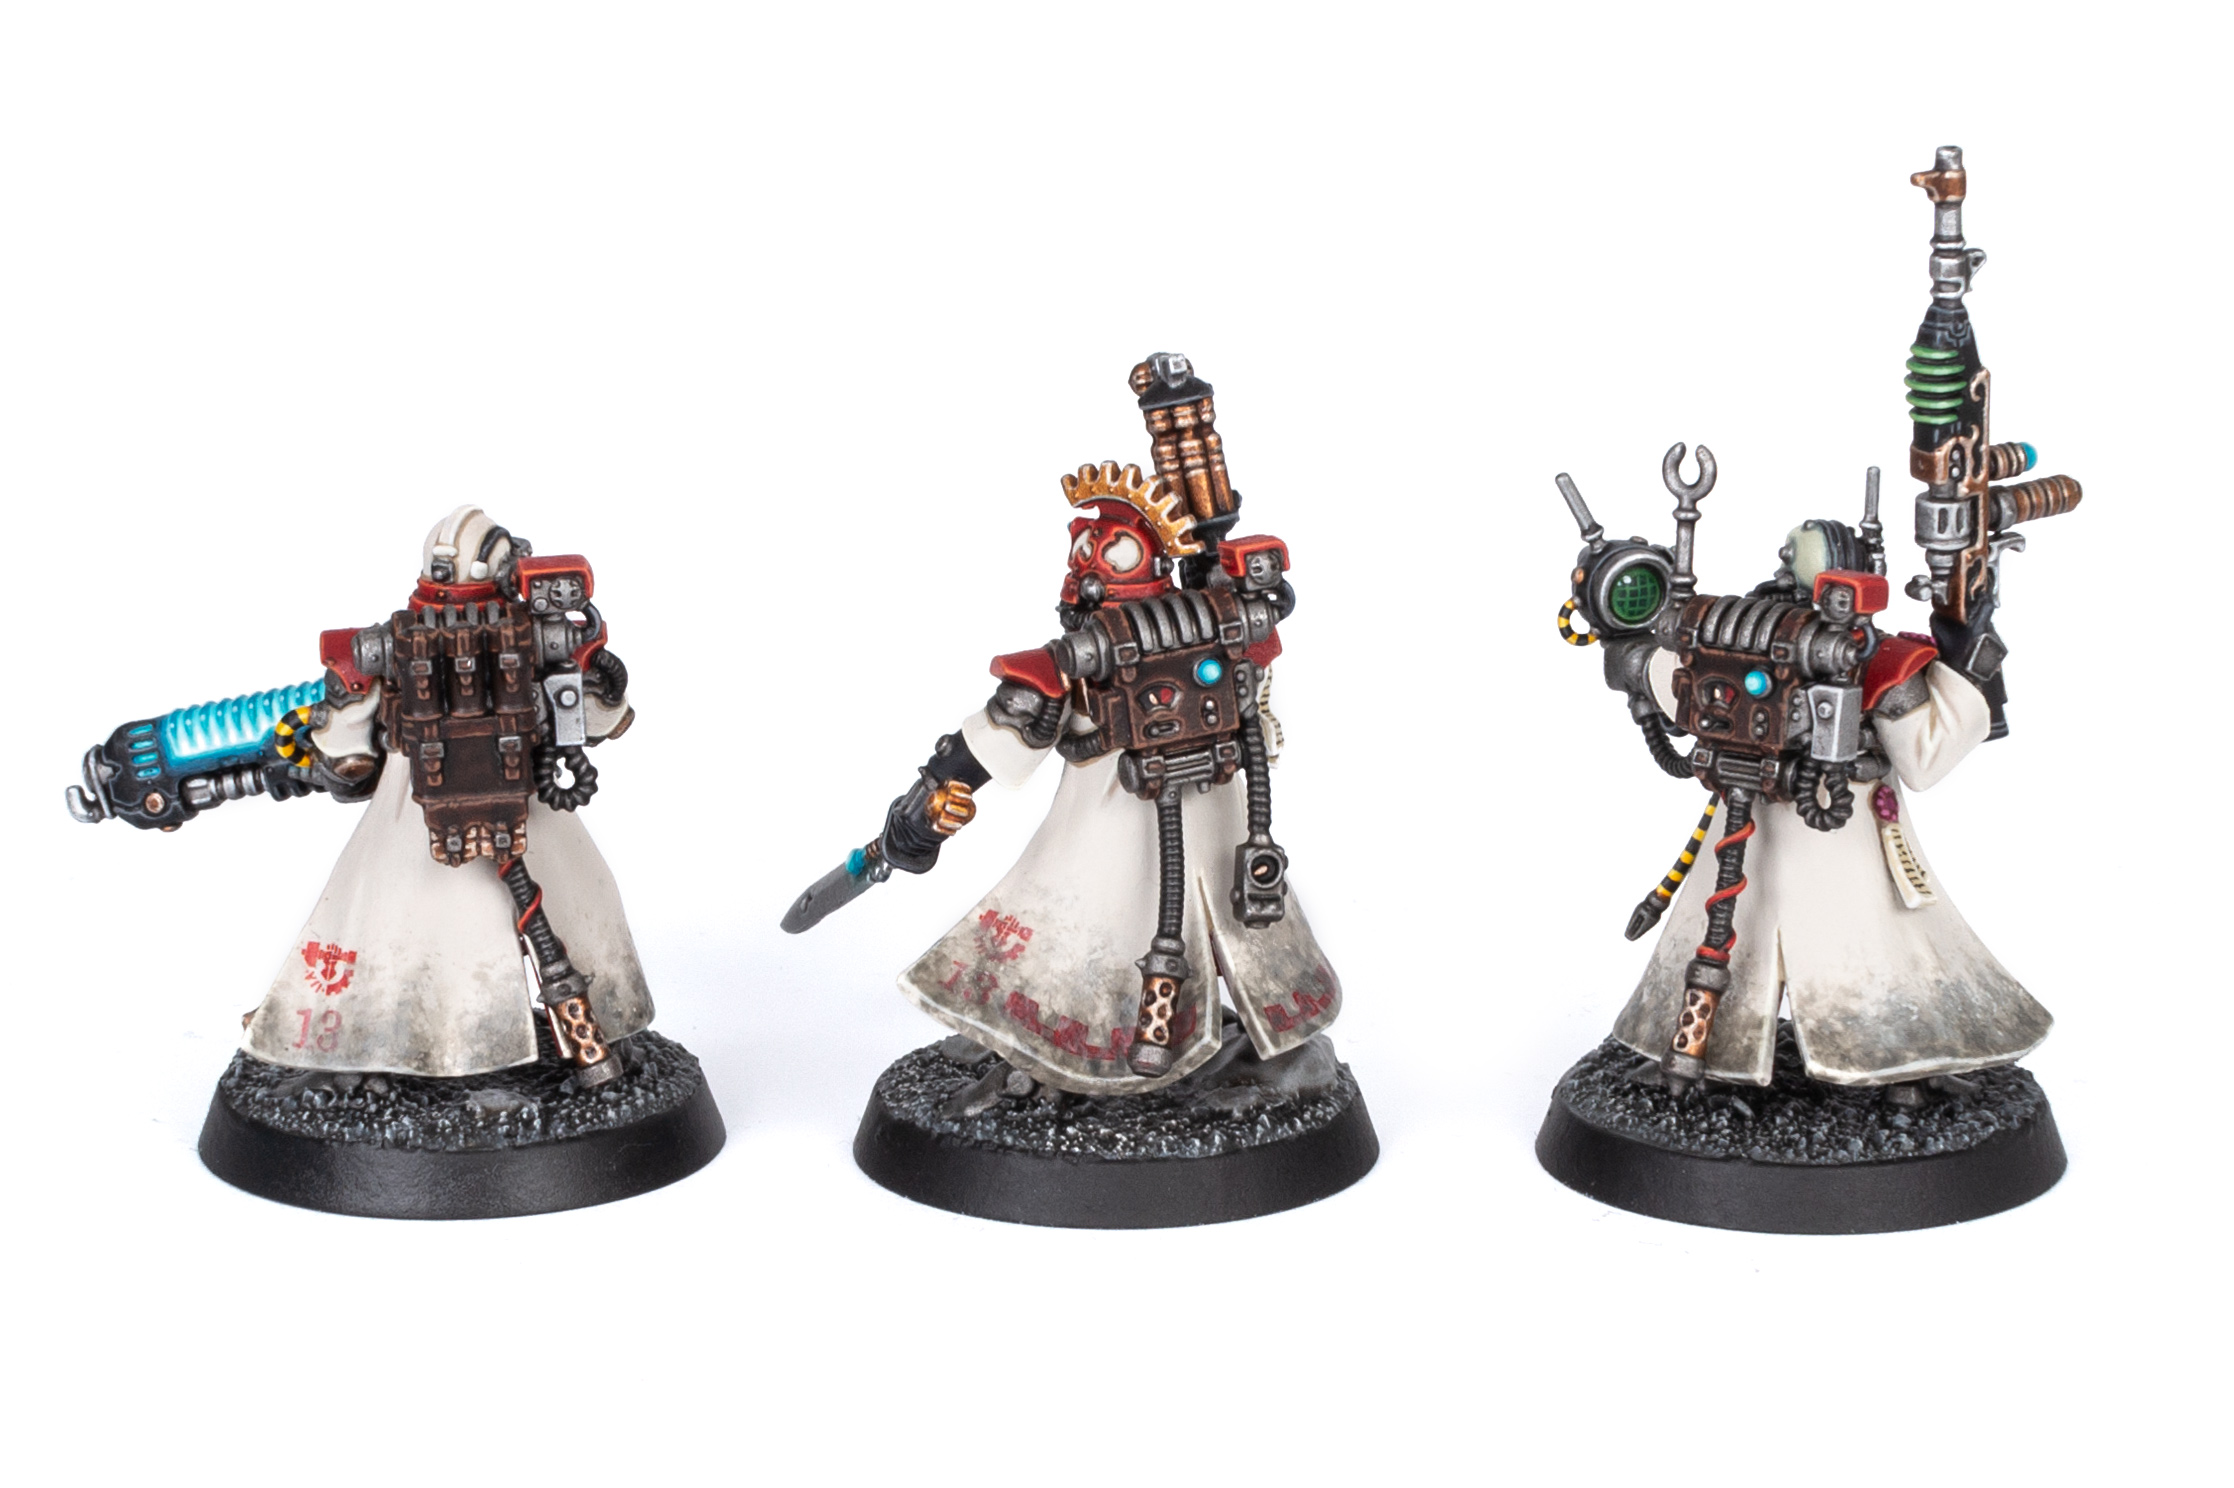
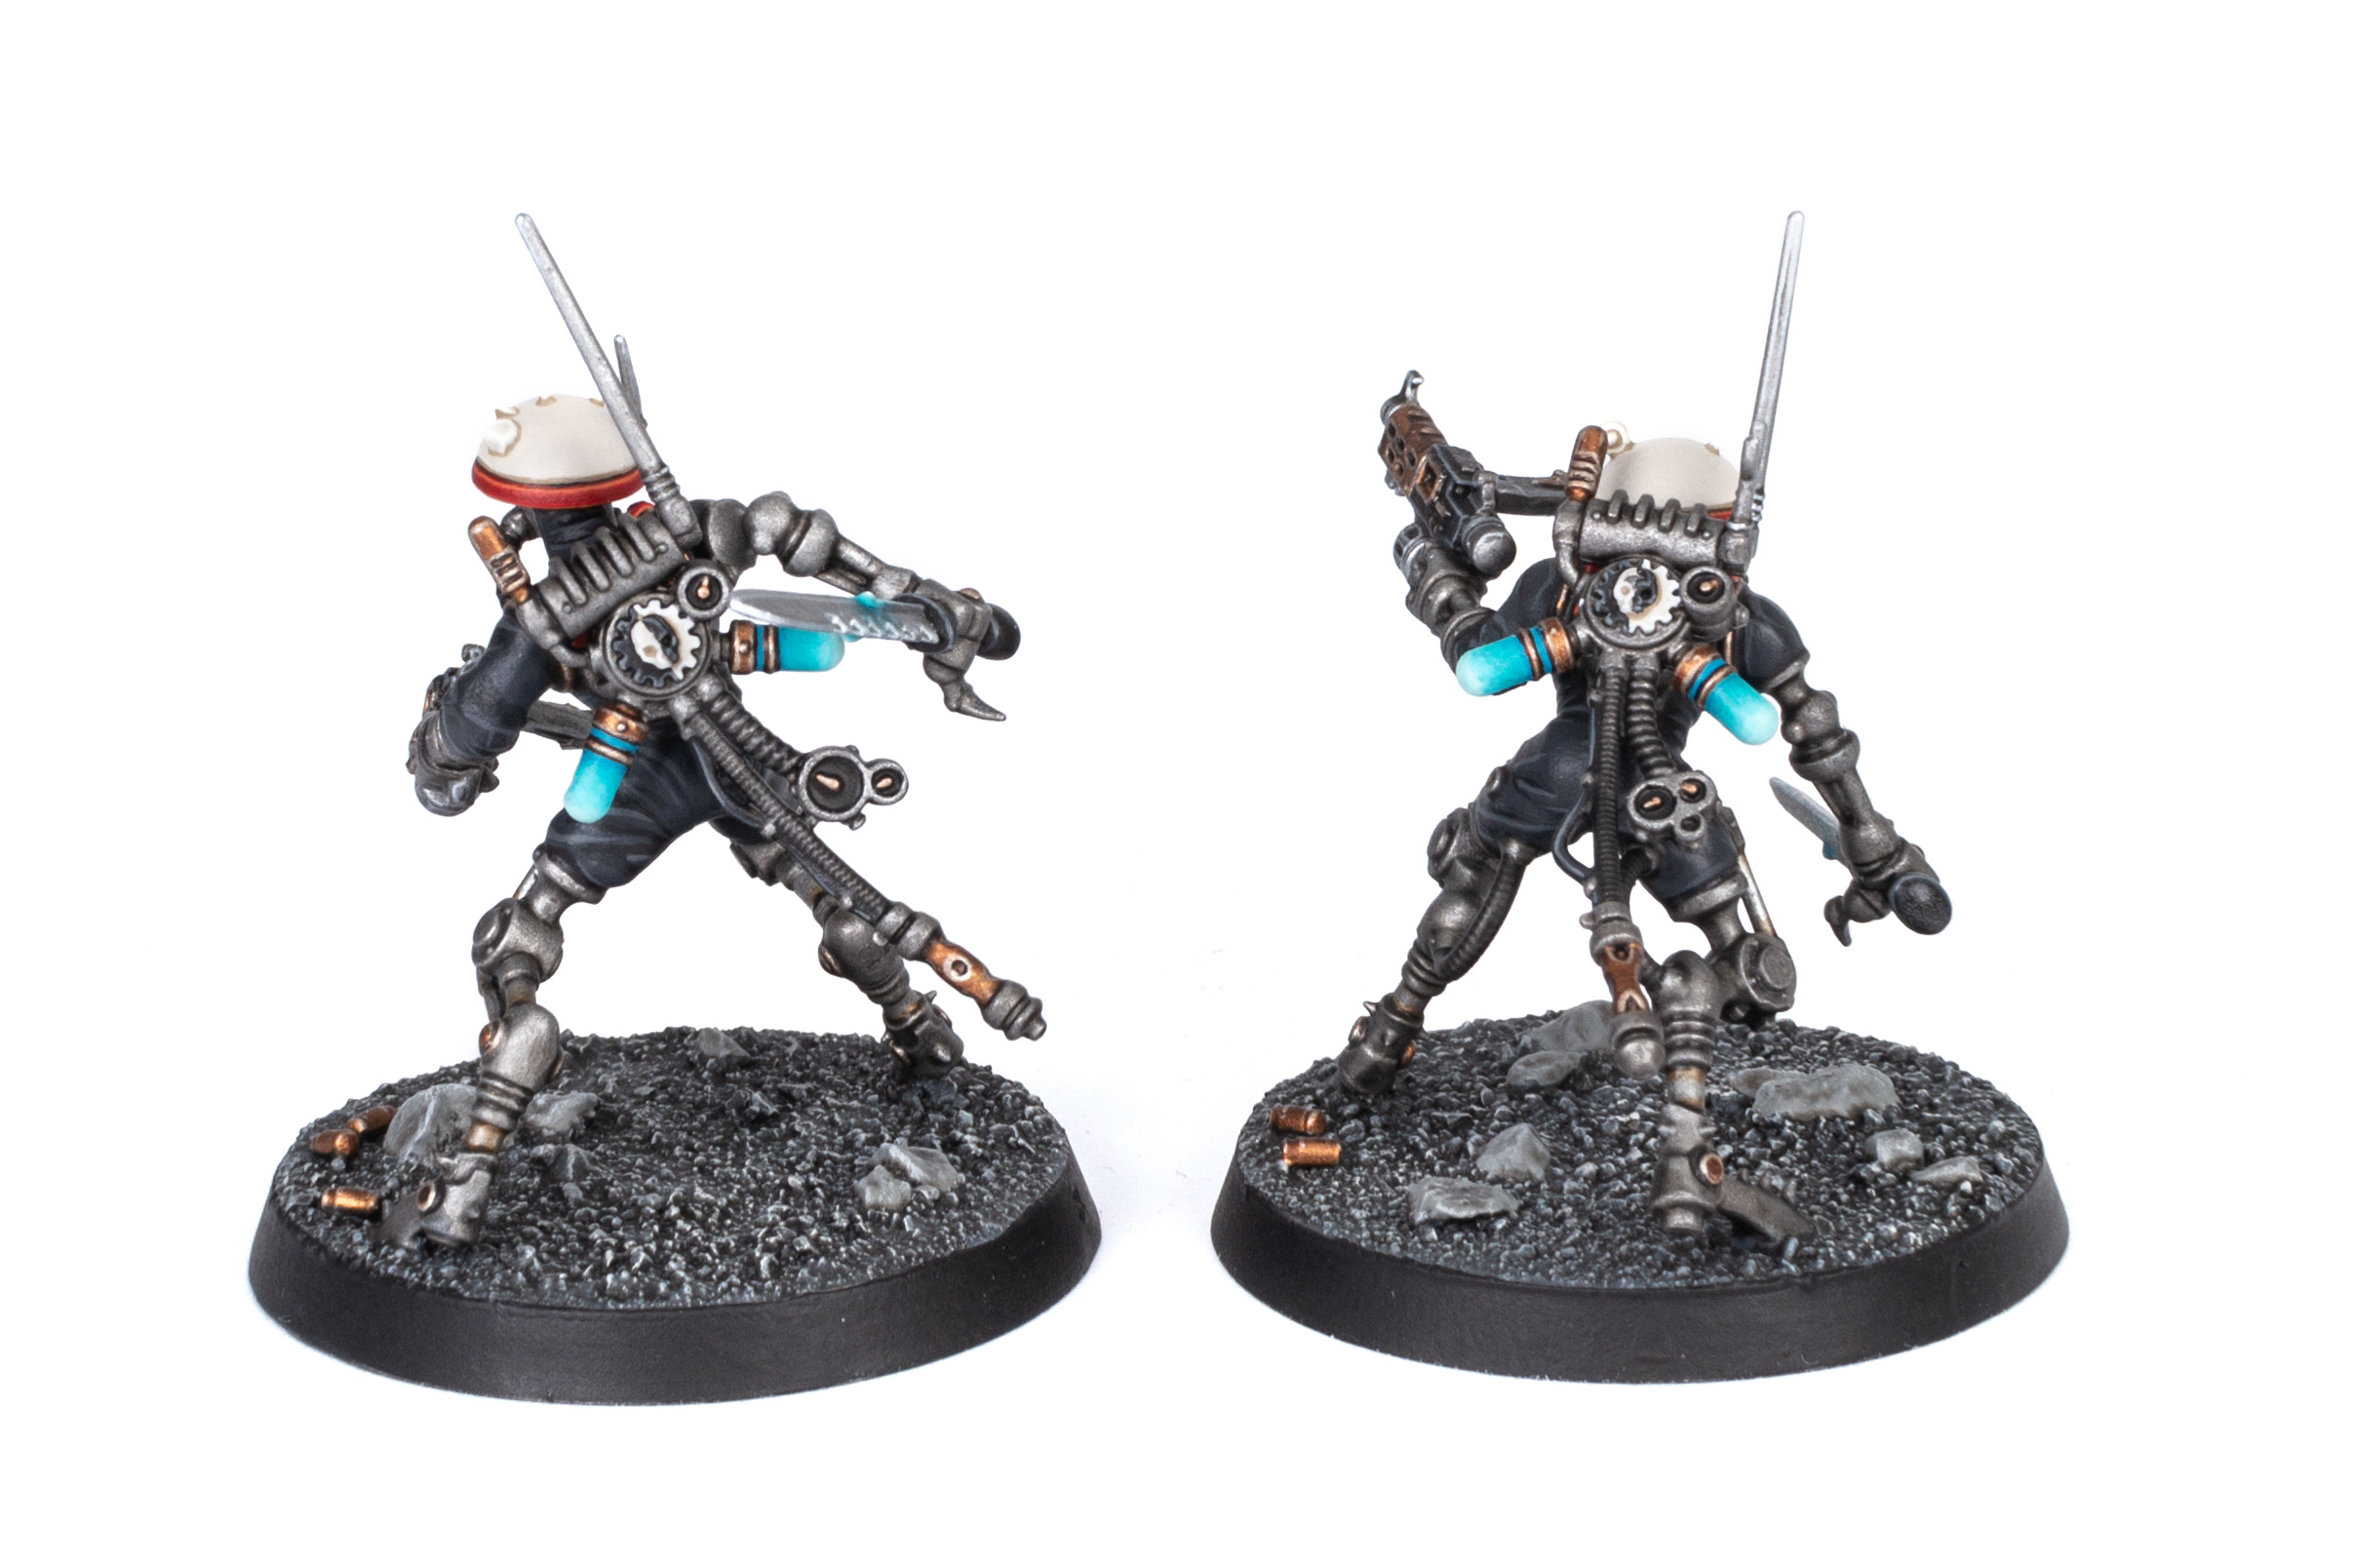
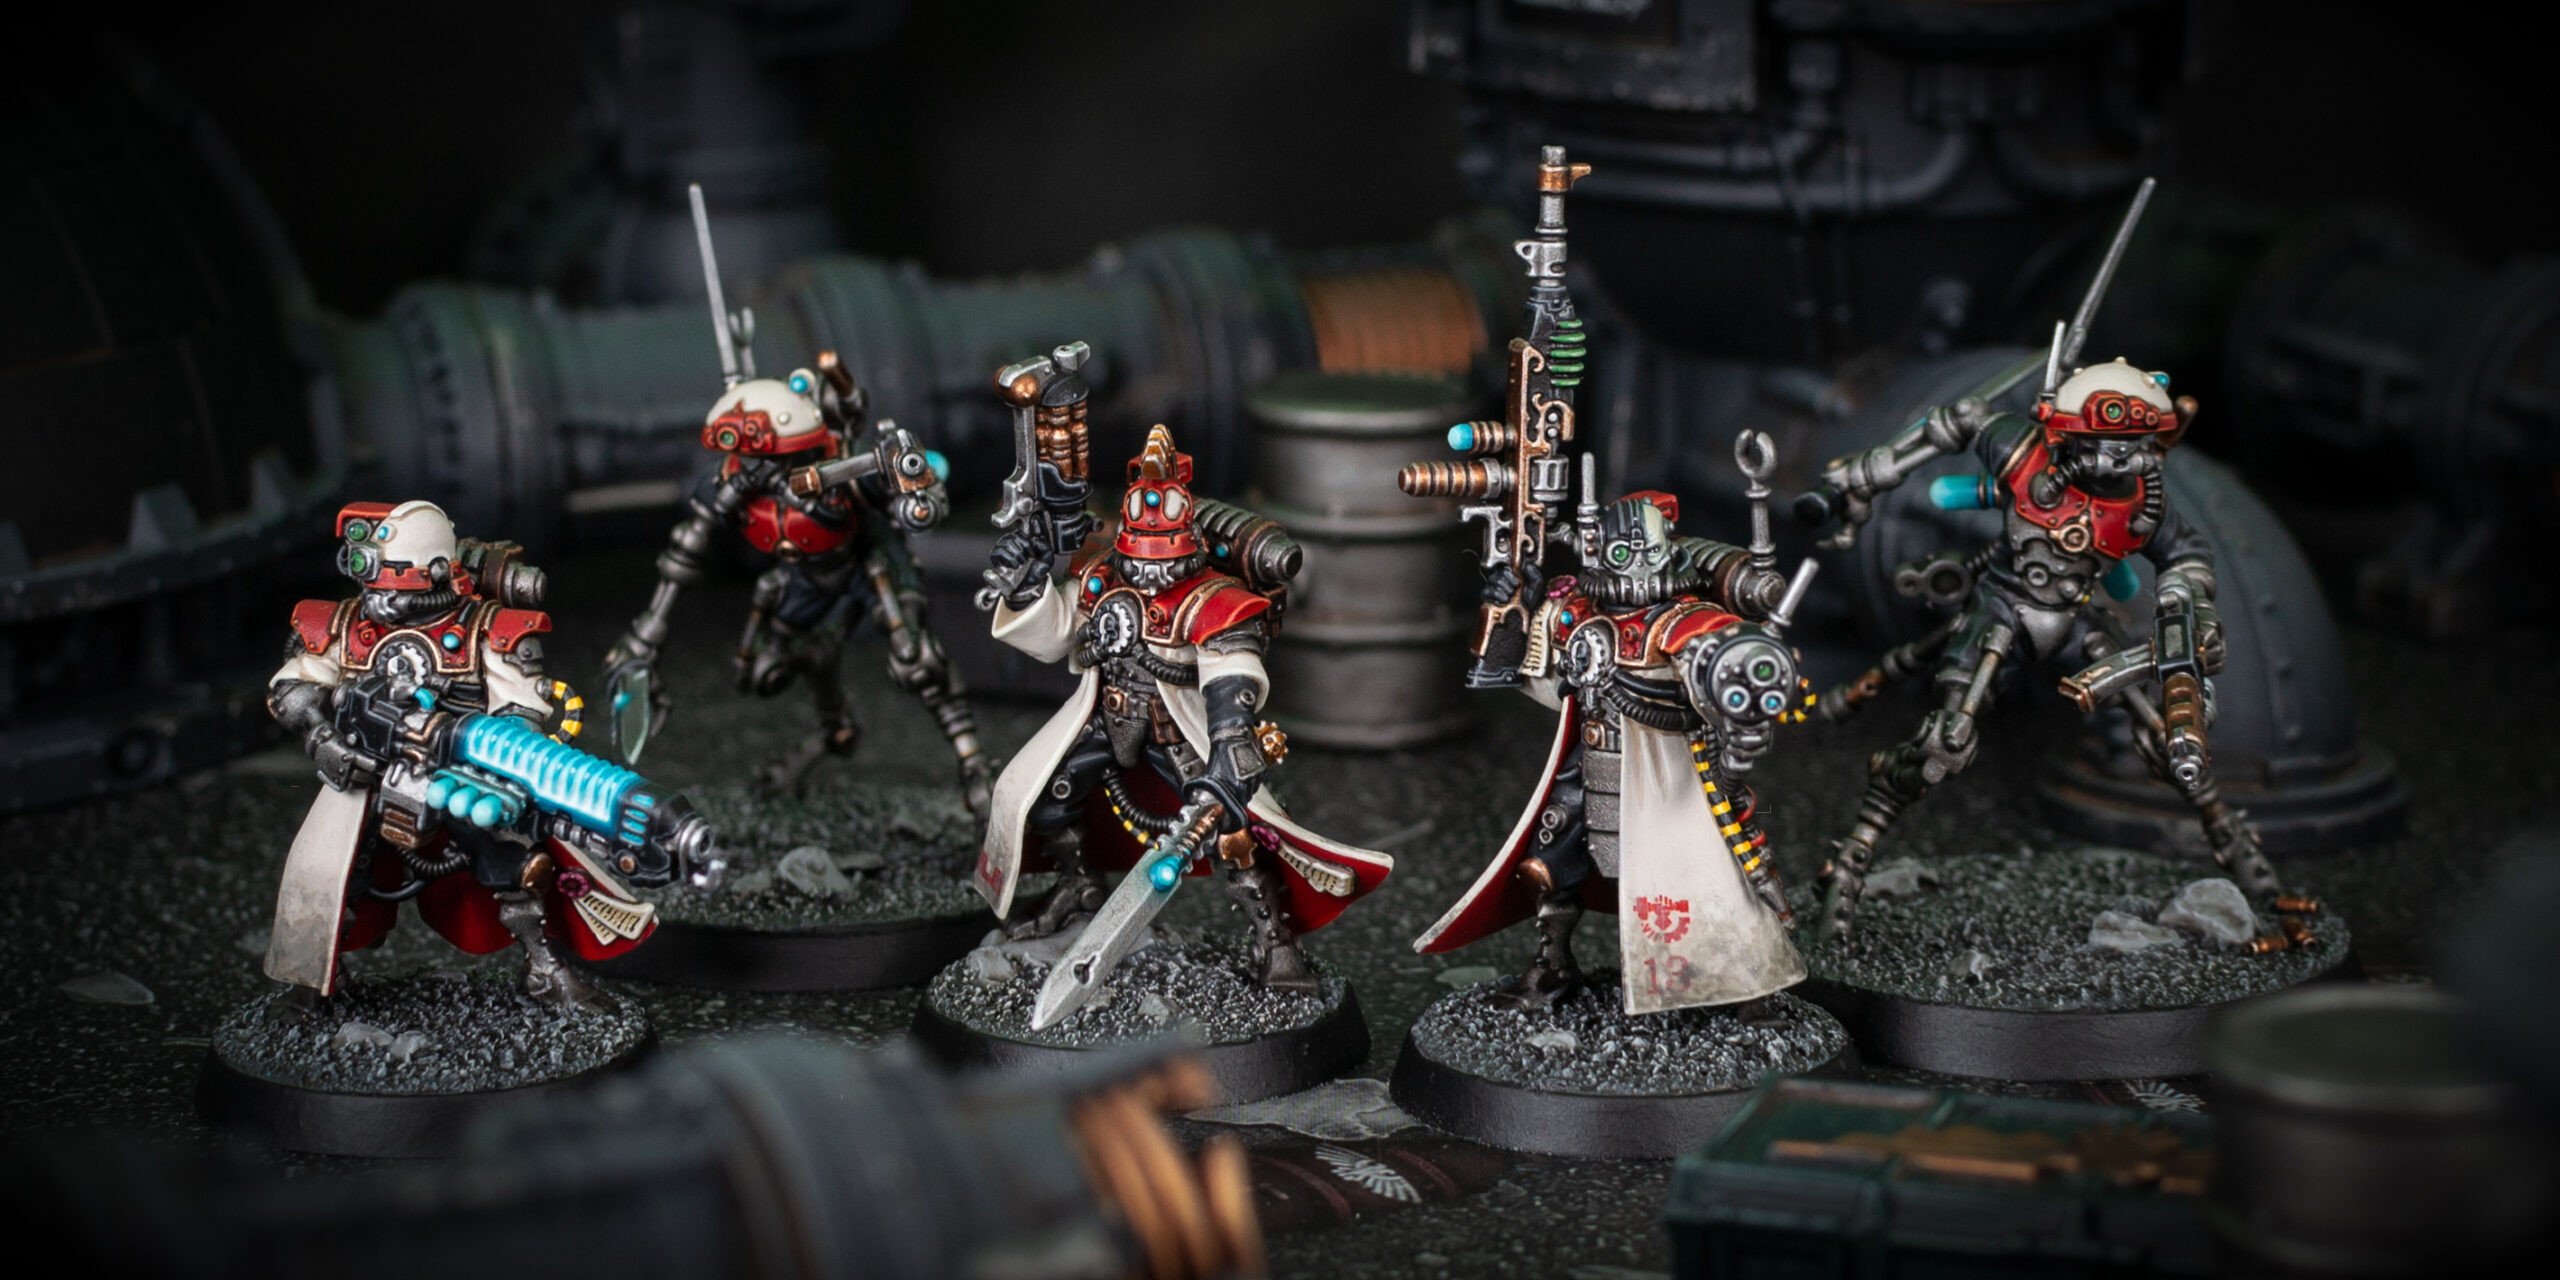
Check out the first five models of my Adeptus Mechanicus Kill Team, painted in the bone-white and red of Forge World Metalica. I also included a complete list of all of the paint recipes I used on these models.


This is the start of a new Kill Team, just in time for the new Pariah Nexus expansion. My basic roster will comprise Skitarii Vanguard and Sicarian Infiltrators. Above you can see the the first five models. Once I’ve painted enough models to fill 100pts, I’ll definitely want to add some surprises to add more variety. Who knows, I might even paint enough models for Combat Patrol sized games… over time.


The first model I painted as a test model was the Skitarii Vanguard with Plasma Caliver. Even though I replicated a lot of paint recipes found in my Silver Skulls tutorial, I struggled a lot with this model, probably because it’s so small and full of tiny details. I’m quite happy with the result though, and the plasma glow proved to be very popular on social media. I’m gonna work on a tutorial soon, I promise!


For the cloaks I applied Metalica decals I printed myself. Games Workshop released a transfer sheet many years ago, but it sold out quickly and is almost impossible to find these days. I don’t know why they don’t keep transfer sheets in stock permanently, especially as Mechanicus kits only come with a small Mars transfer sheet. I also added some weathering to make the cloaks visually more interesting.


For my interpretation of the Forge World Metalica paint scheme, I went for more red armour panels to tie the models to my Knight Errant of House Raven. House Raven is aligned to Forge World Metalica, so I designed my Metalica paint scheme to be an inverted House Raven scheme.


For now, I’ll take a break from painting Adeptus Mechanicus, but I’m already thinking about what models to add next to fill the 100 pts. Probably more Skitarii with special weapons, and another Sicarian Infiltrator, probably a Princeps.
Paint Recipes
Leadbelcher / Corax White Primer
Bases
Basecoat sand: Mechanicus Standard Grey
Drybrush sand: TAP Spaceshuttle Grey
Basecoat rocks: TAP Ash Grey
Wash: Mix of TAP Dark Tone Wash / TAP Strong Tone Wash / Contrast Medium 2:2:1
Drybrush rocks: TAP Ash Grey, VGC Stonewall Grey
Drybrush rocks: Corax White
Base trim: TAP Matt Black
Dark Metal
Basecoat: VMechaC Dark Steel
Wash: TAP Dark Tone Wash / Nuln Oil Gloss 1:1
Drybrush: VMechaC Light Silver
Recess shade: Basilicanum Grey (only where more definition is needed)
Undersuit
Basecoat: VMC Dark Grey
Wash: Basilicanum Grey
Layer: VMC Dark Grey
Highlight: Adeptus Battlegrey (OOP)
Red cloaks, armour, and cables
Basecoat cloak and cables: Mephiston Red
2x Wash armour: Blood Angels Red
Recess wash: Cygor Brown
Highlight: Evil Sunz Scarlet
Highlight: Jokaero Orange (only armour and cables)
Bone white cloaks and armour
Basecoat: RMS Polished Bone
Recess shade: P3 Hammerfall Khaki (shade the armour and where the cloak meets other parts of the model)
Recess shade cloaks: Rakarth Flesh (for the folds)
Recess shade cloaks: Mix of Rakarth Flesh and RMS Polished Bone (to smooth the transition)
Highlight armour and cloaks: RMS Linen White
Highlight: VMC White (armour only)
Weathering cloak: Stipple 2 layers of TAP Filthy Cape mixed 1:1 with Contrast Medium, then 2 layers of Stormvermin Fur mixed 1:1 with Contrast Medium
Bright Silver weapons and details
Basecoat: VMechaC Steel
Wash: Mix of Basilicanum Grey / Contrast Medium 1:1
Recess wash: Basilicanum Grey (only where more definition is needed)
Highlight: S75 Speed Metal
Black metallic cables
Basecoat: VMechaC: Dark Steel
Wash: VGC Black Ink
Wash: TAP Dark Tone Wash
Black armour
Basecoat: VMC Black
Highlight: VMC Dark Grey
Highlight: Dawnstone
Brass details
Basecoat: VGC Brassy Brass
Wash: TAP Strong Tone Wash
Highlight: Canoptek Alloy
Dark brown leather
Basecoat: P3 Umbral Umber
Wash: TAP Dark Tone Wash
Highlight: Scorched Brown (OOP)
Highlight: P3 Leather Brown
Yellow cables
Basecoat: Yriel Yellow
Recess shade: Gore-grunta Fur
Highlight: TAP Moon Dust
Layer: TAP Matt Black
Highlight: Adeptus Battlegrey (OOP)
Green lenses
Basecoat: VGC Dark Green
Layer: VGC Sick Green
Highlight: Skarsnik Green
Dot Highlight: VMC White
Blue orbs
Basecoat: VGC Hawk Turquoise
Layer: P3 Arcane Blue
Layer: Baharroth Blue (skip this step on smaller orbs)
Wash: Aethermatic Blue (skip this step on smaller orbs)
Layer: TAP Toxic Mist
Plasma Glow
Basecoat: Baharroth Blue
Recess wash: VMC White / Contrast Medium 1:2
Recess wash: VMC White / Contrast Medium 1:1
Use TAP Toxic Mist for smoothing the transitions
Layer: Baharroth Blue
Layer: P3 Arcane Blue
Layer: VGC Hawk Turquoise
Dot Highlight: TAP Toxic Mist
Turquoise glow on black
Layer: Stegadon Scale Green
Blend: Stegadon Scale Green / VGC Hawk Turquoise 1:1
Blend: VGC Hawk Turquoise
Edge highlight: P3 Arcane Blue (only close to the light source)
Turquoise glow on metal
Wash: Aethermatic Blue (repeat as needed to build up the colour)
Glaze: VGC Hawk Turquoise (thinned with water)
Highlight: Arcane Blue
Abbreviations: OOP = old Citadel paint range (out of production), VGC = Vallejo Game Color, VMC = Vallejo Model Color, VMechaC = Vallejo Mecha Color, P3 = Privateer Press Formula P3, TAP = The Army Painter Warpaints, RMS = Reaper Master Series, GSW = Greenstuff World, S75 = Scale 75 Scale Color


How do you like my Kill Team so far? Leave a comment or reaction and below.


I like it a lot. I’m definitely going to steal a few schemes here, though I think I’m going to go more ivory, or ocher even, with my Metalica “white” color to fit a more Zorn/Blanchitsu style. I think I may go green glow for plasma instead of blue as well. Thanks again, and thanks very much for the paint reviews on YT. I’ve been watching those, and have found them very informative and helpful!
That’s the coolest (or hottest) plasma glow I’ve ever seen – really great work!
Thanks mate 🙂