Shading armour with a brush can be a chore. But there is a scale modelling technique that makes it much faster and easier. In this video, I explain everything you need to know about enamel and oil washes.
The use of enamel and oil washes is a painting technique that comes from traditional scale modelling and is also very popular in the Gunpla hobby (Gundam Play = Japanese Gundam scale model kits). The surface tension of enamel and oil washes is much higher than regular acrylic washes, so they flow much easier into the recesses. It is also more convenient to correct imperfections because you can remove dried wash with white spirit.
Best of all, it’s really easy to learn. Check out my new video:
Shopping list
Here is what you need:
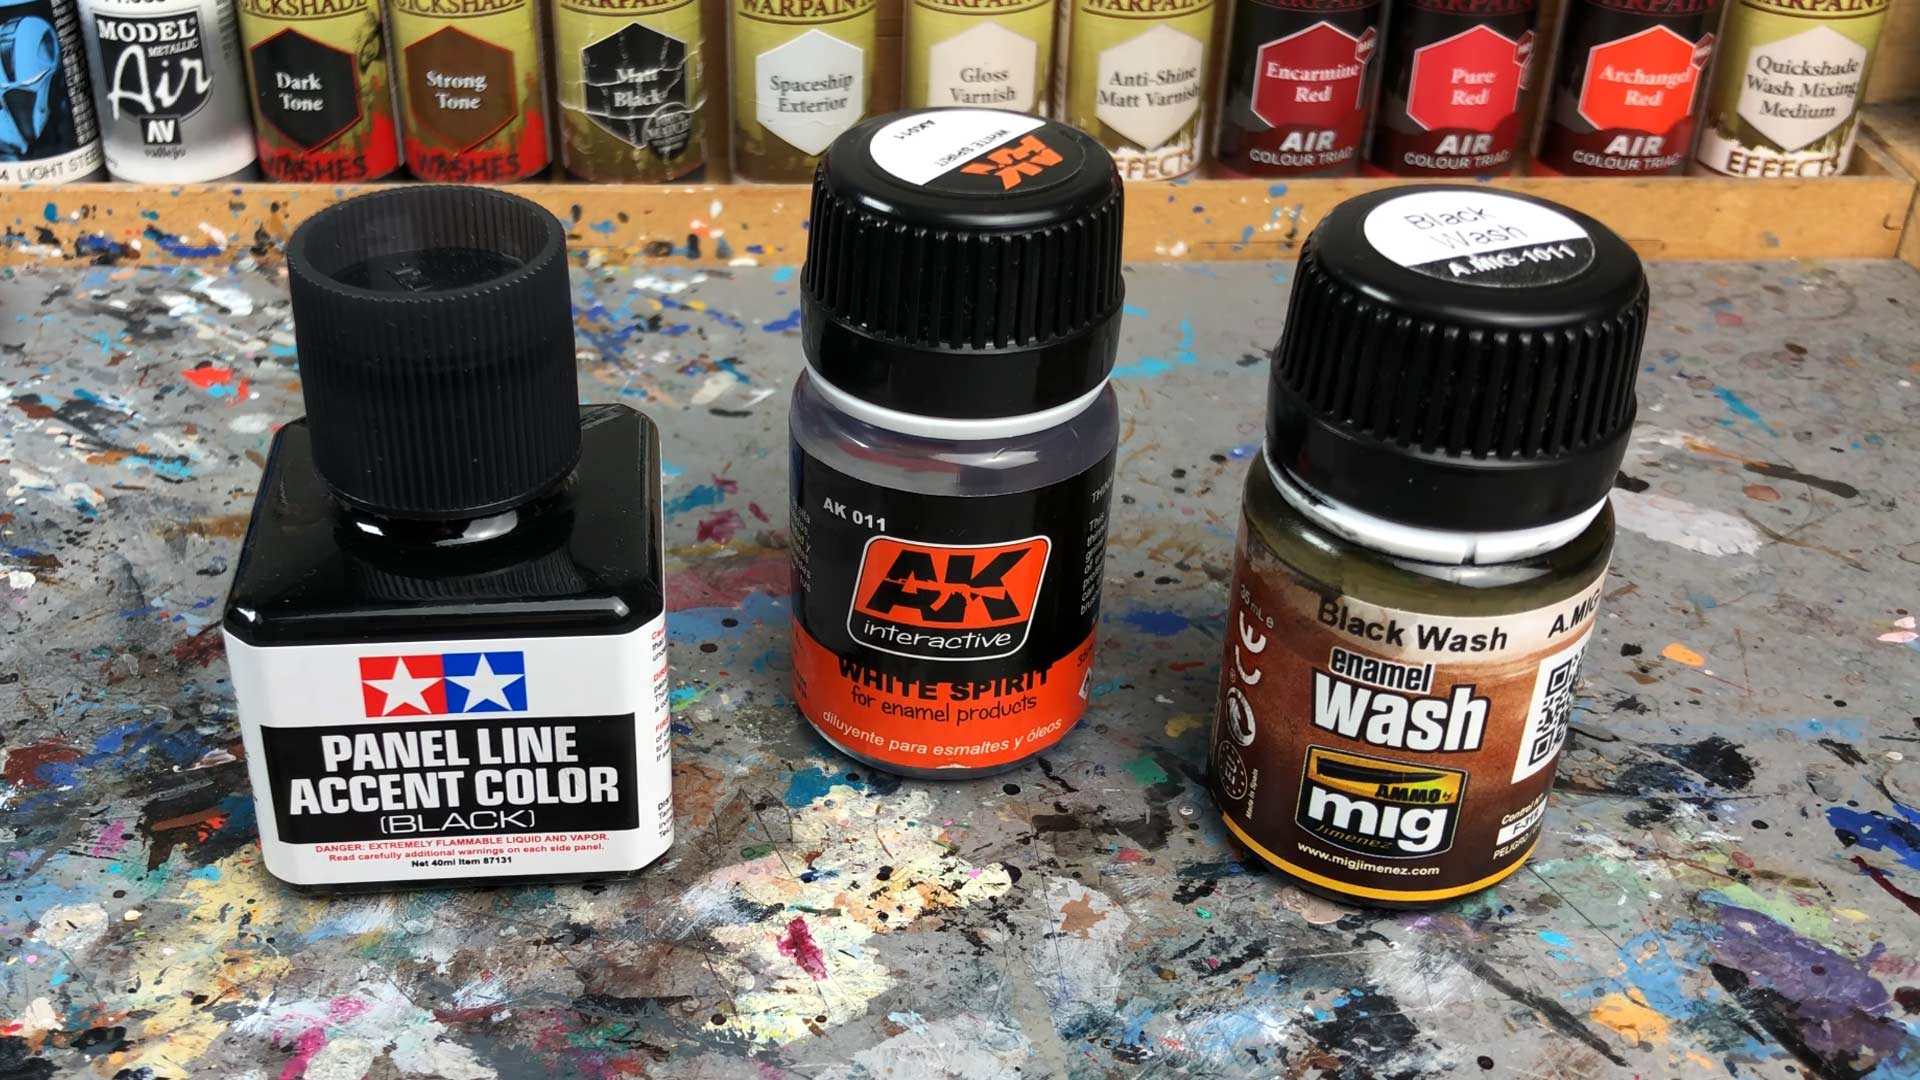
- An enamel wash. Tamiya Panel Line Accent Color is my favourite, but there are other brands, for example, MIG.
- You can also use an oil paint of your choice, mixed with white spirit it works just the same.
- Speaking of White Spirit, you need some of that, too. I’m using this product from AK Interactive:
- Then you need a gloss varnish to seal the model. I use Top Coat Gloss from Japanese brand Mr Hobby, there is also a very good gloss varnish spray from Tamiya.
- You’ll also need cotton swabs to clean up and remove excess wash. I use special model-making cotton buds with a fine tip from Mr Hobby.
*Please note these are affiliate links. Using these links will support Tale of Painters with no extra cost for you at all.

Tutorial
So here we go. I have this Primaris Impulsor which I primed black and highlighted with a zenithal base coat of Vallejo Mecha Color Dark Steel with my airbrush. Of course, the technique works on any base colour or primer.
Next, I sealed the model with gloss varnish, which I applied in two to three thin coats. I definitely recommend a spray varnish here, as gloss varnish fired through an airbrush usually doesn’t apply thick enough unless you really apply a lot of layers.
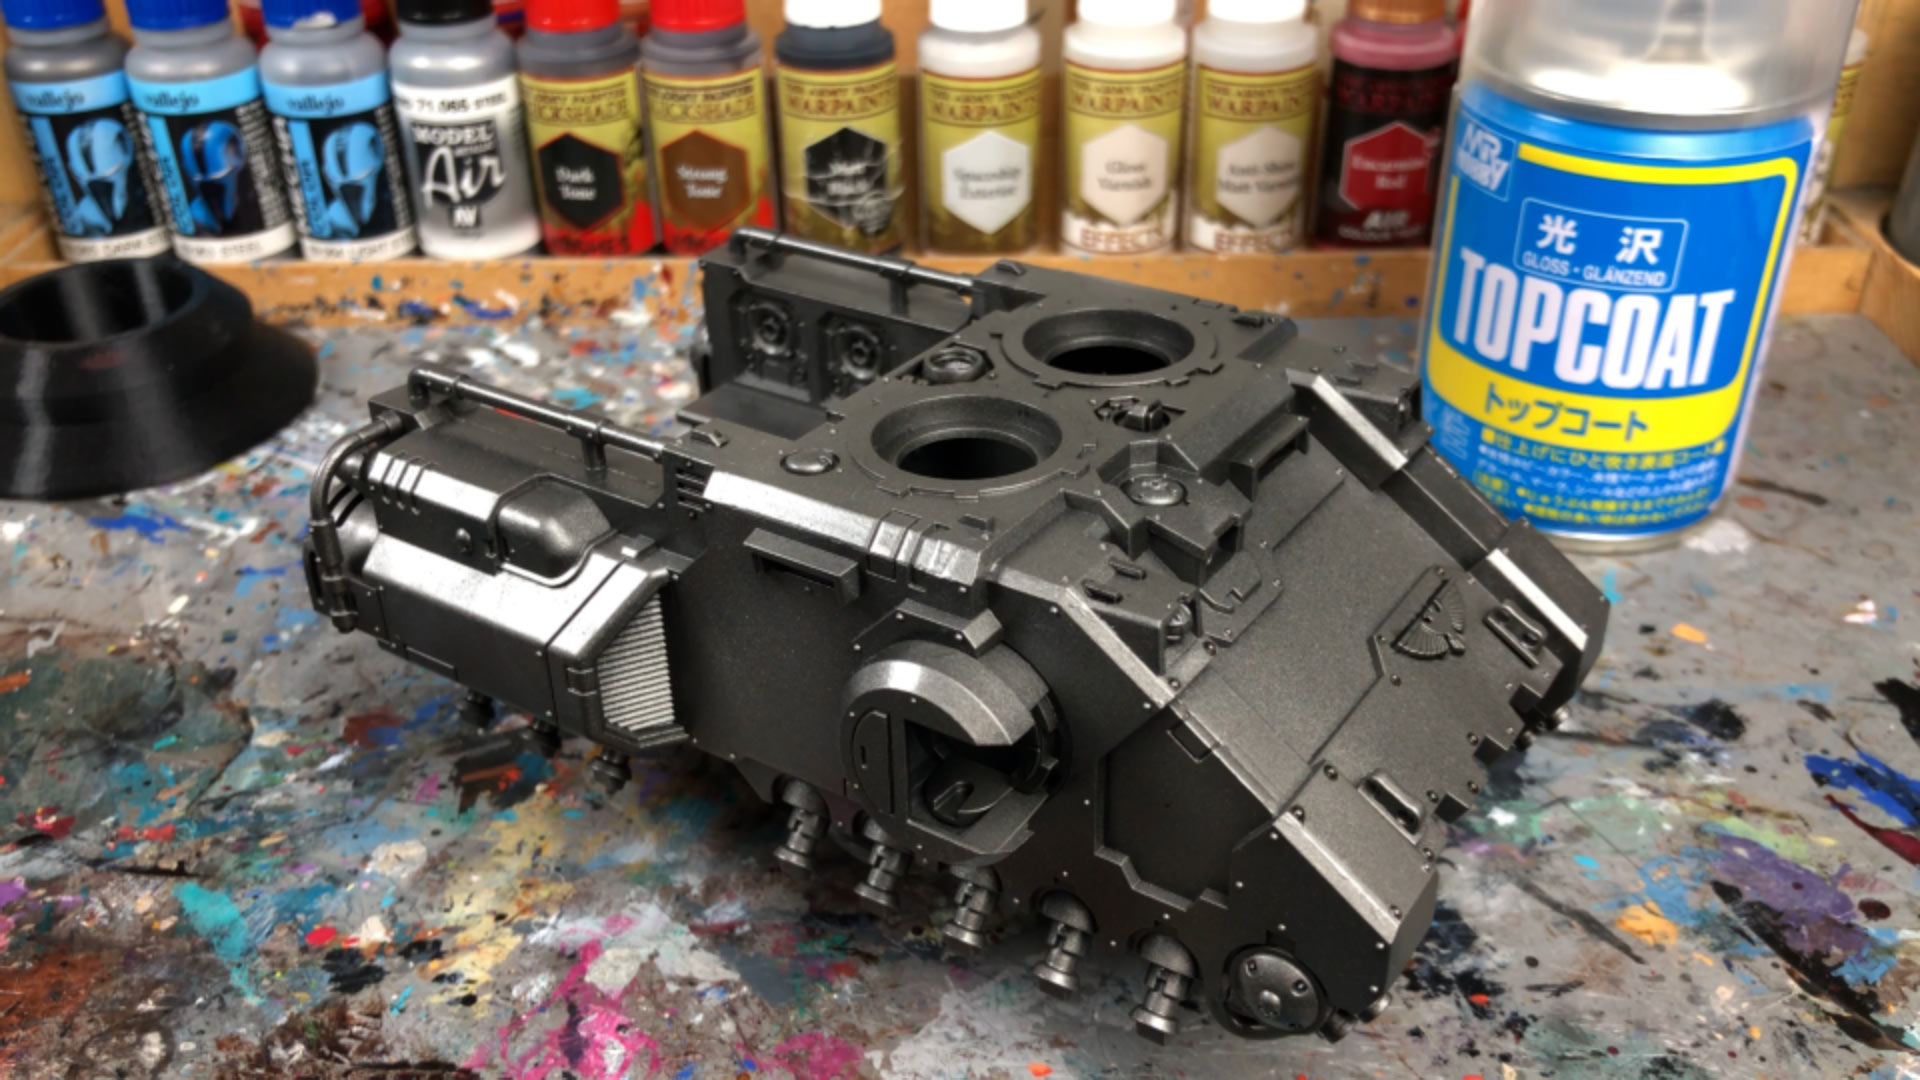

The gloss varnish is there for two reasons: First, if you were to apply the enamel or oil wash directly, the aggressive alcohol-based wash would soak into the acrylic paint and leave stains that could not be removed later. Second, it improves the paint flow and protects the paint job during cleaning.
Now the wash comes into play. Tamiya Panel Line Accent Color is very easy to apply thanks to the brush in the lid. If you use other enamel washes or oil paint diluted with White Spirit, you must use a brush, but be careful: the aggressive wash quickly runs into the ferrule and can ruin your brushes. Make sure to clean them thoroughly.
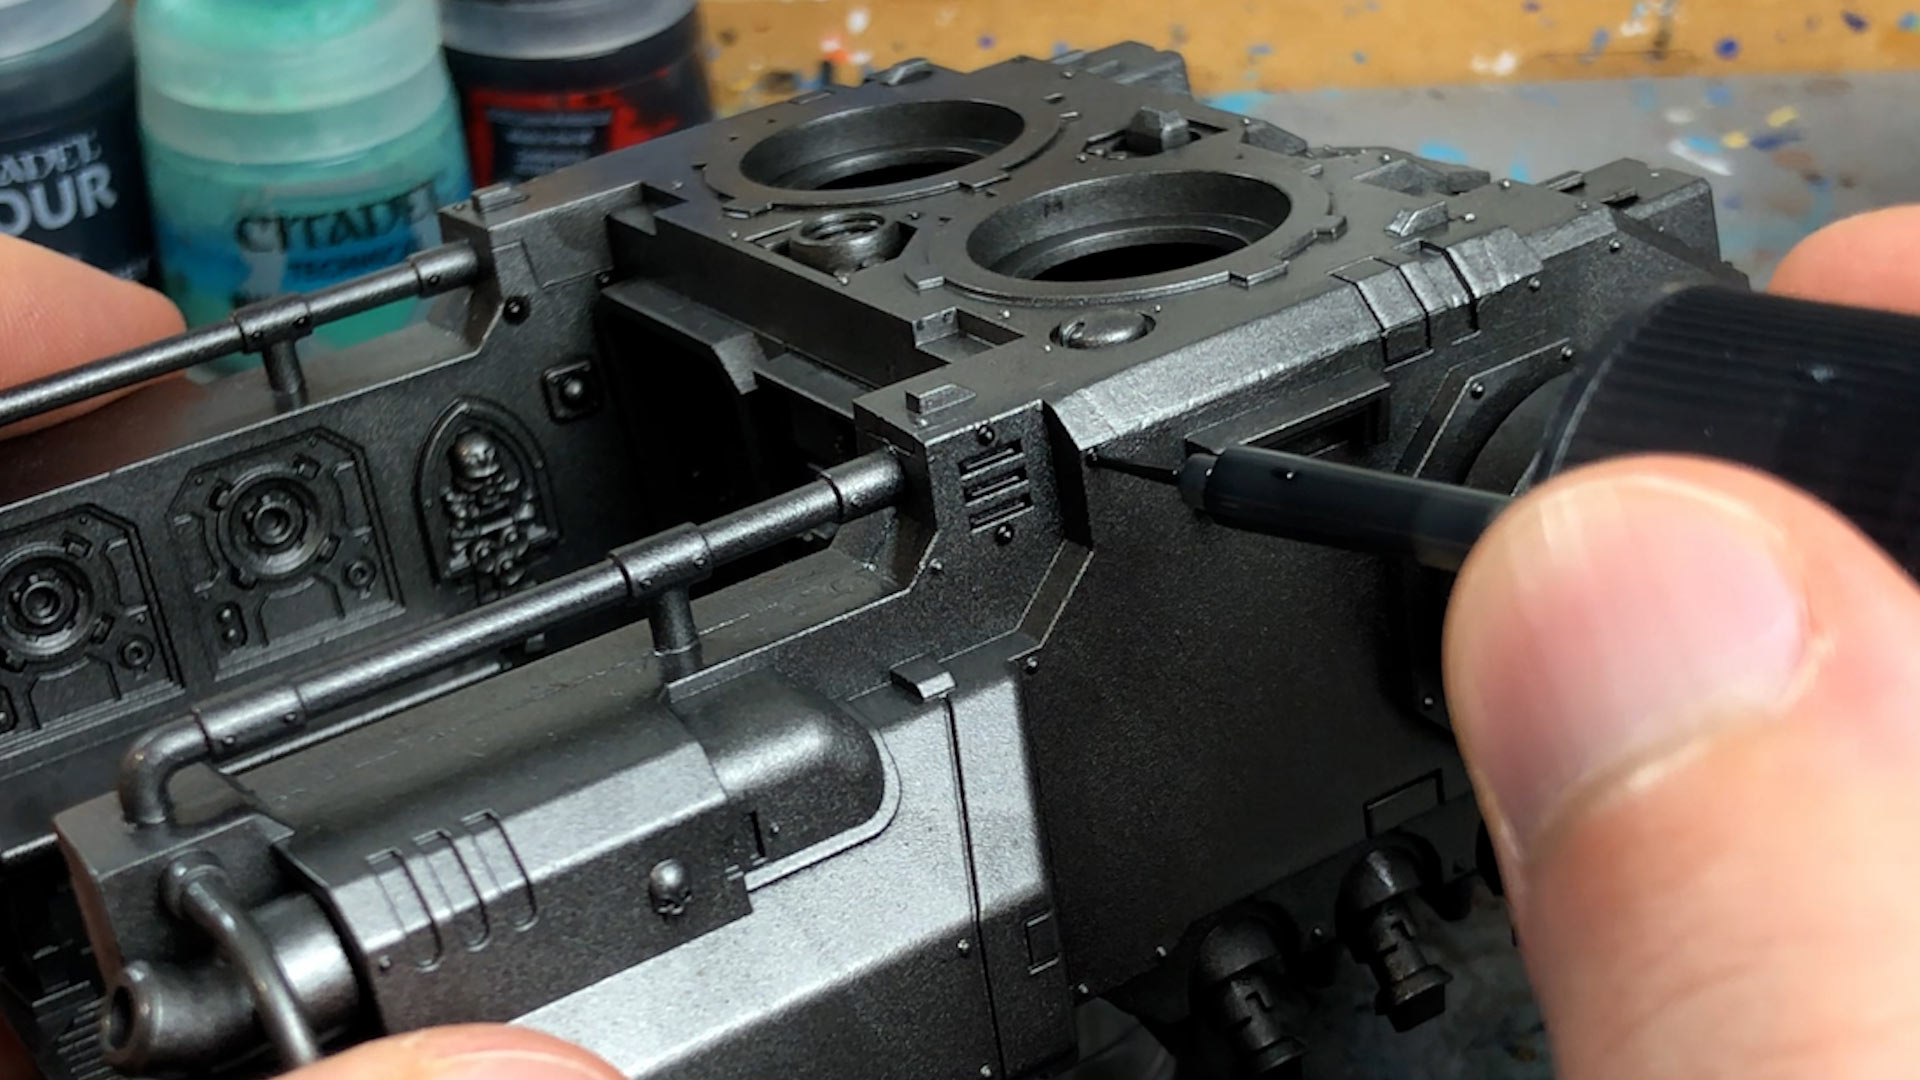

As you can see in the video, the high surface tension together with the smooth gloss varnish does almost all the work for you, like magic. Work your way through the model and let the wash dry for at least 20 minutes.
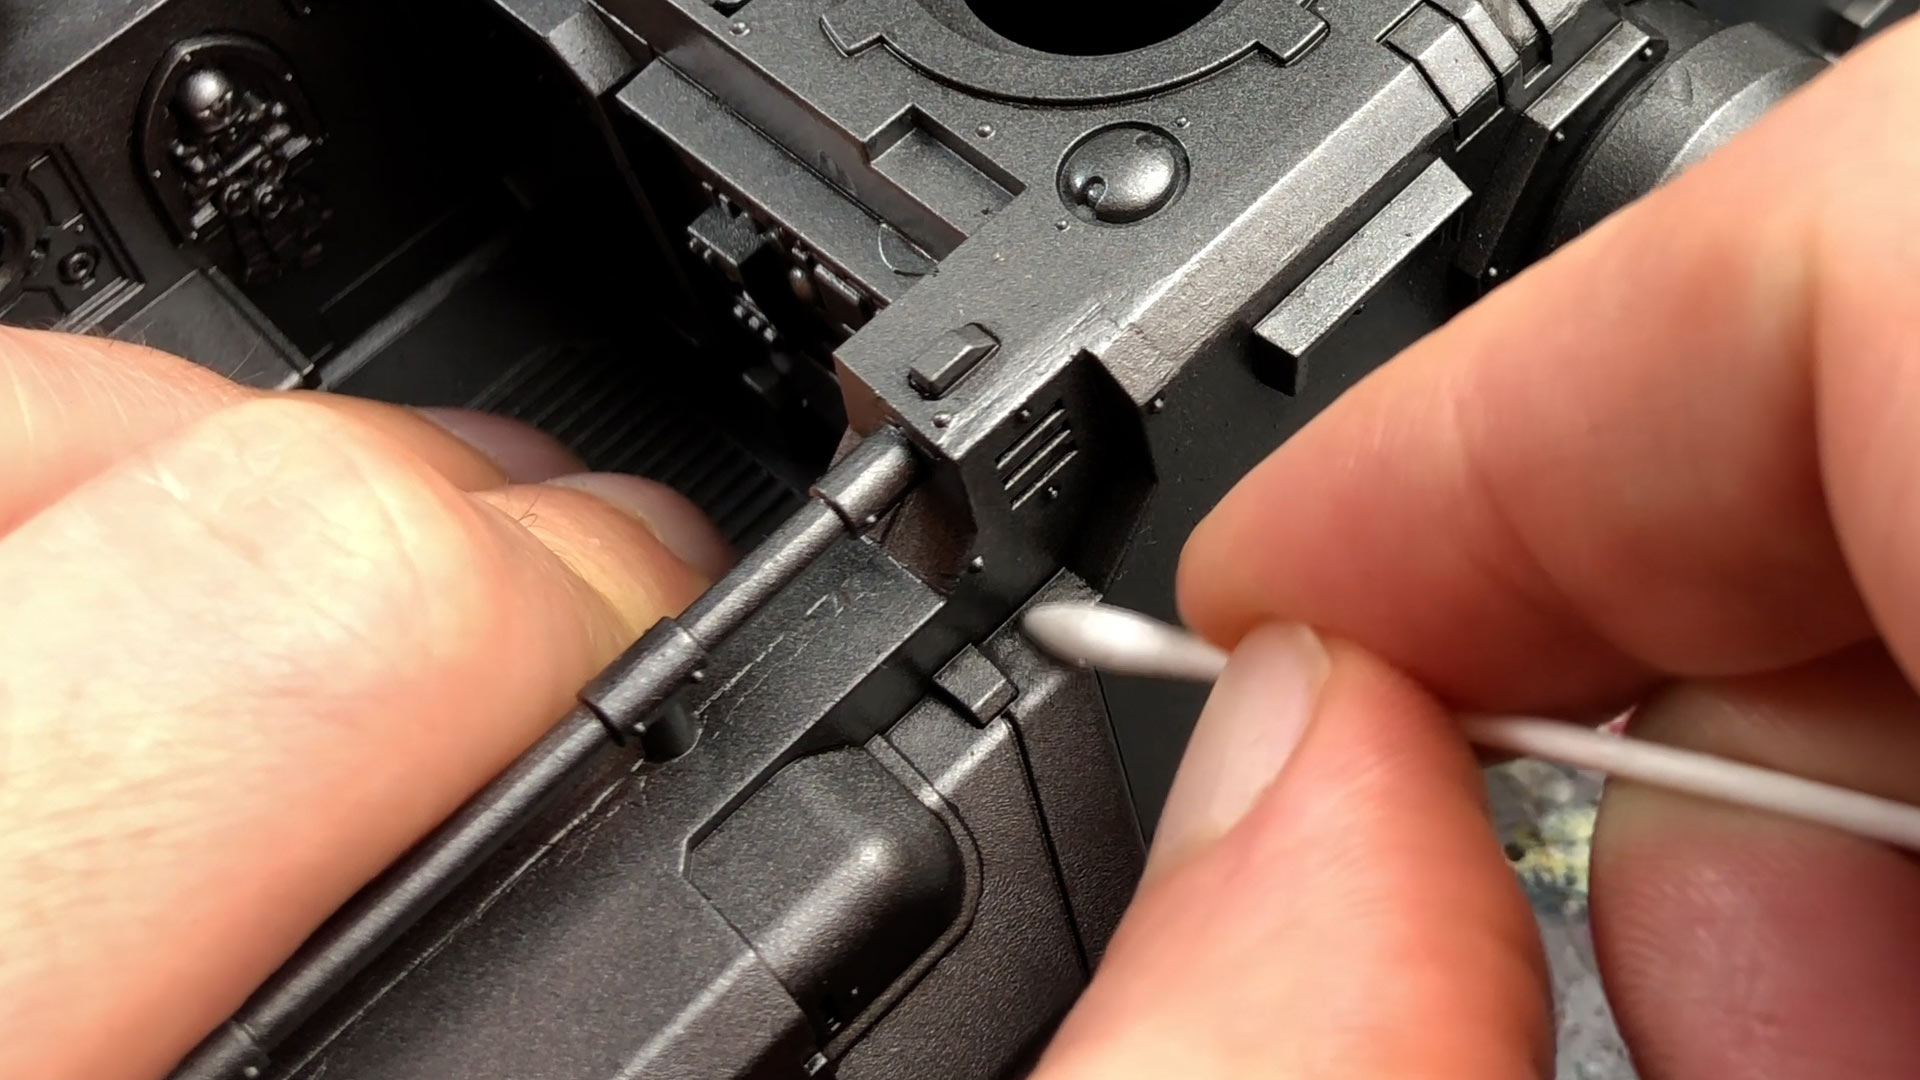
Now you can proceed to clean the model. Normal cotton buds are far too big and fuzzy, whereas my model-making cotton buds have a finer brush-like tip. Dip them in White Spirit and carefully remove the excess wash. White Spirit dissolves acrylic paint, but thanks to the gloss varnish, the base colour remains intact as long as you don’t rub for too long on a single spot.

Conclusion
And that’s it. Now you know all the basics about pin washing with enamel and oil washes. When you are happy with the result, you can paint the rest of the model and seal everything with matt varnish, as I did with my Silver Skulls Impulsor here. By the way, if you’re having trouble finding the perfect matt varnish, then take a look at my Patreon, where I have tested over 8 spray varnishes.
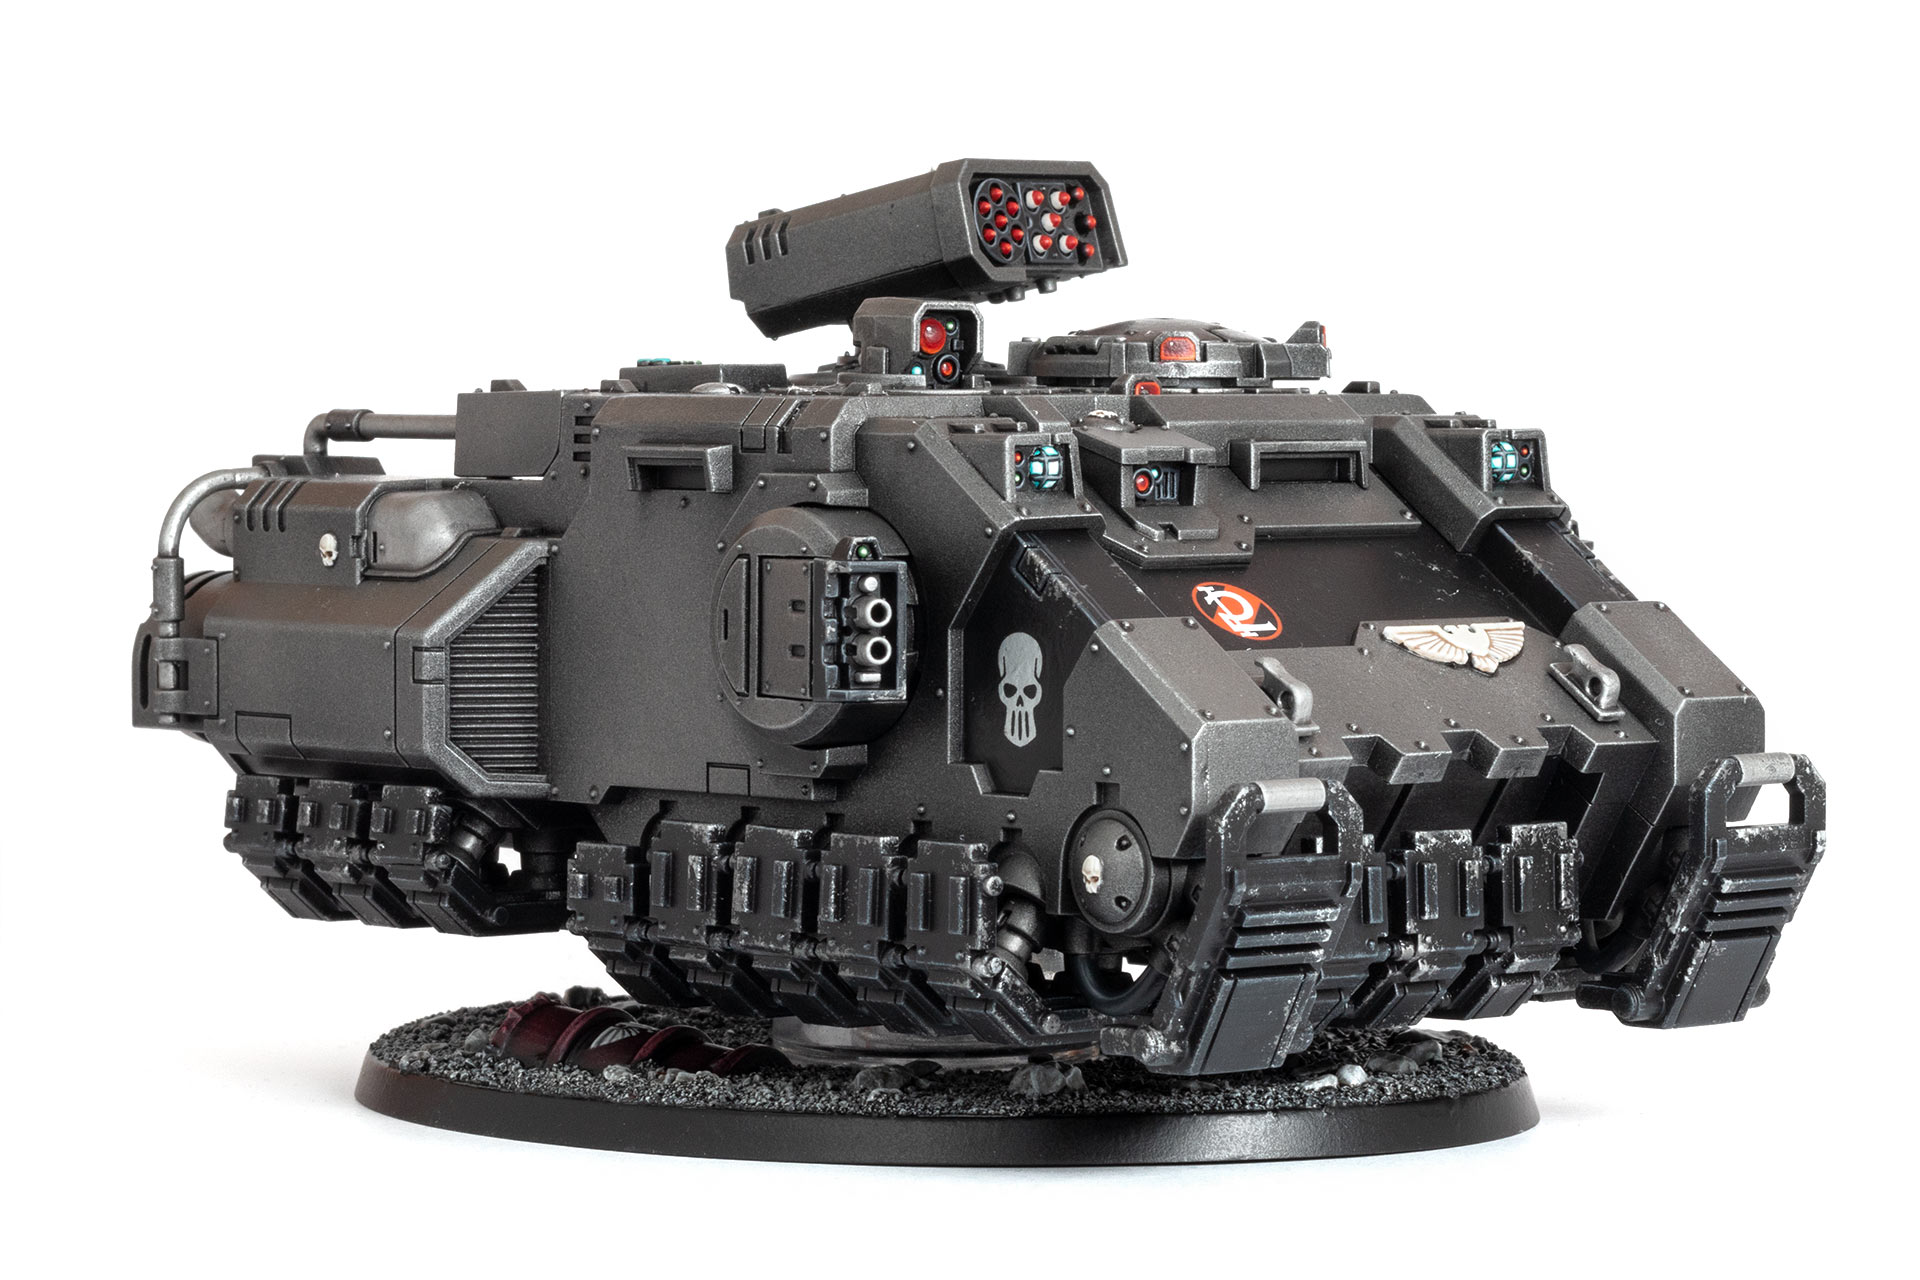

I have painted a tank here, but of course, the technique also works for all kinds of armour, the cleaning just gets a bit more difficult the smaller the miniature is.
I hope you enjoyed this introduction to enamel and oil washes, be sure to check out the video version of this post, too. Feel free to follow my brand new YouTube channel if you haven’t already, as hopefully there will be more and more videos like this coming soon 🙂


