
Azog, also known as the Pale Orc or the Defiler rides to battle on top of his White Warg. He commands a warband of Hunter Orcs as he attempts to hunt down Thorin Oakenshield. In this review of the Finecast model of Azog I’ll be looking at the pros and cons and also be offering some tips on how to assemble the model more easily.
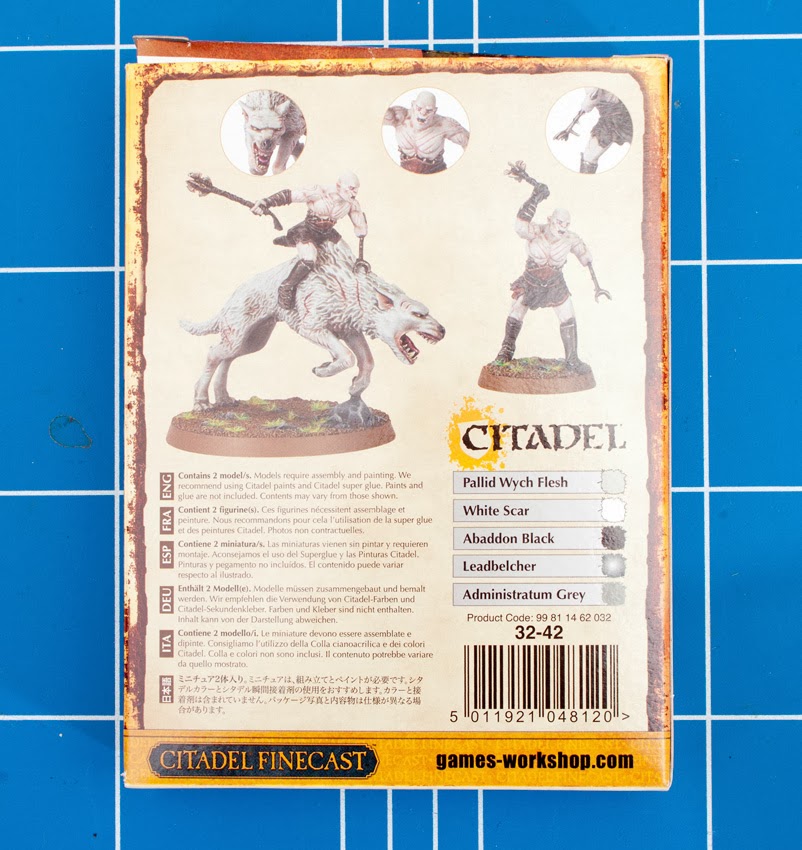
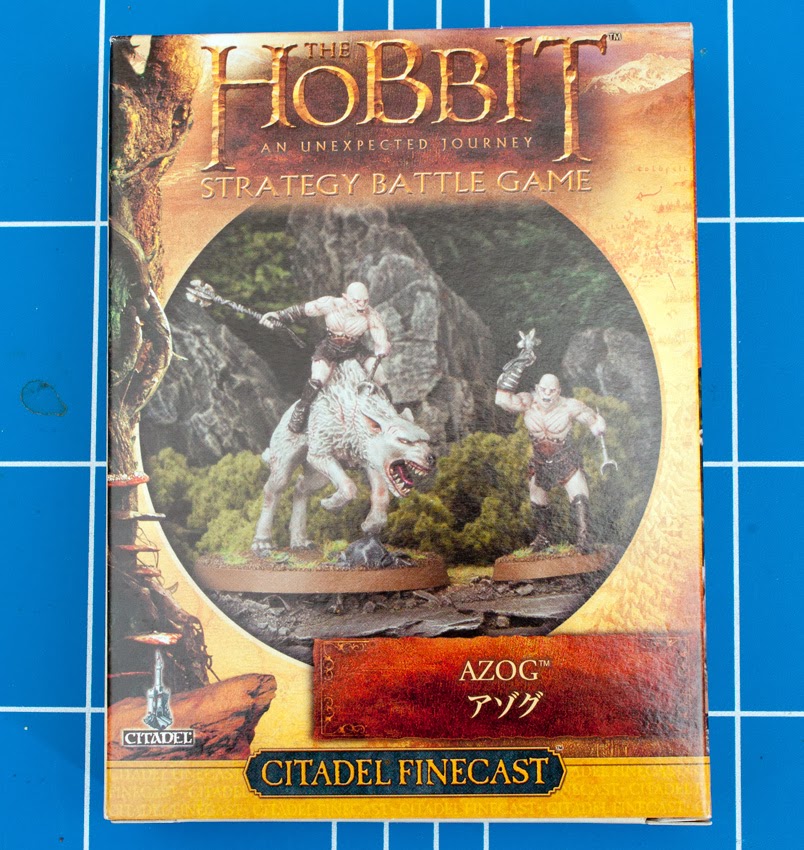
The box art is nicely done with the front and back both showing the model painted. There is a list of paints on the back which isn’t very good. Two grey paints, a black a white and a metal. You’re going to need more then that to paint this model. (I will be producing a tutorial in the near future).

Opening the box, we’re greeted with a plastic clamshell with four resin sprues and two bases. The mounted Azog actually has a 50mm base, that’s 10mm bigger then the standard Warg models.

My cast is pretty good. I counted a total of 4 air bubbles and no loss of detail anywhere. There was no excessive amounts of flash either. I recommend you buy your Finecast models in store and open them there and then. If you do have a bad cast Games Workshop will replace them no questions asked. I actually thought my mounted Azog was completely missing his metal claw but the claw is actually on the warg’s back.

Using a pair of clippers I carefully snipped all the parts from the sprues. The first thing to do is straighten any parts that have warped when they’ve been pulled from the mold. His weapon shafts and claw arm were slightly bent and the two halves of the Warg didn’t match up at all leaving huge join gaps. To straighten resin I find using a hairdryer works best. Each Warg body piece was heated for around 7 to 10 seconds and then pressed together and placed under a running cold water tap for around 10 seconds or so. This will set the pieces in their new shape. Be careful not to heat the legs up unless they need it. The weapon shafts and claw arm are so thin they literally need a one second blast from an already warm hairdryer, then gently pull the head of the weapon away from the hand holding the weapon. Run it under cold water again to set it. Be careful with electrical goods like hairdryers around running water.

Use a file to remove any moldlines. Resin is a really soft material. Files and craft knifes go through it really easily. Always cut away from yourself. Once the parts are straight and clean glue them together using super glue.

I used Greenstuff and Liquid Greenstuff to plug any joins. I have some tips on using Greenstuff and resculpting fur here. I also based Azog onto a piece of garden slate.
Conclusion
This box set is pretty good. The likeness of the characters to the film is accurate and the poses are really nice. Using a few simple tricks I picked up from years of working with Forge World resin this kit presented no major problems. £25 is a bit much for a single man sized model and cavalry model, but you only need to buy this set once so it’s not all bad.
Check out my other Hobbit posts here or the extensive collection of tutorials I’ve created for the Hobbit here. So long as you guys keep showing an interest in the Hobbit, I’ll keep trying to post about it.

11 Comments
Leave a Reply
Tale of Painters is the unofficial Warhammer hobby magazine run by hobbyists like you. Support our work by using the affiliate links from our 🇺🇸 / 🇨🇦 partner stores for your next orders so we can continue to bring you fantastic FREE content every day:


Or support us directly:


Just finished building my Azog. Really cool what you did with the garden slate. (I may have to reconsider his base). Like the others I'm on standby for your tutorial. Your site has just been a joy to watch over the last year+ for me. I'm ready to play with green stuff and move to the next level. Thanks again for sharing.
I don't dare to buy Azog because painting all that white is scary, especially for a big named hero like him. I need to practice on wargs and some normal orcs first.
I think my next Hobbit purchase will be Azog in eager anticipation for your tutorial. Also, will you be making a Tauriel tutorial?
Can't wait for your tutorial. I've got an Azog waiting to be painted too!
Yes, and you are costing me a fortune in paints with each tutorial!
🙂
Sorry Susanne! 🙂
Ah well, hubby says I must have them all soon. Little does he know!
I think you may be a victim of your own success as I imagine there are hordes of us out there with ready-built Azogs just waiting for your tutorial guidance. Thanks as always.
So long as you guys keep commenting and sharing my work, I'll do my best to keep bringing interesting things to the site.
I'm lucky to be a victim of my own success. I enjoy helping the community out with tutorials.
My next warband will be led by Azof 😀 looking forward to the tutorial!
Edd
I have assembled my Azog too, but I haven't painted him yet. Will be waiting for your tutorial.