
In this post, I’ll show you how to make modular foam hills for your gaming board, suitable for any game system. It’s faster and easier than you think, and a great way to add some three-dimensionality to your games. Find out more in this tutorial.

This is a beginner-friendly tutorial. Making terrain from scratch is not as difficult as you think, and if it’s your first time dabbling into this aspect of the tabletop hobby, stepped foam hills are the perfect starting point.
All the tools and materials used in this tutorial can be found in The Army Painter’s Gamemaster Dungeons & Caverns Core Set. With the contents of the set, you can easily fill a quarter of your gaming table with hills, and it won’t take more than two afternoons (in fact, most of the time will be spent watching glue dry). Of course, most of the tools and materials can also be found in hardware and building supplies stores. Here is what you need:
- High-density foam such as insulation foam, with either 10mm, 20mm, or 1″ thickness
- PVA glue
- a cutter with spare blades and preferably a hot-wire cutter
- sanding paper, 120 grid
- modelling sand
- paint
- optional: small pebbles or slate, spare parts from your bitz box, static grass or tufts, filler
If you have a hard time finding suitable foam or a hot-wire cutter, The Army Painter also sells these items separately at the end of March 2021, check out our partner stores Wayland Games and Element Games. These are affiliate links so when you use them, you will support us with no additional cost for you. Thank you very much!
How to make modular foam hills
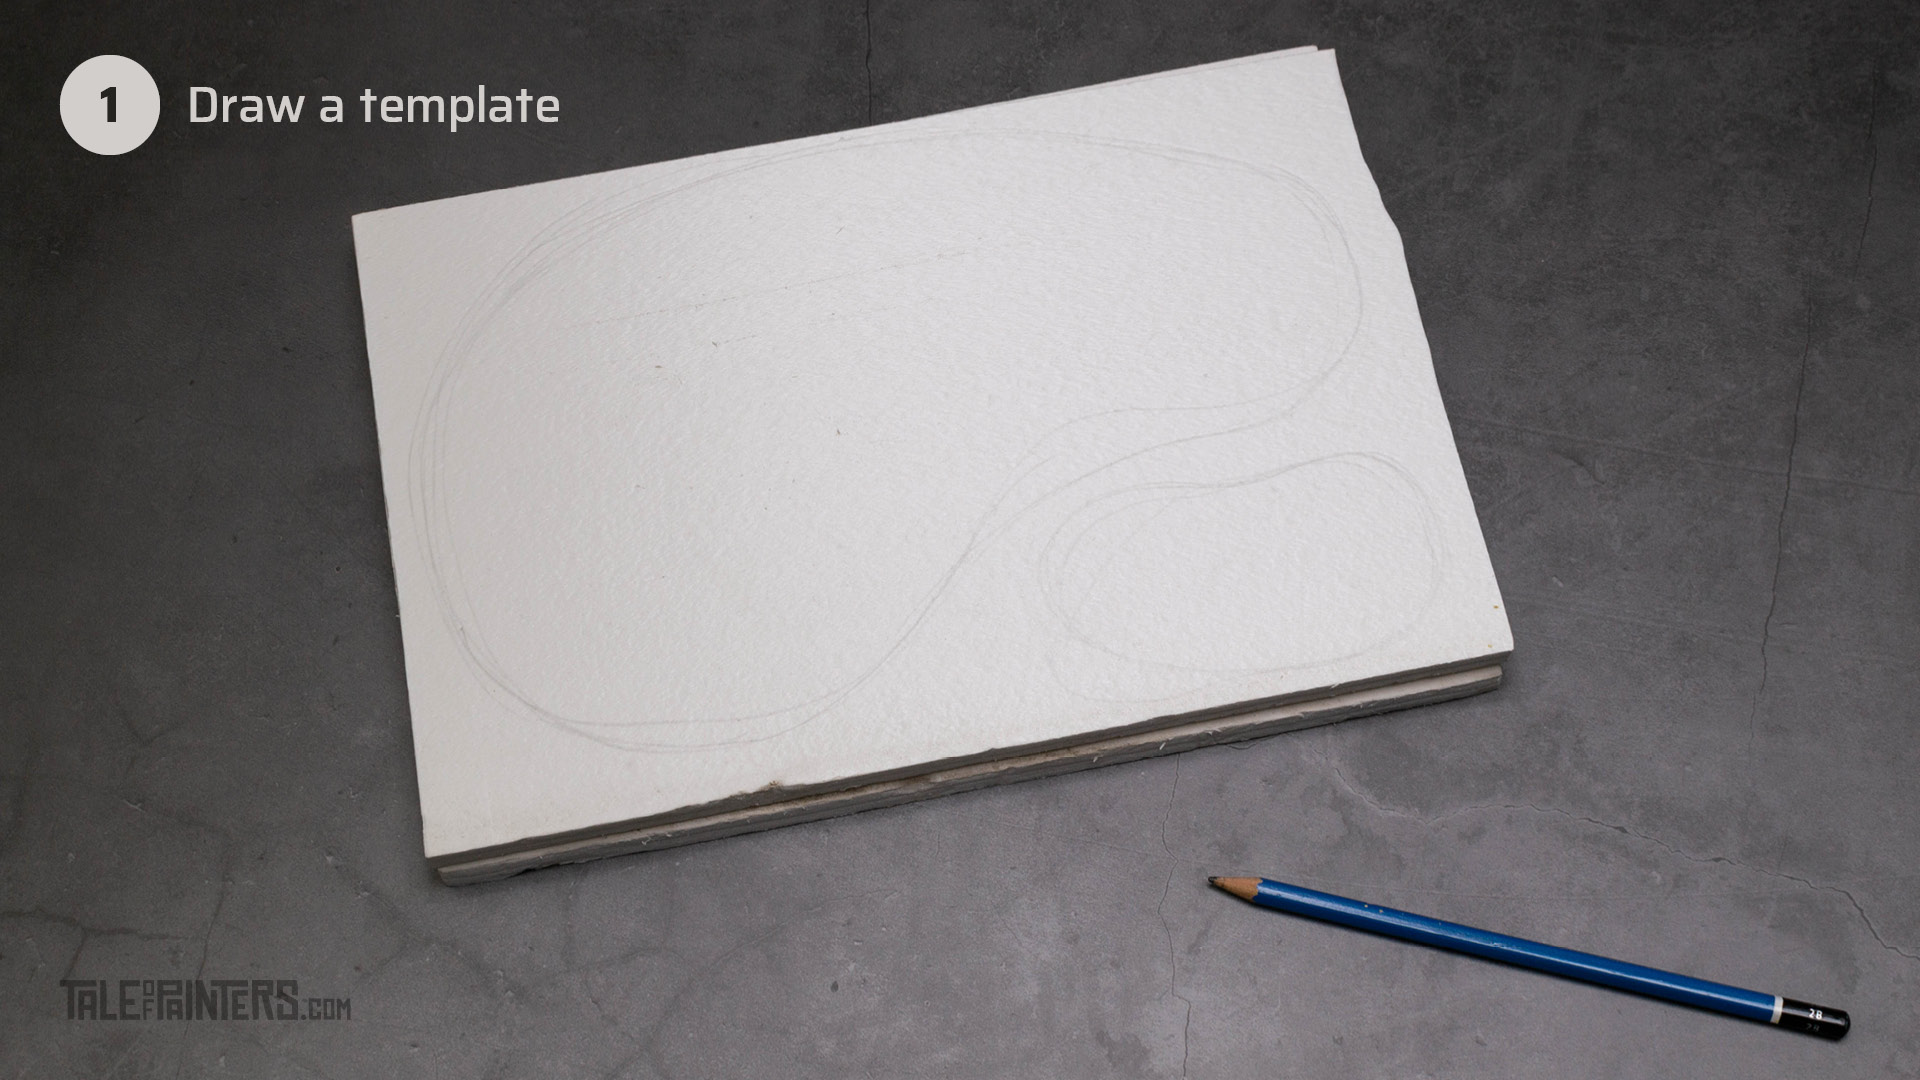
The Gamemaster foam boards are 10 mm thick, so use two layers of foam for a height of 20 mm, or three if you like a taller hill. Start with drawing oval organic shapes, keeping each step of your hill smaller than the one before so they can be stacked in various configurations.
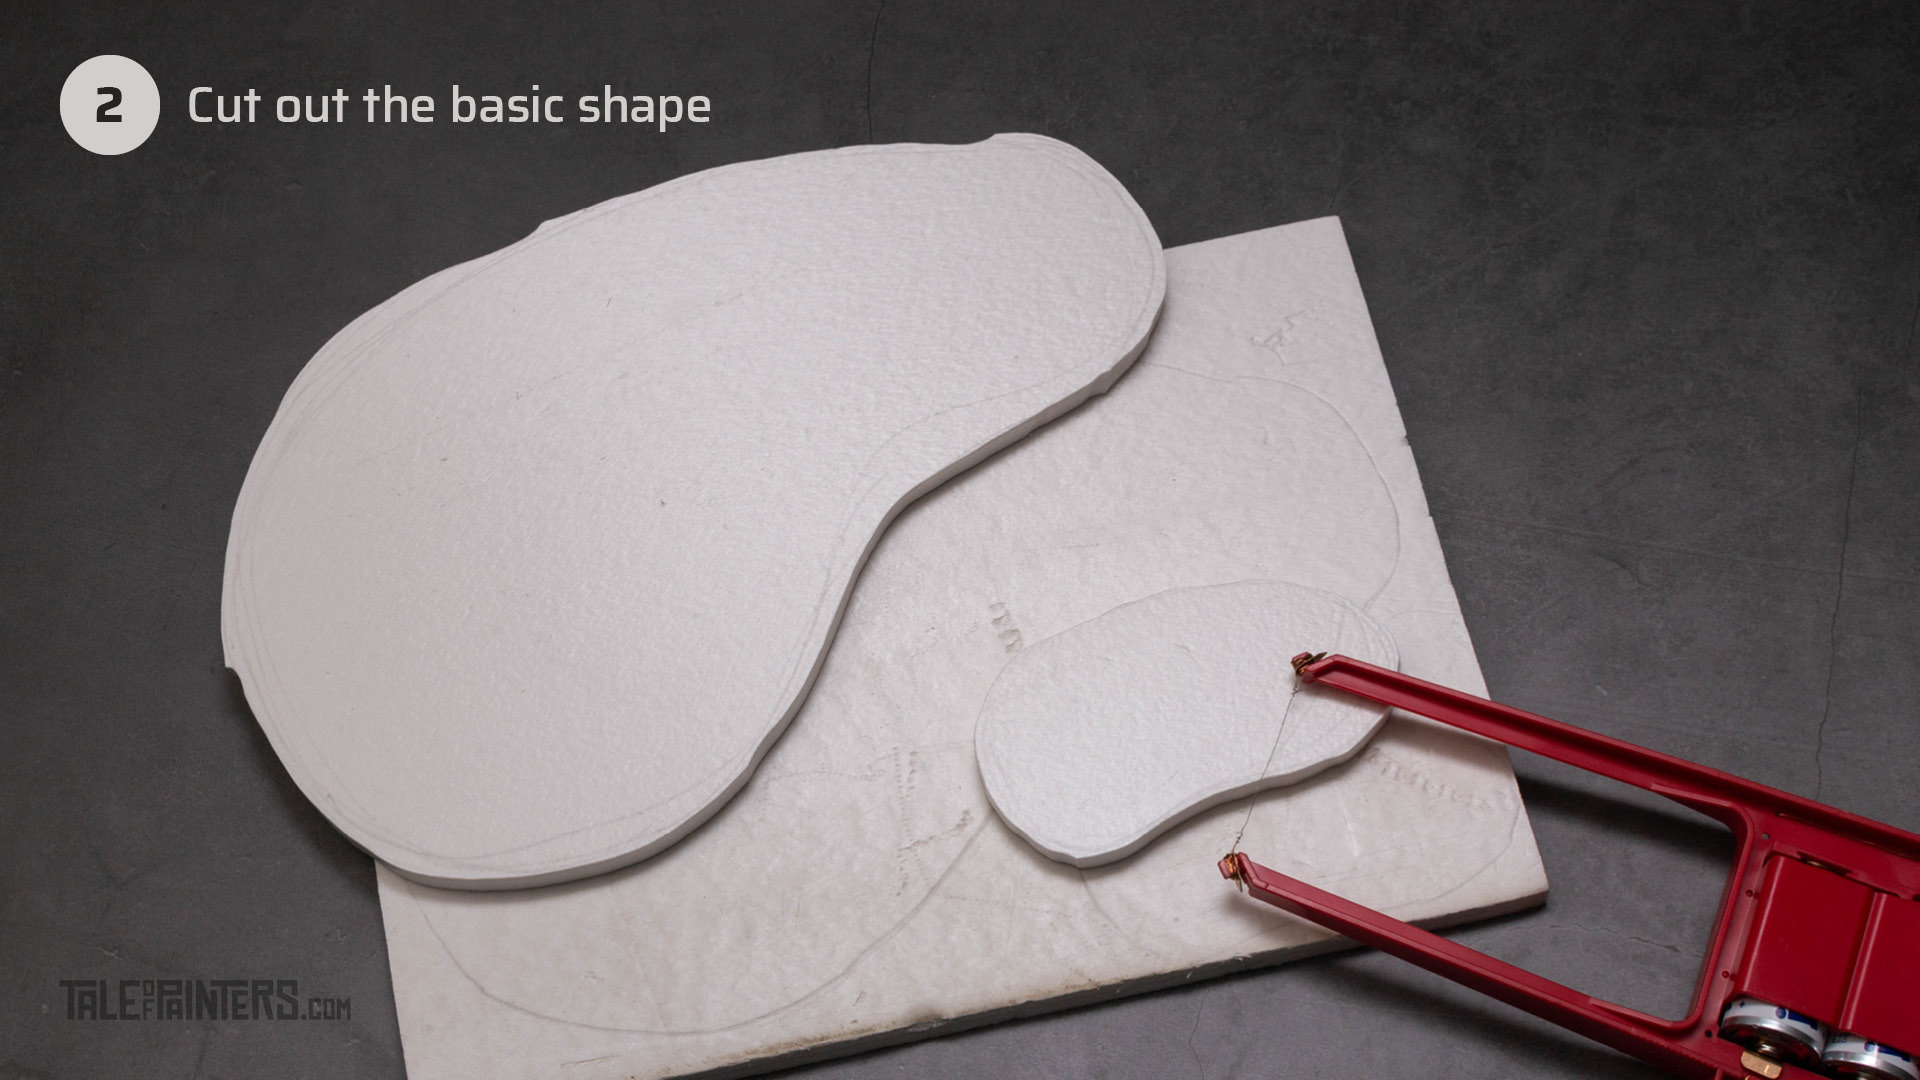
Use your hot-wire cutter and cut out the shapes you traced. If you don’t have a hot-wire cutter, a large cutter knife works as well, but keep some spare blades ready as high-density foam will dull any blade very quickly.

Glue both layers of foam with the included glue (all PVA glues work as well, just stay away from solvent-based glues as they’ll deteriorate the foam).
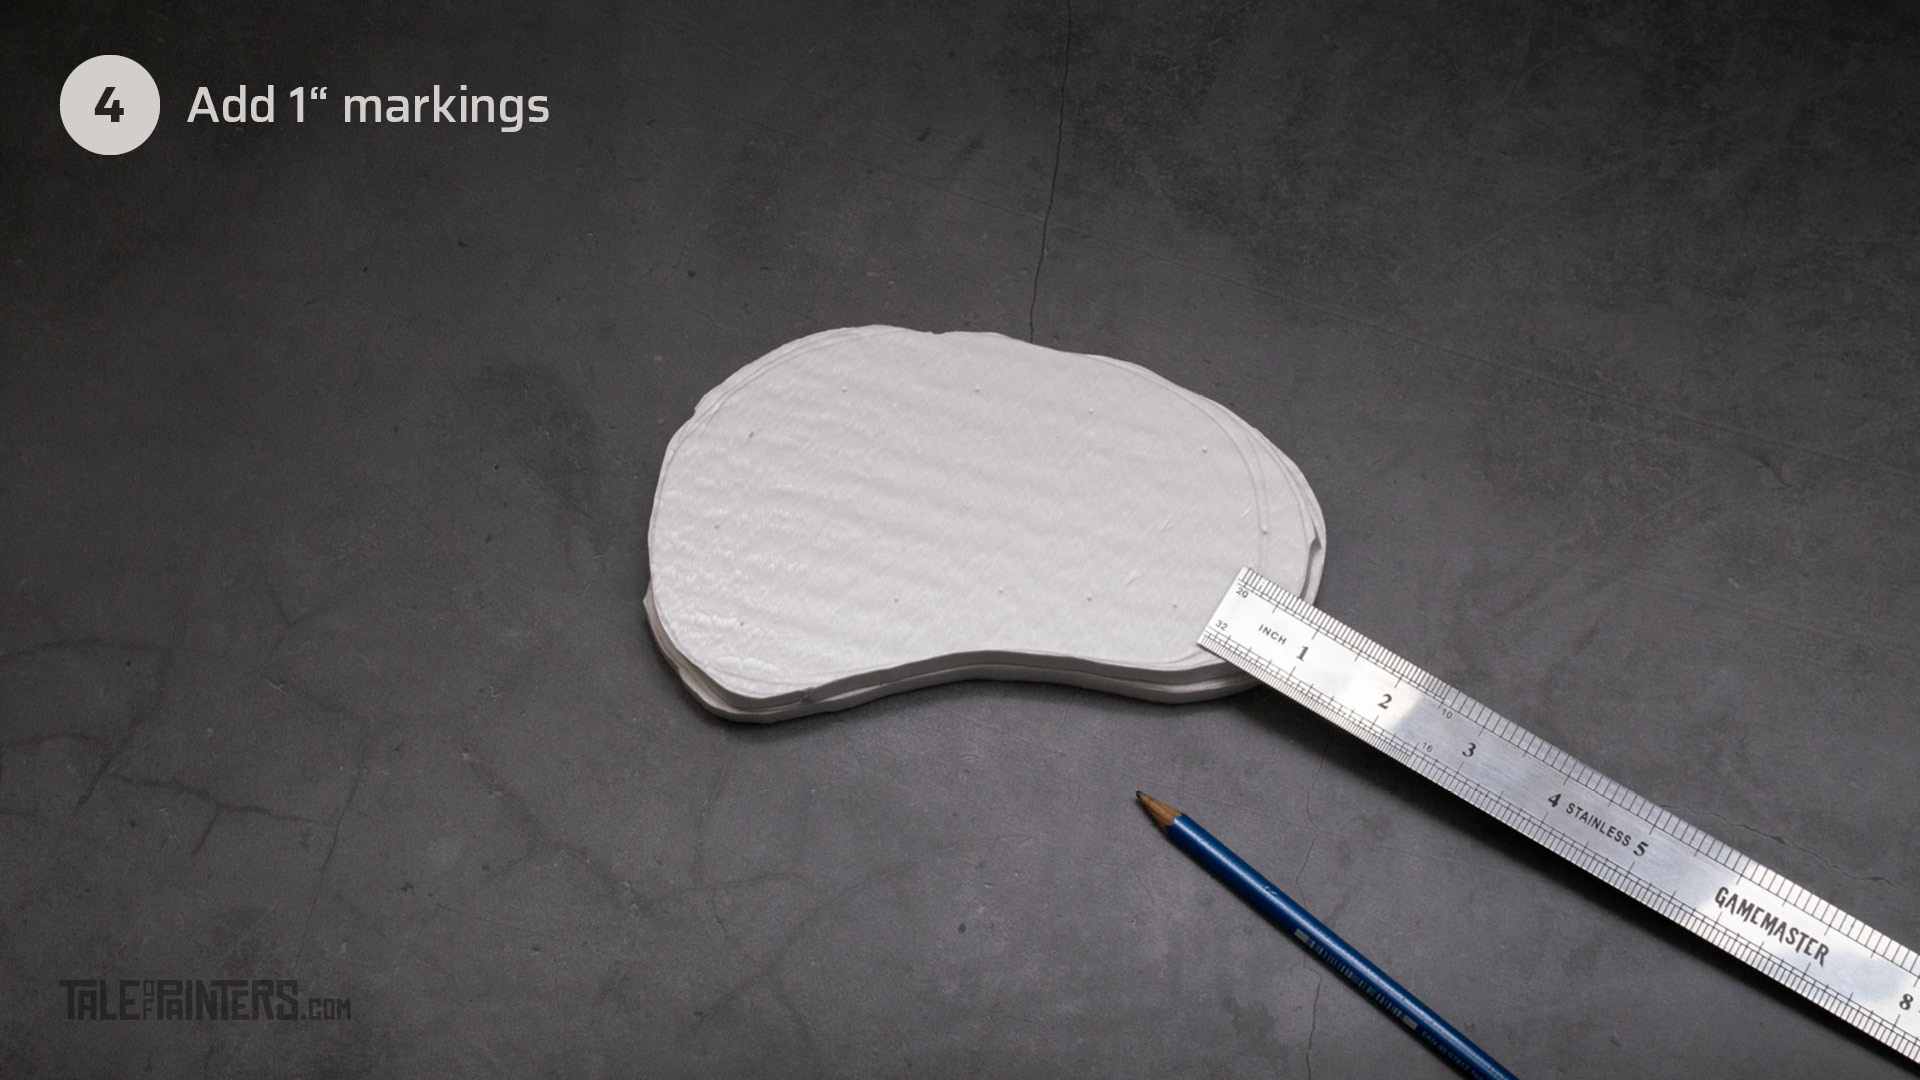
Get a ruler and pencil and mark some dots 1″ apart from the edges. This will act as a visual guideline so you will know how wide you can carve the slopes.
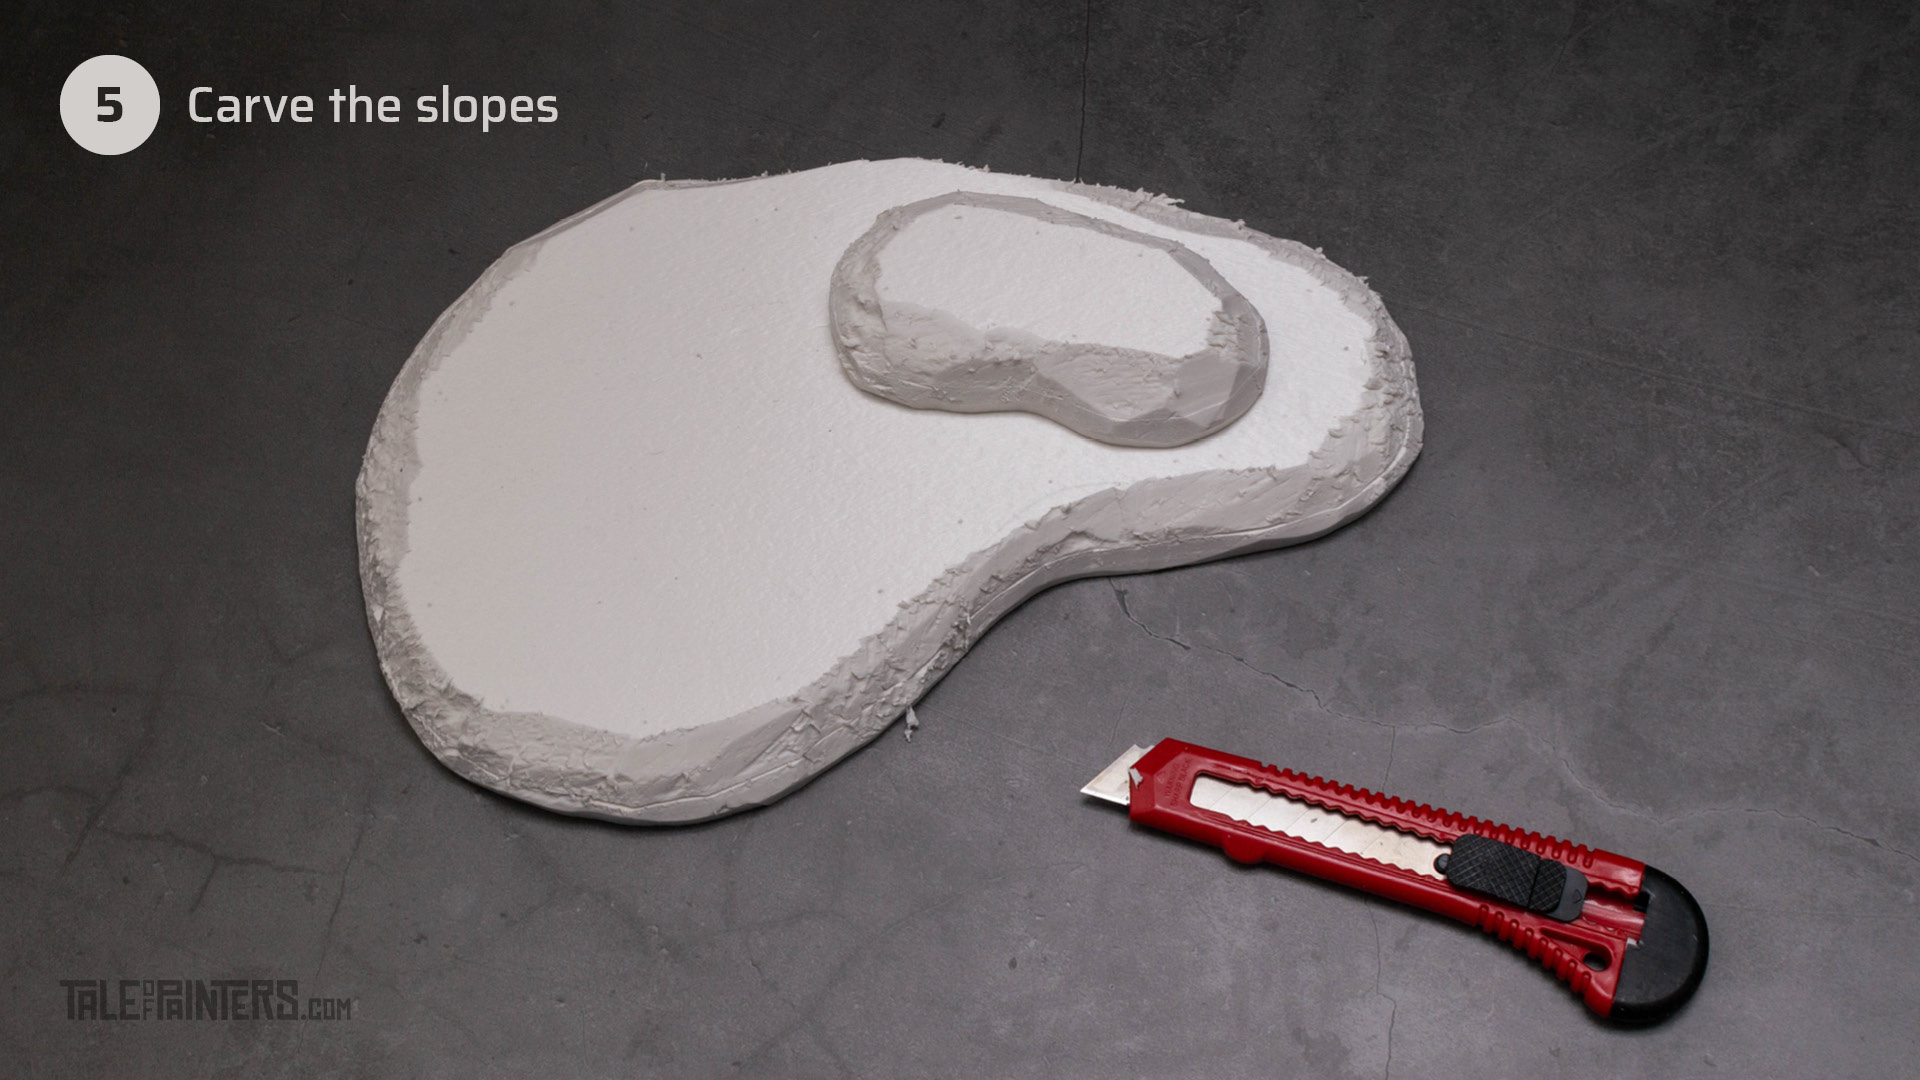
With a cutter knife, carve away the edges of the foam at an angle to create sloped transitions. Don’t make the slopes wider than your 1″ markings, or else models standing on higher steps won’t be able to make engagement range with enemies on lower steps or the ground and vice versa.
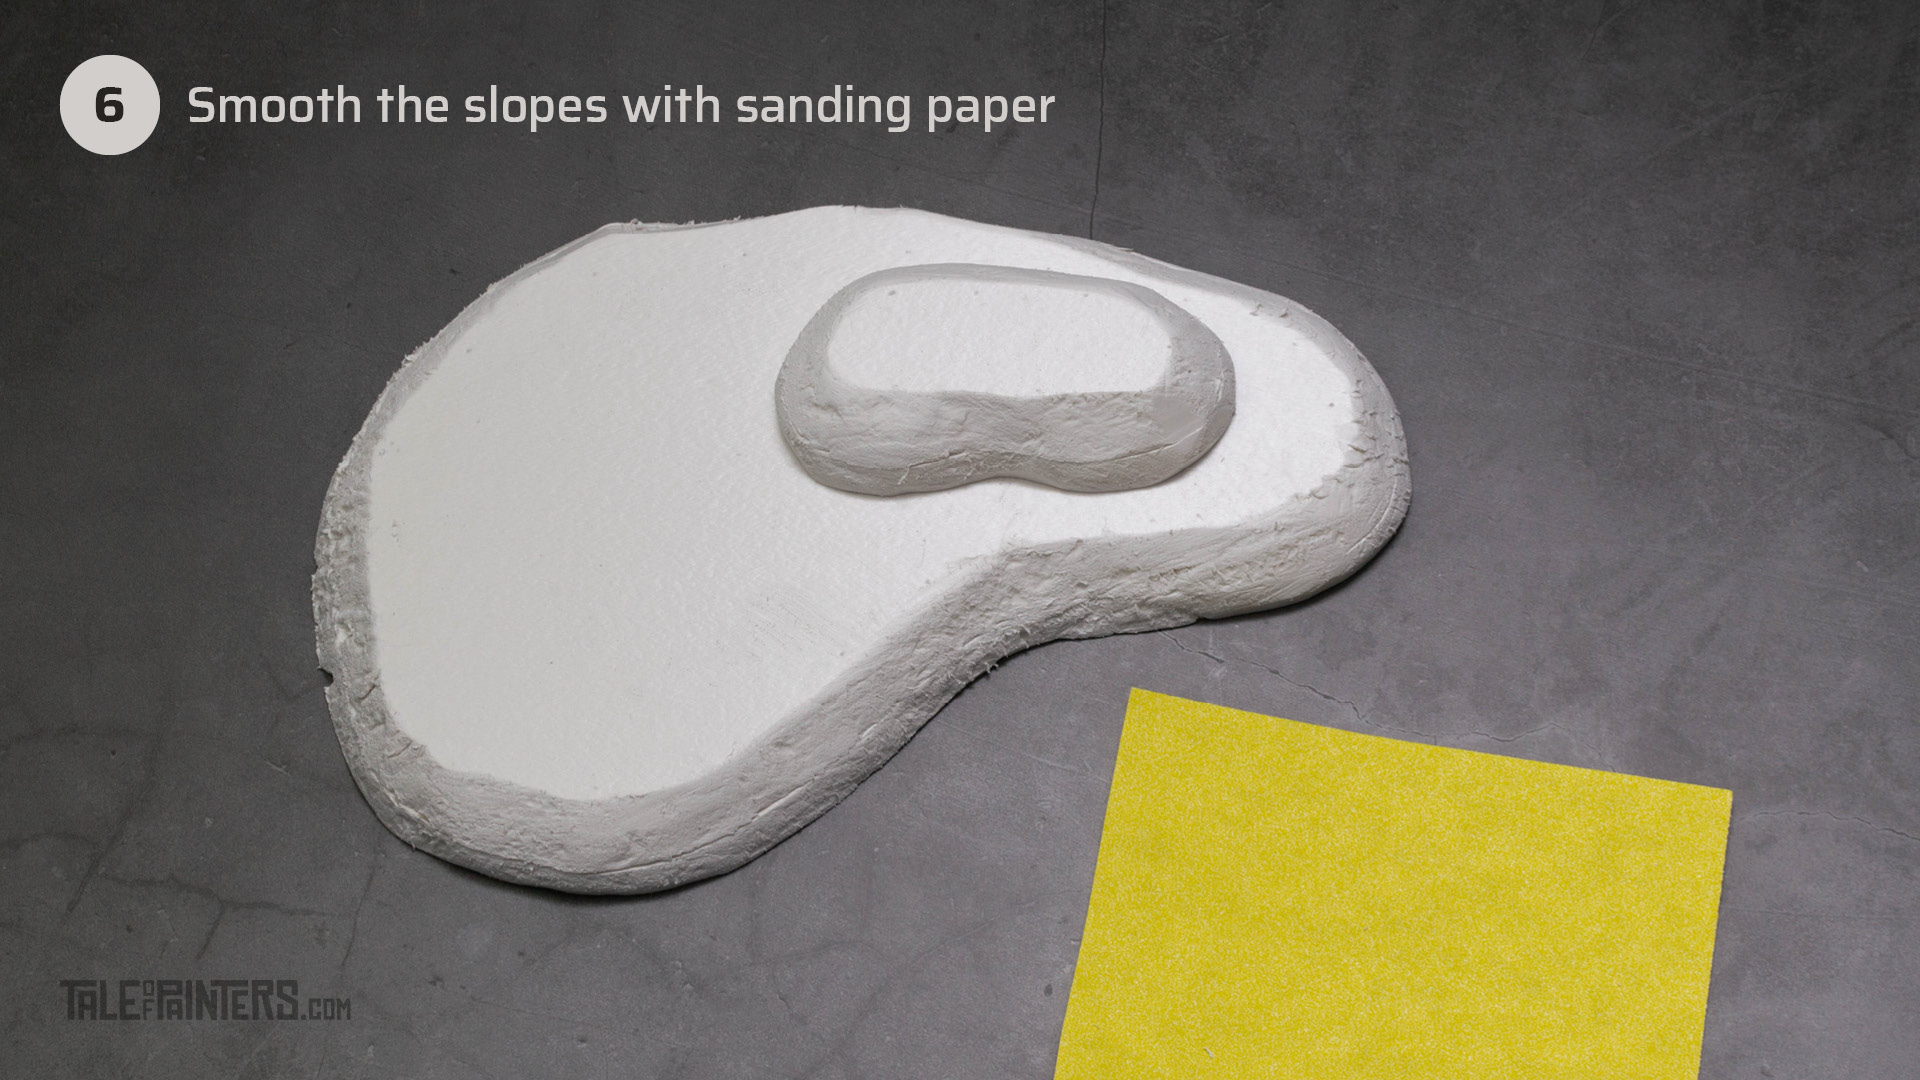
Smooth the transitions with sanding paper, the one in the Gamemaster box set has a grit of 120 and works perfectly for high-density foam.
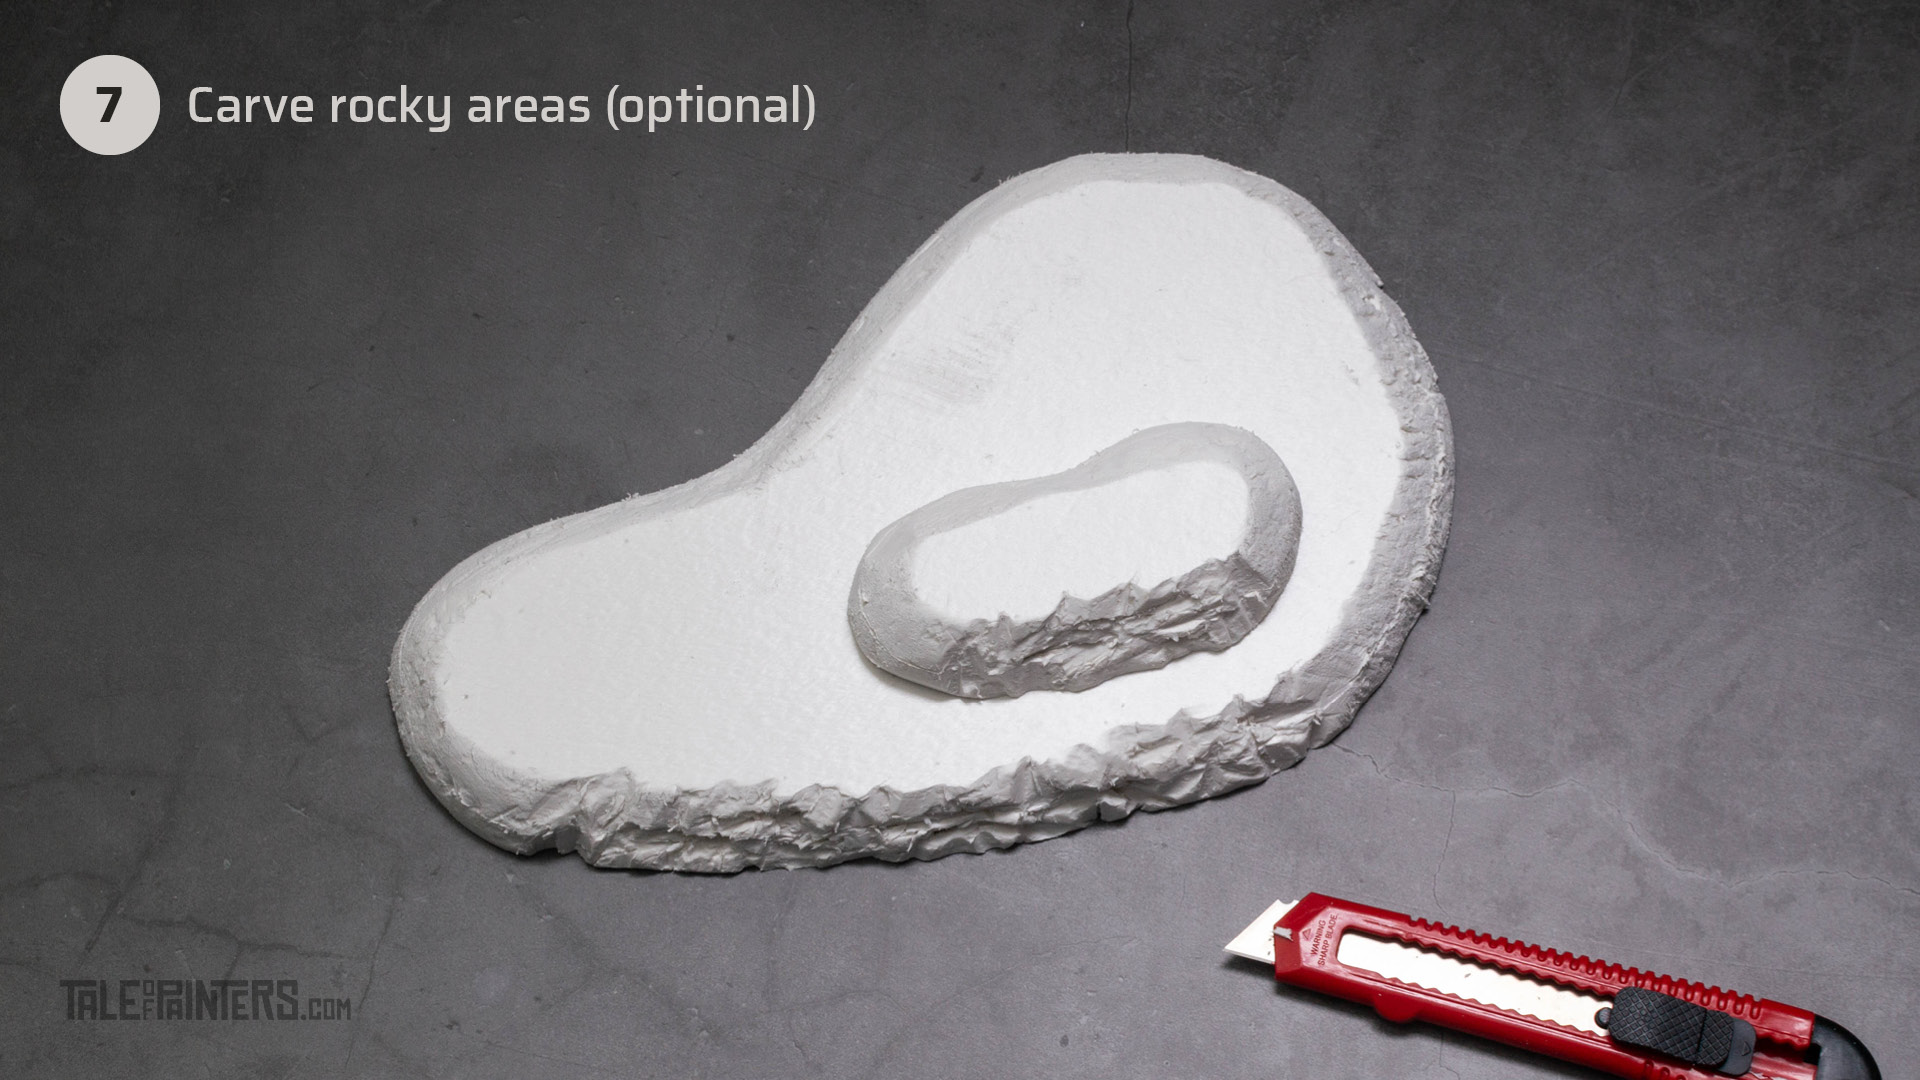
Optional: Make cliffs by carving some rocky areas into one side of your hill with your modelling knife by making several v-shaped cuts and removing the excess foam. Change your blade frequently, as the foam will dull your blade quickly.
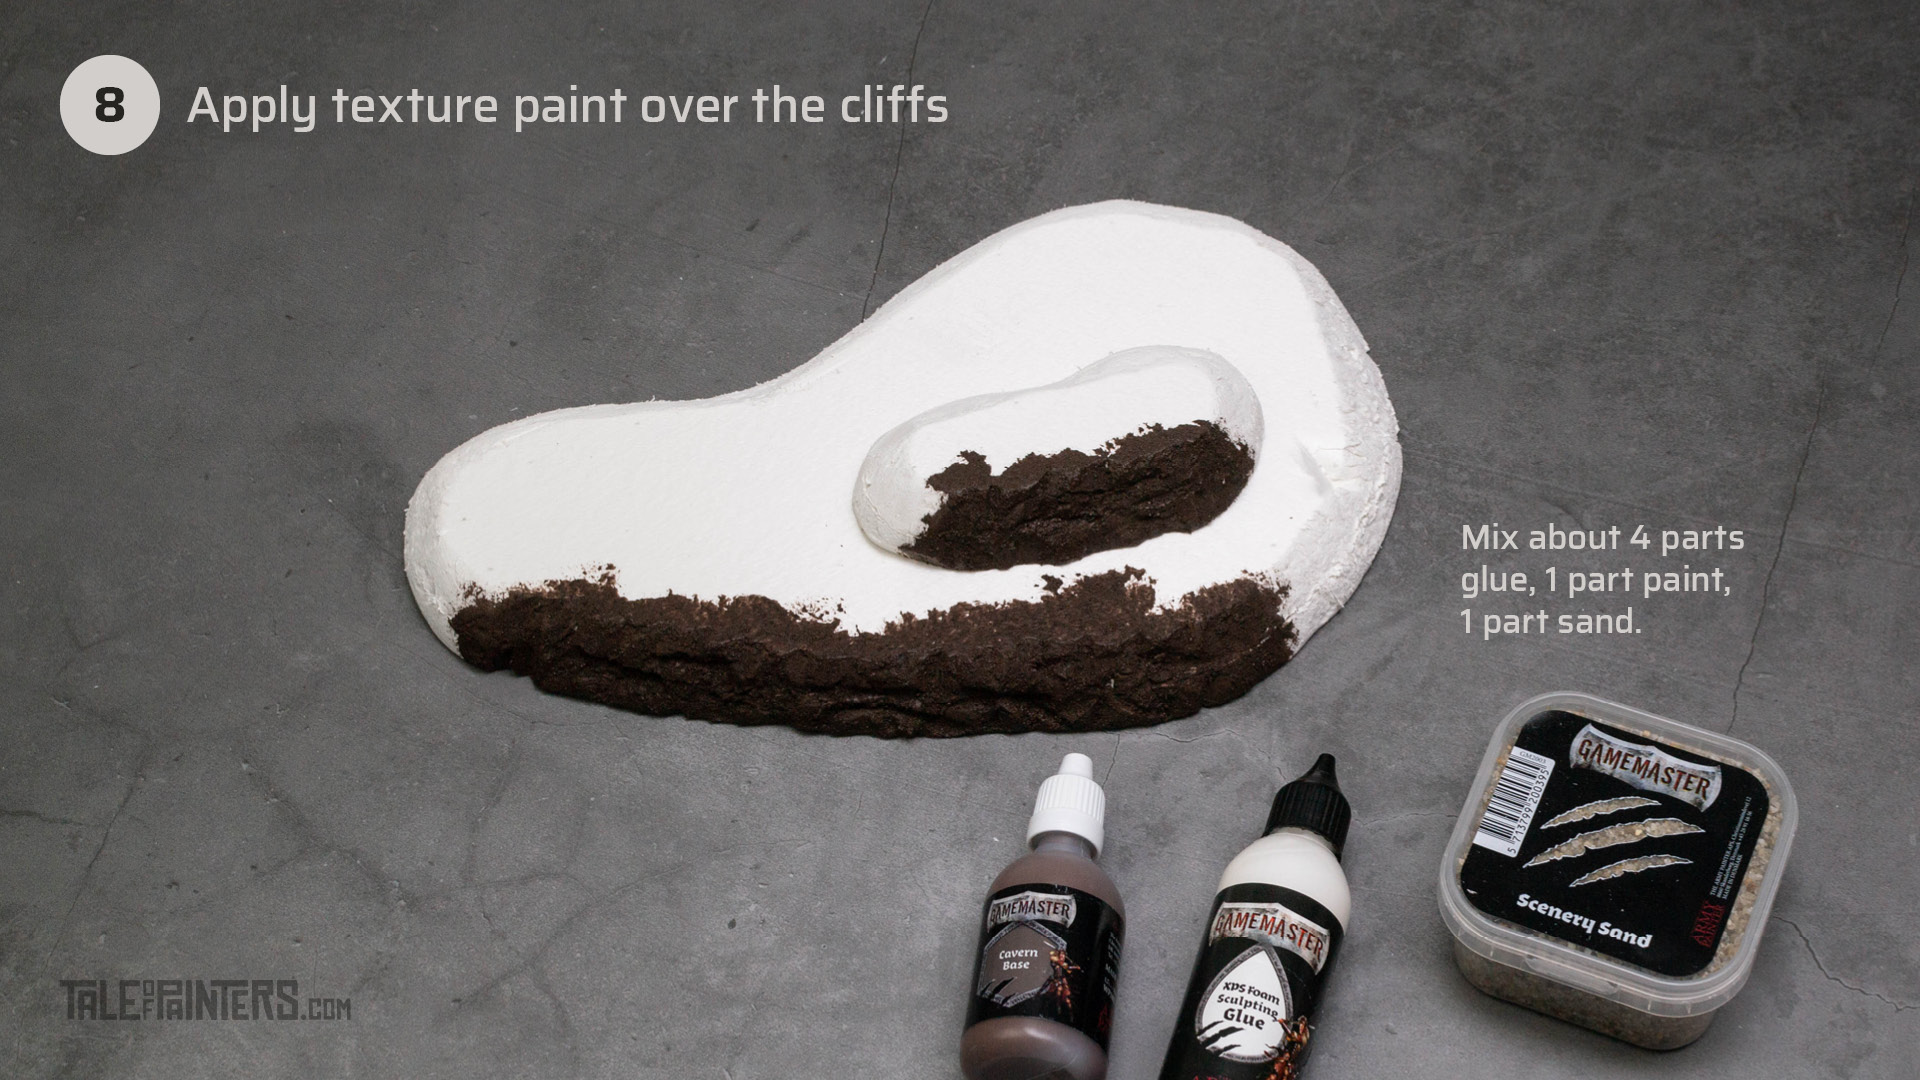
Create a texture paint by mixing about 4 parts of glue, 1 part of paint, and 1 part scenery sand, and apply it over the cliffs. You could also use filler to create a more rock-like texture, or a combination of both.

Thin the glue with a drop of water and cover your hills, then pour over the sand and let it dry. Use the upper lid of the Gamemaster box or something similar to catch excess sand. Once dry, thin some more glue to a milk-like consistency and apply it all over to seal the sand. This will help to prevent the sand from rubbing off while drybrushing (and gaming).

Basecoat the hills with Gamemaster Dungeon & Subterrain Terrain Primer. This is a unique water-based primer that won’t damage foam. If you don’t have Gamemaster primer, use a large brush and cover the hill with your base colour. Dungeons & Subterrains primer is a dark brownish grey, the same colour as Hardened Carapace from the Warpaints range.
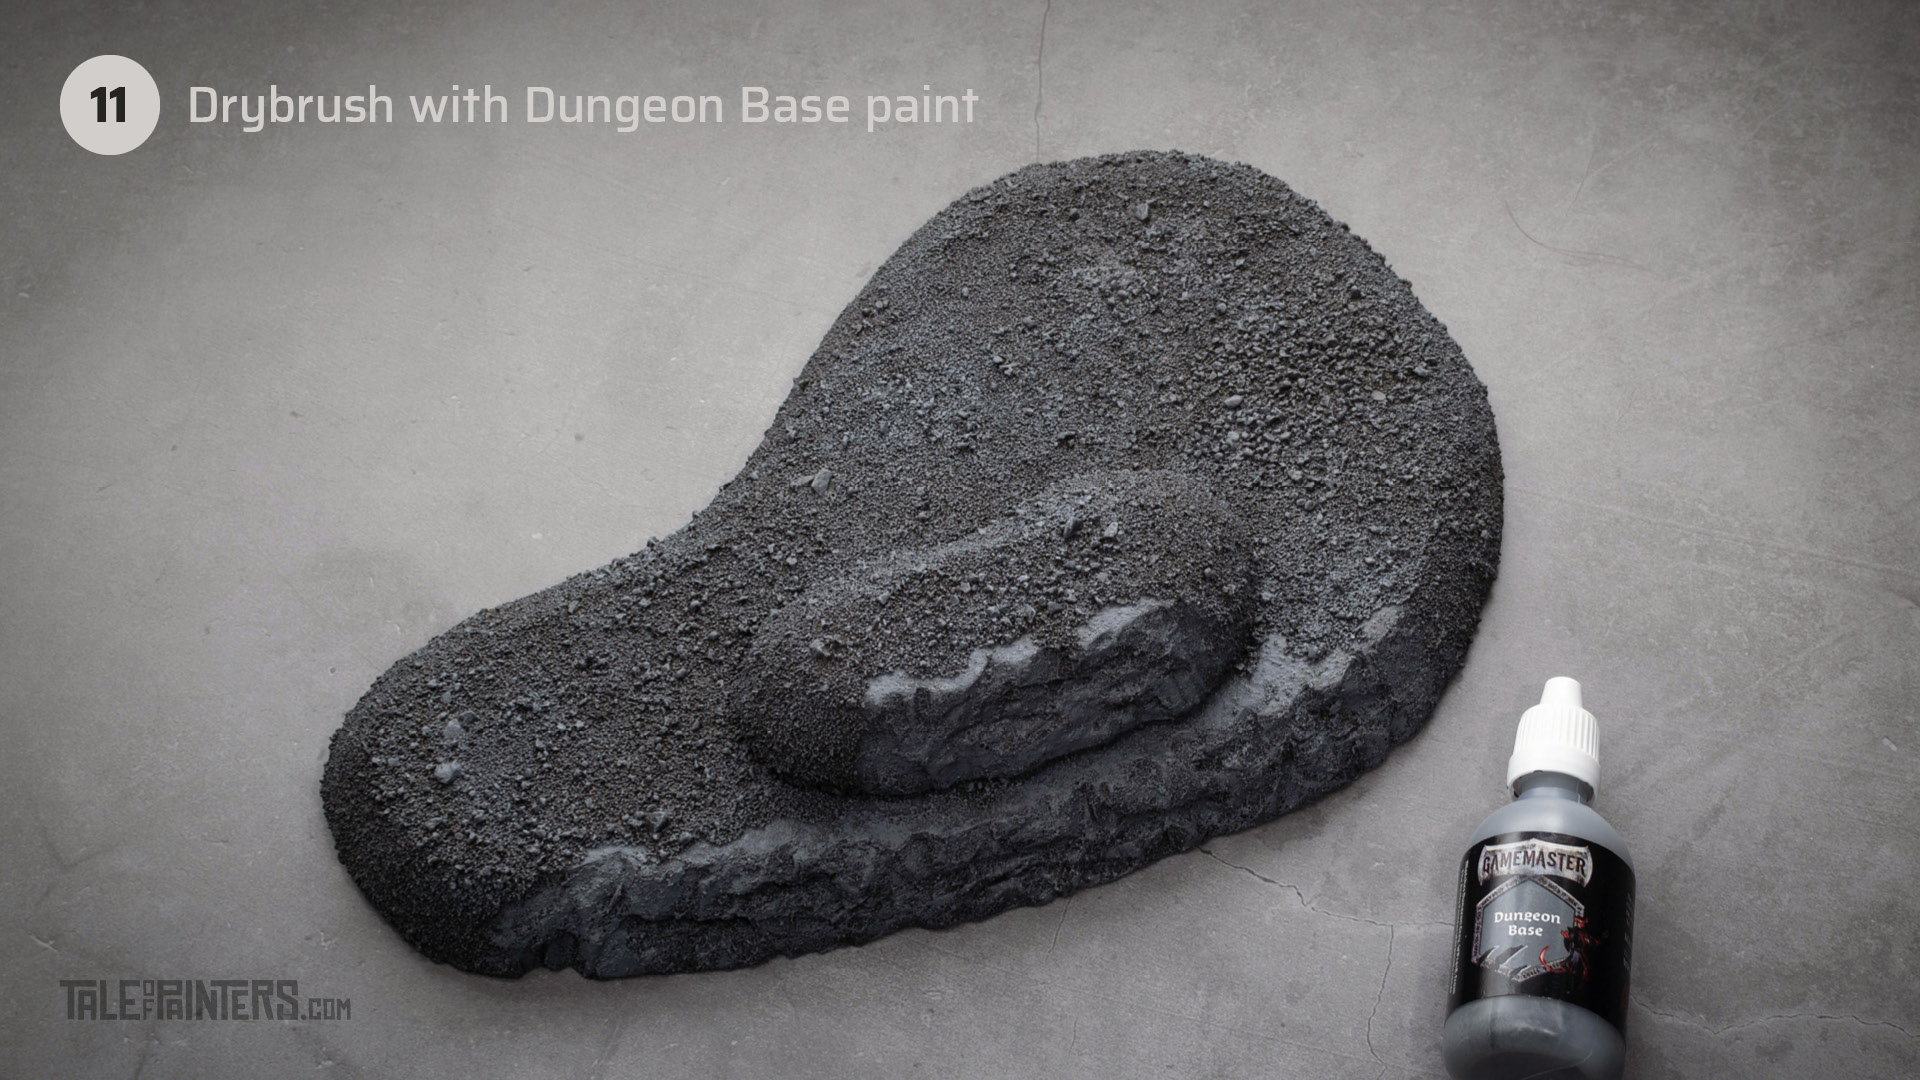
Drybrush the hills with Dungeon Base paint (Dungeon Grey from the Warpaints range, which is a medium grey) with round, circular movements, and stipple the cliffs. If you prefer earthy brown hills instead of ashen grey, the Gamemaster box set also comes with a set of brown paints. Feel free to get creative here.

Next, drybrush the hills and cliffs with Dungeon Highlights (Ash Grey from the Warpaints range). I also picked out a couple of the pebbles with Dungeon Highlights.
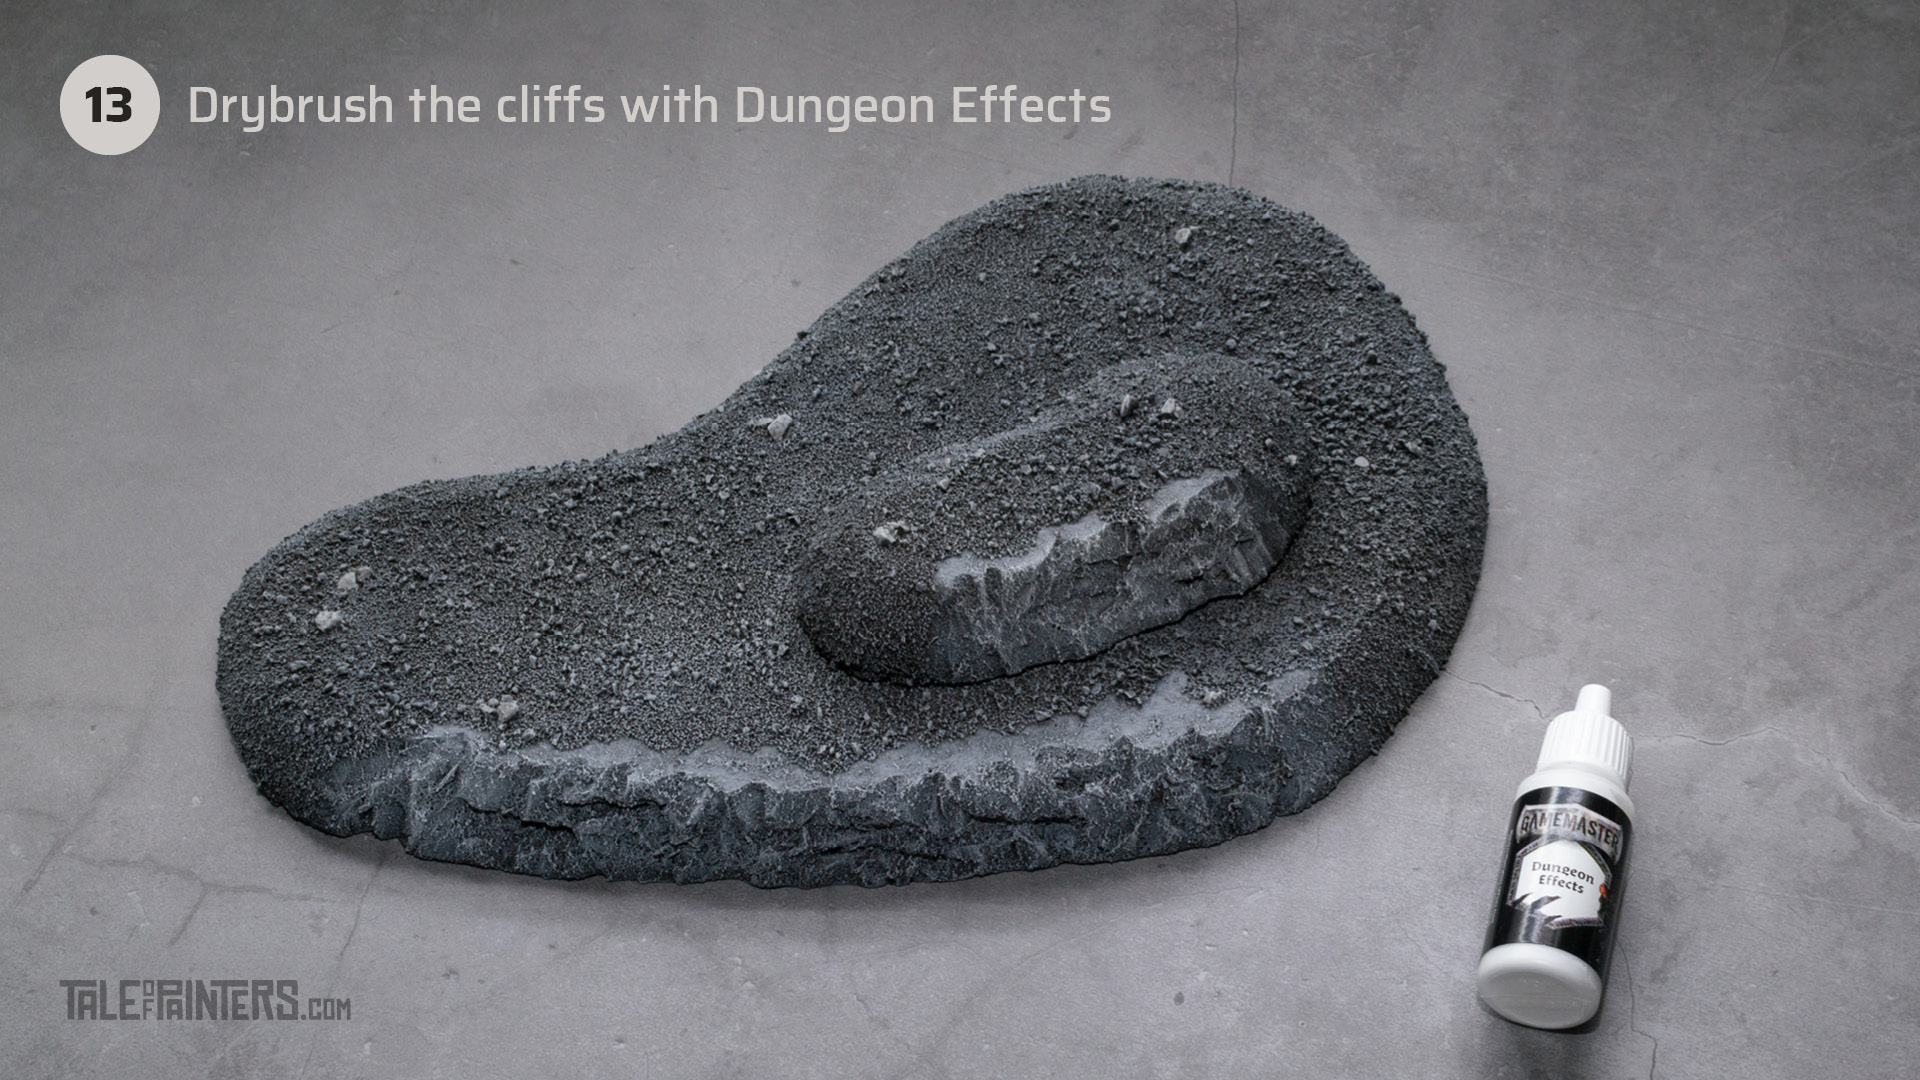
Finally, I drybrushed the cliffs and pebbles with Dungeon Effects (Matt White from the Warpaints range).
And here we have the finished modular hill. The Gamemaster Core Set also comes with static grass tufts you could add, but I kept the hills bare to match the bases of my Adeptus Mechanicus models. You could also go one step further and add some spare bitz, like emptied weapons dropped in the midst of battle, scraps of vehicle parts, or small rocks to make your hills more interesting. Just make sure to put any additional stuff towards the edges of your hill so the center will stay flat, otherwise, you won’t be able to put additional steps on top.
By keeping each tier of the hills separate and by creating a few different sizes and shapes, you can set up almost endless hill combinations to keep your games fresh and varied. A lot of flat hills to give your shooty units decent lines of sight, or stacking four or five hills on top of each other so even your largest warmachines will be able to hide from your opponent’s guns, the possibilities are endless.
Make sure to check out The Army Painter’s YouTube channel for more inspiration and tutorials for making scratch-built terrain with foam board.
Hope you enjoyed this tutorial. If so, leave a comment or reaction below, and if you got any questions, leave them here so I can answer them for you.
1 Comment
Leave a Reply
Tale of Painters is the unofficial Warhammer hobby magazine run by hobbyists like you. Support our work by using the affiliate links from our 🇺🇸 / 🇨🇦 partner stores for your next orders so we can continue to bring you fantastic FREE content every day:


Or support us directly:


Another thing you can do to texture the foam before painting is to get a crumpled-up ball of aluminum foil and roll it all over the top and sides of the hill. that will give a really nice random rocky texture.
And thanks for the tip about the glue-paint-sand mixture! I’ve started using it and it gives a nice, rock-hard substrate for further painting.