
In this post, I’ll show you how to paint Dark Angels Heavy Intercessors from Pariah Nexus in 33 easy to follow steps. You’ll learn how I glaze area highlights, paint thin edges and more. Find out how in this tutorial.

This tutorial assumes you have a good understanding of how to paint Warhammer miniatures. With each picture is the corresponding instruction. Each step shows the Citadel paint(s) I used. You’ll find a list of all the paints used in this tutorial at the end of the post.
How to paint Dark Angels
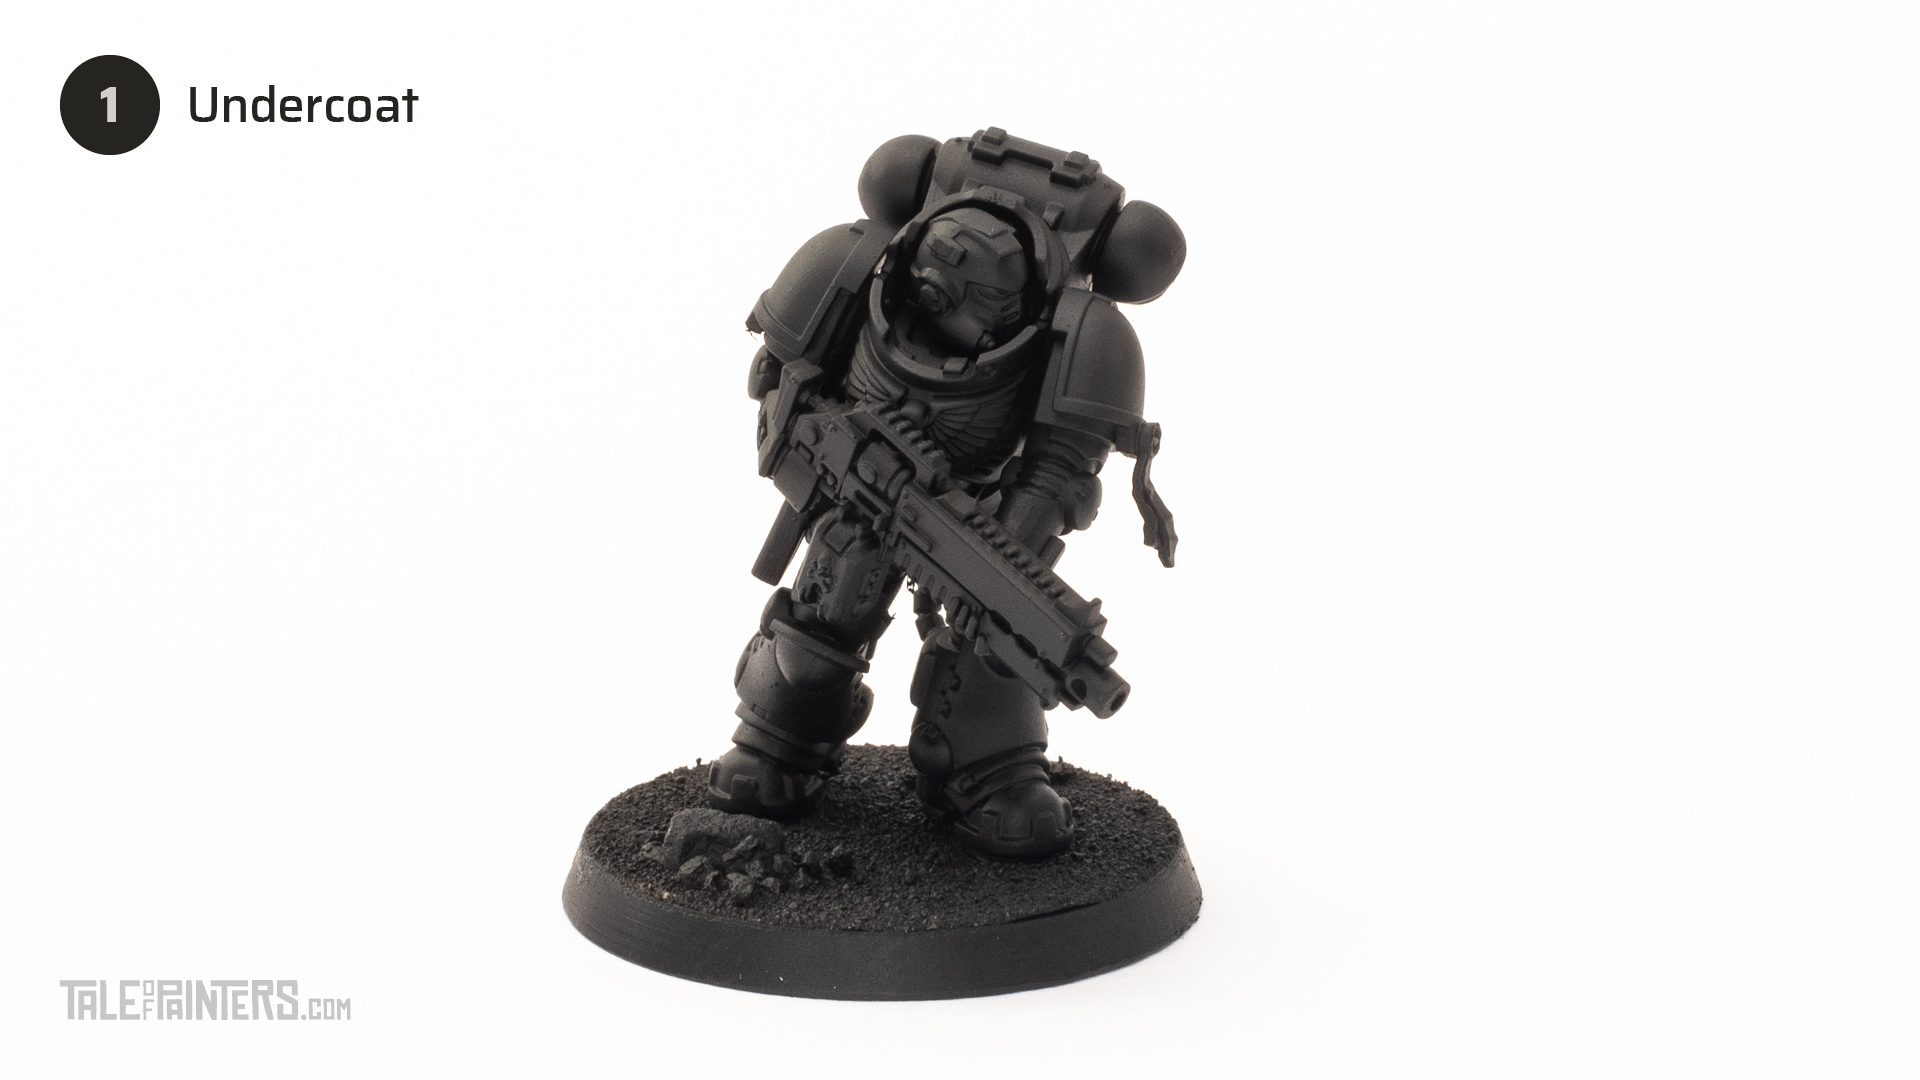
Undercoat the model black. You can use Chaos Black spray, I used Vallejo Surface Primer and my airbrush.
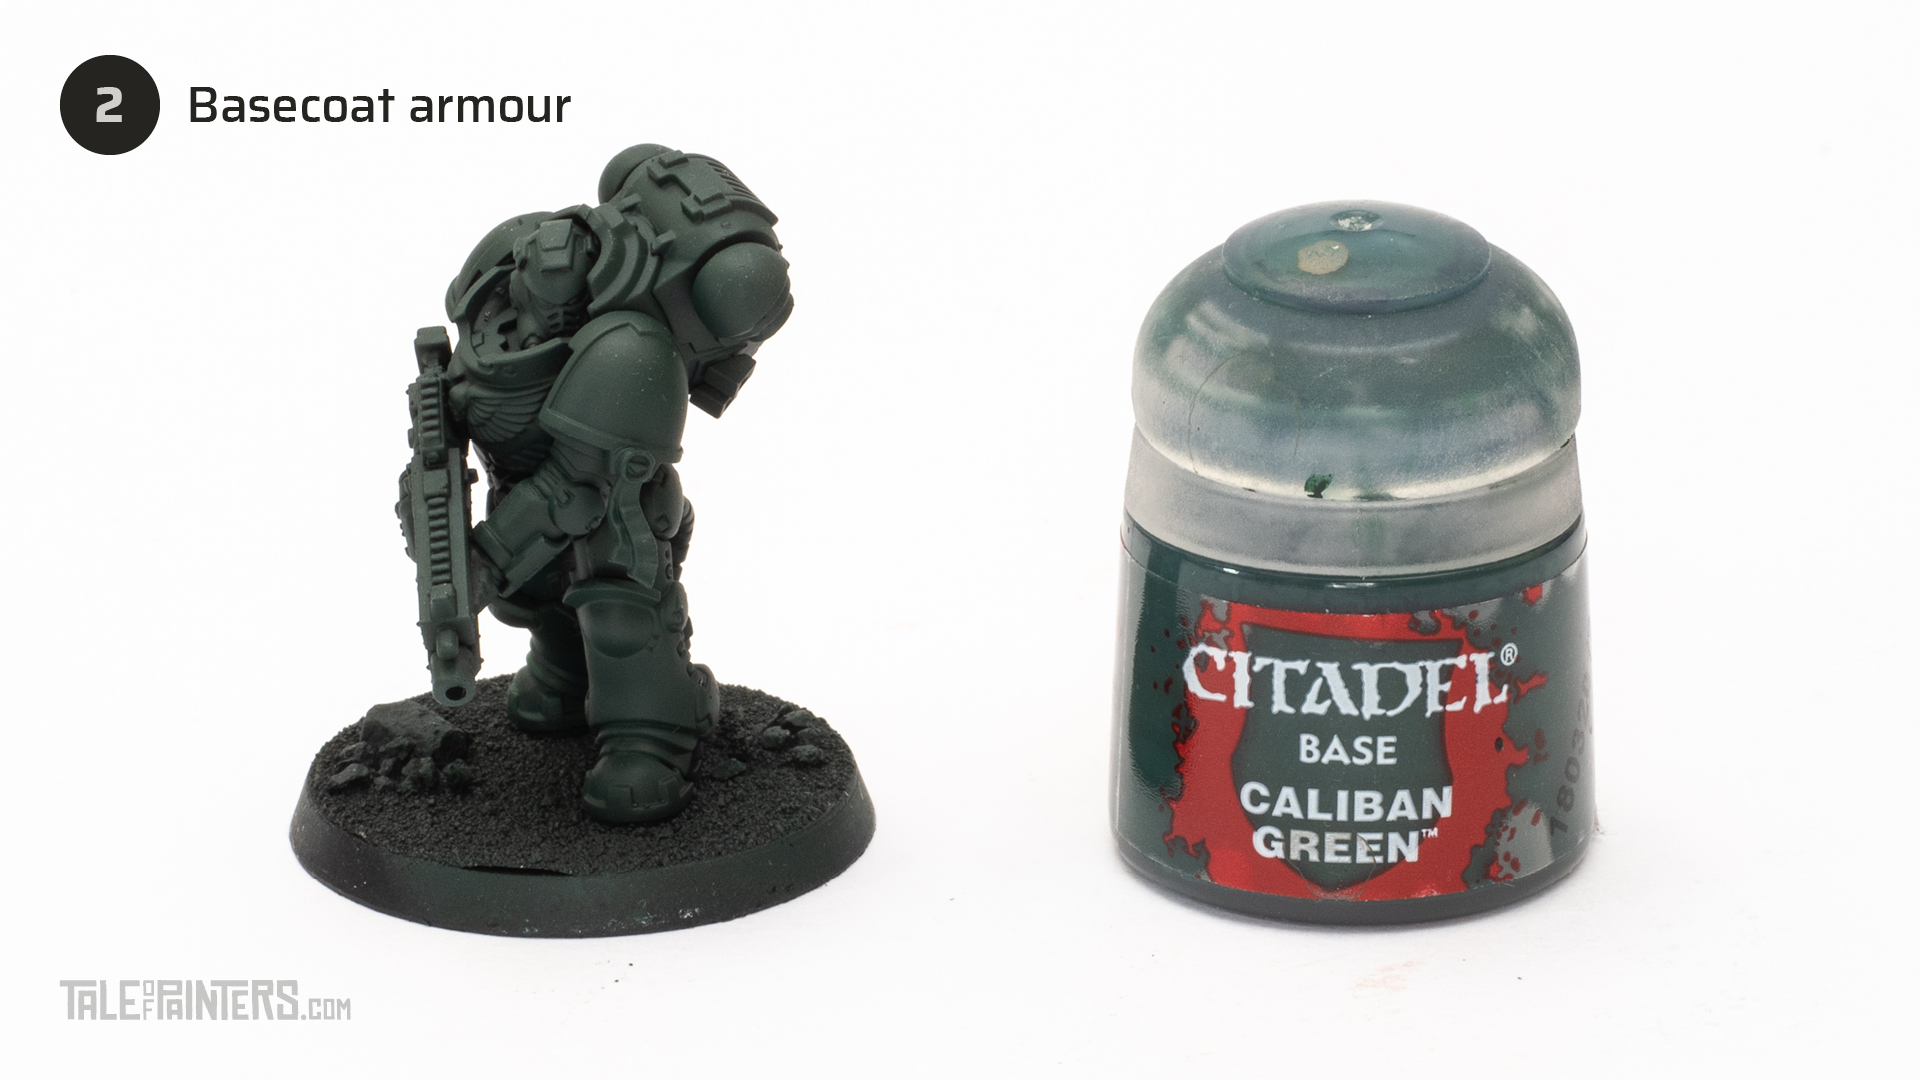
Basecoat the entire model with Caliban Green thinned with a touch of water. If you’re applying this by brush you’ll probably want two or three coats. I did this step with an airbrush.
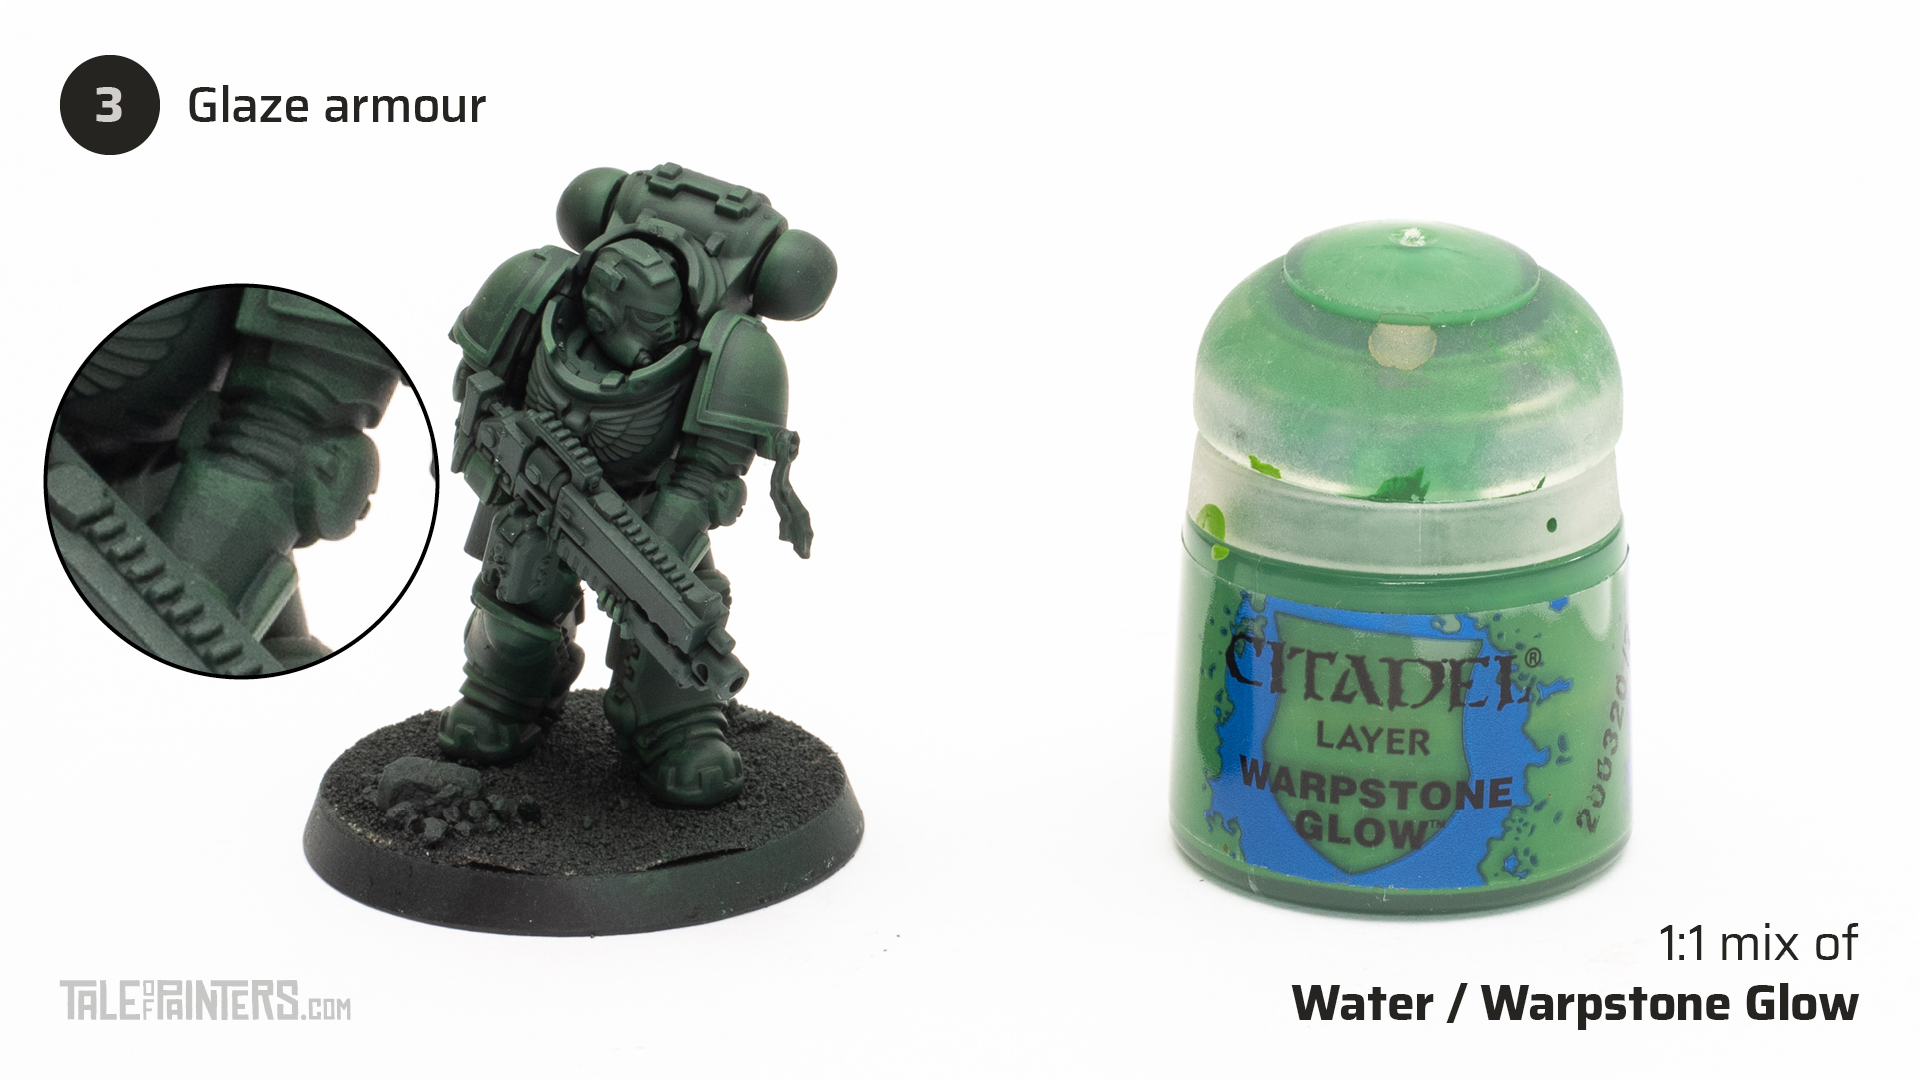
Mix equal parts Warstone Glow with water to create a really thin mix like water colour paint. Paint large areas of the model to area highlight. Try to apply the glaze in one brush motion to keep it thin and translucent. Once dry you can apply a second layer to increase intensity.

Still using Warpstone glow we’re going to go over our previous glazing with a chunky highlight of Warpstone Glow. Thin this paint a little with water.

Now apply a thin edge highlight of Moot Green to the edges. I use a 2/0 Kolinksky Sable brush. I thin slightly with water to help the paint flow from the bristles so I’m not trying to drag the paint off the brush tip. Brace your wrists and take your time.
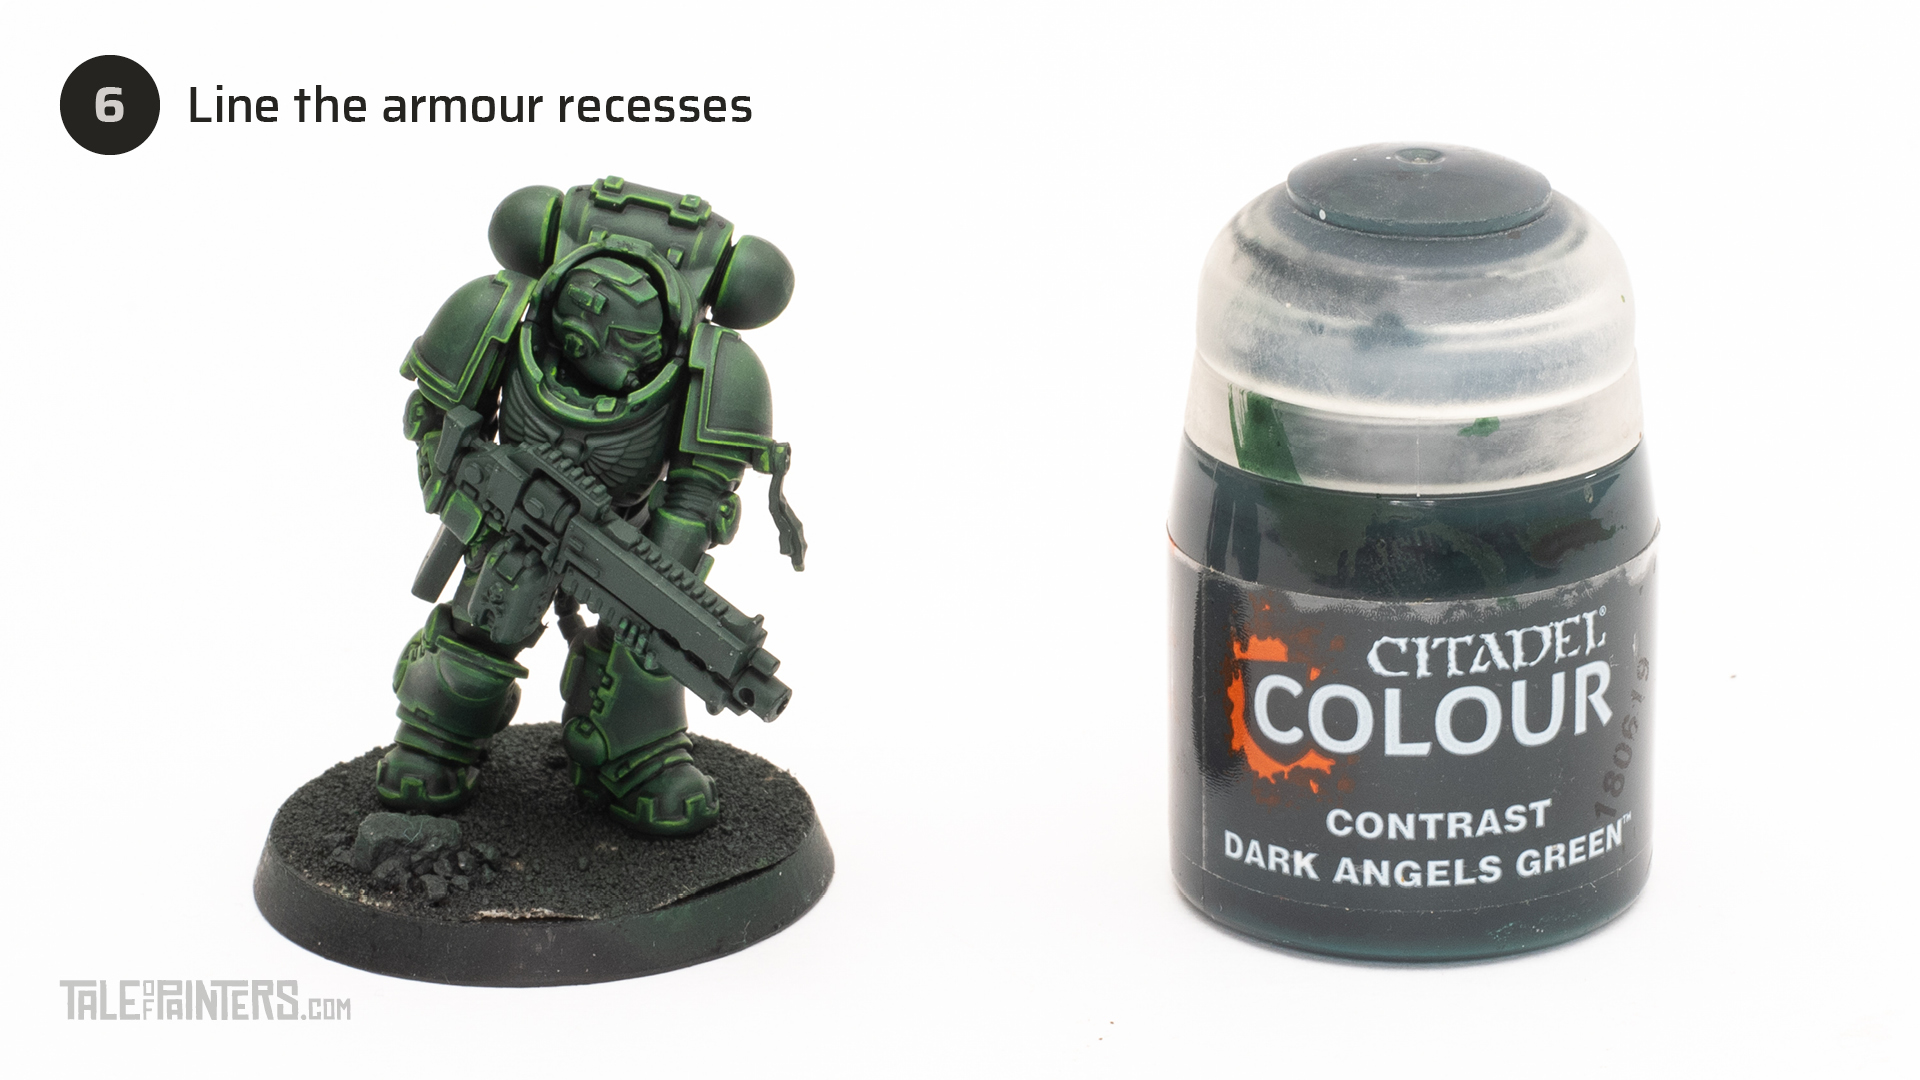
More thin lines, this time using Contrast Dark Angels Green line all the recesses of the armour panels to give definition.

Apply two thinned coats of Zamesi Desert to the chest Aquila.

Apply Skeleton Horde to the chest Aquila.

Using a small detail brush (0 or 2/0) paint each feather on the Aquila with Screaming Skull.

Basecoat the leather belt and holster with Doombull Brown.


Apply a heavy wash of Wyldwood to the leather areas.

Add a small amount of water to Skrag Brown and apply some thin highlights to the edges of the leather.

Paint the ribbed rubber areas, weapon grips and the weapon muzzle with Mechanicus Standard Grey.
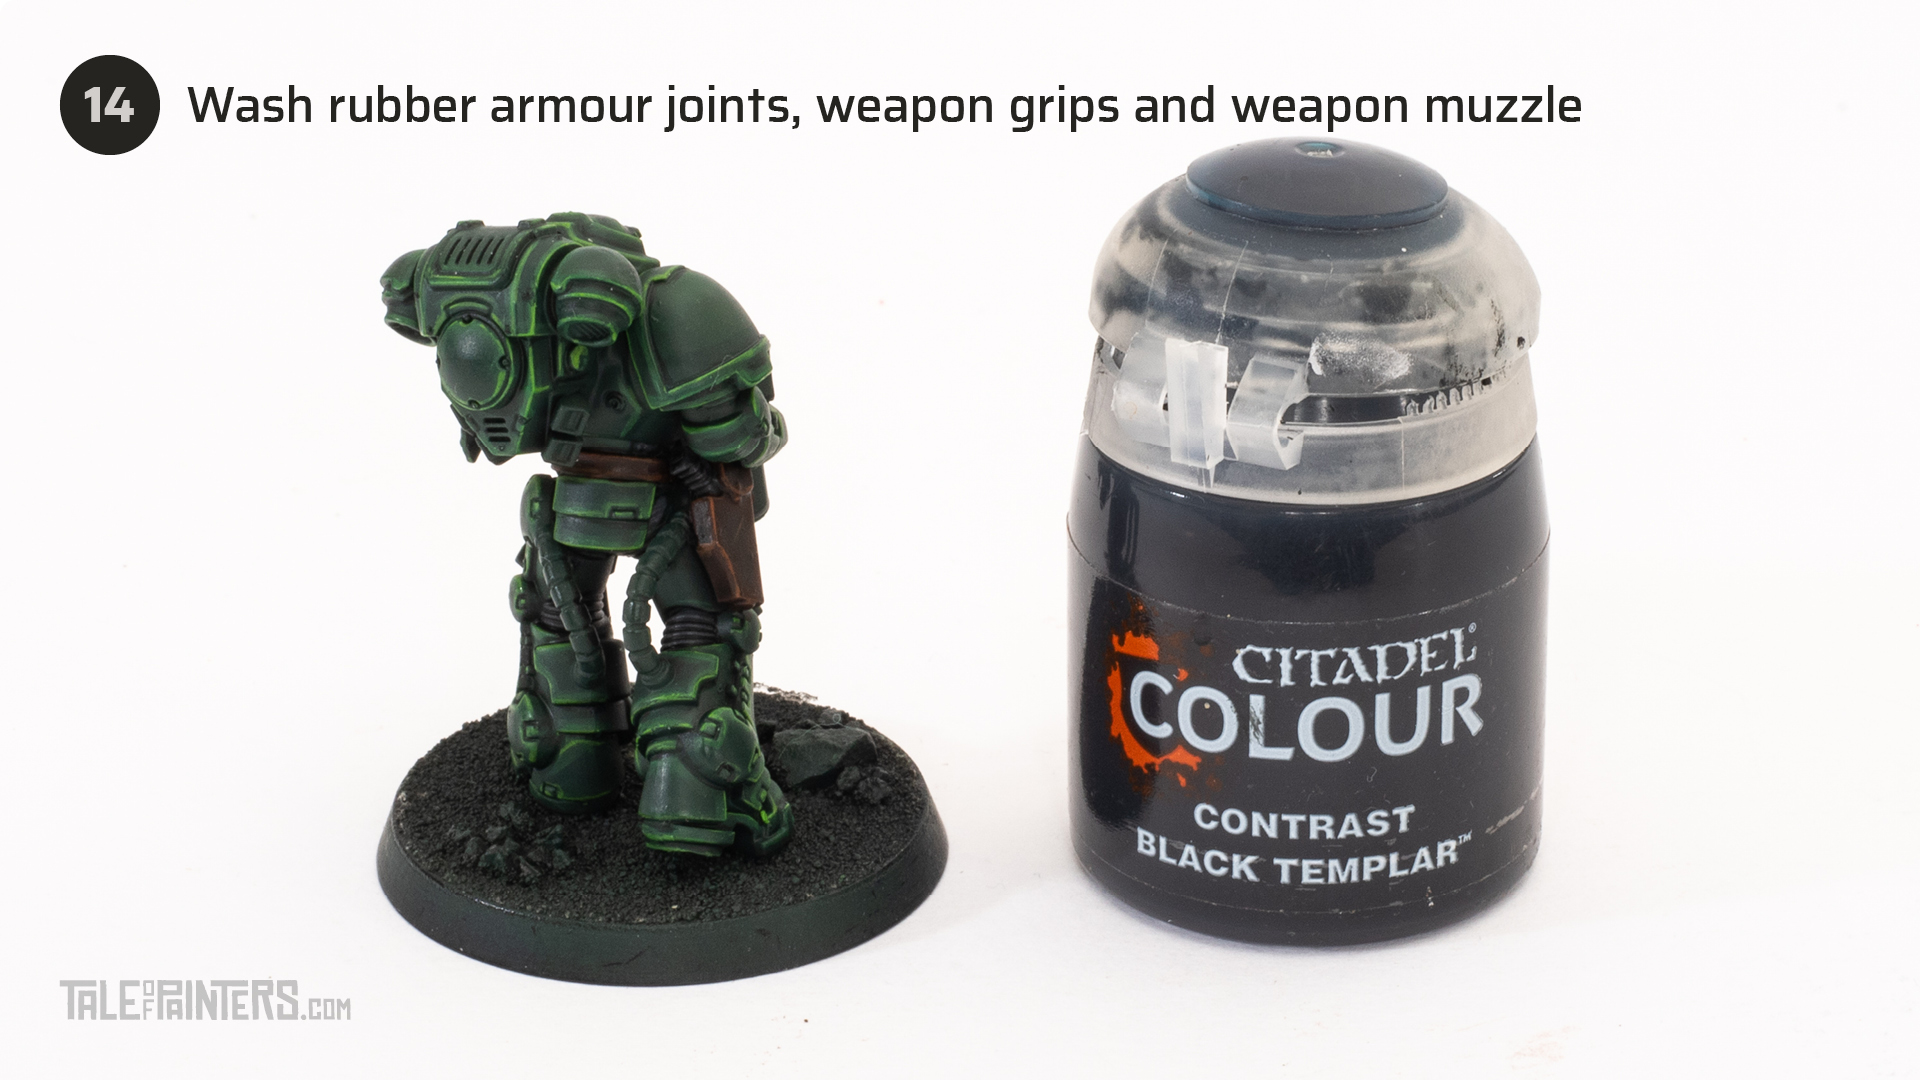
Wash the the previous step with Contrast Black Templar.

Basecoat the metal parts of the gun, back of leg pipes and the helmet cheek nipple (for want of a better word). A touch of Lahmian Medium will help smooth the metallic paint.

Apply two coats of Khorne Red to the gun casing.

Apply a wash of Nuln Oil all over the metals and the gun casing.

Edge highlight the metals with Runefang Steel.

Mix equal parts water with Khorne Red and glaze the area around the edges of the gun casing. A nice subtle, thin glaze will do.

Apply a thick edge highlight of Wazdakka Red to the edges of the gun casing.

Add a thin edge highlight of Wild Rider Red to the edges of the gun casing.

Paint the shell casings in the magazine and any decorative ornaments with Retributor Armour. You can shade this with Reikland Fleshshade if you wish. I just left it as is though.

Edge highlight the ribbed rubber areas, weapon grips and the weapon muzzle with Celestra Grey.

Paint two coats of Screamer Pink onto the wax seal.

Wash the wax seal with Druchii Violet.

Highlight the wax seal with Pink Horror leaving the previous layers showing through as shading.

Basecoat the parchment with Baneblade Brown. This might need two coats.

Paint chunky highlights of Rakarth Flesh on to the parchment.

Edge highlight the parchment with Pallid Wych Flesh.

Using a small fine detail brush (2/0) add some lines of Contrast Wyldwood to represent text on the parchment.

Paint two thirds of the eye lens with Teclis Blue leaving the top corner black. Paint any screens and L.E.D.s on the wrist armour as well.

Paint a line of Temple Guard Blue along the bottom edge of the eye lens. Highlight the L.E.D.s and screen as well.

Add a dot of Pallid Wych Flesh to the top coroner on the lens and dot the centre of the L.E.D.s and paint the edges of the screen on the wrist with Pallid Wych Flesh.
Apply the decals to the shoulder pads. I freehand painted my Chapter Symbol and Squad Markings on. Let me know in the comments if this is a tutorial you’d like to see in the future from me.
To paint the base I painted the rocks with Eshin Grey, the sand was painted with Zandri Dust. The rocks were dry brushed with Dawnstone and then Celestra Grey. The sand was dry brushed with Screaming Skull.


Paints you will need for this tutorial:
- Black Undercoat
- Caliban Green(base)
- Warpstone Glow (layer)
- Moot Green (layer)
- Dark Angels Green (contrast)
- Zamesi Desert (layer)
- Skeleton Horde (contrast)
- Screaming Skull (layer)
- Doombull Brown (layer)
- Wyldwood (contrast)
- Scrap Brown (layer)
- Mechanicus Standard Grey (base)
- Black Templar (contrast)
- Leadbelcher (base)
- Khorne Red (base)
- Nuln Oil (shade)
- Runefang Steel (layer)
- Wazdakka Red (layer)
- Wild Rider Red (layer)
- Retributor Armour (base)
- Celestra Grey (base)
- Screamer Pink (base)
- Druchii Violet (shade)
- Pink Horror (layer)
- Baneblade Brown (layer)
- Rakarth Flesh (base)
- Pallid Wych Flesh (layer)
- Teclis Blus (layer)
- Temple Guard Blue (layer)
Paints you’ll need for the base:
- Zandri Dust (base)
- Steel Legion Drab (base)
- Screaming Skull (layer)
- Eshin Grey (layer)
- Dawnstone (layer)
- Celestra Grey (base)
If you need to expand your paint collection to follow the tutorial, check out our partner stores Wayland Games and Element Games, which offer an amazing range of paints at a discount.
Want to learn more about painting Dark Angels? Check out the precursor of this tutorial here, how to paint Ravenwing here, and Stahly’s way of painting Dark Angels here.
Hope you enjoyed this tutorial. If so, leave a comment or reaction below, and if you got any questions, leave them here so I can answer them for you.

6 Comments
Leave a Reply
Tale of Painters is the unofficial Warhammer hobby magazine run by hobbyists like you. Support our work by using the affiliate links from our partner stores for your next orders so we can continue to bring you fantastic FREE content every day:


![]()
![]()
Or support us directly:


Perfect tutorial, thanks a lot!
No problem. My pleasure.
Dude bless you for making such a comprehensive guide. Always been a big fan and I check your blog every time I sit down to paint a new DA model. Love your style.
Ah thanks Keith. That’s really nice to hear. I’m hoping to paint more Dark Angels this year. The new Strike Force GW announced looks perfect for Dark Angels.
Fantastic mate. Really well explained and easy flow to follow with some top shelf results. Mint.
Great tutorial, even clearer than your old one. Want to paint dark angels now, good work