
Time for some terrain, and this time it’s for myself rather than commission work. I took the plunge and bought a bunch of GF9 Battlefield in a Box series river sections. They come ‘pre-painted’, but pre-painted usually means “not useable in any way”.
Given how I have to take pictures of (and like to play with) miniatures of all kinds of historical periods and sci-fi/fantasy settings I’m always on the lookout for generic terrain. For quite a while now I’ve been debating with myself about getting some rivers. I planned to make some myself from acrylic mass (the stuff I made roads sections from last year), but never really got around to doing it. So I gave in and bought a few sets of GF9’s Battlefield in a Box river sections. I was asked to borrow my Dark Ages terrain for a SAGA table an event, so I thought it would be a good occasion to get some rivers done.
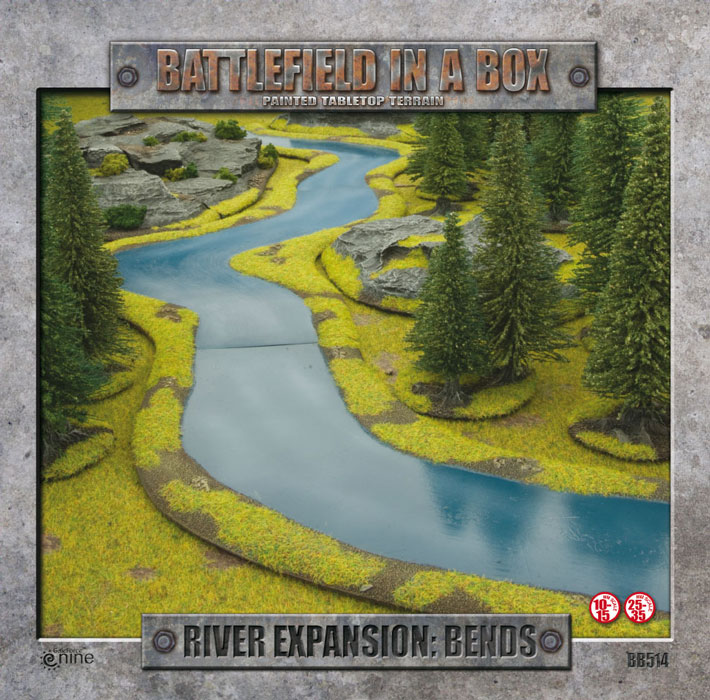
I was also curious about the product. It’s my first BFiaB set, because I’m naturally opposed to anything pre-painted (not the least due to the fact that the stuff most of the times looks **** poor) and a big fan of DIY when it comes to terrain. I got the stuff, got the sections out (they come with little baggies of static grass. In my opinion way too little for the amount of sections you get). The river banks are pre-painted (painted dark and drybrushed; looks rather nice, but it didn’t fit my terrain bases, so the river banks was the first thing I repainted.

The water itself is without any texture, has very, very slight brighter lines sprayed on and is really, really, really blue. Way too blue for my tastes. So I repainted that as well, using darker and more greenish colours. I also added some more lively stripe patterns and 1 or 2 layers of water effect. Barely any texture as they have to work for any scale to getting to detailled or specific would make it fit for one scale, but not for another. I still went for a quite blue colour, because, despite better knowledge of real rivers, I like the look on the table. Going too green would make it meld with the green surface too much, so I prefer a more blue look, but still somewhat natural-ish.
In the end I used some fine sand to add sand banks and to suggest possible fords (as I don’t have any real ford sections or bridges YET I thought this was a nice solution to get by). It also adds a nice effect to give some sections a more interesting look. I also glued on some clump foliage for additional vegetation. This would work at any scale as well. At 28mm/20mm it would be shrubbery, at 15mm/10mm it would be tall hedges and such and for 6mm/2mm it would be trees growing along the river.

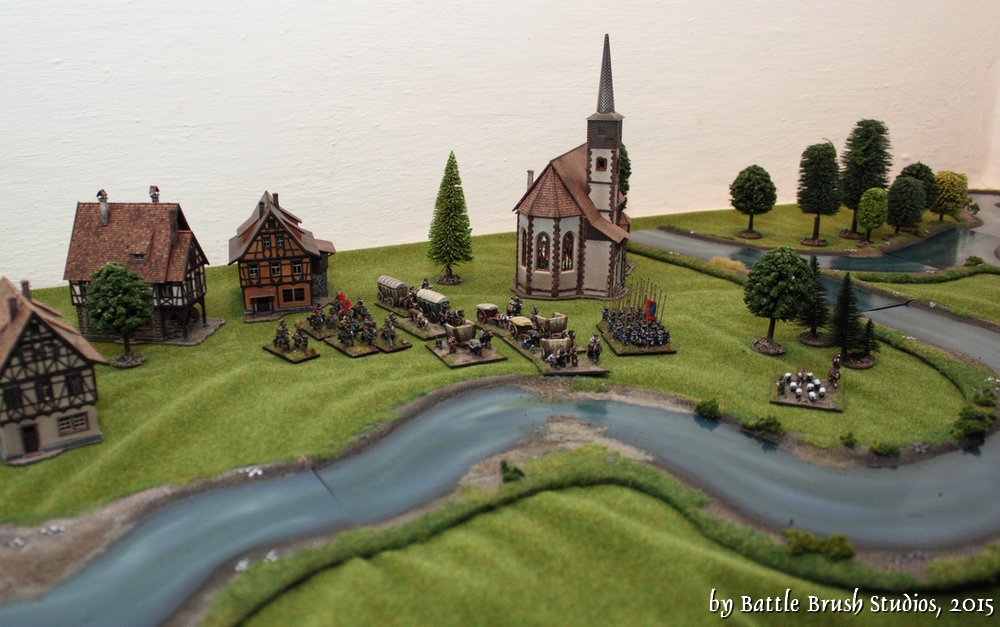
In the end I used some fine sand to add sand banks and to suggest possible fords (as I don’t have any real ford sections or bridges YET I thought this was a nice solution to get by). It also adds a nice effect to give some sections a more interesting look. I also glued on some clump foliage for additional vegetation. This would work at any scale as well. At 28mm/20mm it would be shrubbery, at 15mm/10mm it would be tall hedges and such and for 6mm/2mm it would be trees growing along the river. In the pictures you can see the thinner streams with some 10mm figures around them.


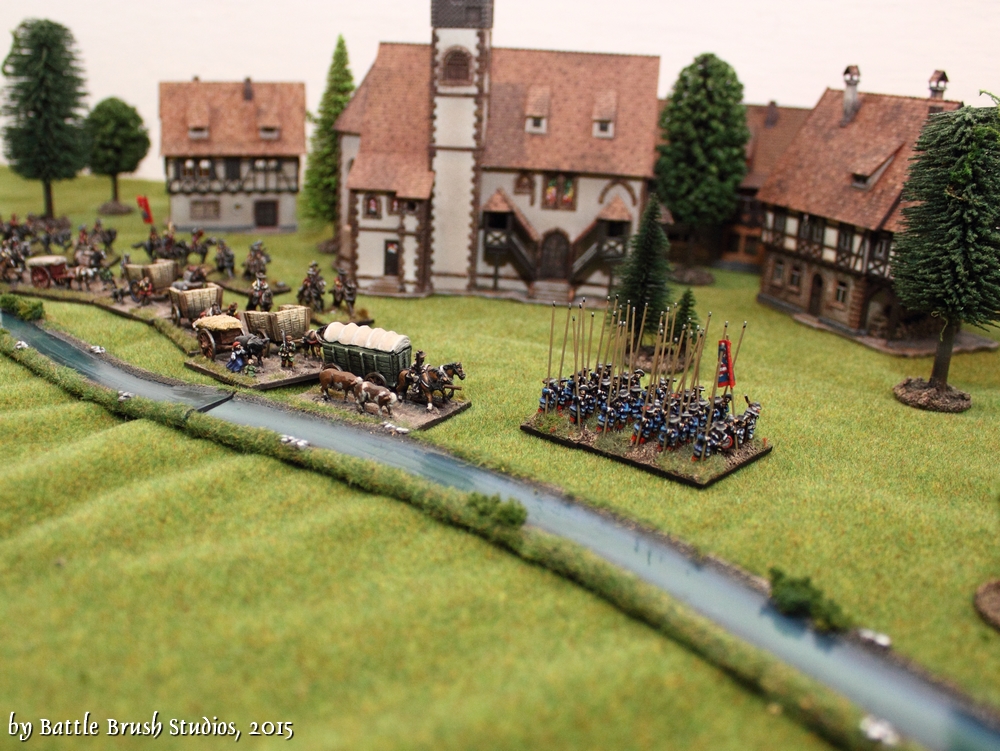
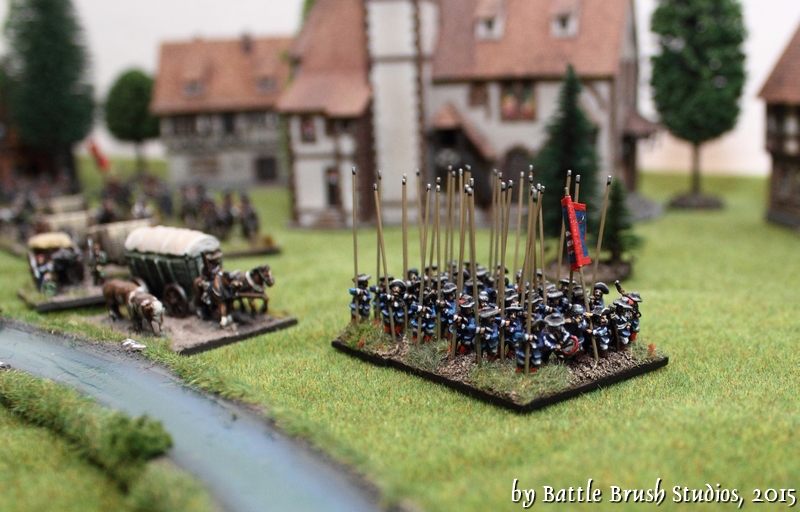
…and wider river sections with some 28mm stuff:


All things said and done I’m not entirely sure it was worth the purchase. For what you get the river sections aren’t bad (once you’ve put some work into them), but they aren’t cheap either. I think that if I’d planned a bit better and used some acrylic mass I think the same results could have been achieved at about a fifth of the price. of course instead of a weekend it would have taken me about a week to get them done, because that acrylic stuff takes quite a while to cure properly.

6 Comments
Leave a Reply
Tale of Painters is the unofficial Warhammer hobby magazine run by hobbyists like you. Support our work by using the affiliate links from our 🇺🇸 / 🇨🇦 partner stores for your next orders so we can continue to bring you fantastic FREE content every day:


Or support us directly:


I think these rivers satisfy a certain demographic of players, folks like me who may not have the inclination to make something from scratch, but still want something that’s going to visually satisfy. However, definitely agree they need sprucing up. Any instructions or tips on how you ended up painting the base blue? I used to have this set and sold it when I dipped out of 40K. I’m coming back around to it though for use with Battletech as a solid 3D river set for someone who has no wherewithal to create a set of my own. I am interested in augmenting the base paint of the water though, I’m just not 100% sure what techniques to apply. I’m not really sure how to get those very wispy swirls like you’ve done here.
I like what you did with the rivers. That being said, I'm very curious about that 10mm church!
Thanks very much for the comment, Daniel!
Your idea with the press studs sounds rather clever, because another thing I don't like about many river sections, as you pointed out, is the joints. It's really, really tricky. In my own gaming group we actually started experimenting with using felt for many things, including at times rivers.
Once made a whole bunch of rivers out of latex, every now and then I find the unpainted ones I didn't finish and ebay.
They worked well but still suffer from the my biggest bugbear with rivers, the joins and keeping the sections together on the table. I always wanted to remake the mould and embed some hidden press studs with an overlap.
The work you've put in was worth it, you've got some great looking rivers, much more interesting than the stock ones.
Thanks for the comment, Benvoliothefirst!
Your plan is very sound as well. Yeah, my use of the term "acrylic mass" probably isn't the most descriptive. 😀 What I meant is acrylic sealant you get in those pointy tubes. I'm sure there's some more specific brand name used where you live.
Just be careful that you don't get silicone sealant as that won't take colour when you paint it. The Acrylic one will work fine though (mix it with some acrylic paint for some pre-colouring or get brown one right away). The cool thing about that is that you can make it really flat, it's flexible and durable. The water effect I'd only paint on, because once you start pouring the stuff you'll have to deal with frames so it doesn't run off the terrain piece and so on. A friend (who's an artist and does a ton of work with casting and sculpting of various materials) told me of some stuff that makes the sealant cure faster, but I haven't gotten around to doing that.
Many people don't like the way rivers (such as the ones presented in the article above) are elevated from the table, because rivers in real-life are anything but elevated of course. But if you're okay with that I definately suggest just making the rivers on your own. Plasticard as a basis sounds alright. For the river banks I suggest using small bits of styrofoam cut to shape, then you throw on some texture and then do something for the water. A few layers of paint and some gloss varnish on top will do actually. Of course you can also go wild doing very pretty water with water effects (personally I'm a fan of painting on the bits of foam and such water makes around objects) and all of that, but that's up to you.
Great write-up! I agree… for all the work you put into them to get them up to your standards, it might've been worth it to just start from scratch.
I'm curious what other people might suggest for a base rather than "acrylic mass," I'm not familiar with that product but I hate stuff that takes forever to dry. If it were me I'd start with plasticard for the base/river, then use paper mache/cardboard for the banks, but I'm not sure how well that would work with water effects.