
In this post, I’ll show you how to paint Brutogg Corpse-eater from Warhammer Quest Cursed City in 29 easy to follow steps. You’ll learn how I paint ruddy Ogor flesh, metallic reds, leather straps and more. Find out how in this tutorial.
This tutorial assumes you have a good understanding of how to paint Warhammer miniatures. With each picture is the corresponding instruction. Each step shows the Citadel paint(s) I used. You’ll find a list of all the paints used in this tutorial at the end of the post.
How to paint Brutogg Corpse-eater

Undercoat the model black.

Paint the weapons, chain mail, plate mail, knee plate helmet with Leadbelcher. A touch of Lahmian Medium in with your metals really helps smooth them out.

Paint the trousers and small rune hanging from the dagger (on the back of the mini) with Russ Grey.

Highlight the bags on the back of the belt with Mechanicus Standard Grey leaving some of the black showing through in the recesses.

Create a mix of 50:50 Basilicanum Grey and Lahmian Medium and wash the previous steps. Repeat this process but only apply it to the recesses to increase the intensity of the shading.

Highlight the trousers and small stone icon with thin lines of Fenrisian Grey.

Paint the skin with a couple of coats of Bugman’s Glow.

Create a mix of 50:50 Gullimans Flesh and Lahmian Medium and lightly wash the skin.

Paint the skin with Cadian Fleshtone leaving the previous step showing through in the recesses.

Highlight the skin with Kislev Flesh leaving some of the previous step still showing.

Wash Carroburg Crimson thinned with Lahmian Medium around the eyes and on the lower lip.

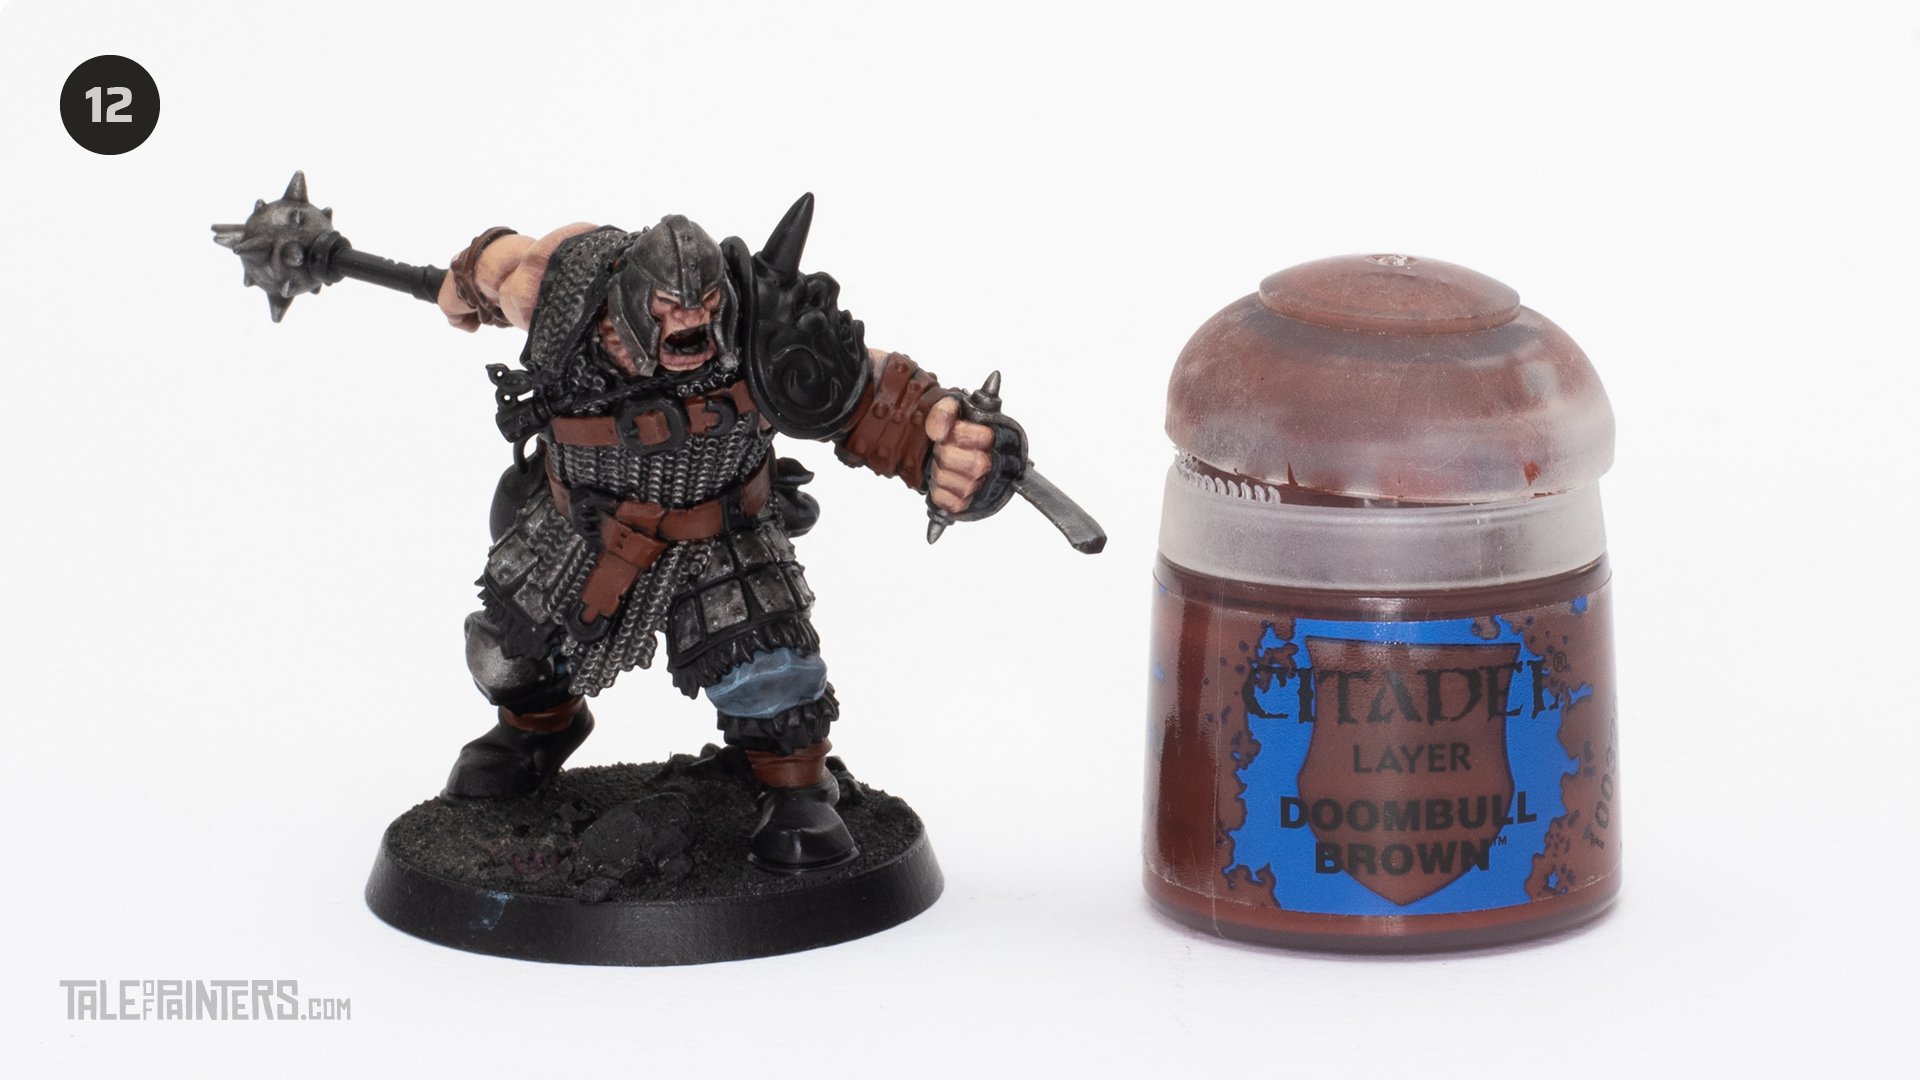
Paint the belt, wrist wraps, weapon strap, ankle straps, weapon scabbards with Doombull Brown
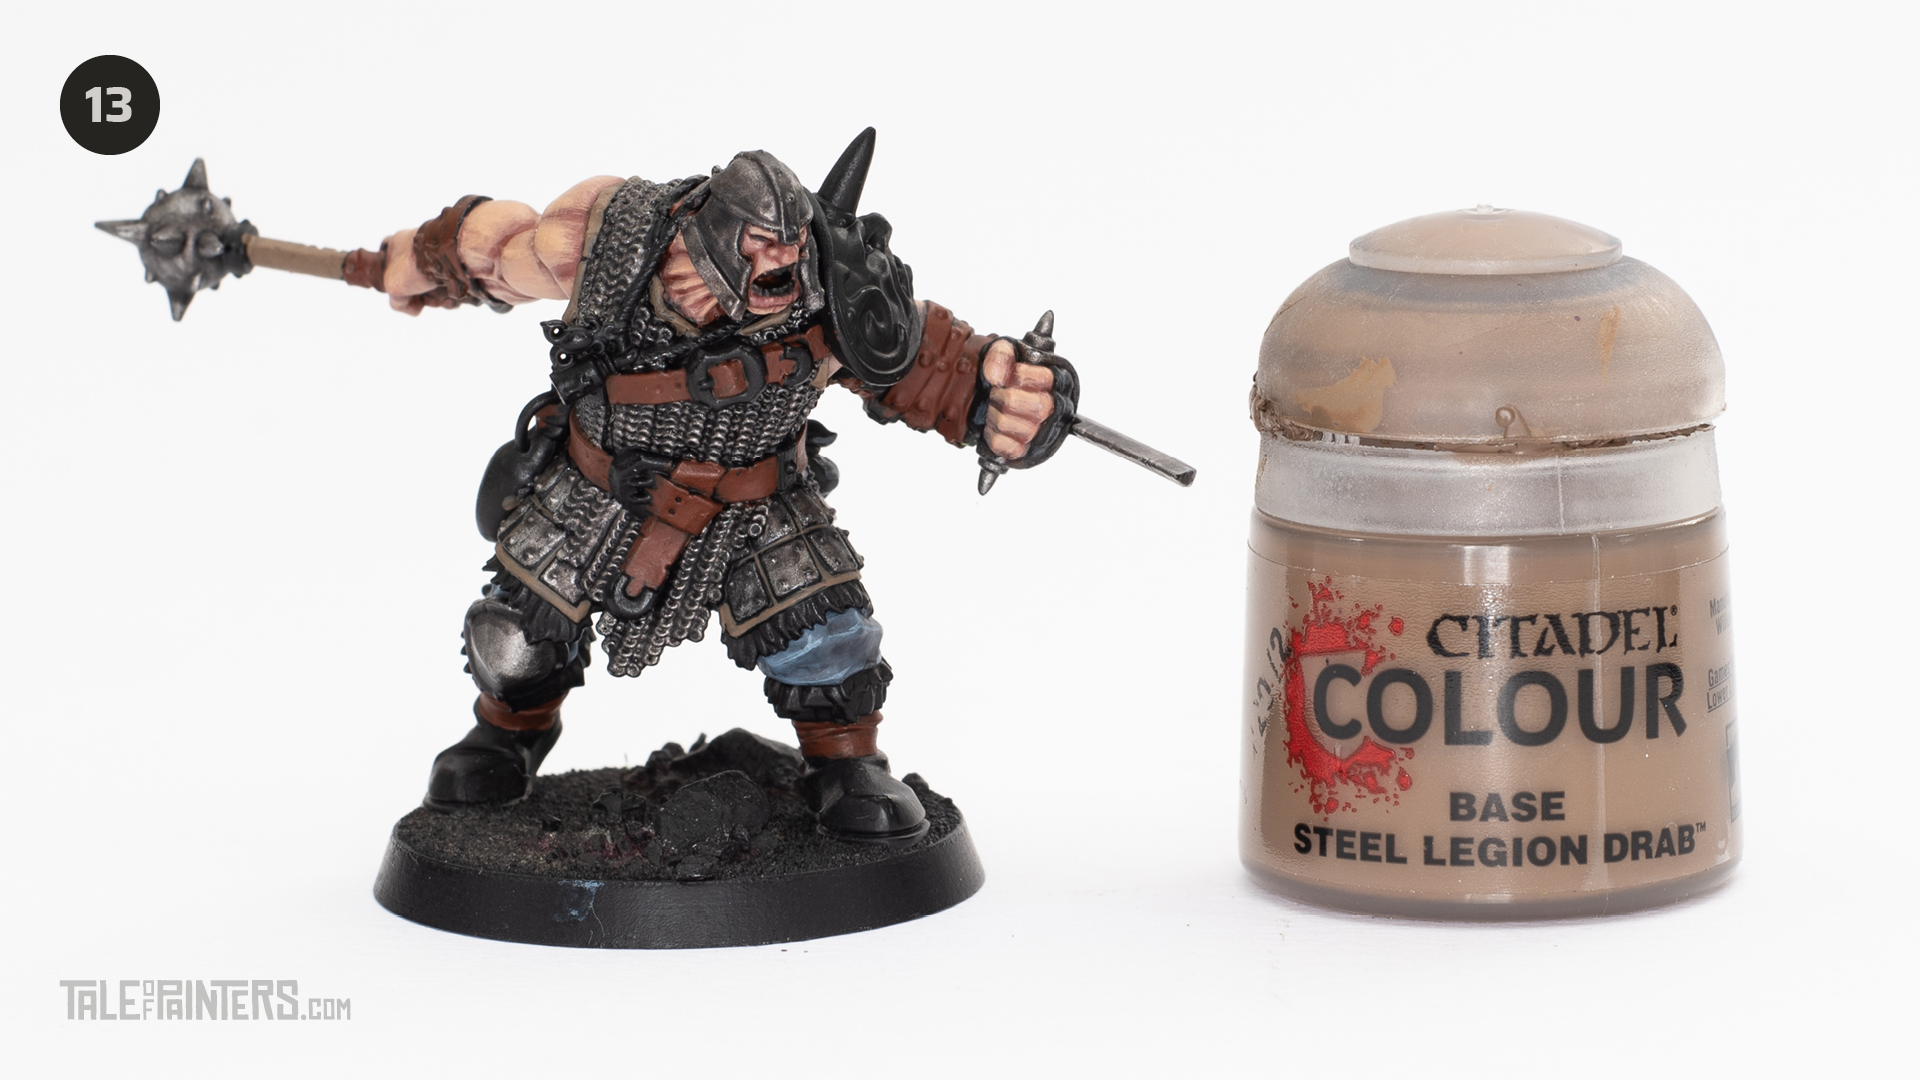
Paint the mace shaft and fabric underneath the plate and chainmail with Steel Legion Drab.

Wash the belt, wrist wraps, weapon strap, ankle straps, weapon scabbards and mace shaft with Wyldwood Contrast.

Edge highlight the belt, wrist wraps, weapon strap, ankle straps, weapon scabbards with thin lines of Skrag Brown.

Highlight the mace shaft and plate mail fabric with Baneblade brown. Paint the rope around the neck, dagger handles and the fur around the plate mail and boots with Baneblade.

Wash the rope around the neck, dagger handles and the fur around the plate mail and boots with Seraphim Sepia.

Highlight the rope around the neck, dagger handles and the fur around the plate mail and boots with Wraithbone. Paint the horn on the shoulder pad with Wraithbone. Paint the teeth with Wraithbone.

Wash the horn and teeth with Skeleton Horde.

Paint the shoulder pad, buckles, necklace trinkets, metal parts of the scabbards and ring around the mace and ring around the helmet with Liberator Gold.

Shade the previous step with Aggaros Dunes Contrast straight from the pot. Shade all the silver metal areas with Aggaros Dunes. Use this sparingly, just make it look dirty and lightly rusted. Use Aggaros Dunes on the horn tip. Repeat this on the horn tip to increase the intensity of the shading.

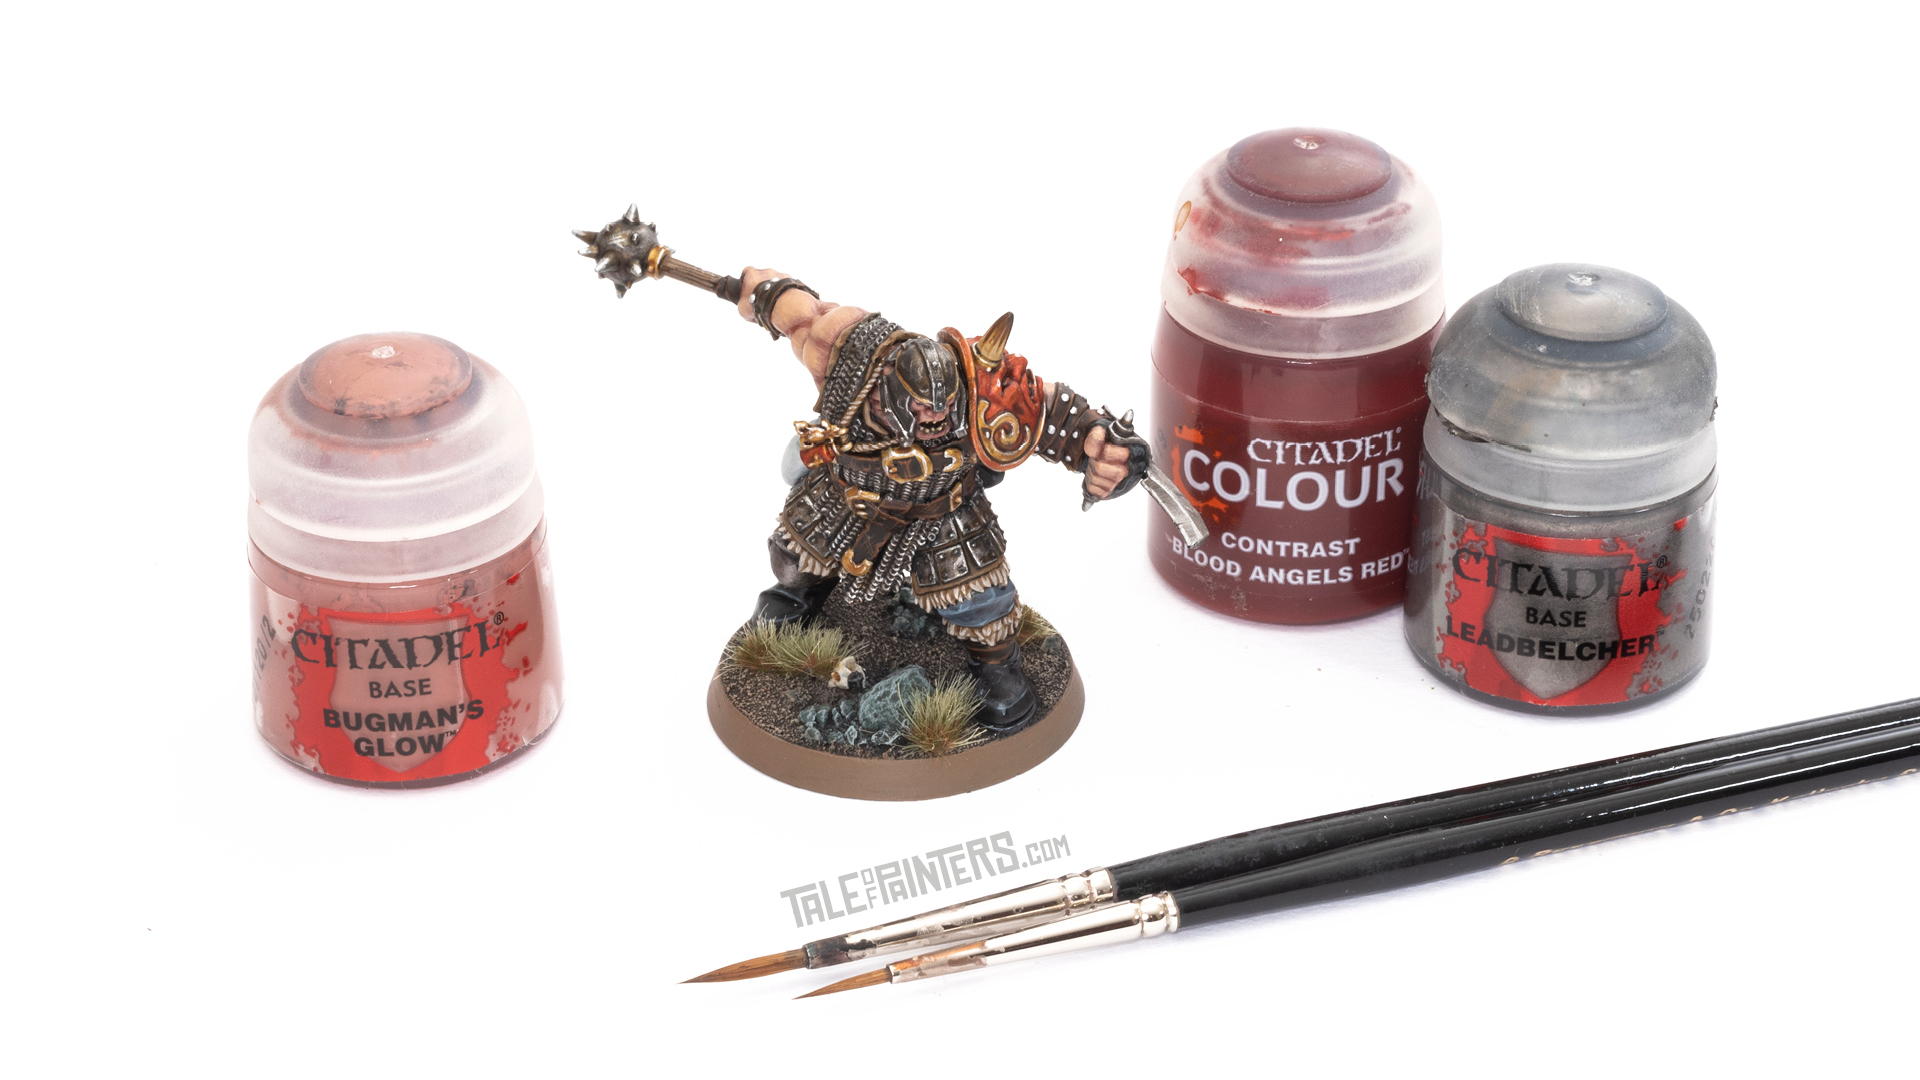
Create a mix of 50:50 Blood Angels Red Contrast paint and Lahmian Medium and wash the sculpted face on the shoulder pad and the trinket.

Wash the rim of the shoulder pad with Gryph-Hound Orange

Paint thin lines around the details of the shoulder pad with Black Templar to define the face.

Edge highlight the golds and metals with thin lines of Runefang Steel.

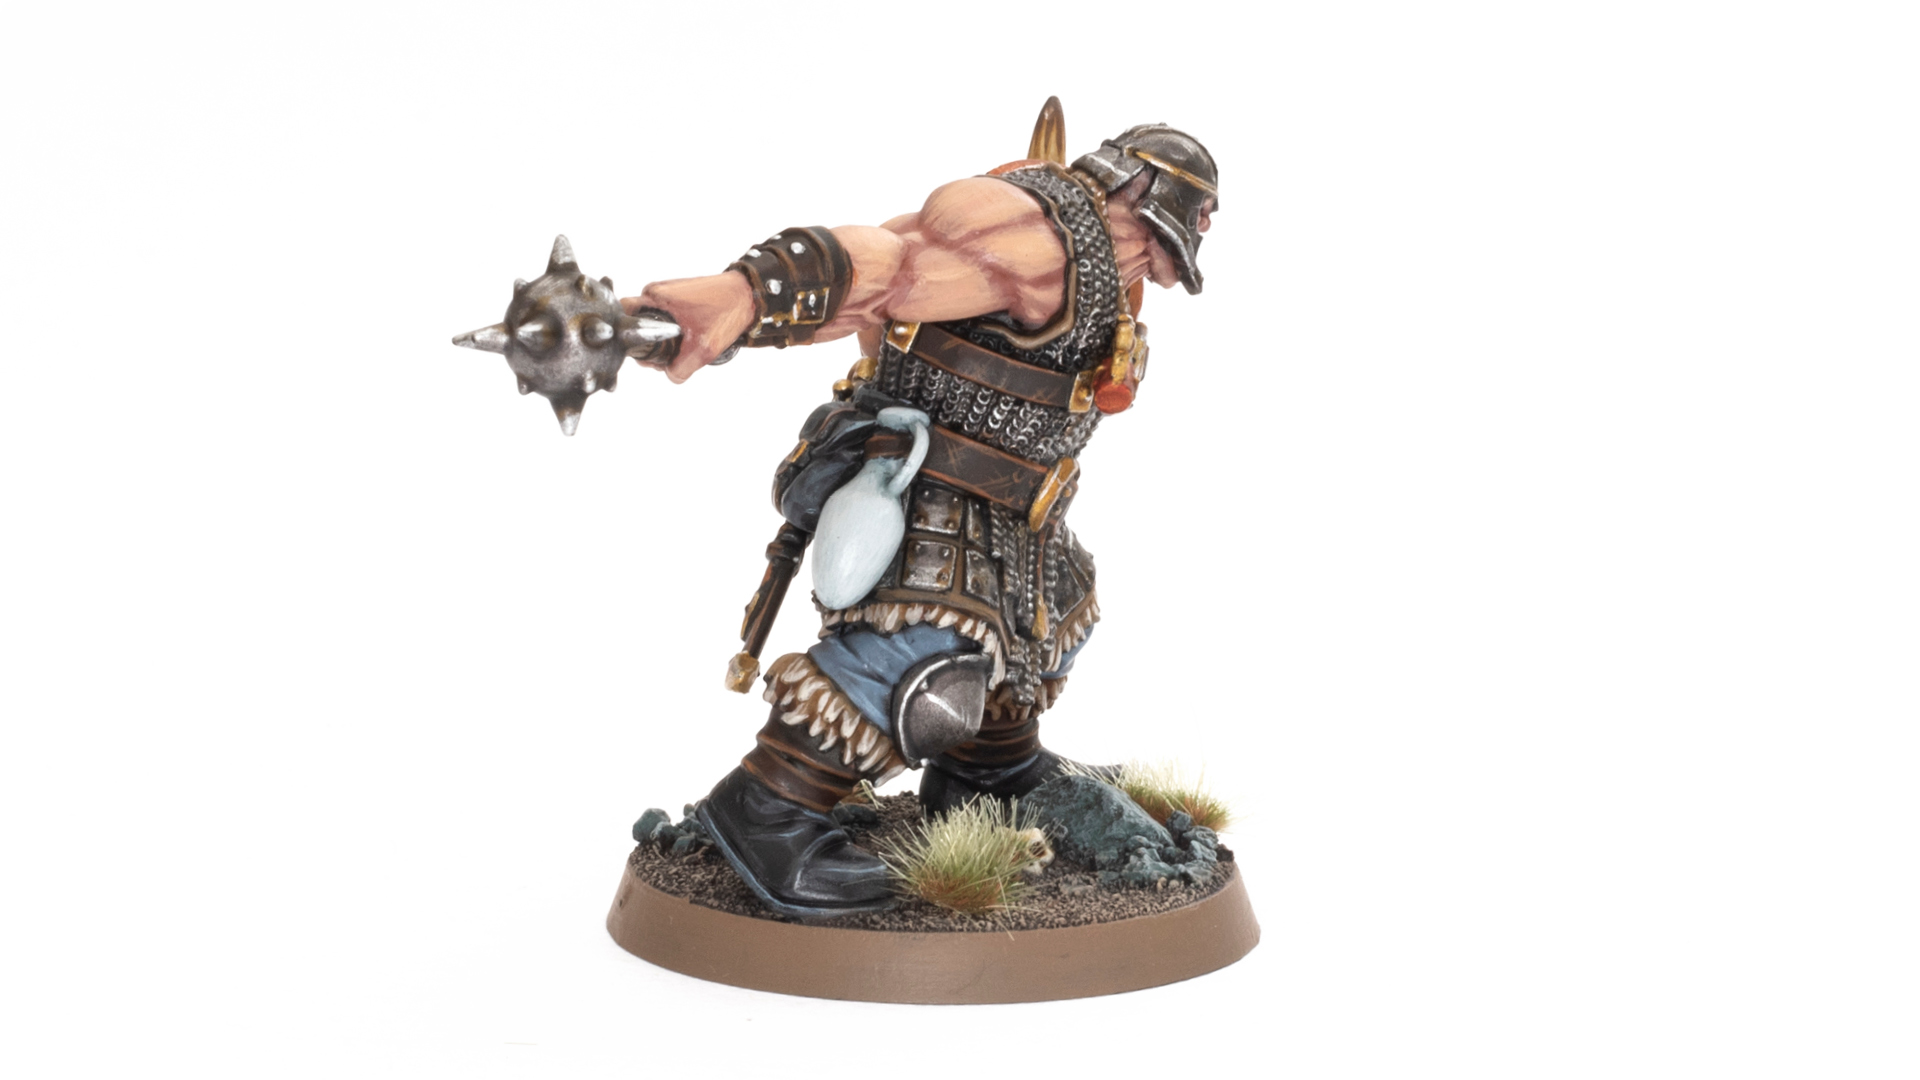
Basecoat the Amphora with Celestra Grey.

Wash the Amphora with a light coat of Gryph-Charger Grey.

Paint the Amphora with Ulthuan Grey.

Paint thin lines of Wyldwood on the shoulder pad spike.

To paint the base, the sand is painted with Dryad Bark, drybrushed with Steel Legion and then final drybrushed with Karak Stone.

Paints you will need for this tutorial:
- Chaos Black Undercoat Spray
- Leadbelcher (base)
- Russ Grey (layer)
- Mechanicus Standard Grey (base)
- Basilicanum Grey (contrast)
- Lahmian Medium (technical)
- Fenrisian Grey (layer)
- Bugman’s Glow (base)
- Gullimans Flesh (contrast)
- Cadian Fleshtone (layer)
- Kislev Flesh (layer)
- Carroburg Crimson (shade)
- Doombull Brown (layer)
- Steel Legion Drab (base)
- Wyldwood (contrast)
- Skrag Brown (layer)
- Baneblade Brown (layer)
- Seraphim Sepia (shade)
- Wraithbone (base)
- Skeleton Horde (contrast)
- Liberator Gold (layer)
- Aggaros Dunes (contrast)
- Blood Angels Red (contrast)
- Gryph-Hound Orange (contrast)
- Black Templar (contrast)
- Runefang Steel (layer)
- Celestra Grey (base)
- Gryph-Charger Grey (contrast)
- Ulthuan Grey (layer)
- Wyldwood (contrast)
Paints you’ll need for the base:
- Dryad Bark (base)
- Steel Legion Drab (base)
- Karak Stone Layer
If you need to expand your paint collection to follow the tutorial, check out our partner stores Wayland Games and Element Games, which offer an amazing range of paints at a discount.
Check out my previous tutorials on How to Paint Corpse Rats and Bat Swarms, Ulfenwatch Skeletons, Deadwalker Zombies, Kosargi Night Guard, Vargskyr, Vyrkos Blood-born, Gorslav the Gravekeeper, Torgillius the Chamberlain, Radukar the Wolf and Emelda Braskov. Want to learn more about painting Warhammer Quest Cursed City models, stay tuned for more tutorials, in the mean time you can check out my review of Warhammer Quest Cursed City.
Hope you enjoyed this tutorial. If so, leave a comment or reaction below, and if you got any questions, leave them here so I can answer them for you.

10 Comments
Leave a Reply
Tale of Painters is the unofficial Warhammer hobby magazine run by hobbyists like you. Support our work by using the affiliate links from our 🇺🇸 / 🇨🇦 partner stores for your next orders so we can continue to bring you fantastic FREE content every day:


Or support us directly:


… [Trackback]
[…] There you can find 31450 more Information on that Topic: taleofpainters.com/2021/05/tutorial-how-to-paint-brutogg-corpse-eater-from-warhammer-quest-cursed-city/ […]
… [Trackback]
[…] There you can find 81247 more Information on that Topic: taleofpainters.com/2021/05/tutorial-how-to-paint-brutogg-corpse-eater-from-warhammer-quest-cursed-city/ […]
… [Trackback]
[…] Find More here on that Topic: taleofpainters.com/2021/05/tutorial-how-to-paint-brutogg-corpse-eater-from-warhammer-quest-cursed-city/ […]
Hello,
After following the Warhammer TV for most of my bad guys. I was hesitating on how to go on and paint my heros. I found your tutorials and having most of the paints decided to give it a try for Brutogg, which one was one of the character I enjoy the most and wanted to have a good mini.
Here is the result.
[url=https://ibb.co/Gc5hJGp][img]https://i.ibb.co/Gc5hJGp/41344-A7-B-2-E28-4-B57-BBB9-756551-C399-F9.jpg[/img][/url]
It was the first time I did all this highlight, and I am very happy with the results !
Thank you so much for your article step by step. Next one will be… Dagnai !
Oups sorry the link didn’t work ! I don’t know if it is possible to show an image there.
Here it is https://ibb.co/Gc5hJGp
He came out great Bastien. Congratulations on a fine looking model.
Hi !
Thanks for this very good tutorial. It helps a lot.
Between 14 and 15 you highlighted the black boots and glove with Blue. Was it with Fenrisian Grey ? I cannot find this step.
Whoops! Well spotted. Yeah some edge highlights on fenrisian grey will make it look like shiney leather.
[…] Gorslav the Gravekeeper, Torgillius the Chamberlain, Radukar the Wolf, Qulathis the Exile, Brutogg Corpse-eater, Emelda Braskov, Jelson Darrock, Cleona Zeitengale and Octren Glimscry. Want to learn more about […]
[…] Gorslav the Gravekeeper, Torgillius the Chamberlain, Radukar the Wolf, Qulathis the Exile, Brutogg Corpse-eater, Emelda Braskov, Jelson Darrock and Cleona Zeitengale. Want to learn more about painting Warhammer […]